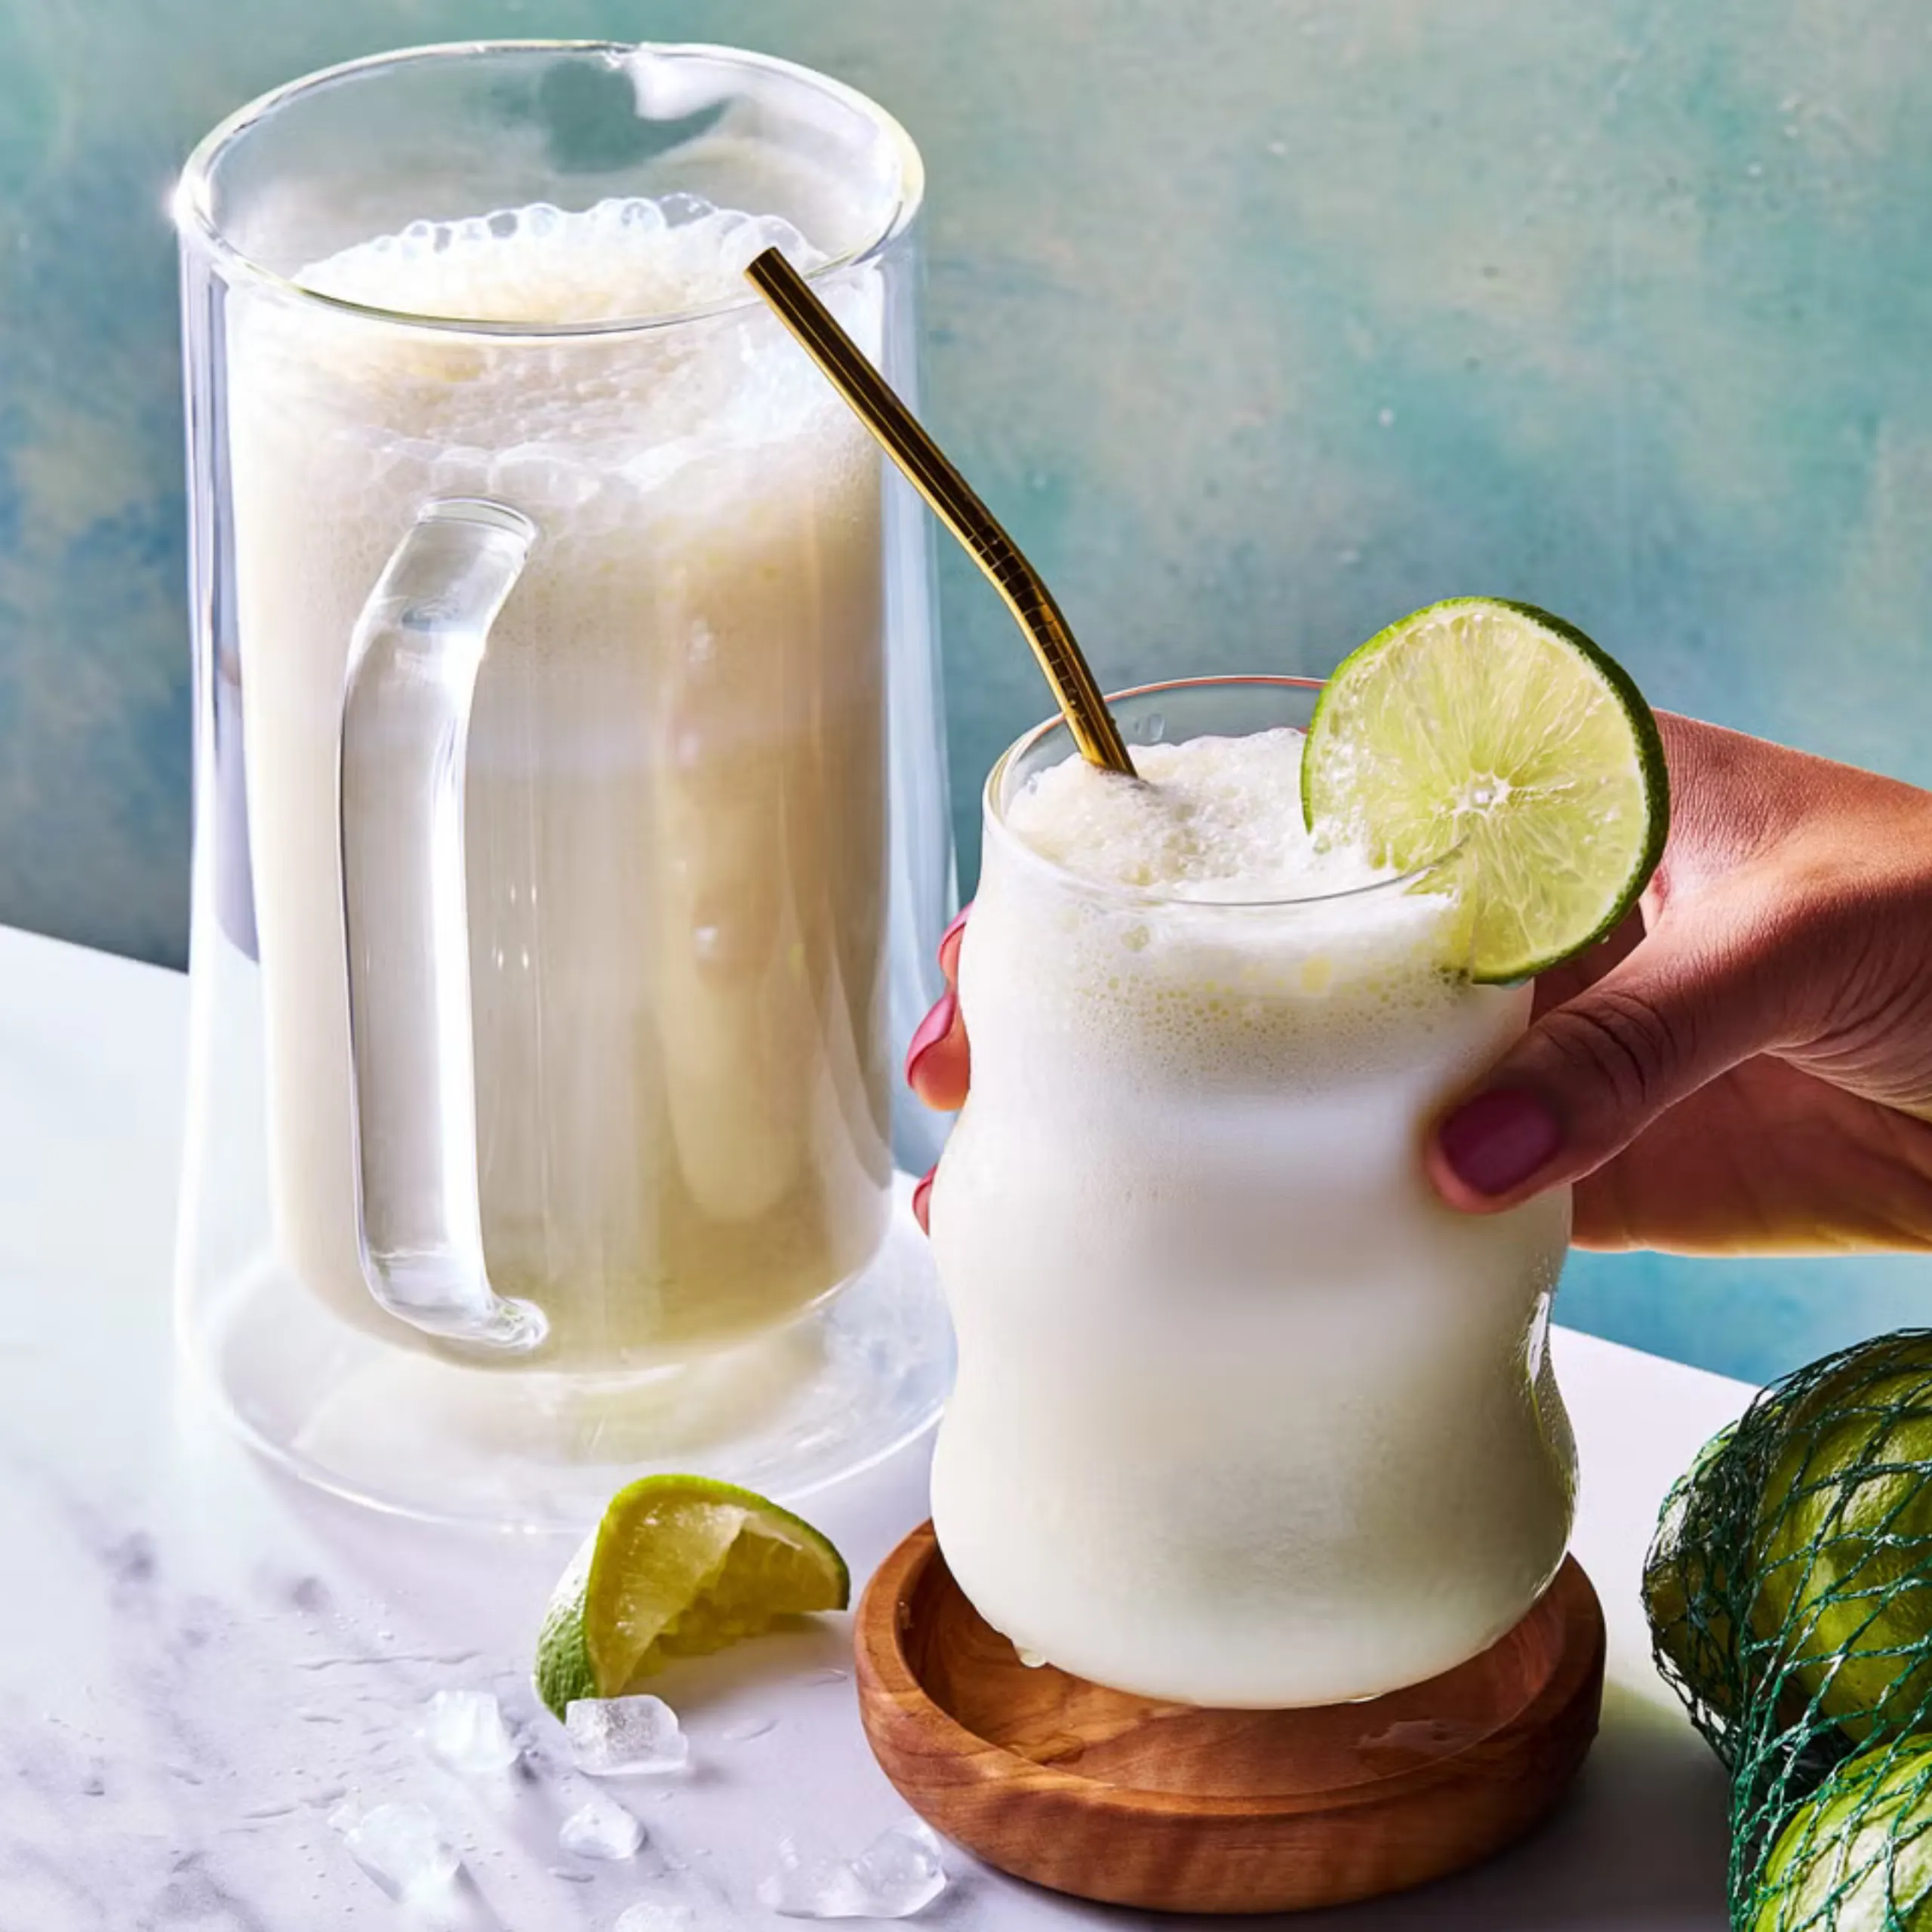


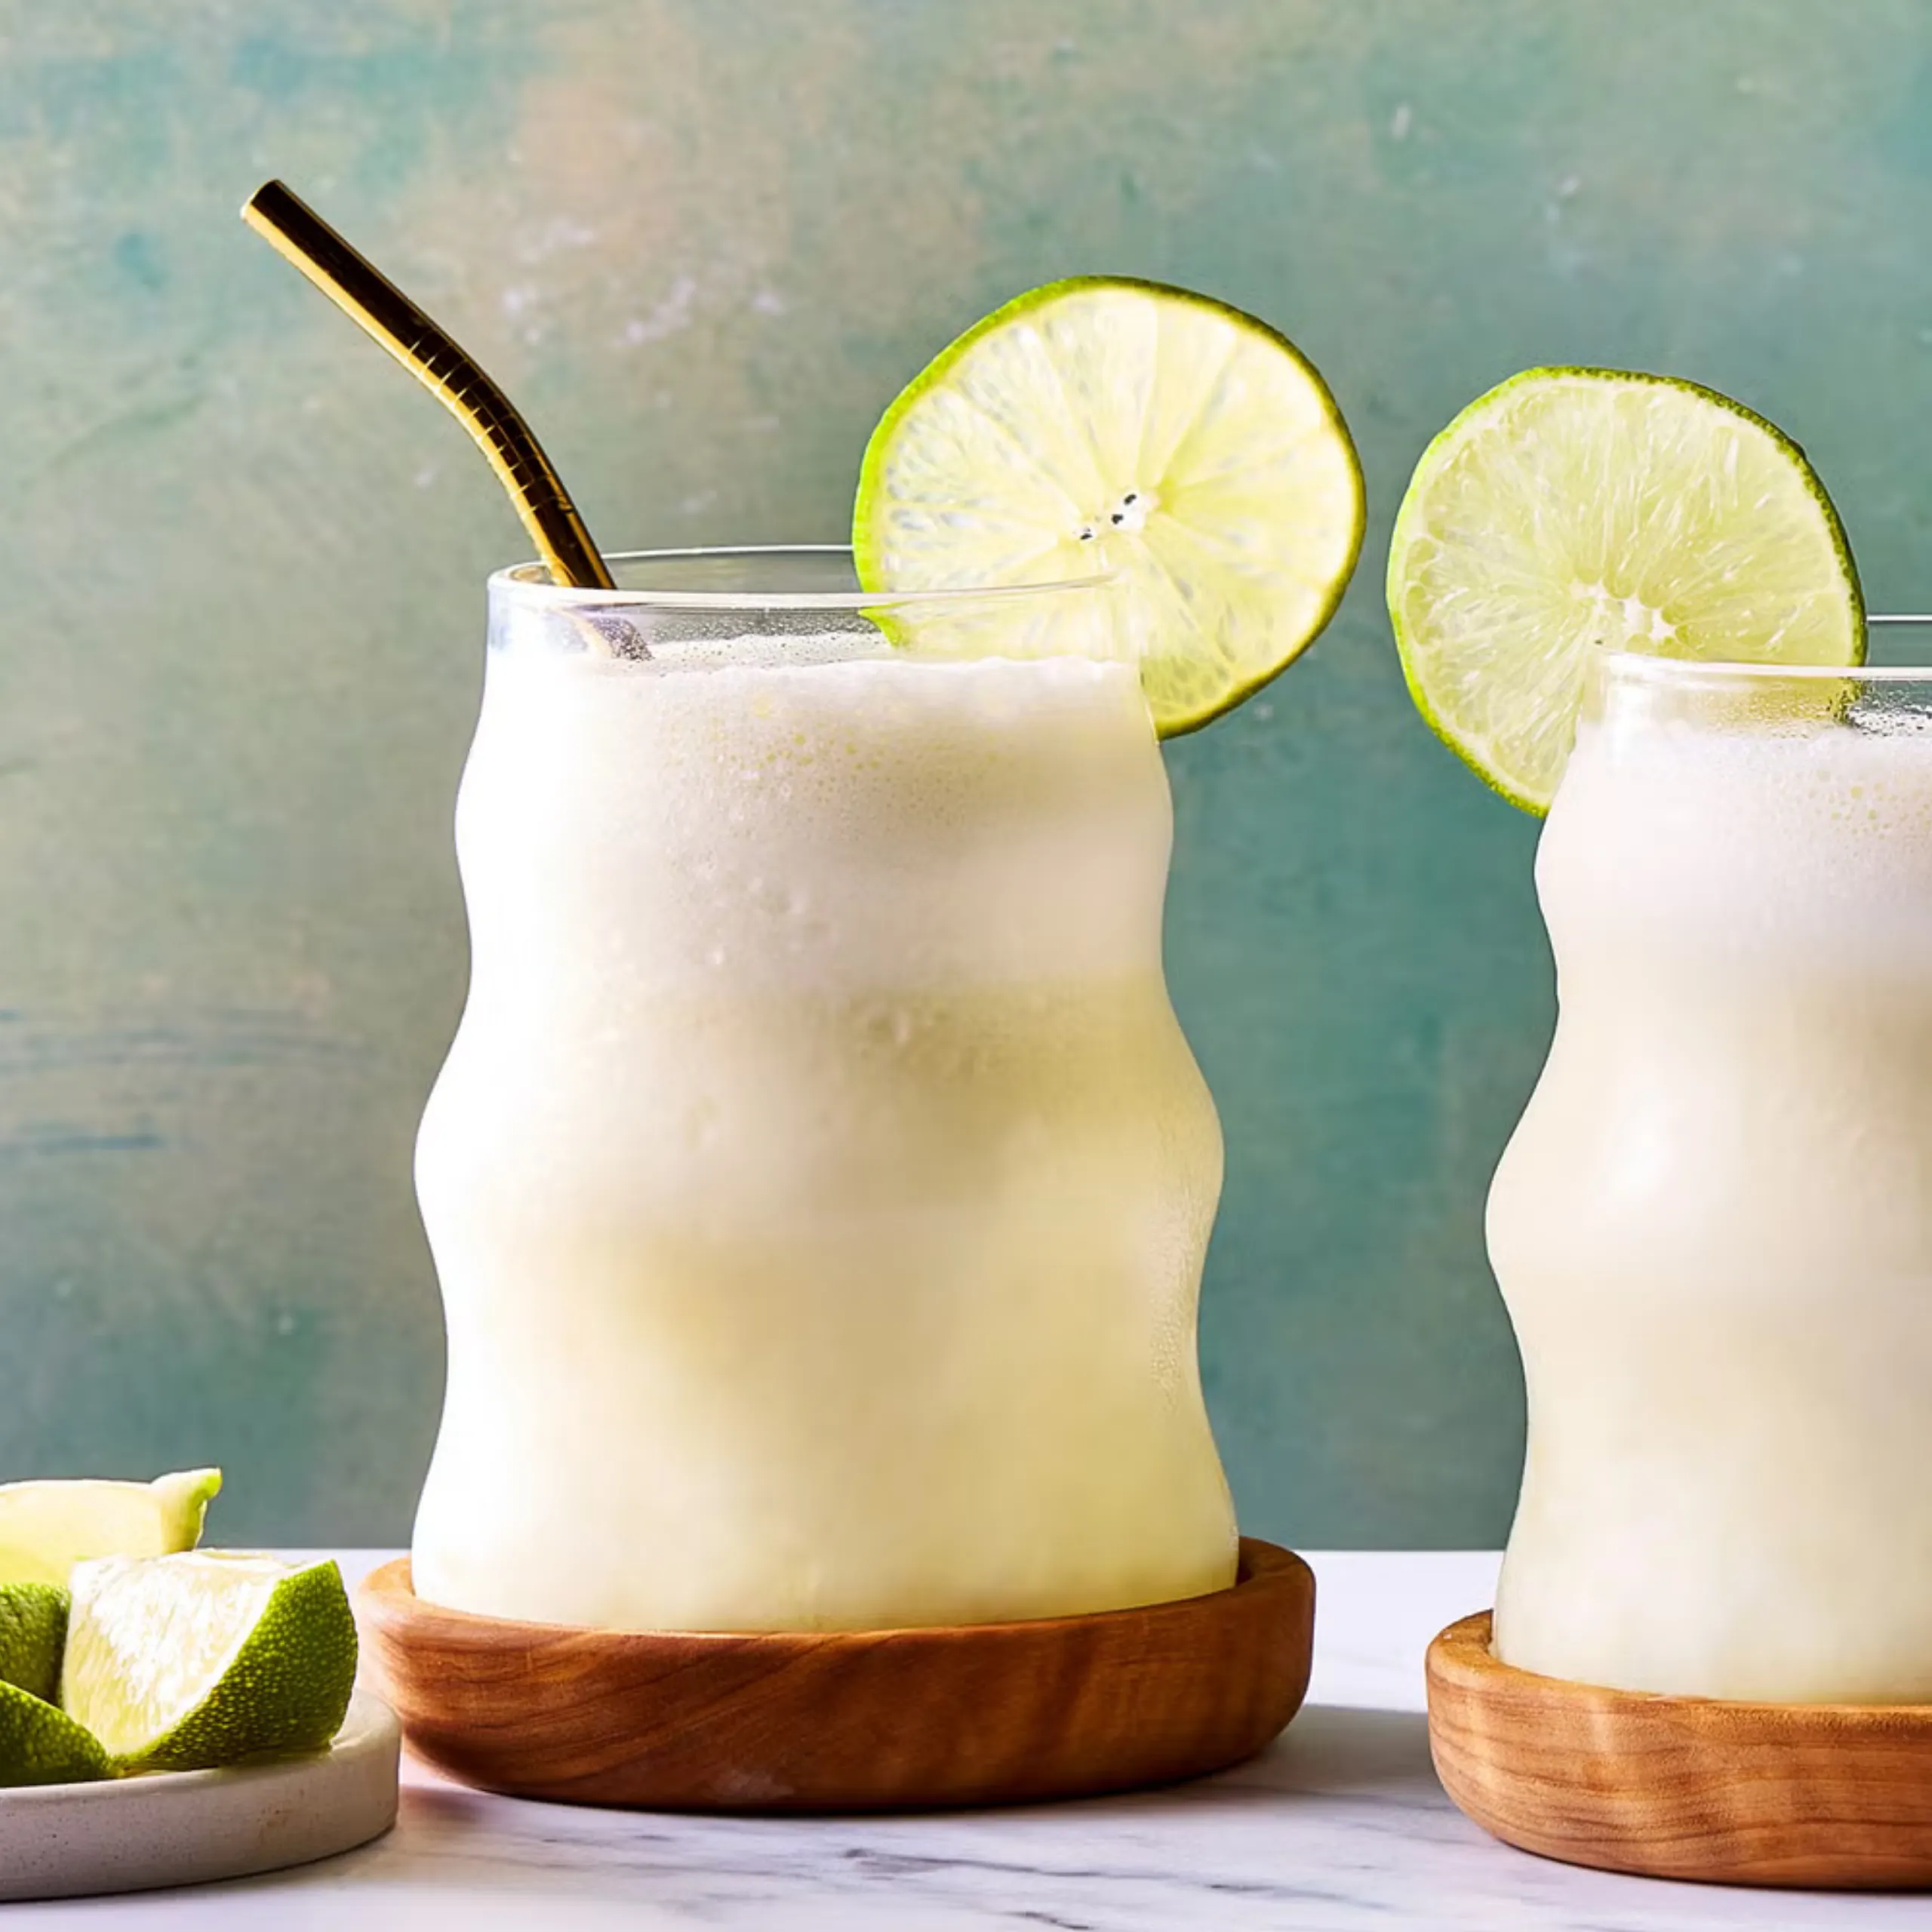
Of all my favorite childhood memories, sipping creamy, refreshing limonada suiça, or Brazilian lemonade, on a scorching-hot summer day is one I replay the most often. It always hits the spot and is the perfect afternoon treat. My mom would make a pitcher whenever family would come over for a chill summer lunch, or whenever we didn’t want ice cream but still needed something cold and sweet. If you’ve never had a glass, it almost tastes like a blended lemon Italian ice, but not sour—and just so much better. It gives Key lime pie vibes in the very best way. Don’t get me wrong, a classic lemonade is great, but Brazilian lemonade is extra special for two reasons:
1) It’s sweetened with condensed milk, which makes it creamy and frothy. Sweetened condensed milk is an essential ingredient in Brazilian households. I always keep a can (or three) handy in case I’m craving some Brigadeiros, or want to top my açaí bowl.
2) We use limes, not lemons! Limes add a bit of extra oomph when blended with the condensed milk. So, I know what you’re thinking: This is technically a limeade, but I get into the details of why we call it a lemonade below.
How to Make Brazilian Lemonade
INGREDIENTS
- Limes: This recipe calls for whole limes, skin and all, but don’t worry, it won’t be too bitter! Since limes vary in size, I like to use 5 if they’re on the smaller side and 4 if they’re larger and about the standard size of a lemon for comparison. But don’t worry, if it ends up a bit too lime-forward because your limes were too big, just add a little more water to balance everything out, and adjust to your preferred taste.
- Sweetened Condensed Milk: Some versions of limonada suíça use sugar to sweeten, but I prefer to use the sweetened condensed milk for that extra special flavor and a little creaminess. My favorite brand to use is Nestle, which you can find in most grocery stores and even Target. But if you can’t find this one, any other brand will do, just make sure it’s a 14-oz. can.
STEP-BY-STEP INSTRUCTIONS
Get set up to make the perfect limonada suiça: You’ll need a blender, a sharp knife, a small cutting board, a fine-mesh strainer, a can opener, a liquid measuring cup, a small spatula or spoon, and a pitcher, plus fun glasses for serving!
Make sure to wash your limes really well since you’ll be blending them with the skin on. Then I lightly scrub them, using my hands or a soft produce brush. Don’t scrub too hard—you’ll damage the skin. Rinse well after cleaning, then dry them well. This step ensures a better batch of limonada suíça.
Cut off the tips of your limes and discard them. Cut in half (lengthwise), then quarter into wedges. Cut off the excess pith, or veiny white interior, and skin, then discard.
Now grab your blender. You can add all the ingredients at once, strain, and serve, but I recommend taking one extra step. Make the lime juice first, strain, then add it back to the blender with the ice and condensed milk. Again, this will help rule out any unwanted bitterness. Then add some cold water and limes. If you want a thicker consistency, use a little less water, but note it will be a little sweet. To adjust for this, just cut back a little on the condensed milk. Blend for 1 minute on high speed. Use a fine-mesh strainer to strain, use a spoon to mix, and slightly press to get all the liquid through into your pitcher. Discard the skins and pulp.
Rinse the blender between these steps to make sure there are no skins or pulp still inside, then add the juice back into the blender along with condensed milk and ice. This is when you can taste it and adjust the sweetness to your liking. If you like it less sweet, don’t add all the milk at once. Blend for another minute on high or until the ice is completely incorporated. You can add ice to your glass if you’d like it extra cold, or just sip it as is.
This recipe yields about 6 to 8 (8-oz.) servings, so I’d go with serving in shorter glasses, but it’s truly up to you and how much you want. Garnish with a slice of lime and enjoy. Pro tip: I suggest using a straw, but if you’re into a little foam mustache, you can sip straight from the glass.
The full list of ingredients and instructions can be found in the recipe below.
What Is Brazilian Lemonade?
Technically, this is a limeade, but in Portuguese, we use one word interchangeably for what we know as lemons and limes here in the U.S.—limão. So lemonade is just the literal translation of limonada. To get even more specific, limes are called limão-taiti, which translates to “Tahitian lemon.” A lemon is called limão-siciliano, which I actually have a hard time finding when I go back to my home state of Minas Gerais. That’s probably why we opt for limeade instead of what Americans know as lemonade. So, if a Brazilian recipe calls for limão, we’re most likely calling for limes. How’s that for your daily dose of Duolingo?
Brazilian Lemonade Variations
For a cocktail version, I added Cachaça, a Brazilian Rum made with fresh sugar cane. We also use cachaça to make Brazil’s national cocktail, caipirinha, since it pairs so well with lime—it’s a must-try! Add 1 oz. per 8-oz. serving, so about 6 oz. in total for the whole batch. If you like something less strong, reduce the rum to 3 to 4 oz. Then just mix to combine and enjoy!
Recipe Tips
- How do I make Brazilian lemonade less bitter? Remove the excess pith (the veiny white interior) to eliminate some of the bitterness and create a smoother, more balanced taste. This is something I recommend when making caipirinhas too.
- What makes Brazilian lemonade so special? What makes this recipe so special is the leite condensado, sweetened condensed milk. It’s truly a staple ingredient in Brazilian households, and you’ll find condensed milk in hundreds of dessert recipes like Brigadeiros, mousses, and even as a topping on açaí bowls (which I love). Fun fact: In Brazil, we call Brazilian lemonade limonada Suíça, or Swiss lemonade. That’s because the typical brand of the condensed milk we use is Nestlé, a Swiss company. It’s known as Leite Moça back home, and I like to stock up on imported cans at my local Brazilian market. But if I don’t make it there, it’s readily available at most supermarkets here in the U.S. and branded as La Lechera (‘the milkmaid’ in Spanish).
- Can I cut this recipe in half? Yes! I usually make a big batch to serve to friends or family in a pitcher, but I recommend halving this recipe for fewer servings if not many people will be enjoying it. Unfortunately, Brazilian lemonade doesn’t store well; the lime will get progressively more bitter with time, so I recommend drinking it right away.
Storage
Because of the lime’s bitter nature, this drink is best served immediately since it can become more bitter as it sits! Make it just a few minutes before you plan to serve it, and if you want to save a little time, cut up your limes beforehand.