Advertisement
Advertisement

Classic Homemade Waffles Recipe

PHOTO: ERIK BERNSTEIN; FOOD STYLING: MAKINZE GORE
YIELDS:
8 SERVING(S)
Prep Time:
5 MINS
Total Time:
30 MINS
Cal/Serv:
369

Nutritional Information

Calories 369 kcal
Fat 26 g
Saturated fat 9 g
Trans fat 0 g
Cholesterol 52 mg
Sodium 326 mg
Carbohydrates 28 g
Fiber 1 g
Sugar 7 g
Protein 5 g
Vitamin D 0 µg
Calcium 149 mg
Iron 2 mg
Potassium 111 mg

Note: The information shown is Edamam's estimate based on available ingredients and preparation. It should not be considered a substitute for a professional nutritionist's advice.

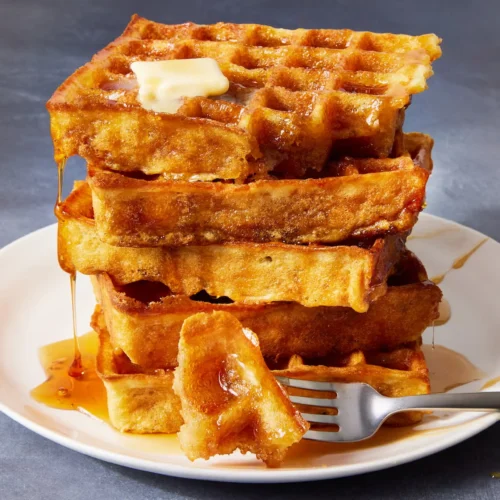
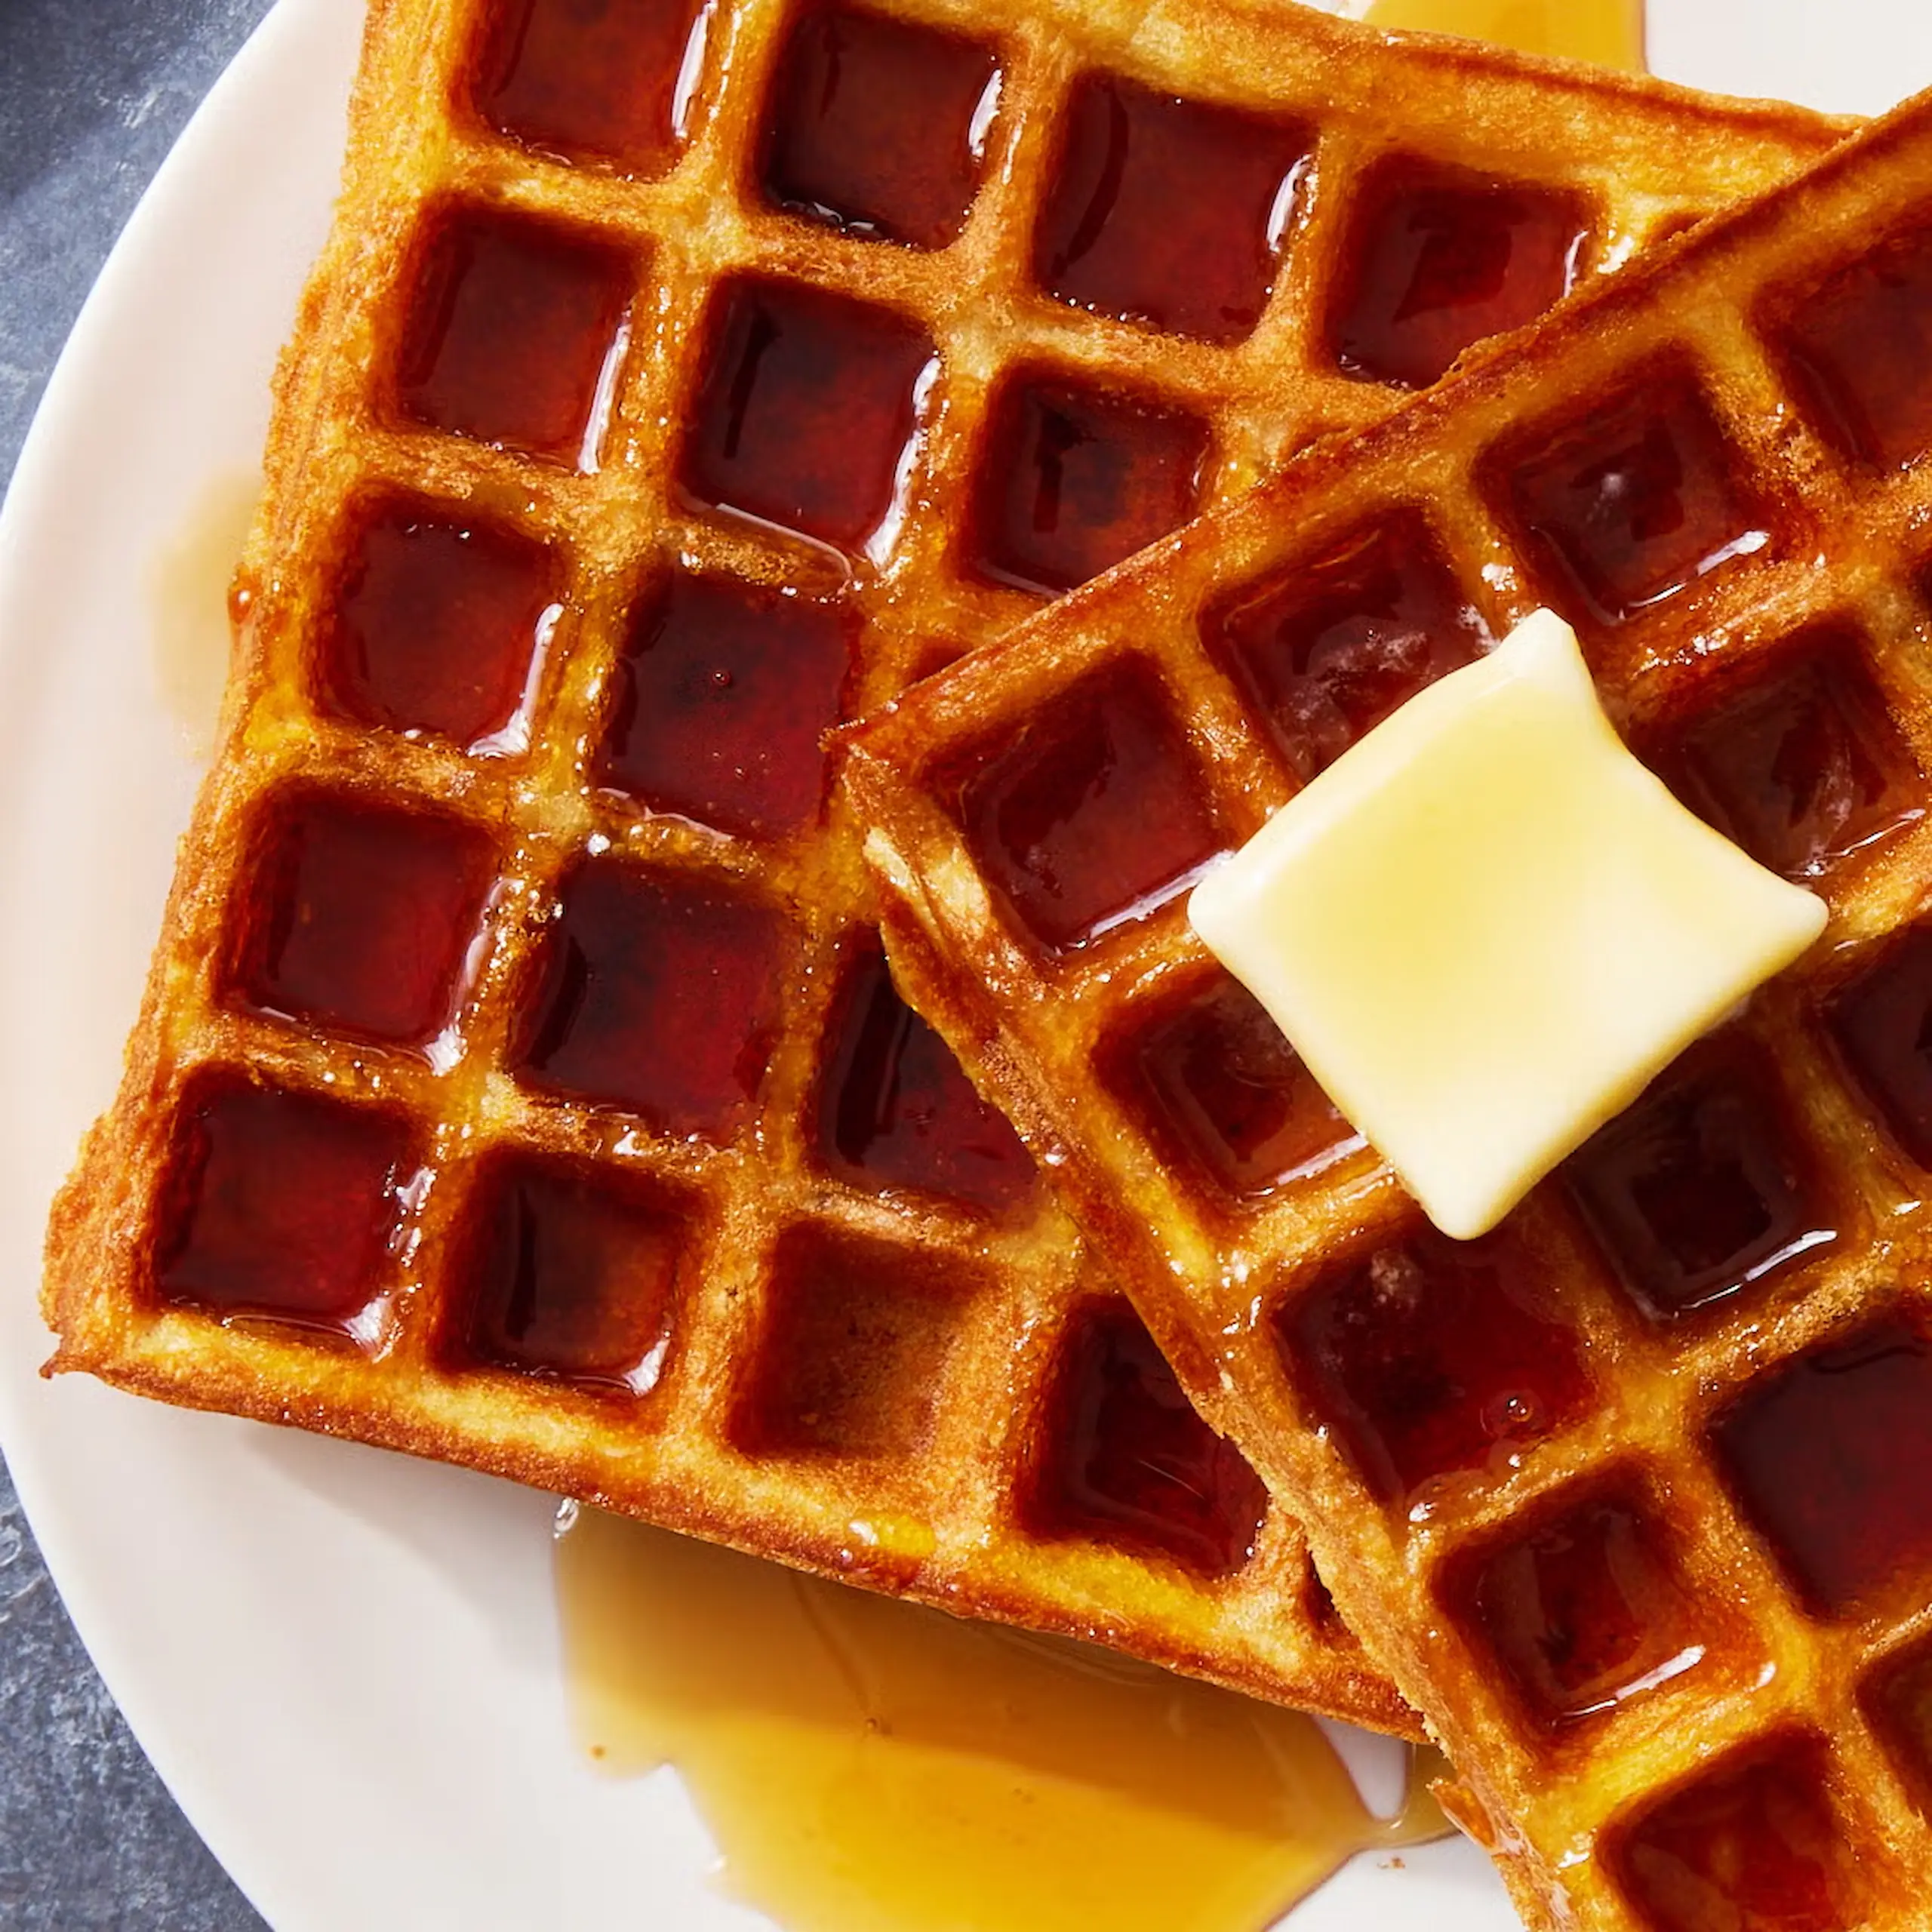
In my personal pantheon of breakfast and brunch foods, waffles hold the tip-top spot (sorry, pancakes; apologies, French toast). So, out of respect, I decided to keep these waffles classic: properly crispy, impossibly fluffy, and just begging to be drowned in maple syrup. I also wanted to make sure they were easy to make, requiring ingredients you probably already have on hand. I learned a few things in the process, which I’m sharing below, so you have all the tips and tricks you need to nail these waffles every time.

Recipe Tips

  • Don’t overmix: Waffle batters should be lumpy when they get poured into waffle makers, never smooth. Overworking the gluten will result in tough, deflated, sad waffles.
  • Measure your flour correctly: Too much flour and your waffles will be dry and dense, even if you don’t overmix them. Not enough flour, and you’ll have flimsy little waffles. Short of using a kitchen scale, the best way to guarantee the perfect amount is to spoon flour into a measuring cup without packing it in, then take the handle of your spoon and sweep off the excess flour that is over the rim of the measuring cup.
  • Make sure your waffle iron is hot! Nothing ruins a waffle like a cold waffle iron. Your waffle will cook faster and more evenly and give you the crispy edges we all love. Once the waffle is in the iron, leave it alone! Lifting the lid will cause the waffles to steam and deflate.
  • Pour the right amount of batter: Use a 2-oz. ladle or 1/4-c. measuring scoop to pour waffle batter into the waffle iron, starting in the center and working your way out. Waffle makers will vary in shape and size (some make four, while others may only make one or two!), so use your best judgment when pouring.
  • The difference between classic waffles and Belgian waffles: Belgian waffles are typically leavened with yeast and whipped egg whites, which gives them a lighter, airier texture. They are made in special waffle makers that produce larger waffles with deeper wells. By contrast, classic waffles get their lift from a combination of buttermilk, baking powder, and baking soda, resulting in waffles that are thinner, richer, and slightly more dense, though still fluffy.

What can I use if I don’t have buttermilk?

If you don’t have buttermilk, you can substitute it with a few ingredients you might already have in your kitchen pantry.

Just mix 1 Tbsp. white vinegar or lemon juice with 1 cup of milk, then let it sit for 5 to 10 minutes. Wait for it to curdle and thicken, and your homemade buttermilk is ready.

Advertisement

Full list of ingredients and directions can be found in the recipe below.

Ingredients

  • 1 Large egg
  • 1.5 Cup buttermilk
  • 0.5 Cup canola oil
  • 1.5 Teaspoon pure vanilla extract
  • 1.75 Cup (210 g) all-purpose flour
  • 3 Tablespoon granulated sugar
  • 2 Teaspoon baking powder
  • 1 Teaspoon baking soda
  • 0.5 Teaspoon kosher salt
  • Cooking spray
  • Pure maple syrup and unsalted butter, for serving
What You'll Need
  • A waffle iron
Keep screen awake

Directions

Step 1

In a medium bowl, whisk egg, buttermilk, oil, and vanilla until smooth.

Step 2

In a large bowl, whisk flour, granulated sugar, baking powder, baking soda, and salt until combined. Pour egg mixture into dry ingredients and stir until just combined; batter should be lumpy. Let rest 15 minutes.

Step 3

Meanwhile, preheat waffle iron according to package instructions. Spray heated iron with cooking spray.

Step 4

Pour a generous amount of batter into the middle of iron until completely covered. Cook waffle until golden brown, about 5 minutes. Transfer to a plate and tent with foil to keep warm. Repeat with remaining batter.

Step 5

Divide waffles among plates. Drizzle with syrup and top with butter.


This recipe was originally published in Delish US.

classic homemade waffles
PHOTO: ERIK BERNSTEIN; FOOD STYLING: MAKINZE GORE

Frequently Asked Questions

The most common cause of tough waffles is overmixing the batter, which develops too much gluten. To maintain a delicate crumb, stir your wet and dry ingredients until they are just combined; the batter should remain lumpy and never be whisked smooth. Additionally, ensure you measure your flour using the “spoon and level” method rather than scooping directly with the cup, as packed flour adds excess weight and density to the waffle.

To keep waffles from turning soggy, avoid stacking them directly on a plate, as the trapped steam will soften the exterior. Instead, place a wire cooling rack over a baking sheet and keep them in a 200°F oven until you are ready to serve. This allows air to circulate around the entire waffle, maintaining the crispness of the edges while the inside remains hot and tender.

Achieving a perfect golden crust requires a fully preheated waffle iron and an adequate amount of fat in the batter. Always wait for your iron’s indicator light before pouring the batter, and resist the urge to peek; lifting the lid too early releases steam and prevents the exterior from caramelizing. The combination of oil in the batter and a light coating of cooking spray on the hot plates creates the necessary “fry” effect for maximum crunch.

While buttermilk provides the best lift and tang, you can make a quick substitute by adding one tablespoon of lemon juice or white vinegar to one cup of regular milk and letting it sit for five minutes. This acidity is crucial because it reacts with the baking soda to create carbon dioxide bubbles, which gives the waffles their fluffy height. Avoid using plain milk alone, as the lack of acid will result in flat, flavorless waffles that don’t brown as well.

Homemade waffles freeze beautifully, making them an excellent candidate for meal prepping. Allow leftovers to cool completely on a wire rack to prevent ice crystals, then freeze them in a single layer before transferring them to a freezer-safe bag for up to three months. For the best “just-made” texture, reheat frozen waffles in a toaster or toaster oven rather than a microwave to restore their signature crisp exterior.

0 0 votes
Total of Ratings
guest
Rating
Ratings for Article
0 Comments
Oldest
Newest Most Voted
Inline Feedbacks
View all comments
Advertisement

To provide a customized ad experience, we need to know if you are of legal age in your region.

By making a selection, you agree to our Terms & Conditions.