


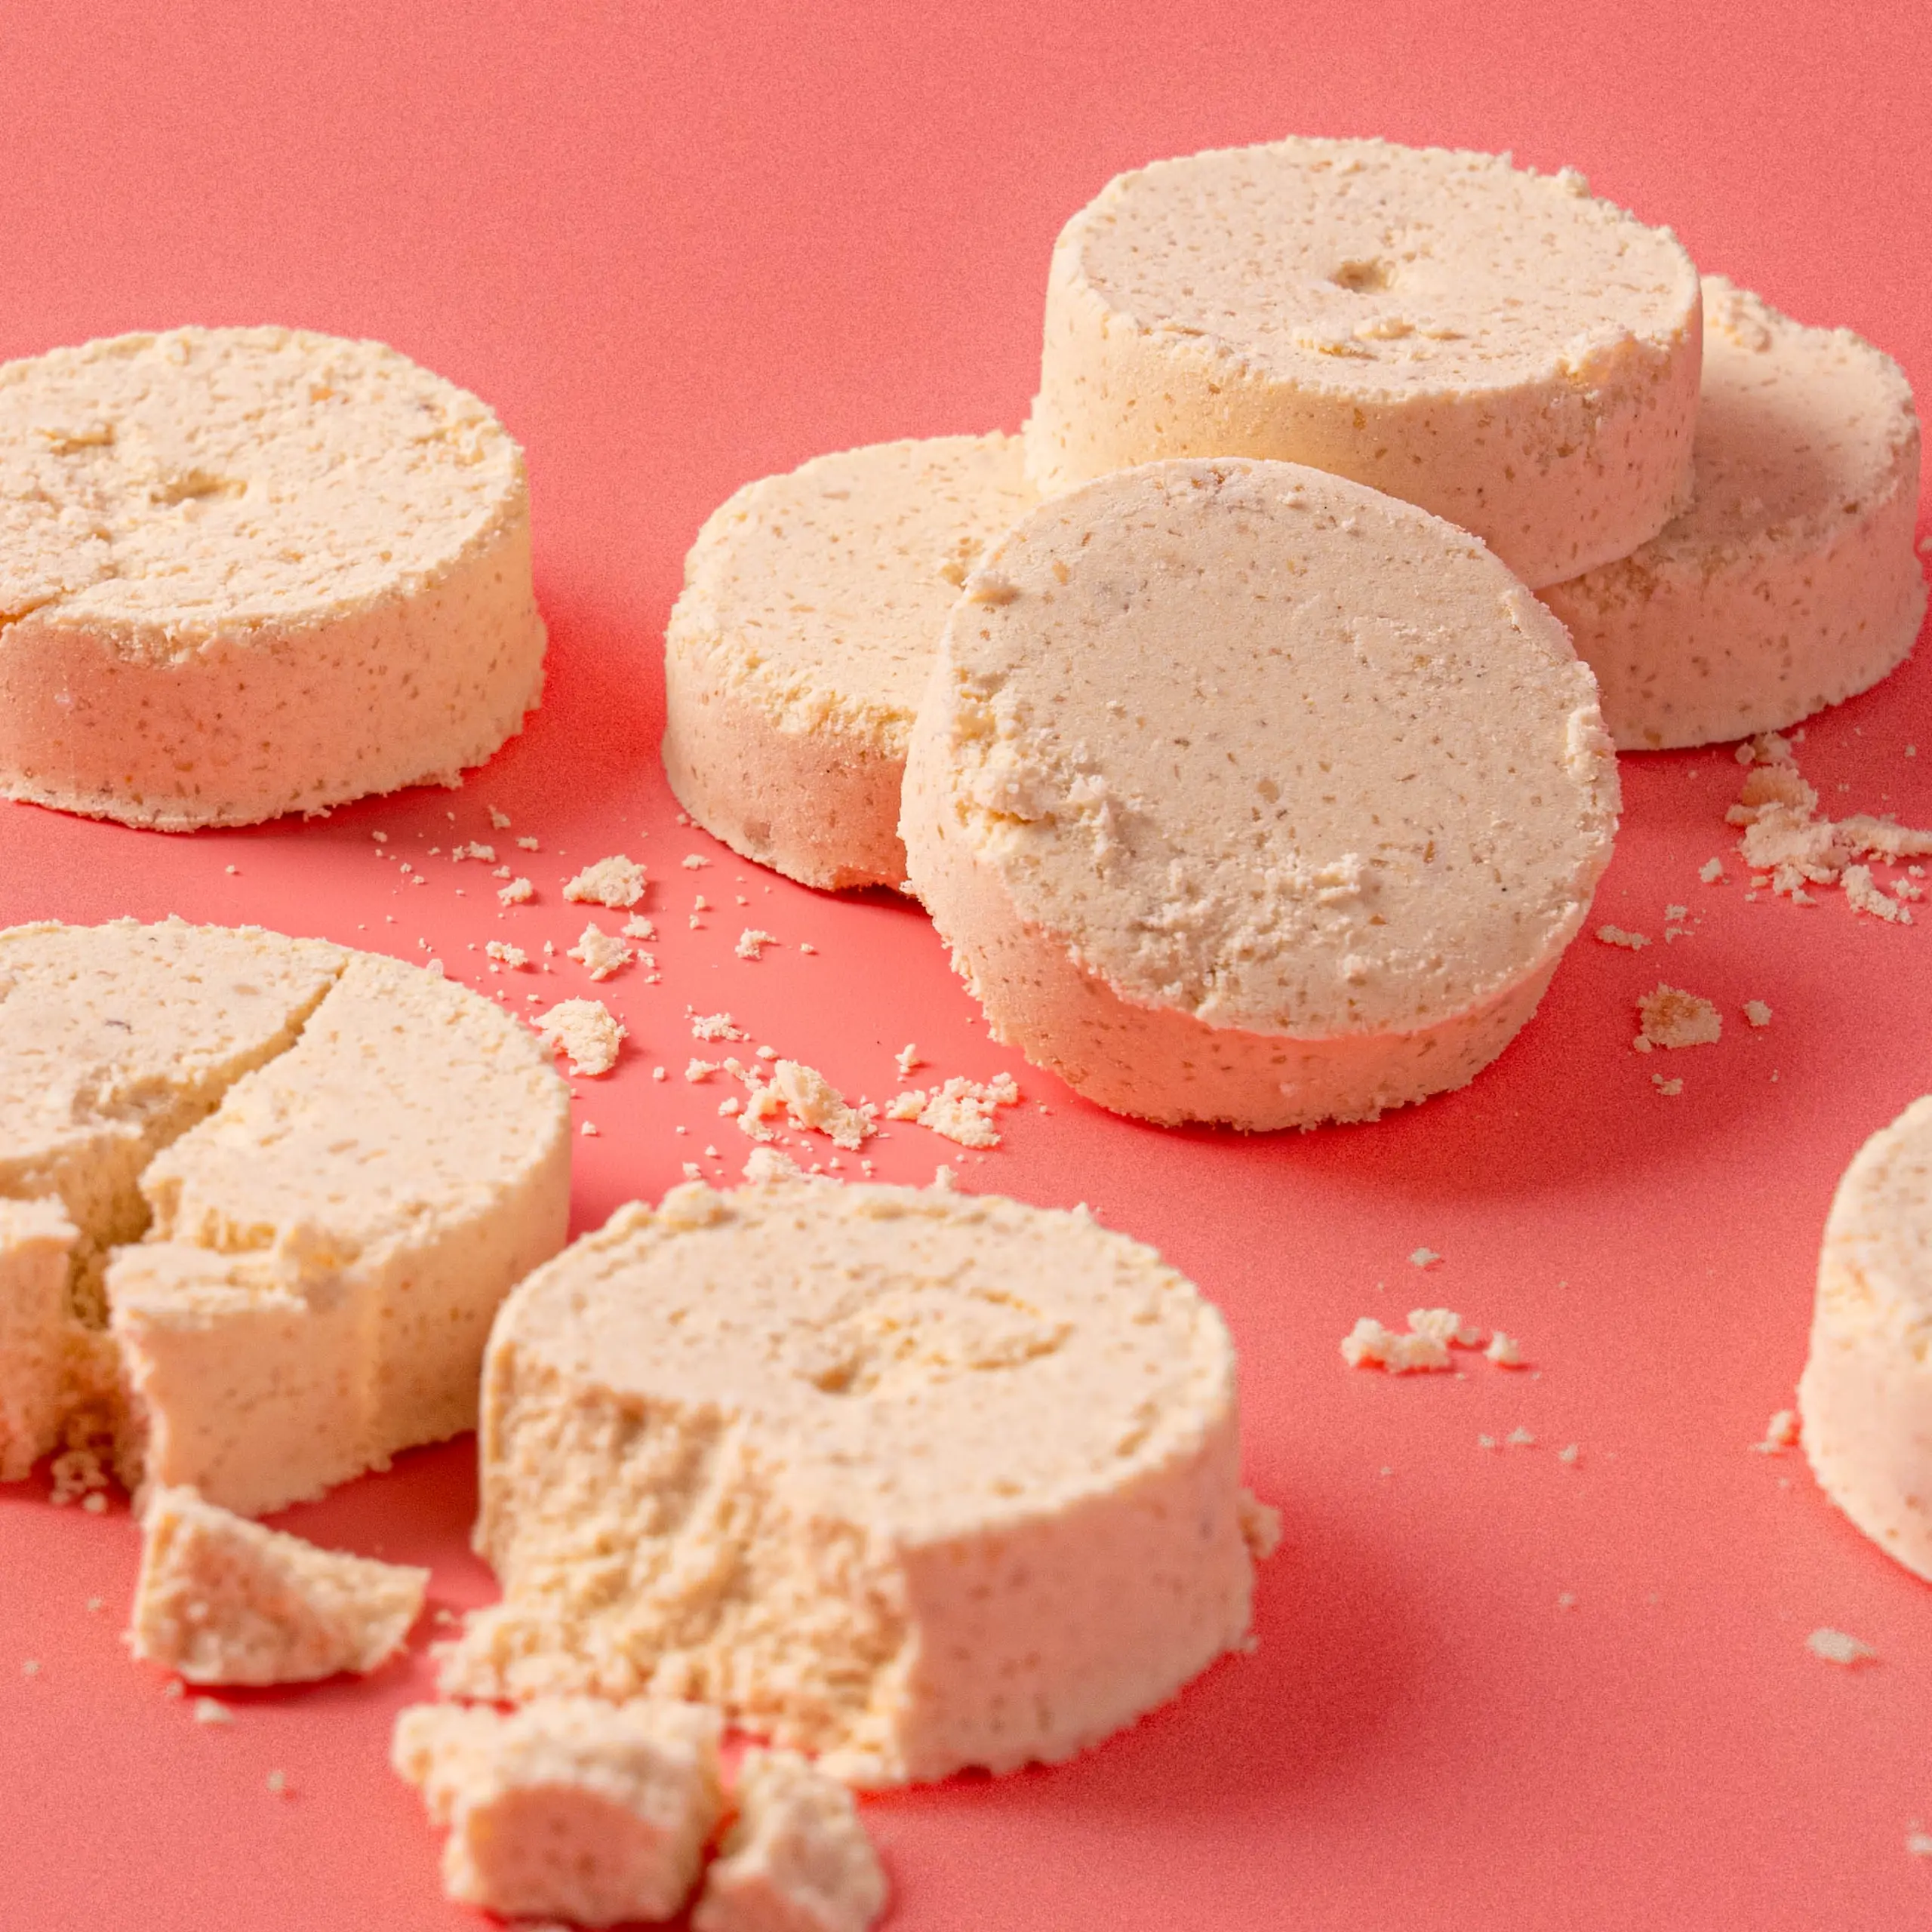
Who doesn’t love a homemade polvoron? This beloved sweet Filipino snack is known for its crumbly, melt-in-your-mouth texture and rich buttery sweetness. No need to bake, this easy Filipino polvoron recipe just uses toasted flour, powdered milk, sugar, and butter (or margarine). The fun part is in the molding them into small ovals or rounds using a traditional polvoron mold.
Another bonus? You can make your own variation by adding toasted pinipig, crushed cashews or peanuts, even chocolate or crushed chocolate sandwich cookies! Get the whole family together, get creative, make your own flavors!
Make homemade polvoron with the family, get nostalgic, and relive your childhood once again!
A Little History About Polvoron
The word polvorón comes from Spanish polvo, meaning “powder” or “dust,” referring to the dessert’s delicate, powdery texture. The Filipino version developed from Spanish culinary influence during the colonial period, but Filipinos made the treat their own by adapting it to local tastes and ingredients.
Traditional Filipino polvoron commonly uses toasted flour, powdered milk, sugar, and butter or margarine. Over time, many variations appeared, including flavors made with cashews, peanuts, pinipig, chocolate, ube, cookies, and dried fruits. This makes polvoron a great base recipe because you can easily change its flavor without losing its familiar crumbly texture.
Recipe Tips
- Make sure to toast the flour properly. This is the most important step when making traditional Filipino polvoron. Dry-toast the flour over low heat until it turns lightly golden and smells nutty and aromatic. This will remove the raw flour taste and give the polvoron its signature flavor.
- After dry-toasting the flour, let it cool completely before adding the rest of the ingredients. Mixing in the melted butter while the flour is still hot may make the polvoron greasy or too soft.
- Use a polvoron mold and firmly press the mixture into it to ensure that the polvoron keeps it shape. Loose pressing can cause the polvoron to crumble or break apart easily.
- You can keep homemade polvoron in one airtight container, but why stop there when you can make them all pretty? Wrap each piece in wax paper, colorful Japanese paper, or food-safe cellophane to keep moisture out and to maintain its delicate texture.
- No polvoron mold? While traditional homemade polvoron are shaped using a mold, you can also just use your hands to form the polvoron pieces. Just make sure to tightly form them with your clean and dry hands, carefully using your fingers to turn them into the size and shape that pleases you.
Substitutions
- No butter? No problem! Use margarine instead. Margarine is also more budget-friendly, making it an alternative to butter which can be more expensive.
- You can swap full-cream powdered milk with skim milk for a lighter version.
- Traditional polvoron recipes use granulated white sugar, but you can also use washed semi-refined sugar, which is lighter in color.
- Make your own homemade polvoron flavors by adding in toasted pinipig, crushed peanuts or cashews. You can also use crushed choco-vanilla cookies, or cocoa powder for a fun variation that’s a hit for chocolate lovers. Use your imagination–just make sure to crush them to make sure the polvoron mixture can be molded easily into shape.
Storage
Keep polvoron pieces in an airtight container and store in a cool, dry place. Homemade polvoron can last for up to 2 weeks.
What Makes Polvoron Special?
Unlike cookies that are baked after forming, polvoron is essentially a toasted, no-bake molded confection. Toasting the flour gives it a deeper, nuttier flavor, while powdered milk contributes its signature creamy taste. Butter binds the dry ingredients together and gives the dessert its characteristic richness.
Its crumbly texture is actually part of the fun. A well-made polvoron should be delicate enough to break apart easily, but firm enough to survive being picked up.
Is Polvoron Healthy?
Polvoron can provide a little nutritional value from its ingredients, particularly protein and calcium from powdered milk and healthy fats, protein, minerals, and some fiber from cashews. Nuts such as cashews also provide nutrients including magnesium and copper.
However, polvoron is still a dessert, and the combination of butter, sugar, flour, and powdered milk makes it relatively calorie-dense. It is best enjoyed in moderation rather than considered a health food.
If you’d like a somewhat lighter version, you can reduce the sugar, use a smaller amount of butter, choose low-fat powdered milk, and add more nuts. Keep in mind, though, that reducing the butter too much can make the polvoron difficult to bind.
Final Thoughts
Polvoron may have a very simple ingredient list, but there is something special about making it at home. The smell of toasted flour, creamy powdered milk, buttery richness, and crunchy cashews comes together to create a treat that is unmistakably Filipino.
The best part is how easy it is to make the recipe your own. Once you’ve mastered the basic mixture, you can experiment with different nuts and flavors or make assorted batches for birthdays, Christmas, fiestas, pasalubong, or simply an afternoon snack.
Serve your homemade polvoron with a cup of coffee or tea, and don’t worry if a few crumbs fall onto the plate—that delicate, crumbly texture is exactly what makes polvoron, polvoron.