
If there’s one thing I know, it’s chocolate chip cookies. I’ve developed plenty of chocolate chip cookie variations in my day (from chewy to brown butter), but these are truly the best of the best. I tested these again and again (seriously—over 73 hours and 17 taste tests) to ensure they met all of my chocolate chip cookie requirements. Not only are they simple to make, but they have a soft and chewy inside, crisp edges, and plenty of chocolate—exactly what you want when you’re looking for a no-frills, soft, and fudgy chocolate chip cookie.
Read on for everything I learned in the process of making these best-ever chocolate chip cookies:
What People Are Saying:
“Hands down, without a doubt, the best [chocolate chip cookies] I ever made. Resting the dough for up to 24 hours is a game changer.” – Gatorman
“These cookies!!! SO delicious, the two chocolates make such an amazing flavor. Absolutely loved these, my kid keeps requesting to make them again.” – BakingInBKLYN
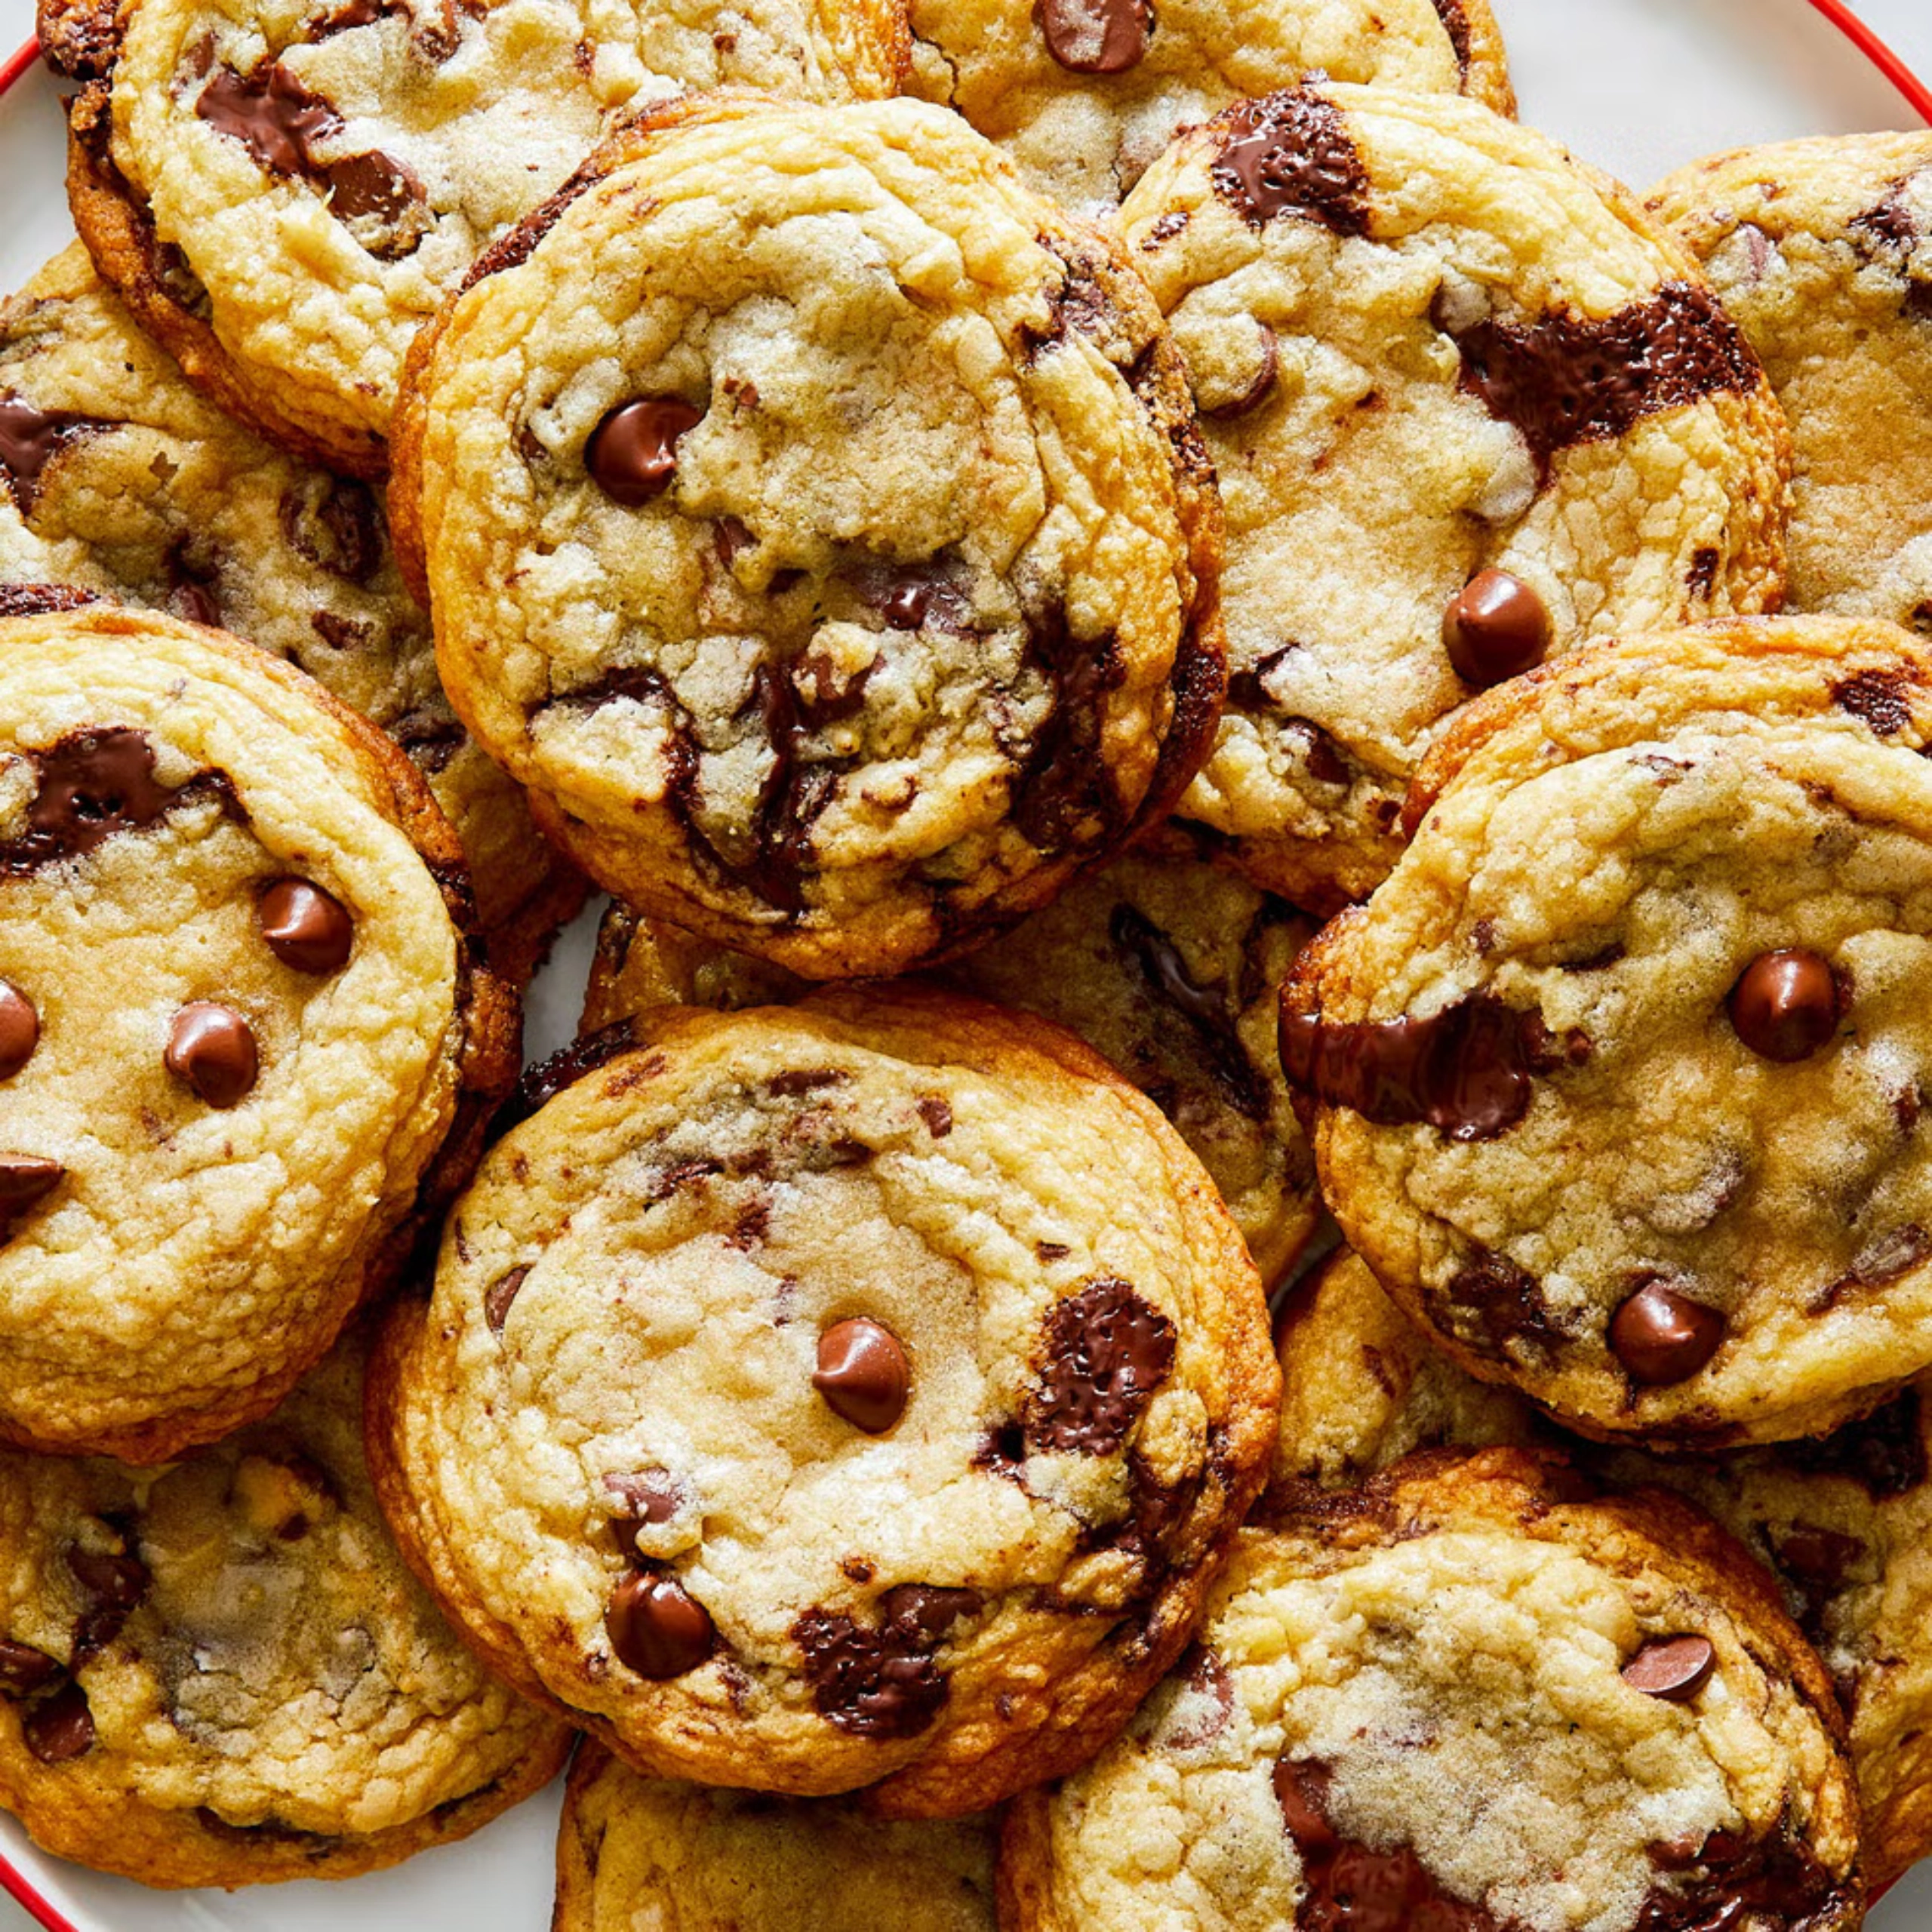
How To Make Chocolate Chip Cookies
INGREDIENTS
- Flour: All-purpose flour is the backbone of this recipe, with a protein content that is perfectly calibrated to give cookies structure without making them tough.
- Baking Soda: My aim was a cookie with crisp edges and a soft, chewy center. For that, I needed a leavener, something to give the cookies some height, and baking soda answered the call.
- Chocolate: I love chocolate chips as much as the next gal, but to develop the one plus ultra of chocolate chip cookies, just one type of chocolate wouldn’t do. So, in addition to the chips, I included an equal quantity of bittersweet chocolate wafers or discs; look for wafers or discs with a cacao content of 70% or higher. I love the way the wafers/discs melt and pool into bakery-worth swirls in the final cookies.
- Butter: Standard chocolate chip cookies begin with creaming softened butter and sugar, but that winds up beating air into the dough and can turn the cookies cake-y. I prefer to use melted, rather than softened, butter, as it gives you chewier, fudgier cookies—plus, it means you can whip up the cookie with nothing more than a whisk and a rubber spatula.
- Brown Sugar & Granulated Sugar: I went with a higher-than-usual ratio of brown to white sugar for a chewier cookie with just a bit of extra caramel flavor.
- Eggs: The eggs play a host of roles here: They bind the dough together, add moisture and richness, and even help with the leavening. Do be sure to stick to large eggs to keep the ratios on point.
- Vanilla: IMHO, vanilla is the world’s best backup singer for chocolate.
STEP-BY-STEP INSTRUCTIONS

Start by melting the butter and then letting it cool. Meanwhile, whisk together your dry ingredients—flour, baking soda, and salt—in a medium bowl.

Pour the cooled melted butter into a large bowl and whisk in the brown sugar and granulated sugar together. Add the eggs and whisk to combine, then whisk in the vanilla.
Add the dry ingredients to the wet ingredients and mix with a rubber spatula until just halfway mixed in. You should see plenty of dry streaks at this point. Don’t worry, we’ll get rid of them in a sec, we’re just trying to make sure we work the dough as little as possible to minimize gluten development.
Add the chocolate and fold the dough with the spatula just until combined and no dry streaks remain. Cover the bowl tightly with plastic wrap and refrigerate for at least 4 hours and, preferably, up to 24 hours—the longer, the better. Why? Well, the extended chilling time allows the flavors to deepen and, just as importantly, it ensures the cookies bake up nice and tall, with soft centers. Trust me, your patience will be rewarded.

Let’s get ready to bake! Remove the cookie dough from the fridge and let it come to room temperature. Meanwhile, preheat your oven to 350° and line two baking sheets with parchment. Using a large cookie scoop (about 3 tablespoons), portion out the dough onto the prepared sheets, spacing 2″ to 3″ apart; these are large cookies, and we don’t want them merging with each other.

Bake the cookies until the edges are golden brown and just set, and the centers are still a little soft (they should give under gentle pressure), 12 to 14 minutes. The cookies should seem a little underbaked when you pull them from the oven, but not to worry: They’ll firm up further as they cool. Transfer to a wire rack and let cool slightly.
The full list of ingredients and directions can be found in the recipe below.
Recipe Tips
- Use two types of chocolate. For the ultimate chocolaty cookie, go beyond just one kind of chocolate. Besides using chocolate chips for the iconic look, incorporate chocolate wafers or chopped bar chocolate to create layers of chocolate in your cookie. You can also mix up your chocolates! I like darker chocolates, so I use bittersweet and semisweet, but if you don’t like dark, use milk and semisweet together.
- Don’t underestimate the importance of chilling. Trust me, I tried so hard to create a perfect cookie without the chill, but in the end, it’s the difference between a great chocolate chip cookie and THE chocolate chip cookie. Chilling the dough not only makes the cookies more flavorful, but also helps them bake more evenly. The chilled dough will hold its shape for longer, giving you a taller cookie with a soft center instead of a mostly flat and crispier cookie.
- Make perfectly round cookies. For round, bakery-like cookies, I always use a cookie scoop instead of portioning out the batter with a regular spoon. A cookie scoop makes the round edges for you, and the cookies keep their shape better while baking.
- Melted butter is superior. When you incorporate softened butter with the sugar, it adds a lot of air to your dough, creating a cake-like texture in the cookie. While this is great for a classic vanilla cake, it’s not ideal for cookies. Melted butter gives you chewier, fudgier cookies. Plus, it means you can make these cookies with a simple whisk, no electric mixer required!
- Underbake your cookies for a soft, chewy interior. When baking, look for just-set edges and middles that give slightly under gentle pressure; that’s when you know the cookies are ready to pull from the oven.
Storage & Freezing
If you manage to have any leftover cookies (lucky you), store them in an airtight container at room temperature for around 5 days. Alternatively, you can also freeze the baked cookies: Once cooled, store in a freezer-safe bag for around 3 months. I kind of love a frozen cookie straight from the freezer, but you can also wrap a cookie in a slightly damp paper towel and microwave for just 5 to 10 seconds, and you’ll have a warm, melty, gooey cookie all over again.
If you’re freezing your cookie dough, scoop it directly into a freezer-safe bag and store it for around 3 months.