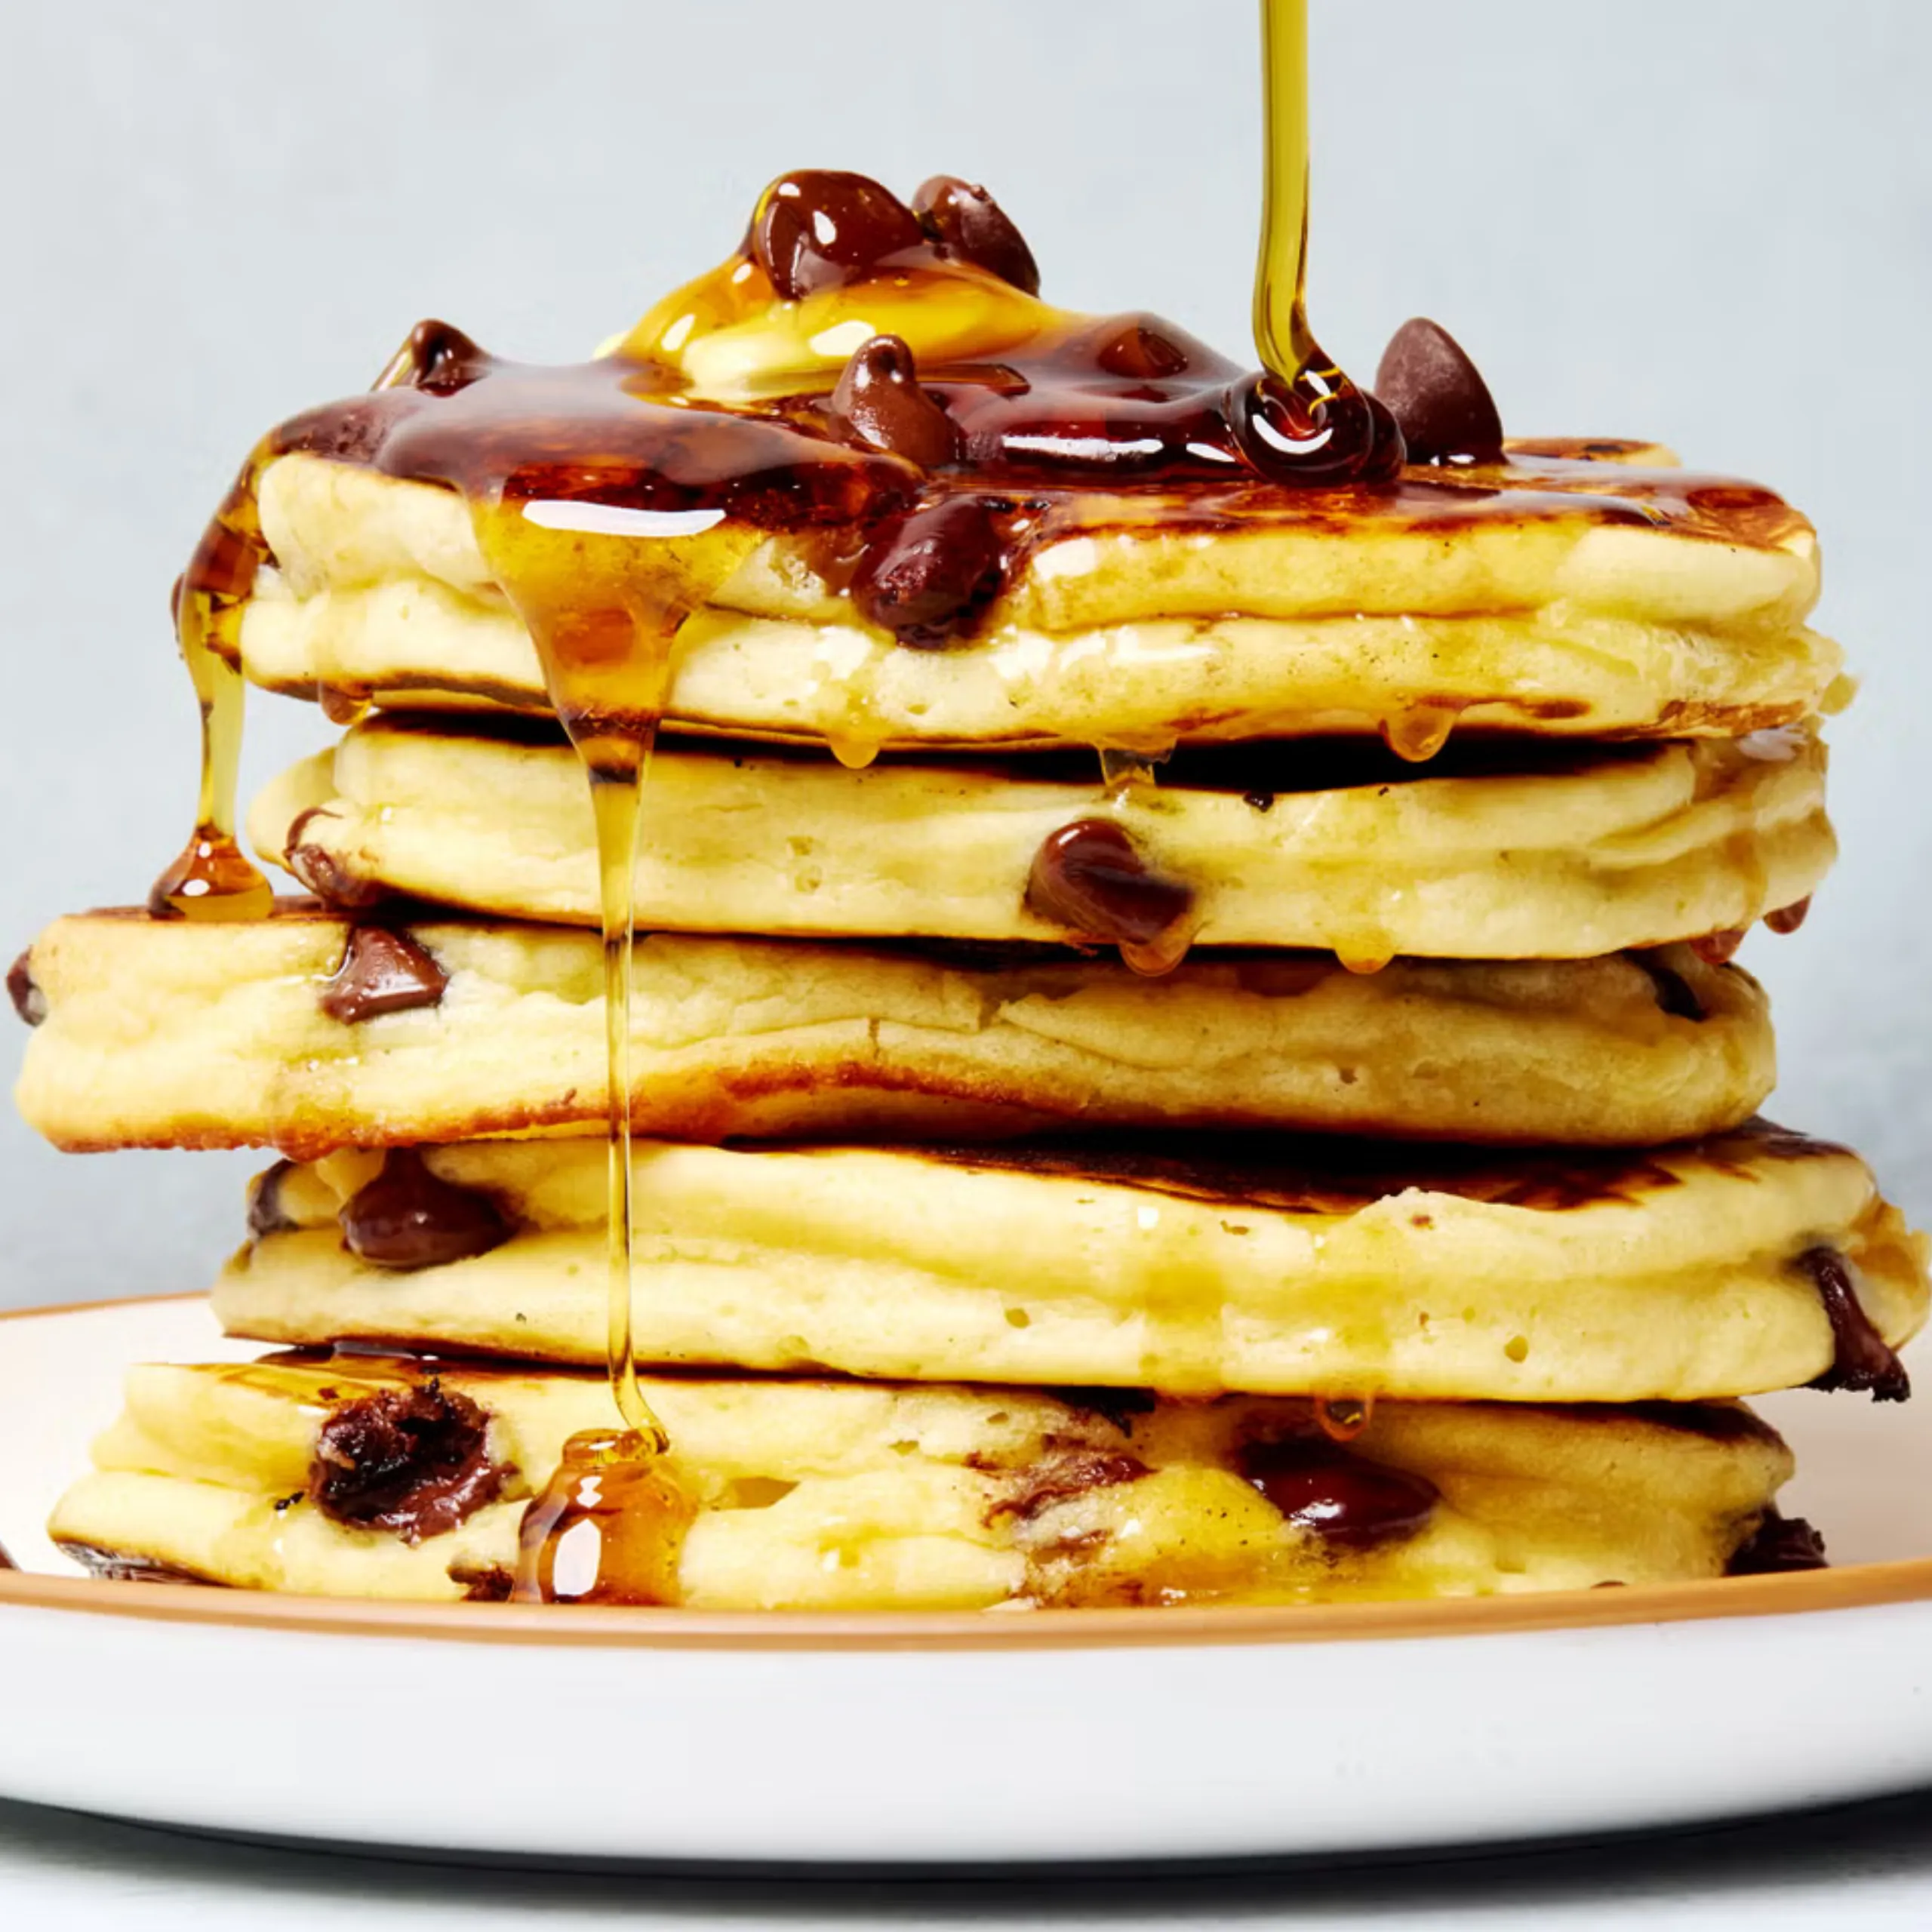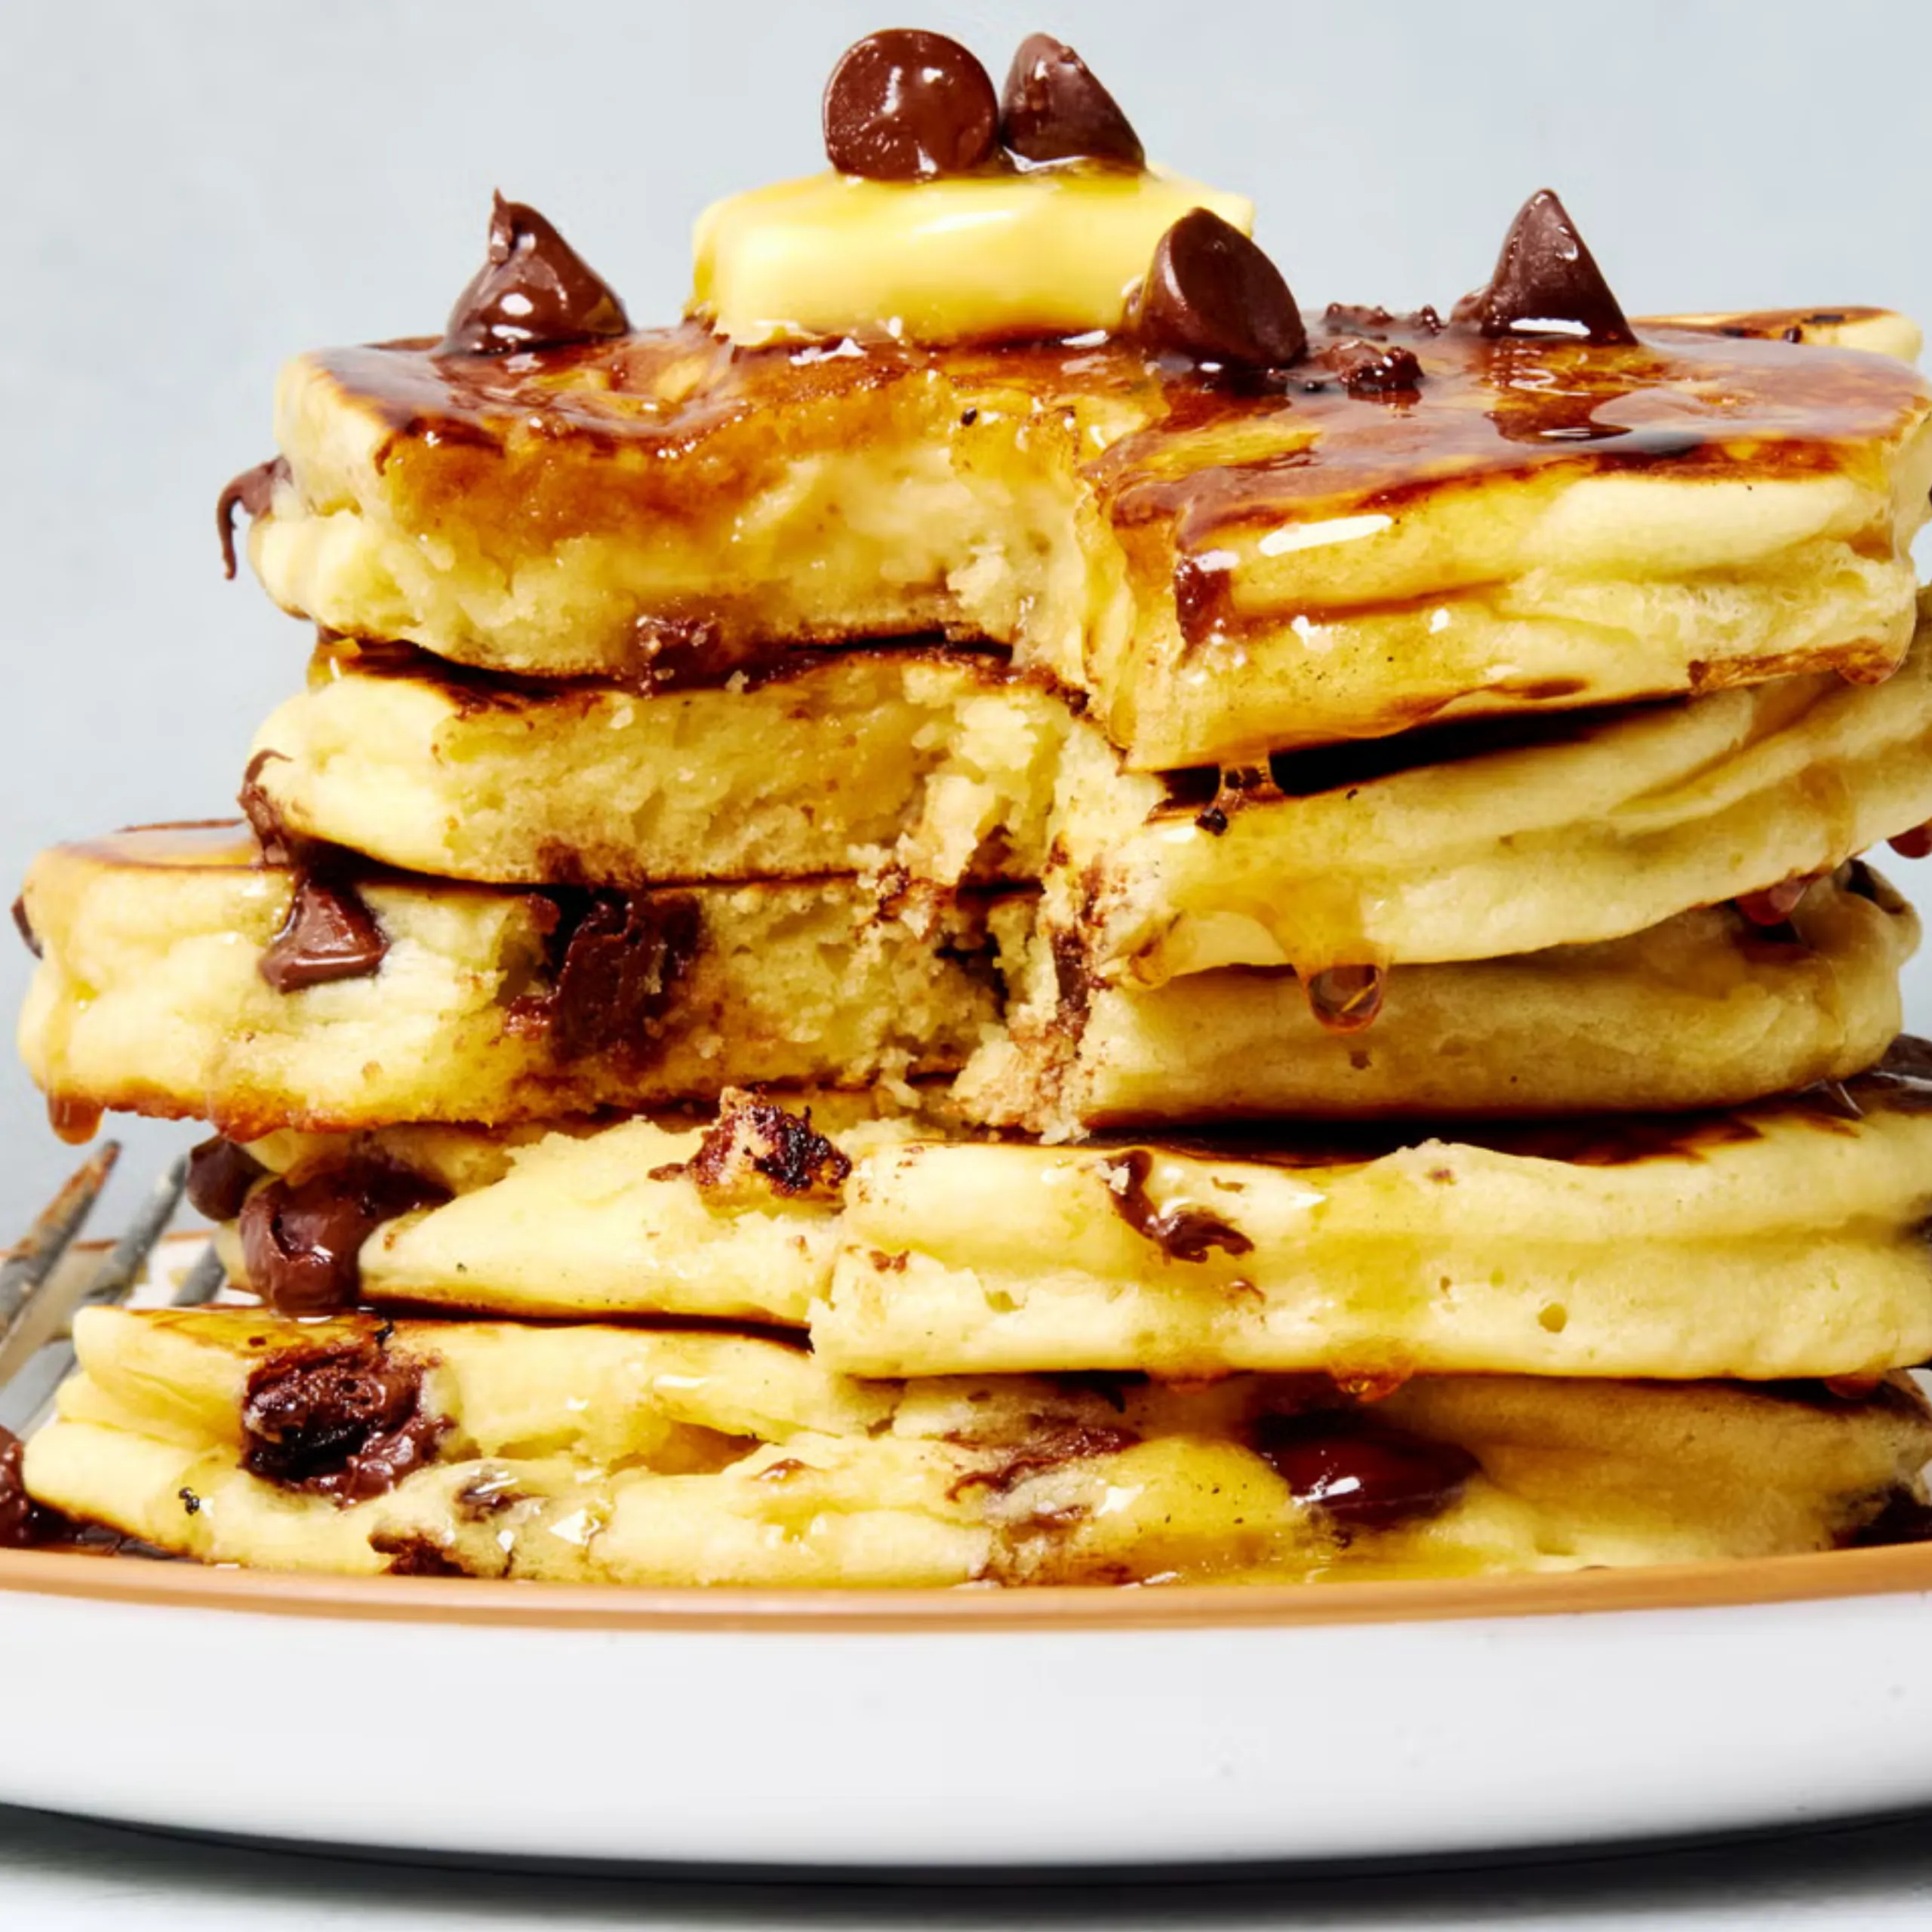


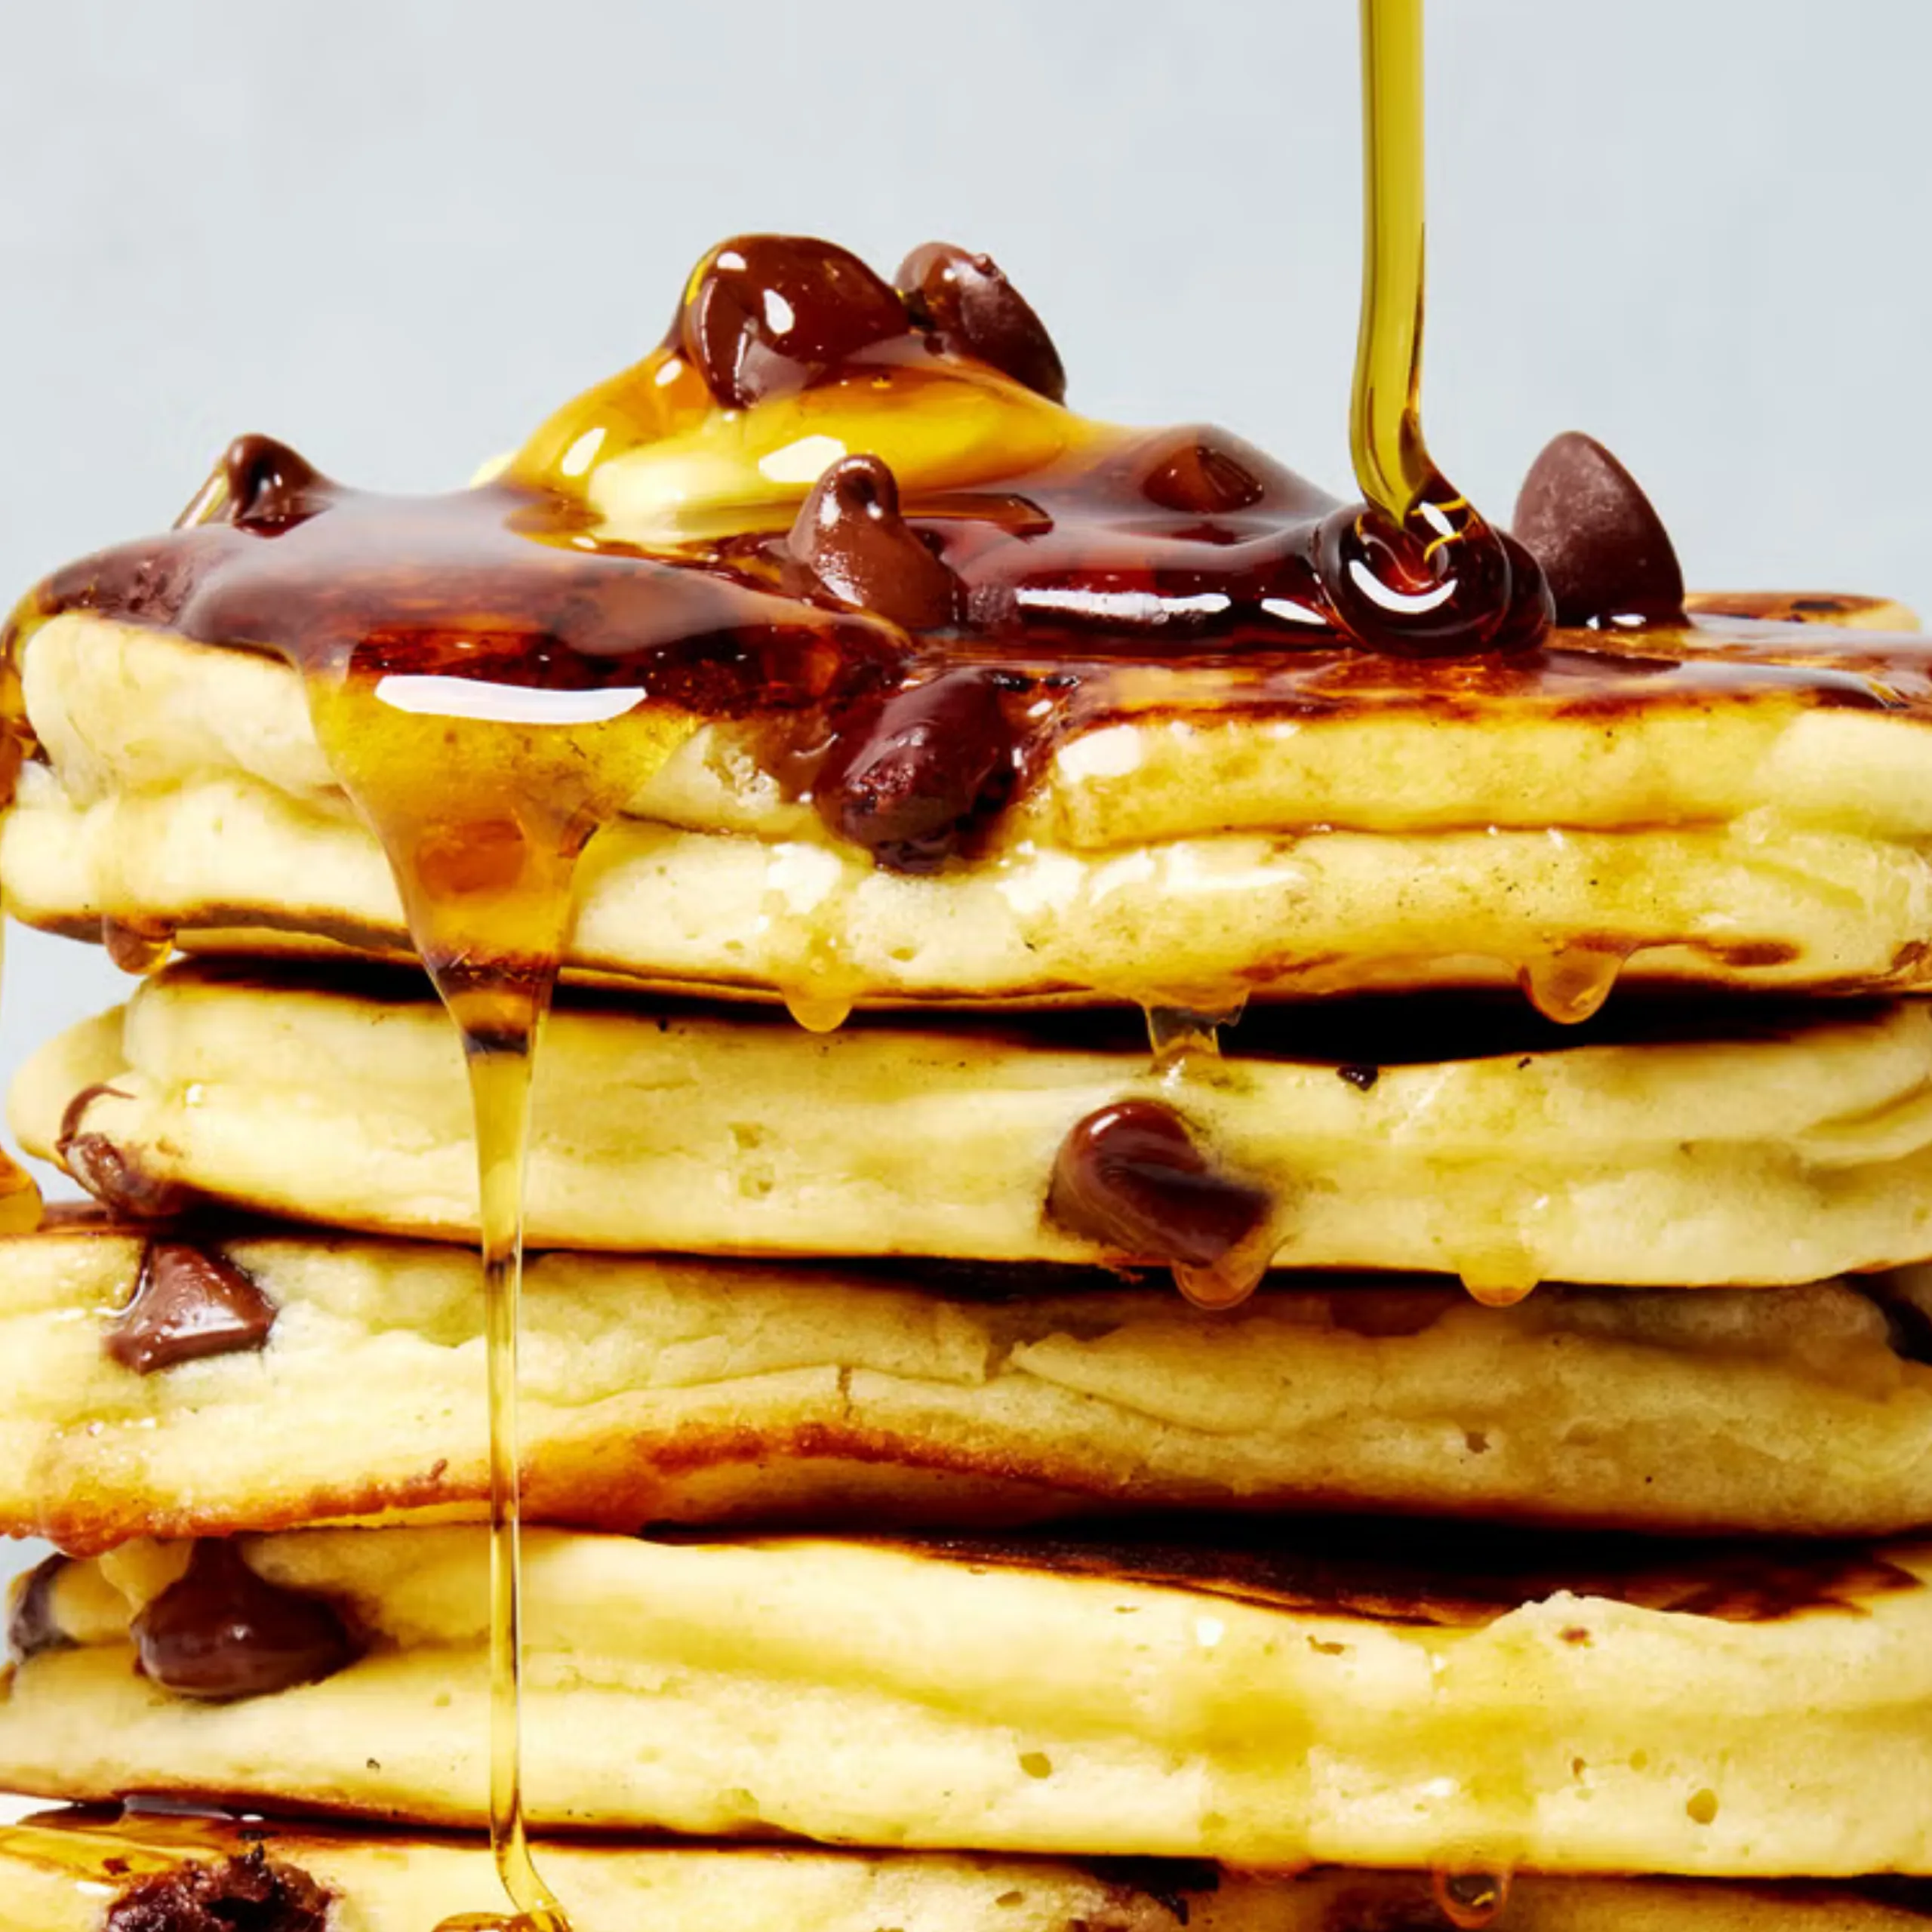
Most likely, I won’t consider a stack of pancakes without a dollop of whipped butter and syrup for breakfast. But if you put that same stack in front of me with melty chocolate chips, nothing else matters. Chocolate chip pancakes should be the perfect ratio of chocolate ooze, have an exterior that’s soft and lightly crisp, and a cake base that balances the sweet and slightly savory essence of a pancake. These pancakes bring back memories of the perfect diner stack. They’re the best crowd-pleasing breakfast that will make your weekend mornings feel extra special. Pile the stack high, douse in syrup, and dive in.
How To Make Chocolate Chip Pancakes
INGREDIENTS
- Unsalted Butter: Unsalted butter is ideal for this recipe so that your pancakes don’t get too salty! Also, the fat in the butter gives your pancakes the perfect crispy outside while keeping the inside fluffy and warm.
- Eggs: Eggs provide structure, leavening, and moisture, making your pancakes tall and fluffy rather than flat and crispy.
- Whole Milk: Whole milk adds fat to the batter so these pancakes stay moist and have a deeply rich flavor.
- All-Purpose Flour: All-purpose flour has the perfect ratio of fat to protein—the pancakes will be light and fluffy and won’t become dense.
- Granulated Sugar: Granulated sugar provides a neutral sweetness to the pancake batter without taking away any of the flavor or richness from the butter and milk.
- Baking Powder: Baking powder is the ultimate leavening agent in these pancakes, making sure that they come out light and fluffy! Without baking powder, your cakes would be flat and dense.
- Kosher Salt: Even though chocolate chip pancakes are a sweet breakfast, salt helps balance the layers of sweetness in the batter.
- 60% Bittersweet Chocolate Chips: I chose 60% bittersweet chocolate chips because I prefer when my chocolate isn’t too sweet; however, you can use whatever chocolate chips you prefer!
- Maple Syrup: Duh! What’s a stack of pancakes without a vat of maple syrup? I always recommend splurging on the real stuff here!
STEP-BY-STEP INSTRUCTIONS
To start your batter, melt 6 Tbsp. butter on the stove or in the microwave. Make sure it cools slightly before you add the eggs so they don’t get cooked! Whisk the eggs, milk, and melted butter together until completely combined.
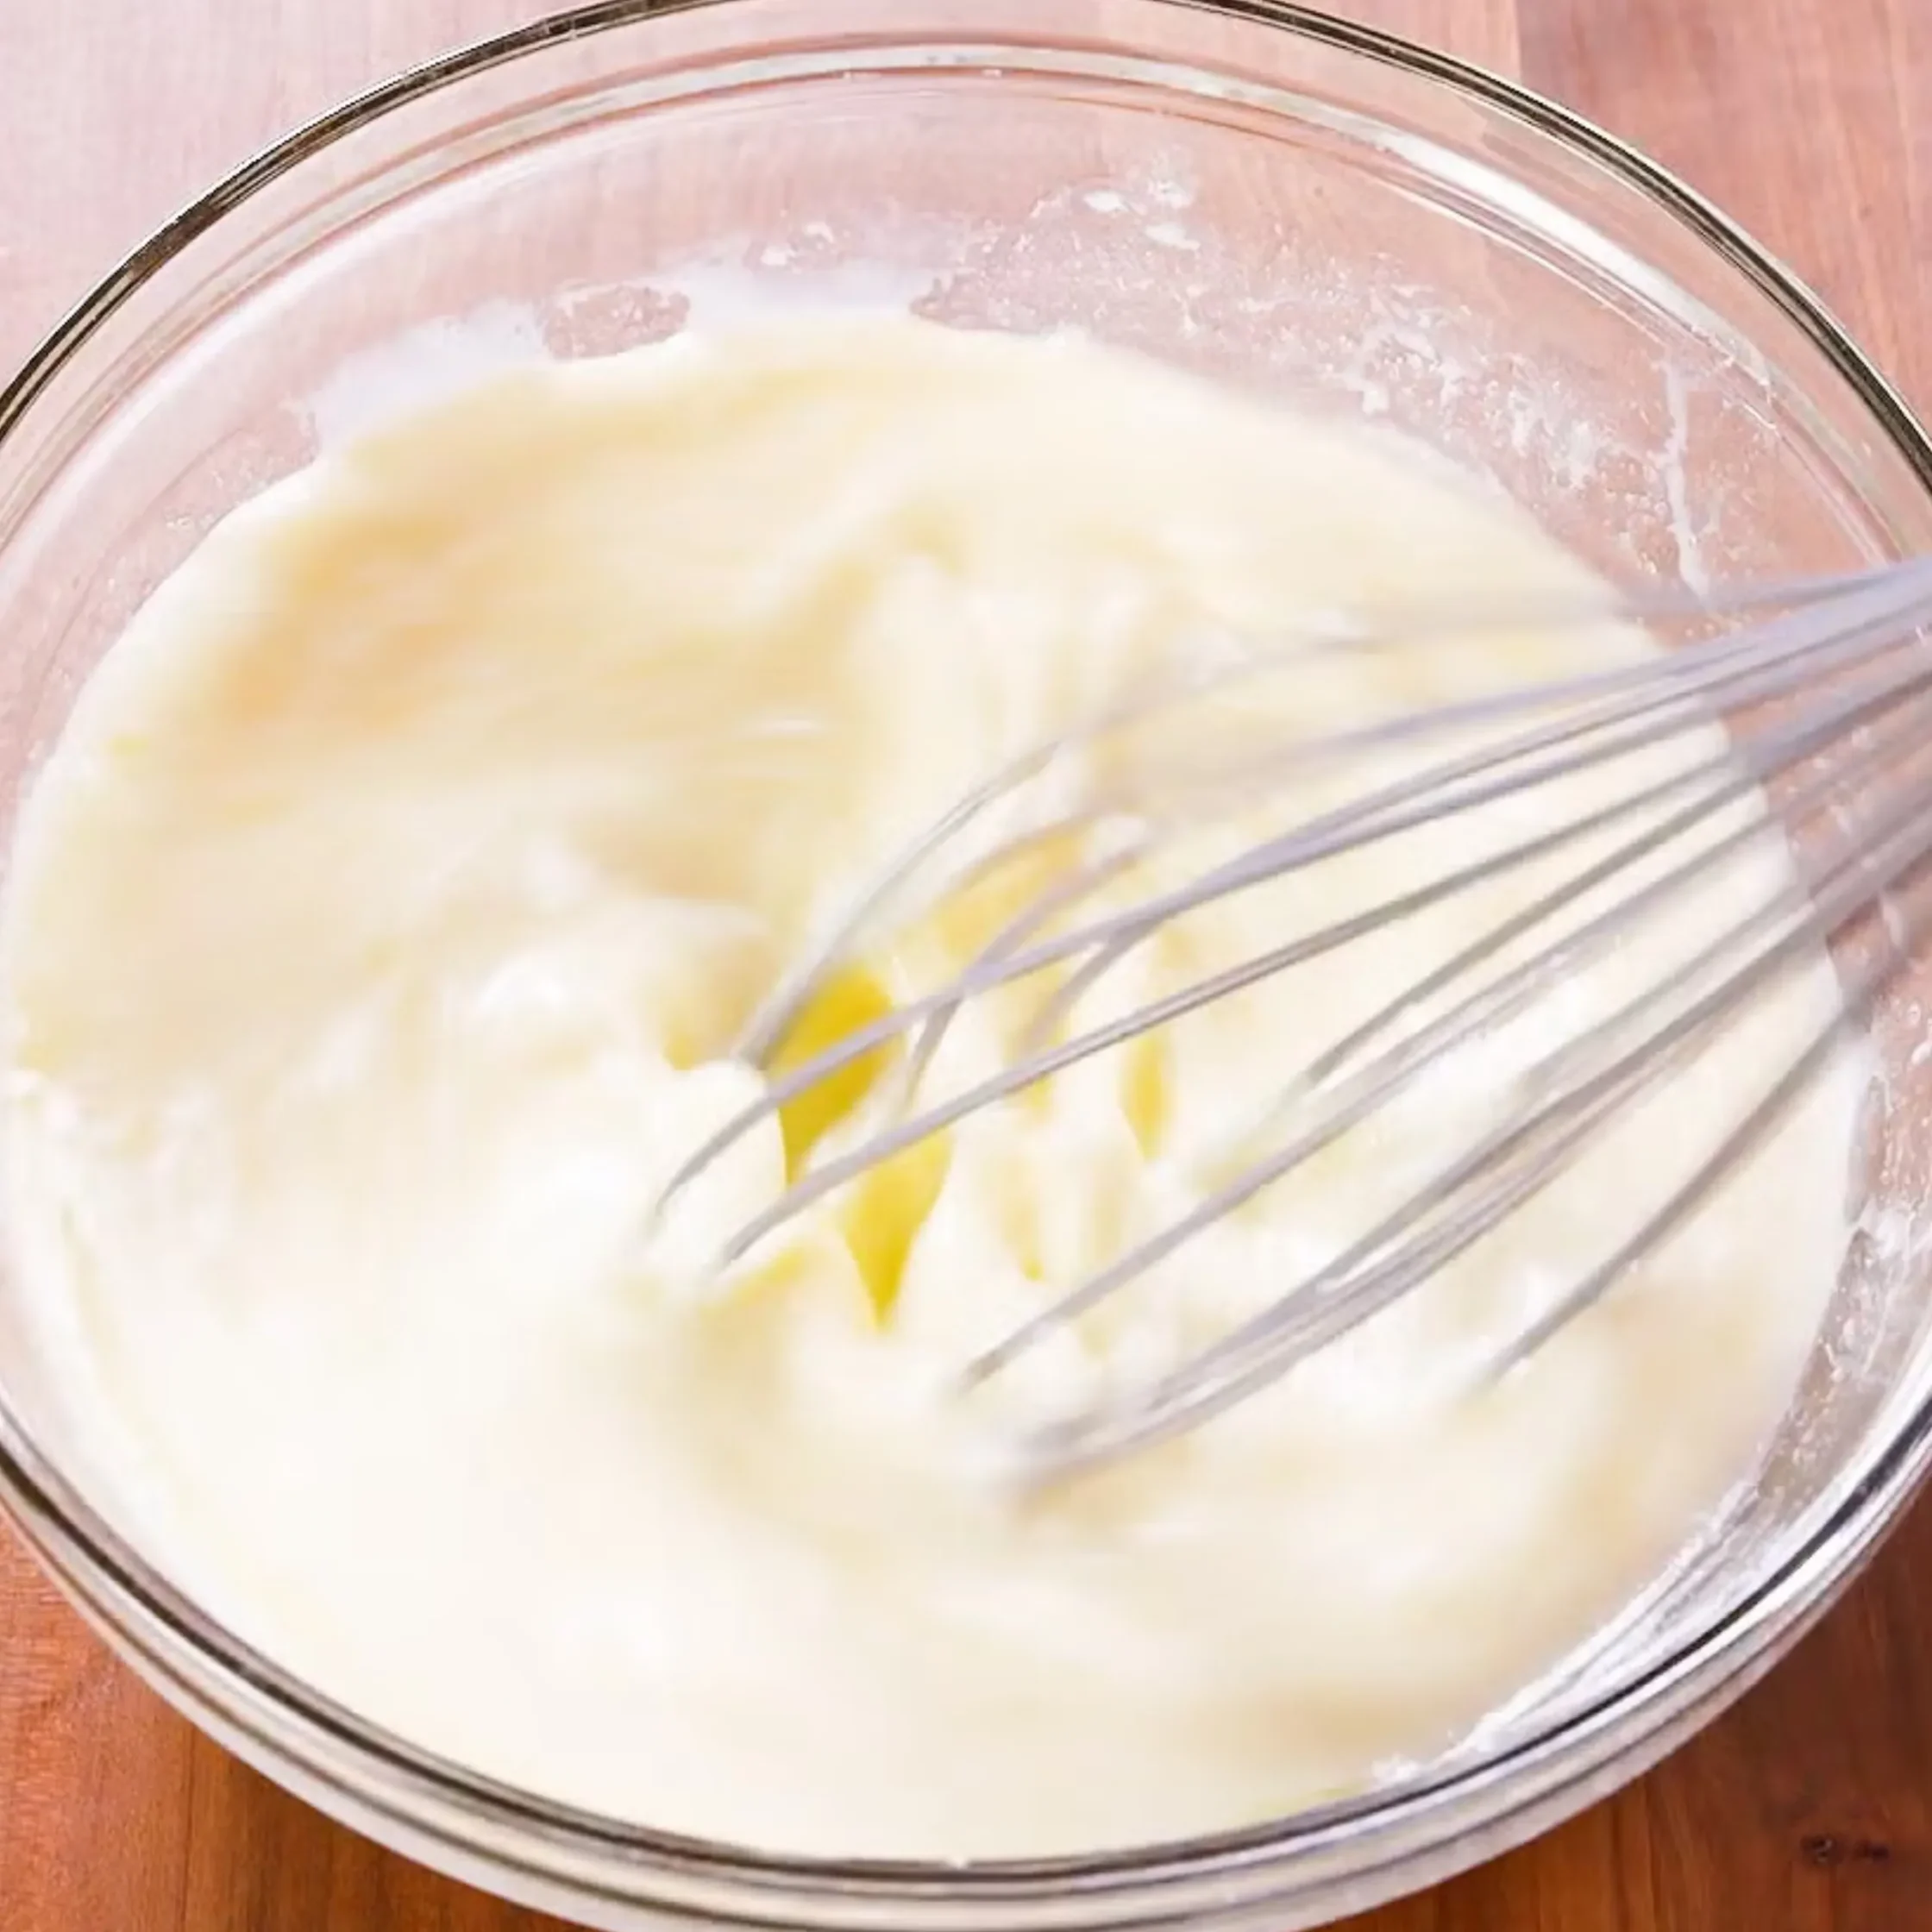
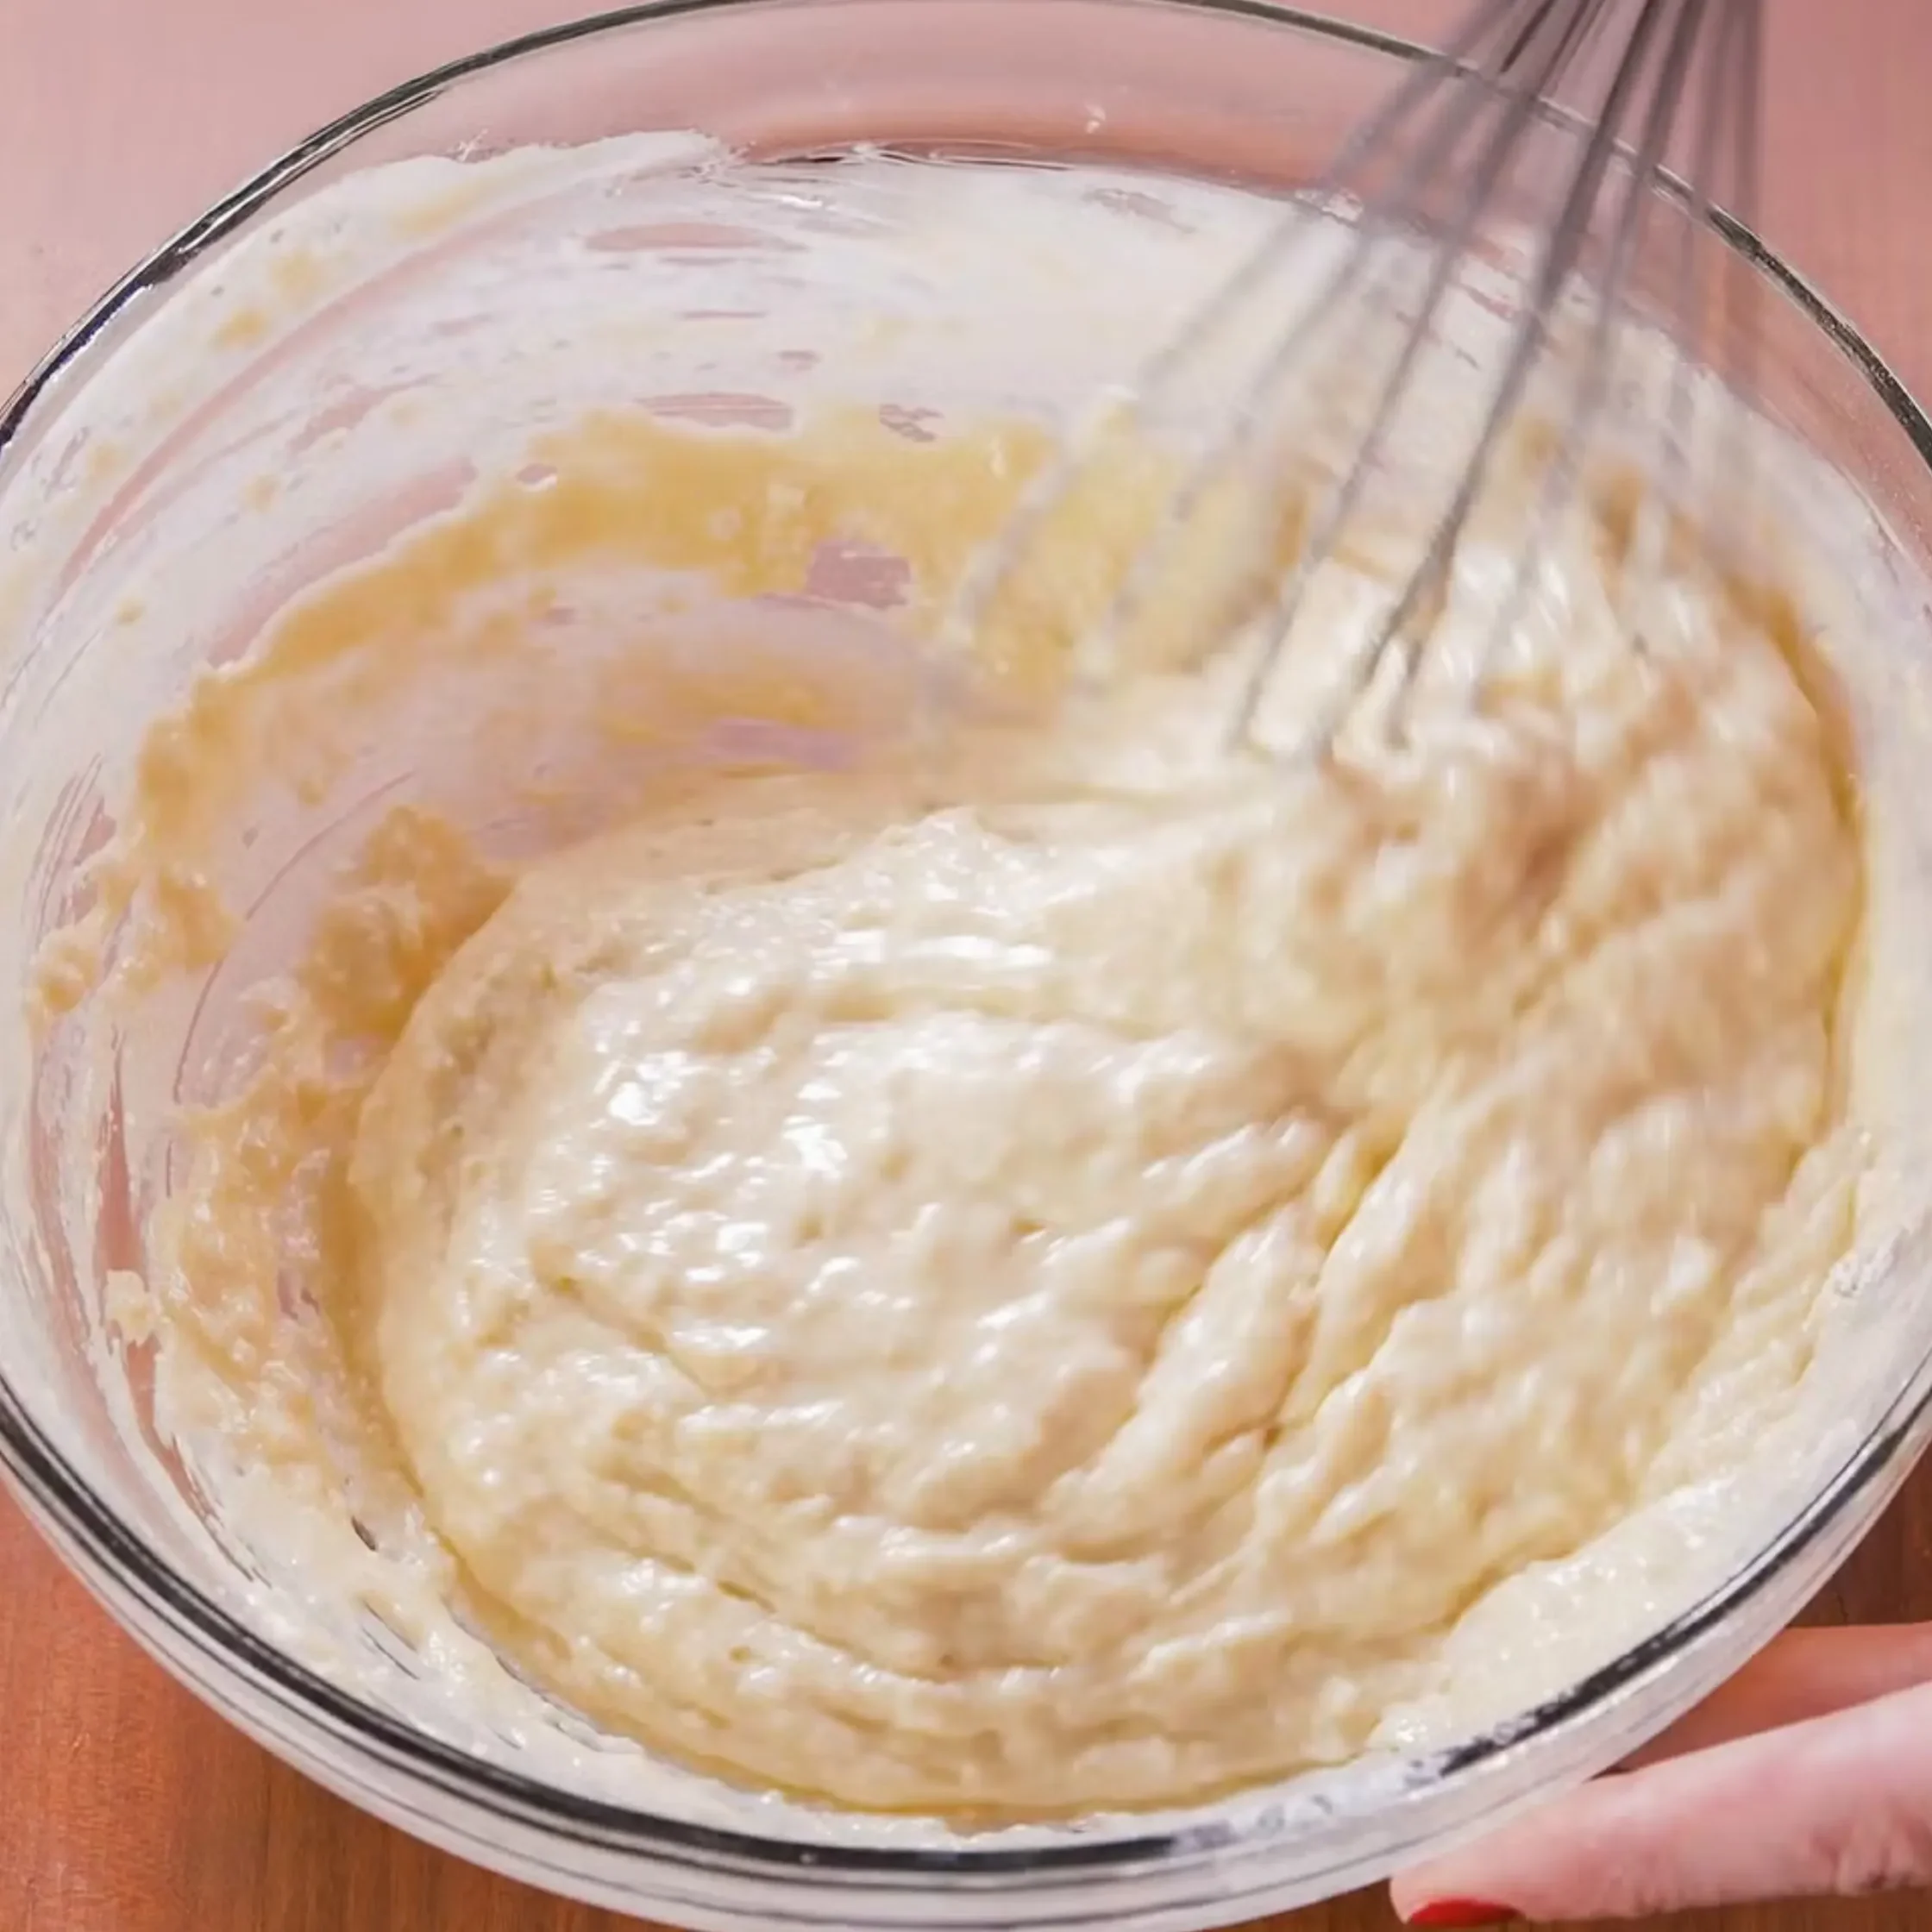
In another bowl, whisk all of the dry ingredients together. Pour the egg mixture into the dry mixture and whisk until the two are combined. There will be lumps! You don’t want to overwork the gluten, or your pancakes won’t come out light and fluffy. The lumps are excess flour pockets that will get dispersed when the pancakes are being cooked! Let your batter rest for 5 to 10 minutes so that the gluten gets hydrated and the pancakes get extra moist.
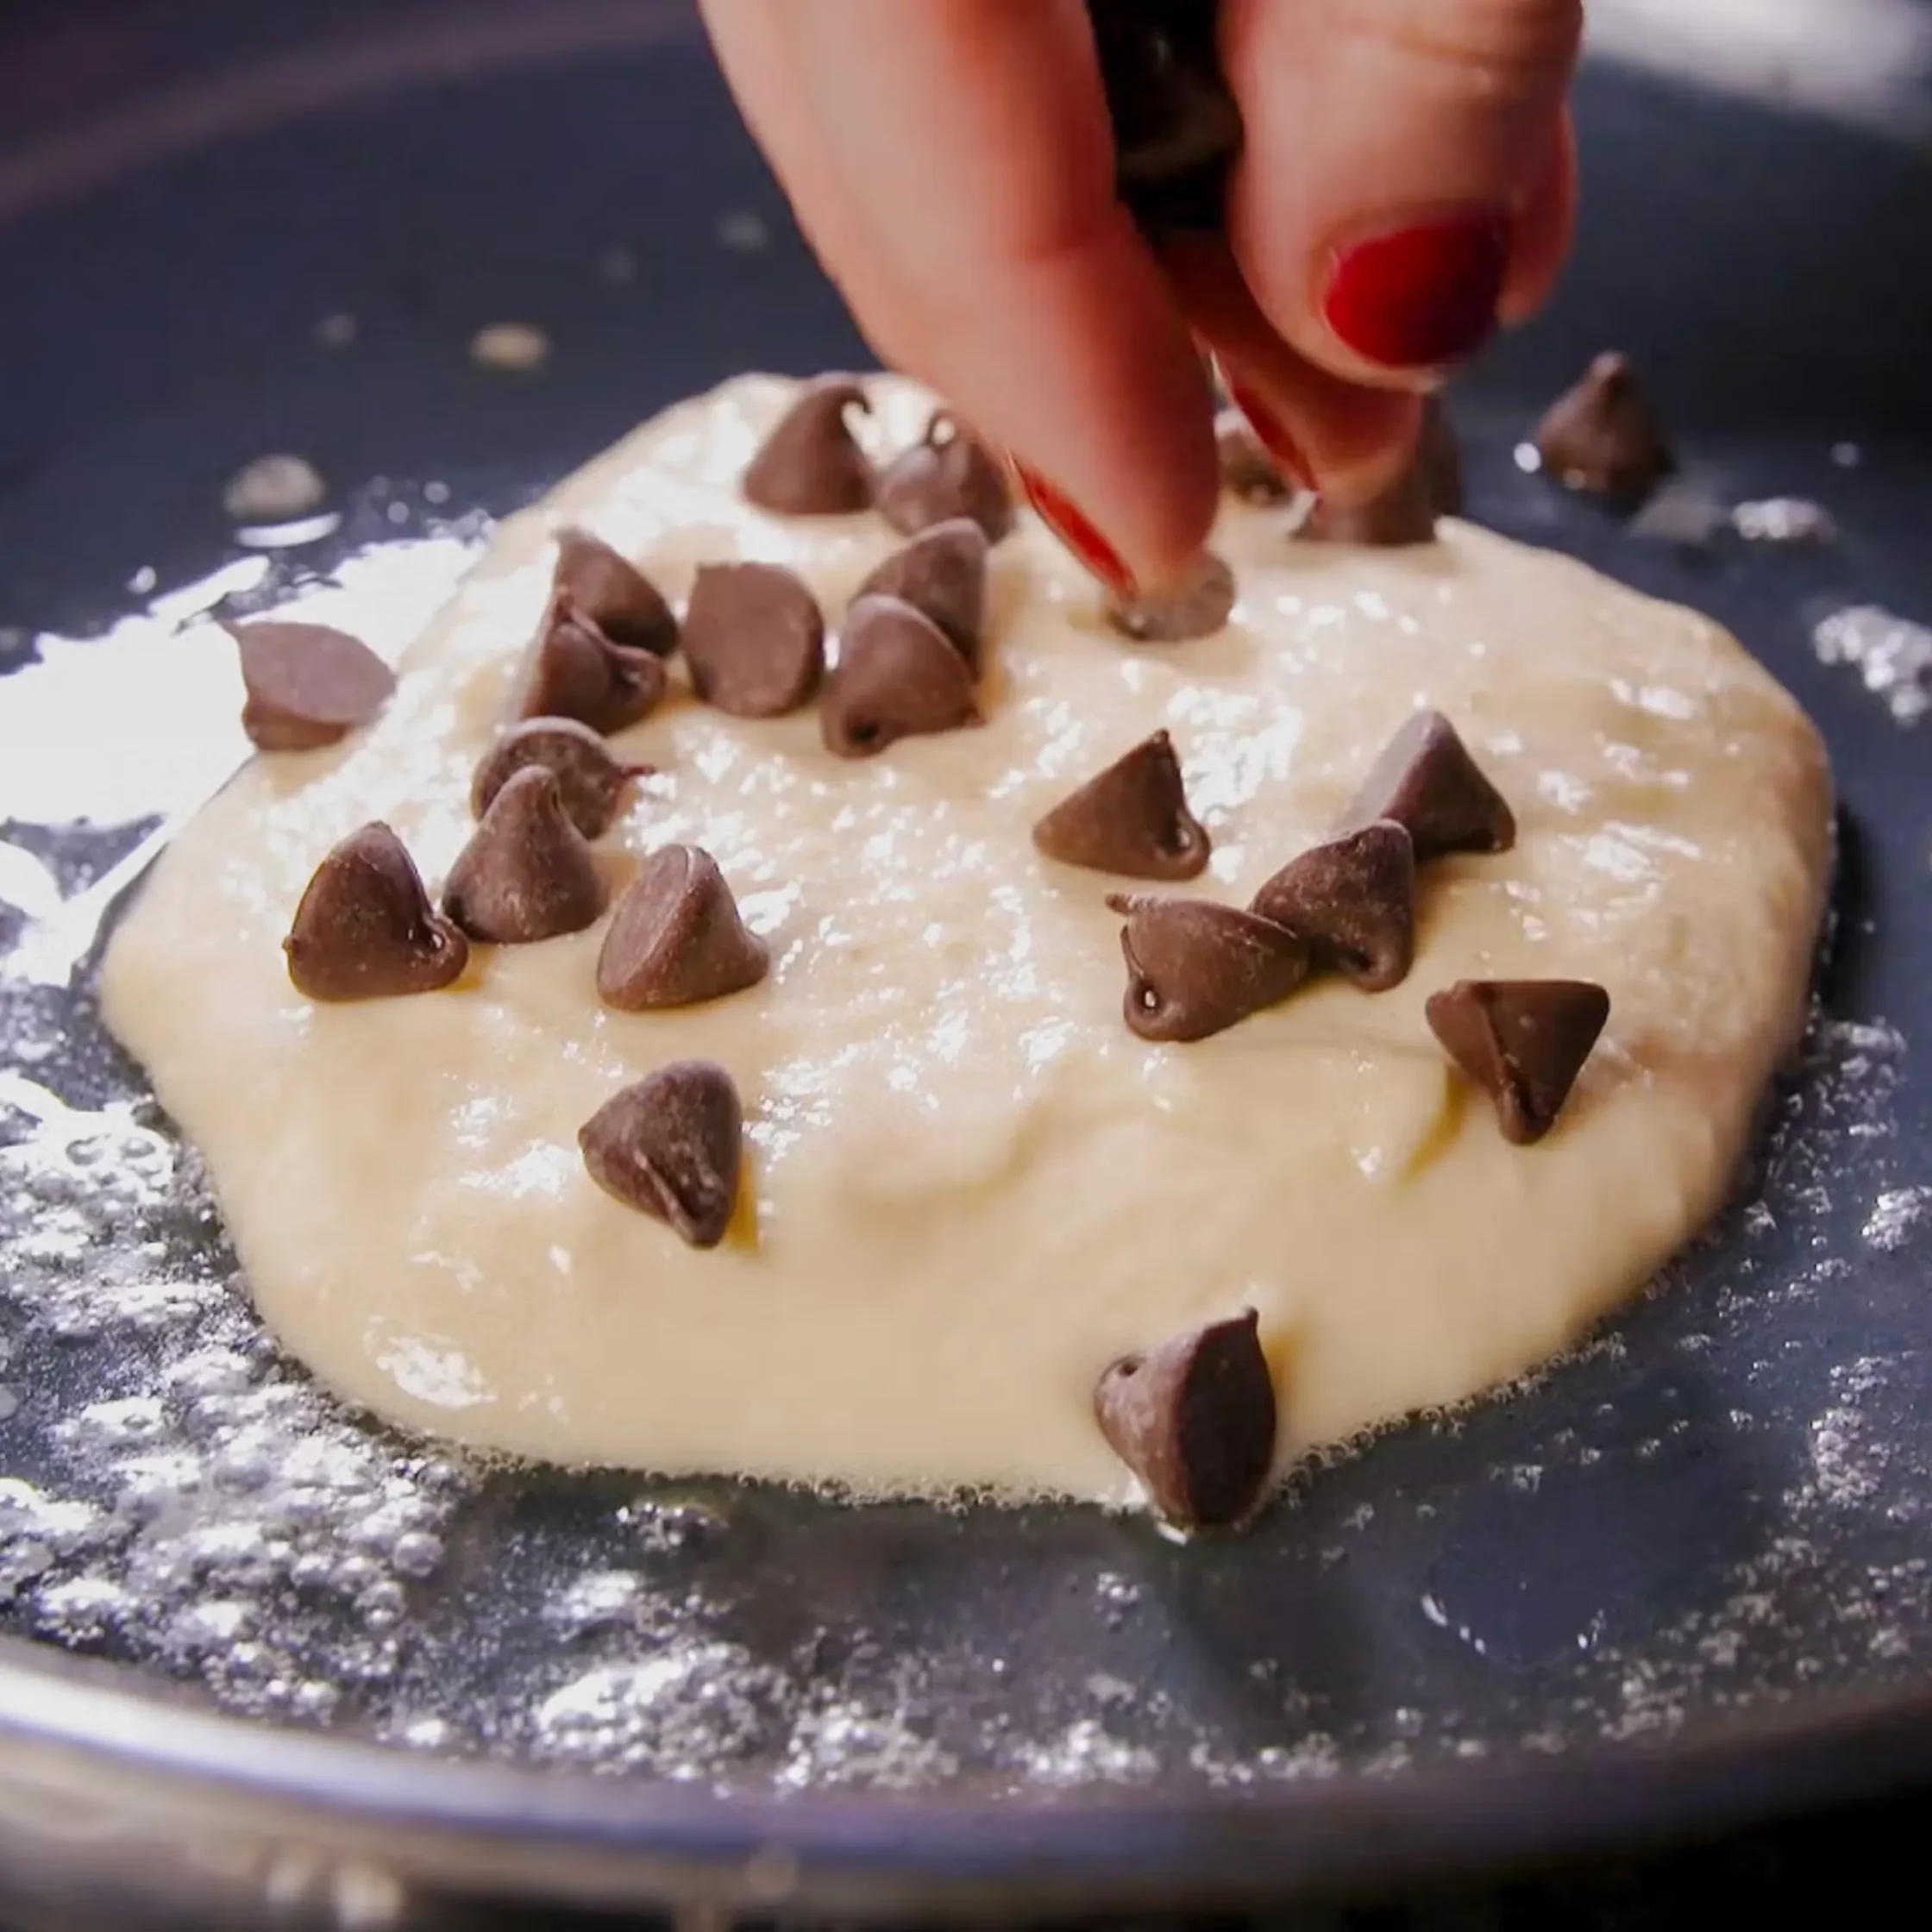
Heat a large skillet over medium-low heat. I prefer using nonstick to make this process easier! Melt some butter in the pan and swirl it around so that it coats the entire pan. Add 1/4 cup batter per pancake and cook 2 to 3 at a time, depending on how big your pan is. Sprinkle some chocolate chips on top of each pancake.
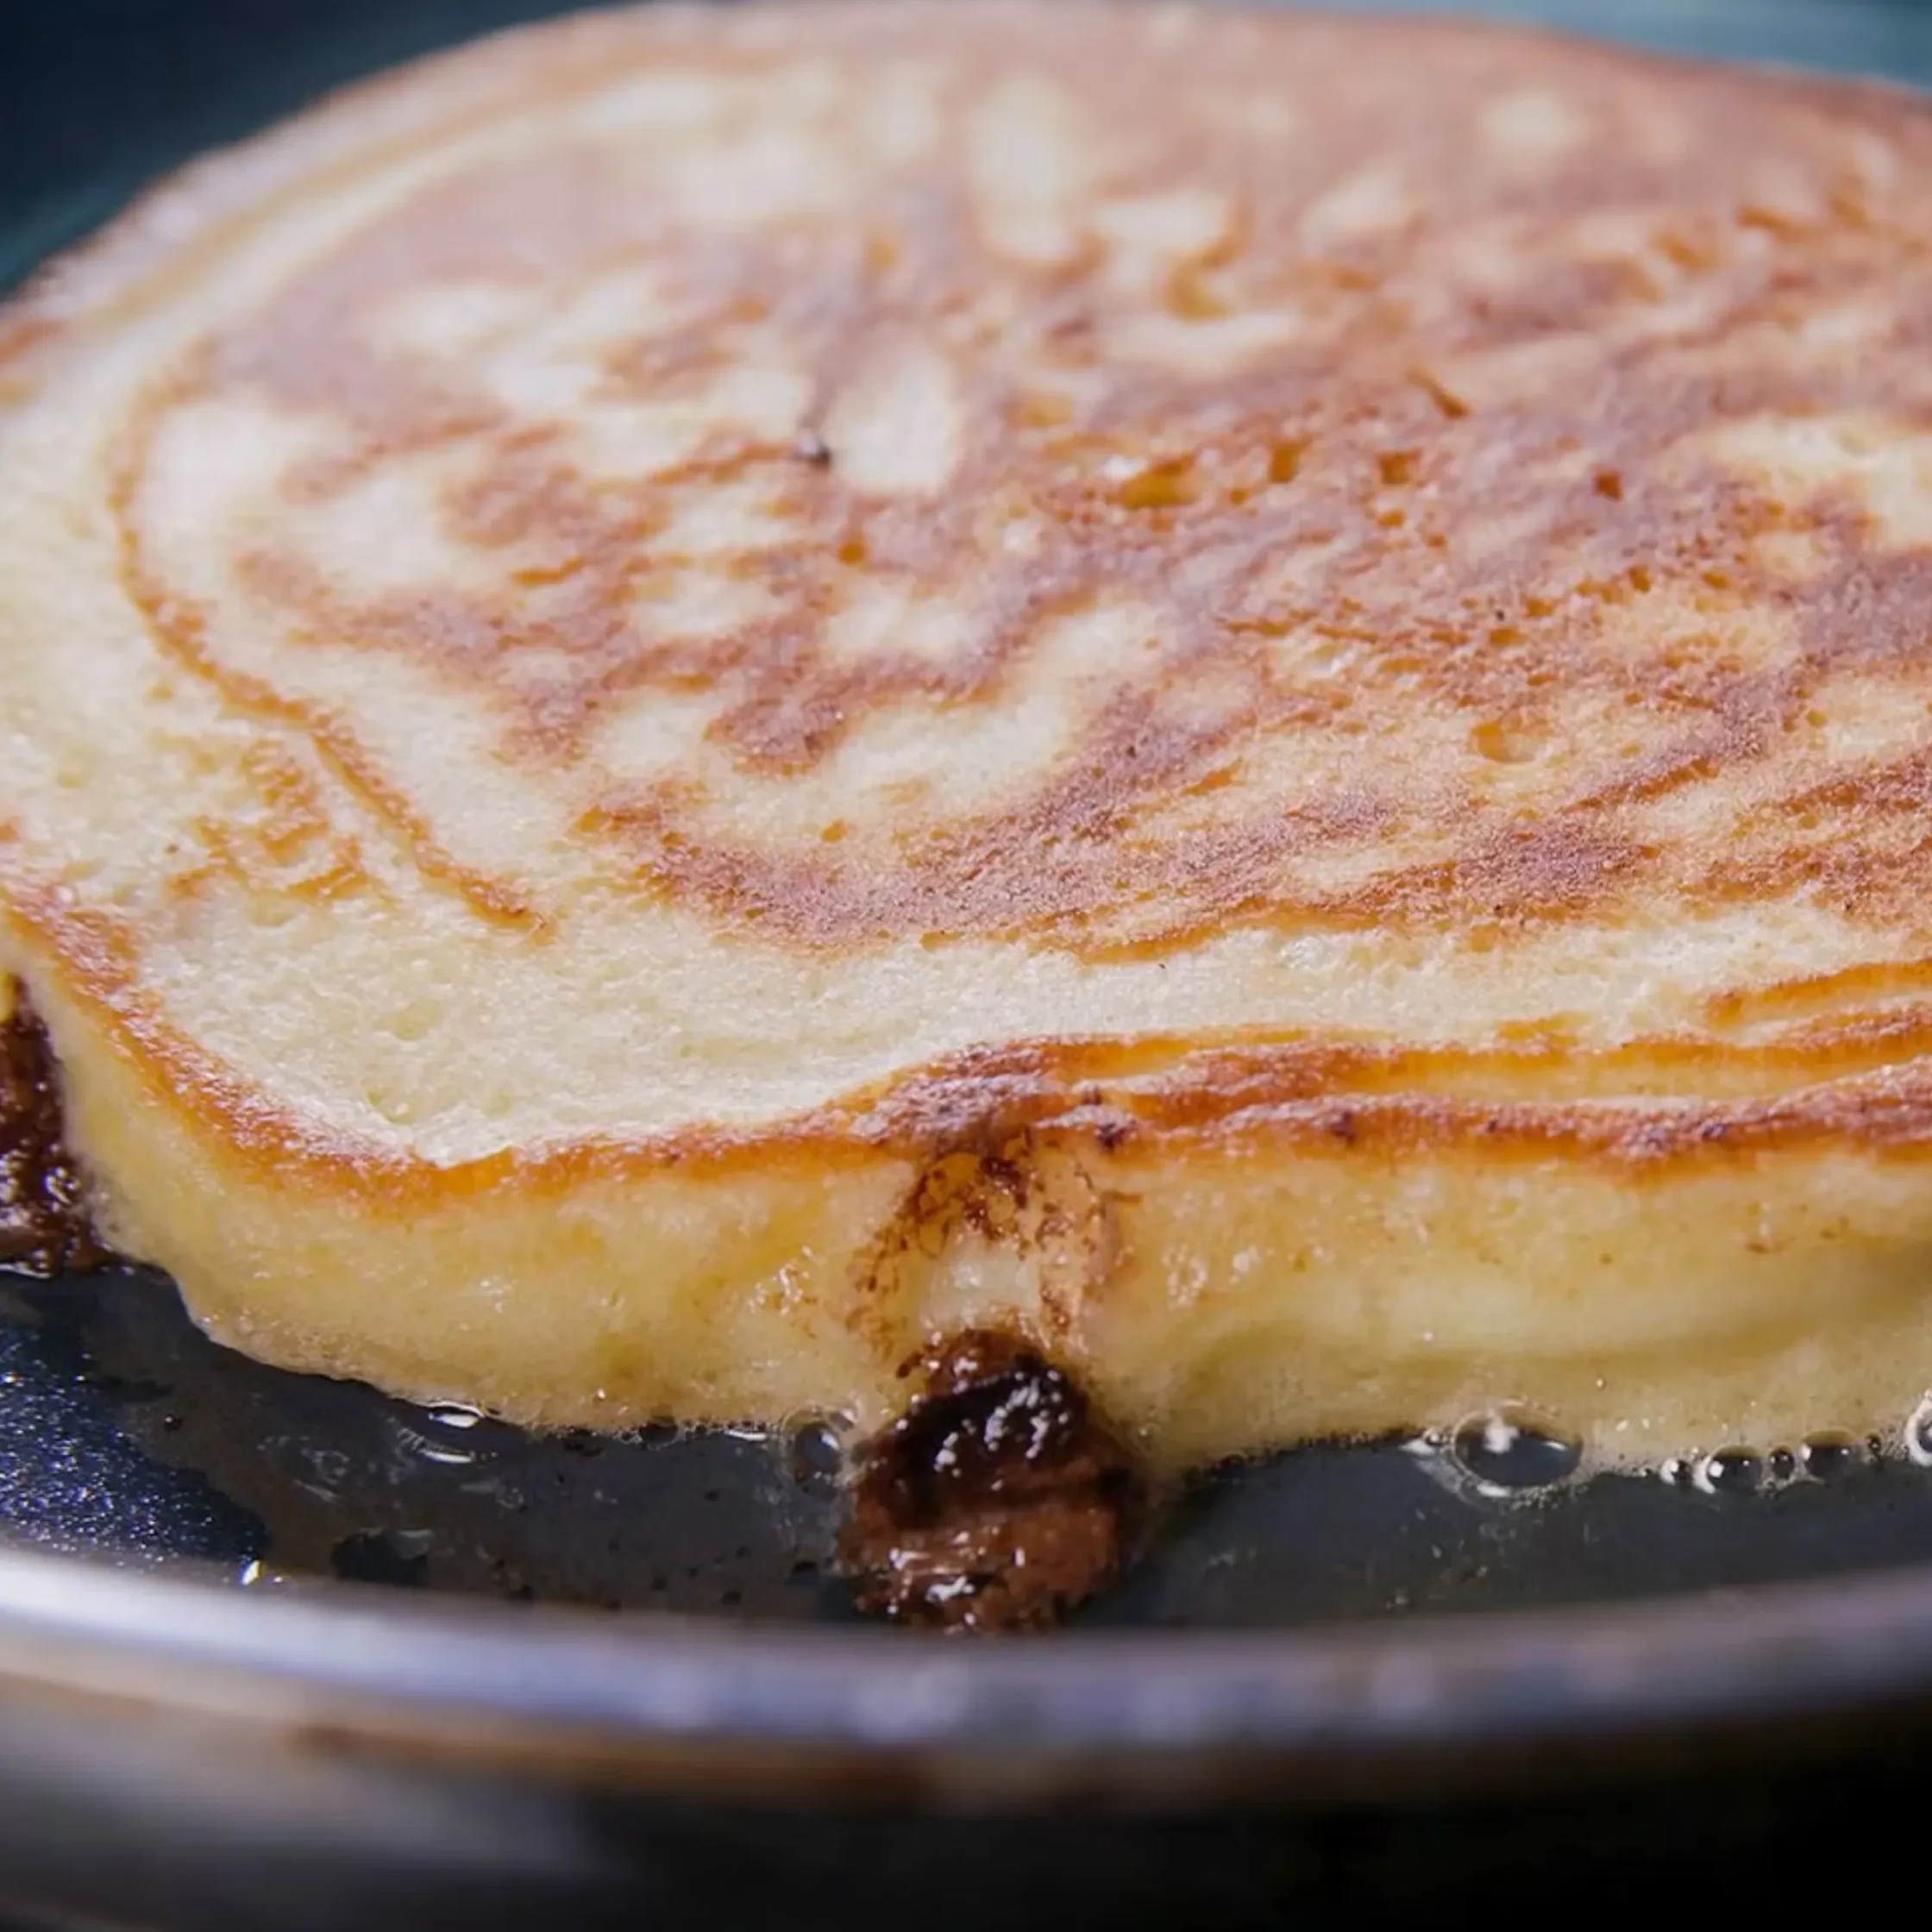
Let the pancakes cook until tiny bubbles start to appear all over the surface (this should take about 2 minutes). Flip and continue to cook for 1 to 2 more minutes, or until the edges look firm and both sides are a crispy golden brown.
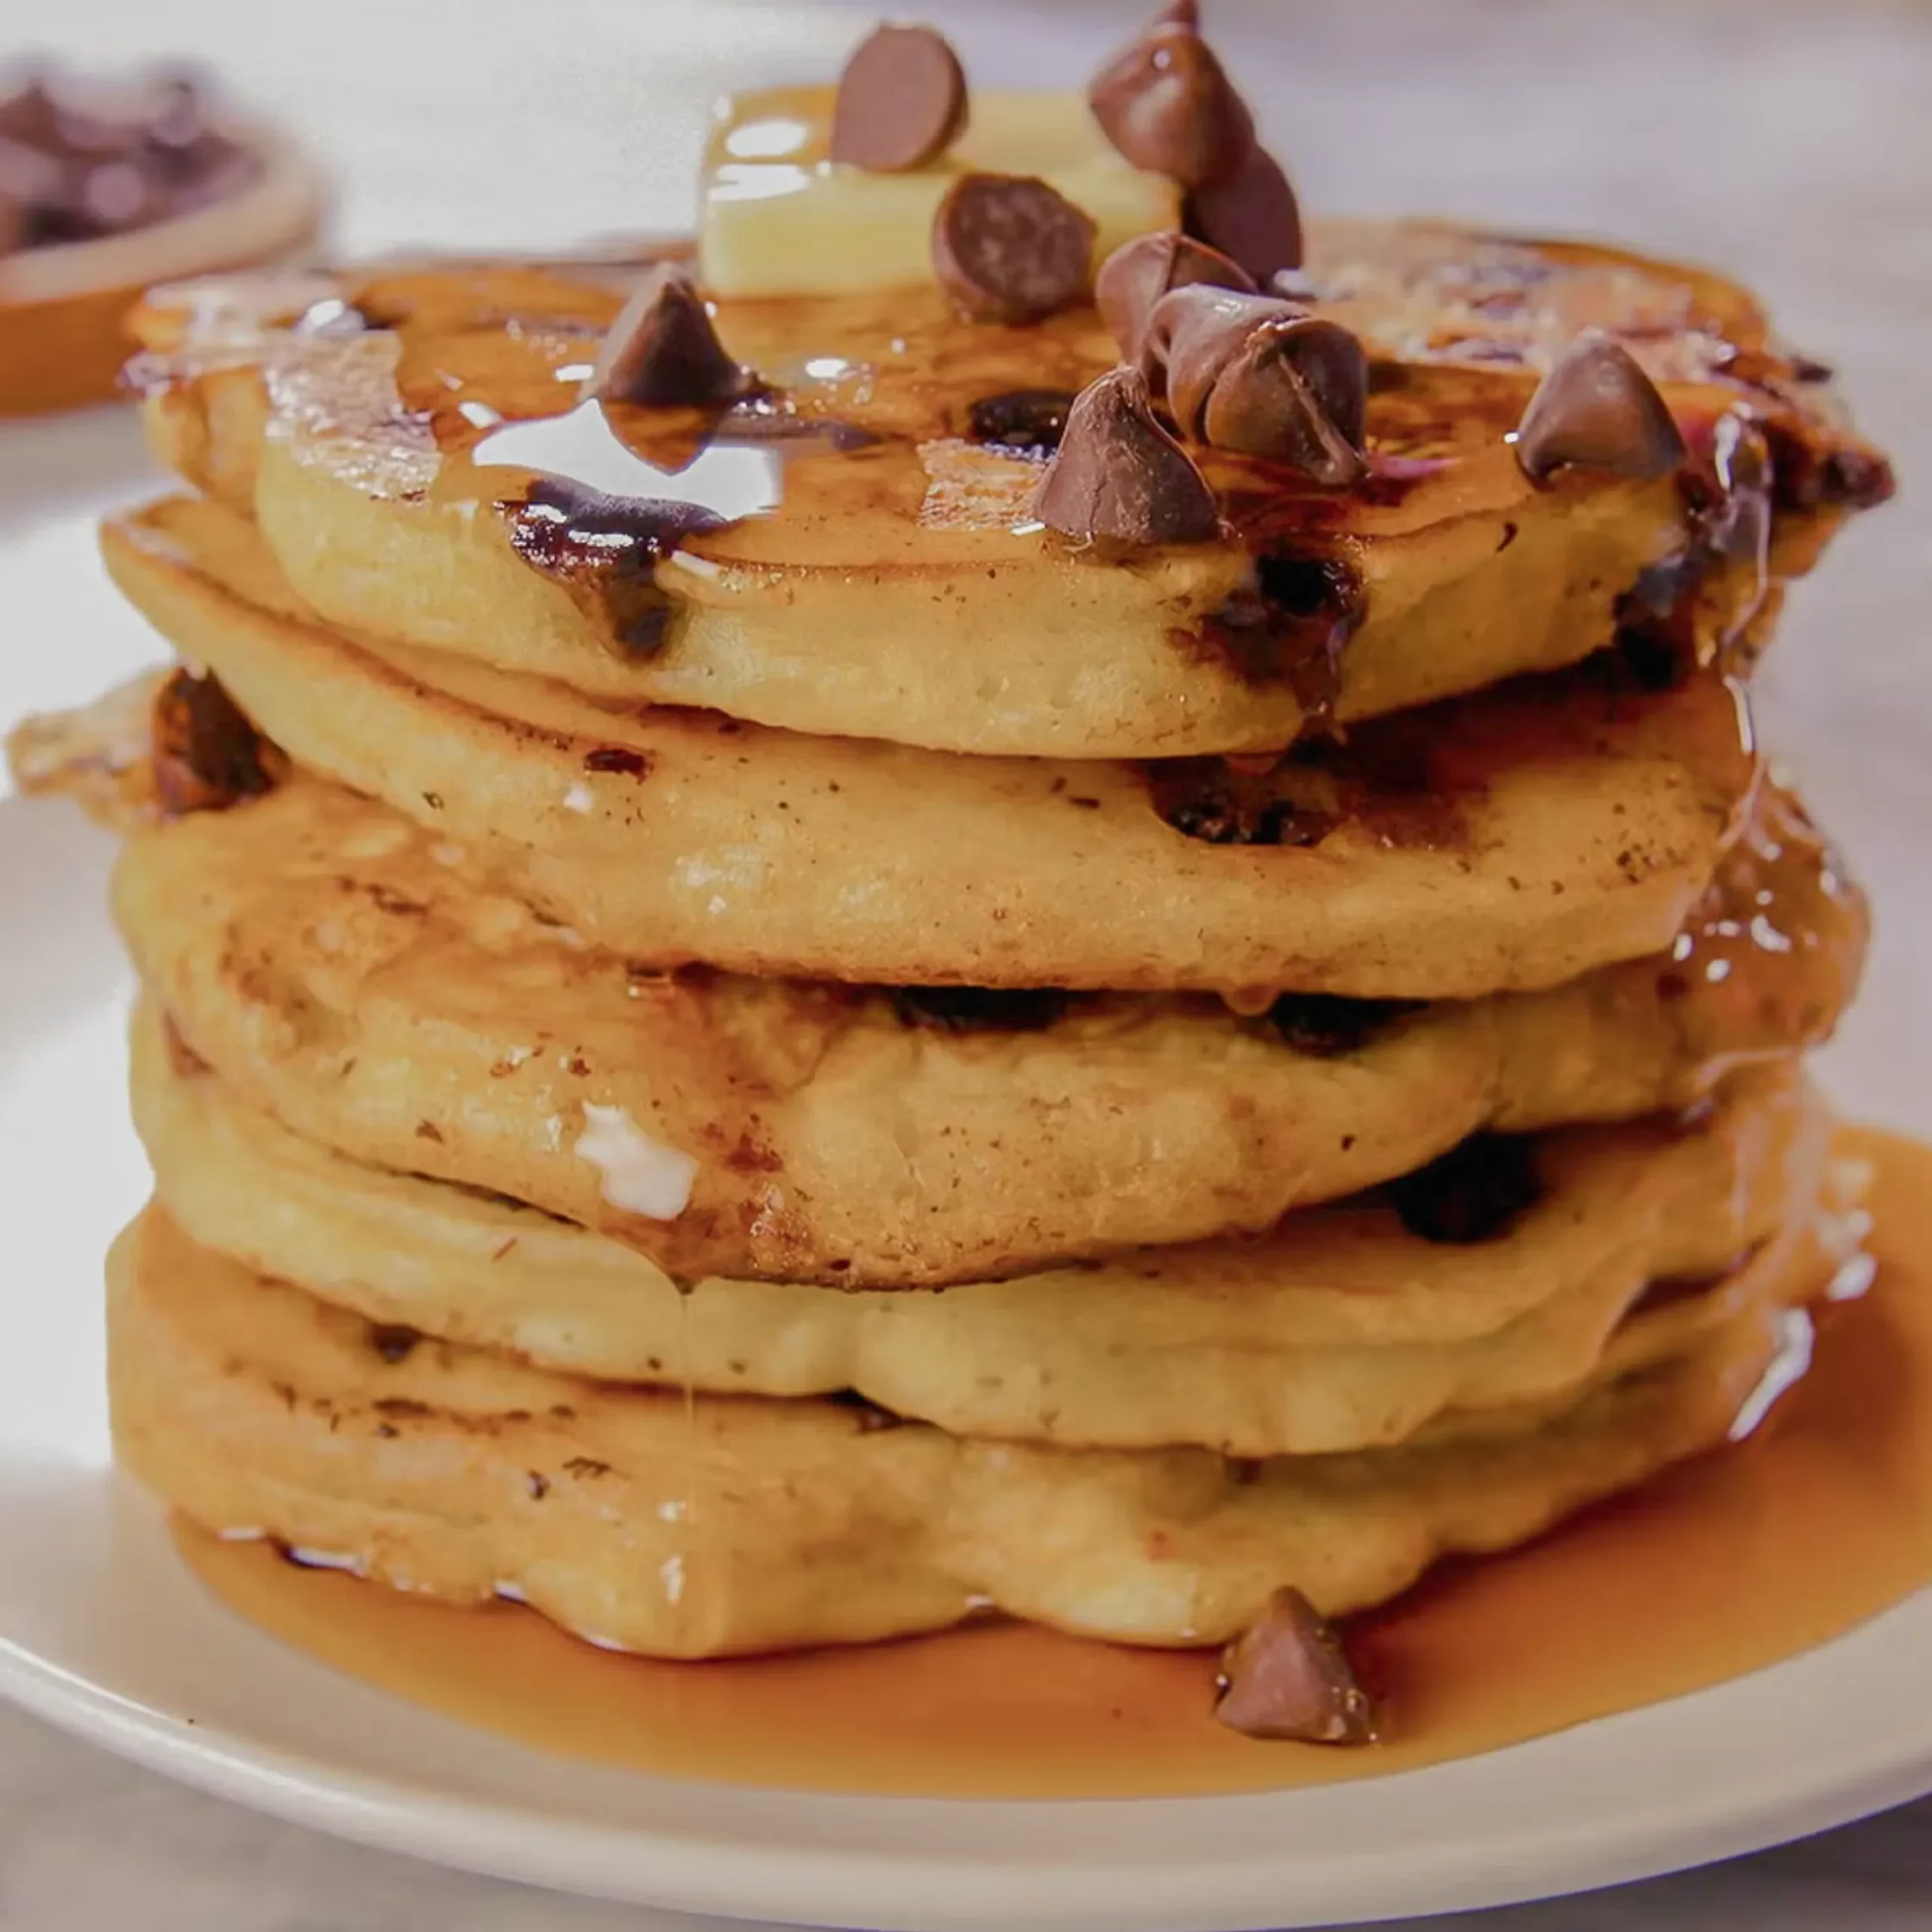
Transfer the cooked pancakes to a platter and repeat with the rest of the batter! Serve with more butter and maple syrup.
Recipe Tips
- Pancake batter is cake batter: Pancake and cake batters are relatively similar. The ratios and technique may vary, but they also depend on the style of pancake you make, such as classic versus buttermilk. This also means keeping your ingredients at room temperature, under-mixing, and resting the batter.
- Why should you rest the batter? Sometimes recipes call for batters or doughs to rest after mixing. With pancake batter, it’s first important to mix the batter until a few lumps remain, but also to allow the batter to rest so that the gluten has a chance to sit. Resting will ultimately result in a tender crumb.
- Watch your heat:I prefer a nonstick pan because you can use less fat and the cake won’t stick. Because chocolate has a mind of its own, the meltiness can stick and burn in the pan. When heating your pan, keep over medium-low to low heat and add the butter just before you’re ready to cook. If the butter gets too brown, carefully wipe it out with a paper towel and start over. If the pan gets too hot, even over medium-low heat (because it’s been on for so long between batches), remove from the heat and allow to cool. Burned chocolate and undercooked centers are no one’s favorite.
Storage
Store leftover pancakes in zip-top bags or an airtight container and keep on the counter overnight or in the refrigerator for up to 1 week. Reheat in the toaster oven or oven at 350°.
Made this recipe? Let us know in the comments below!