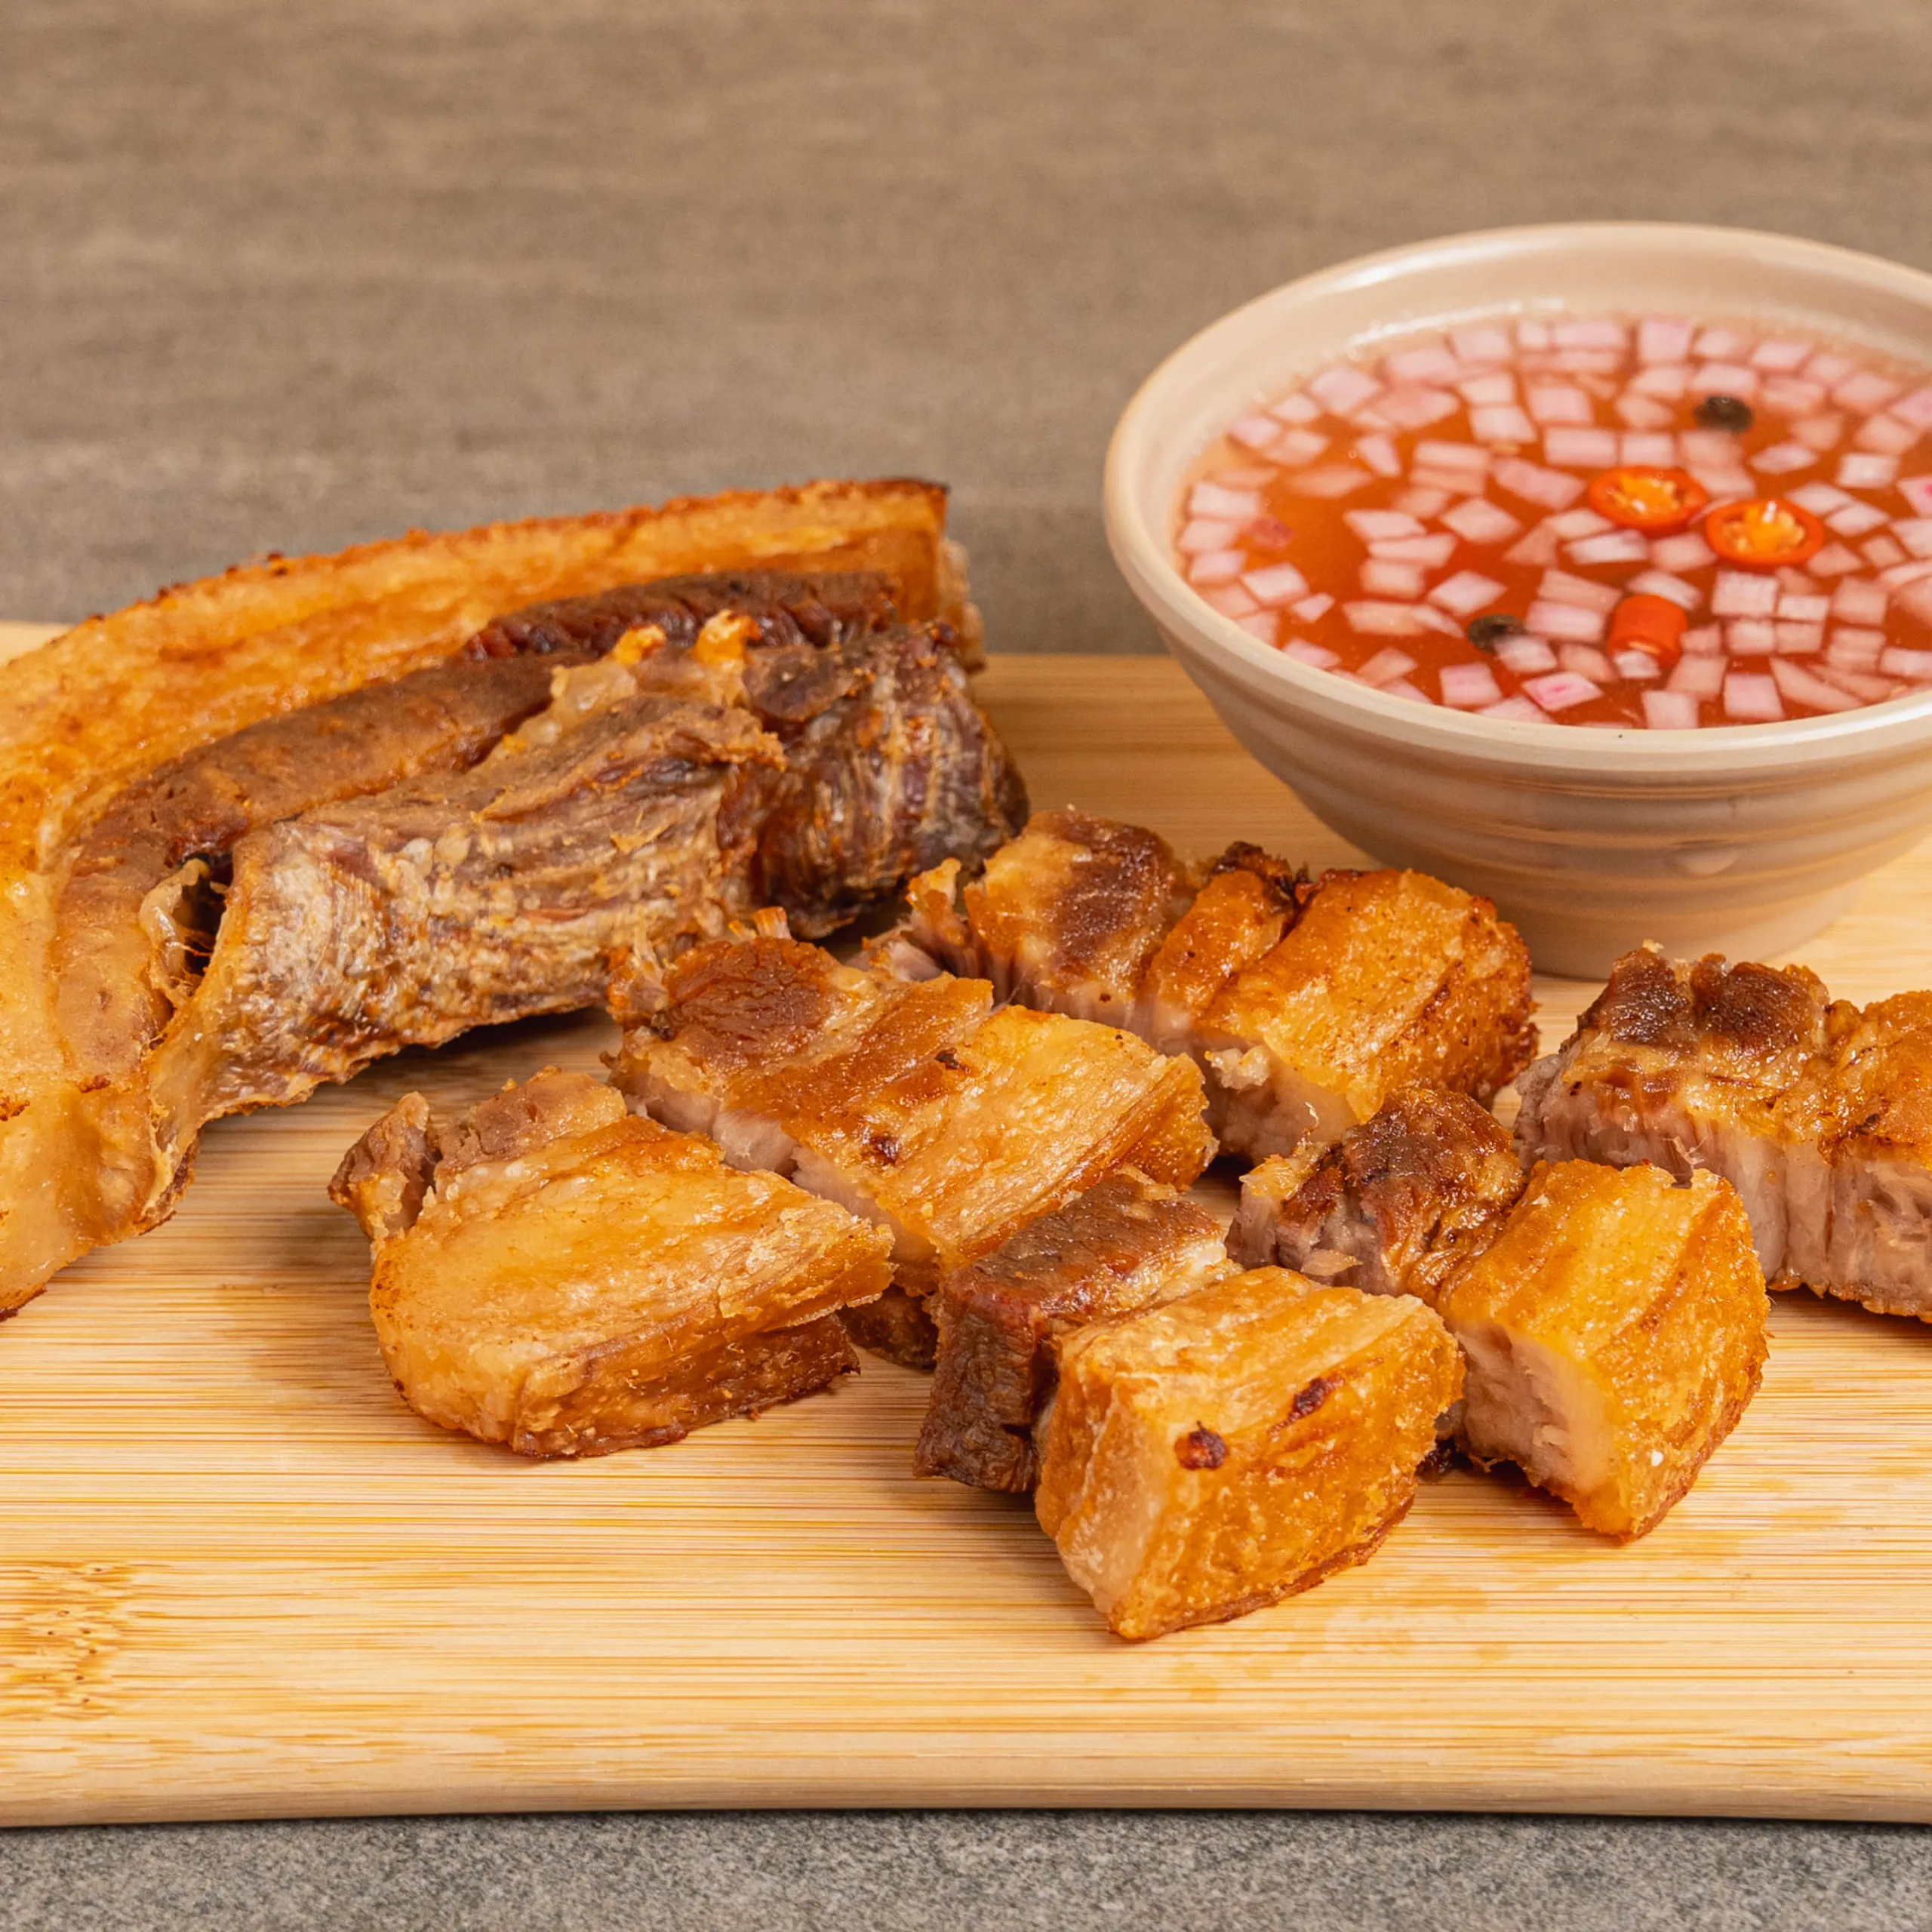


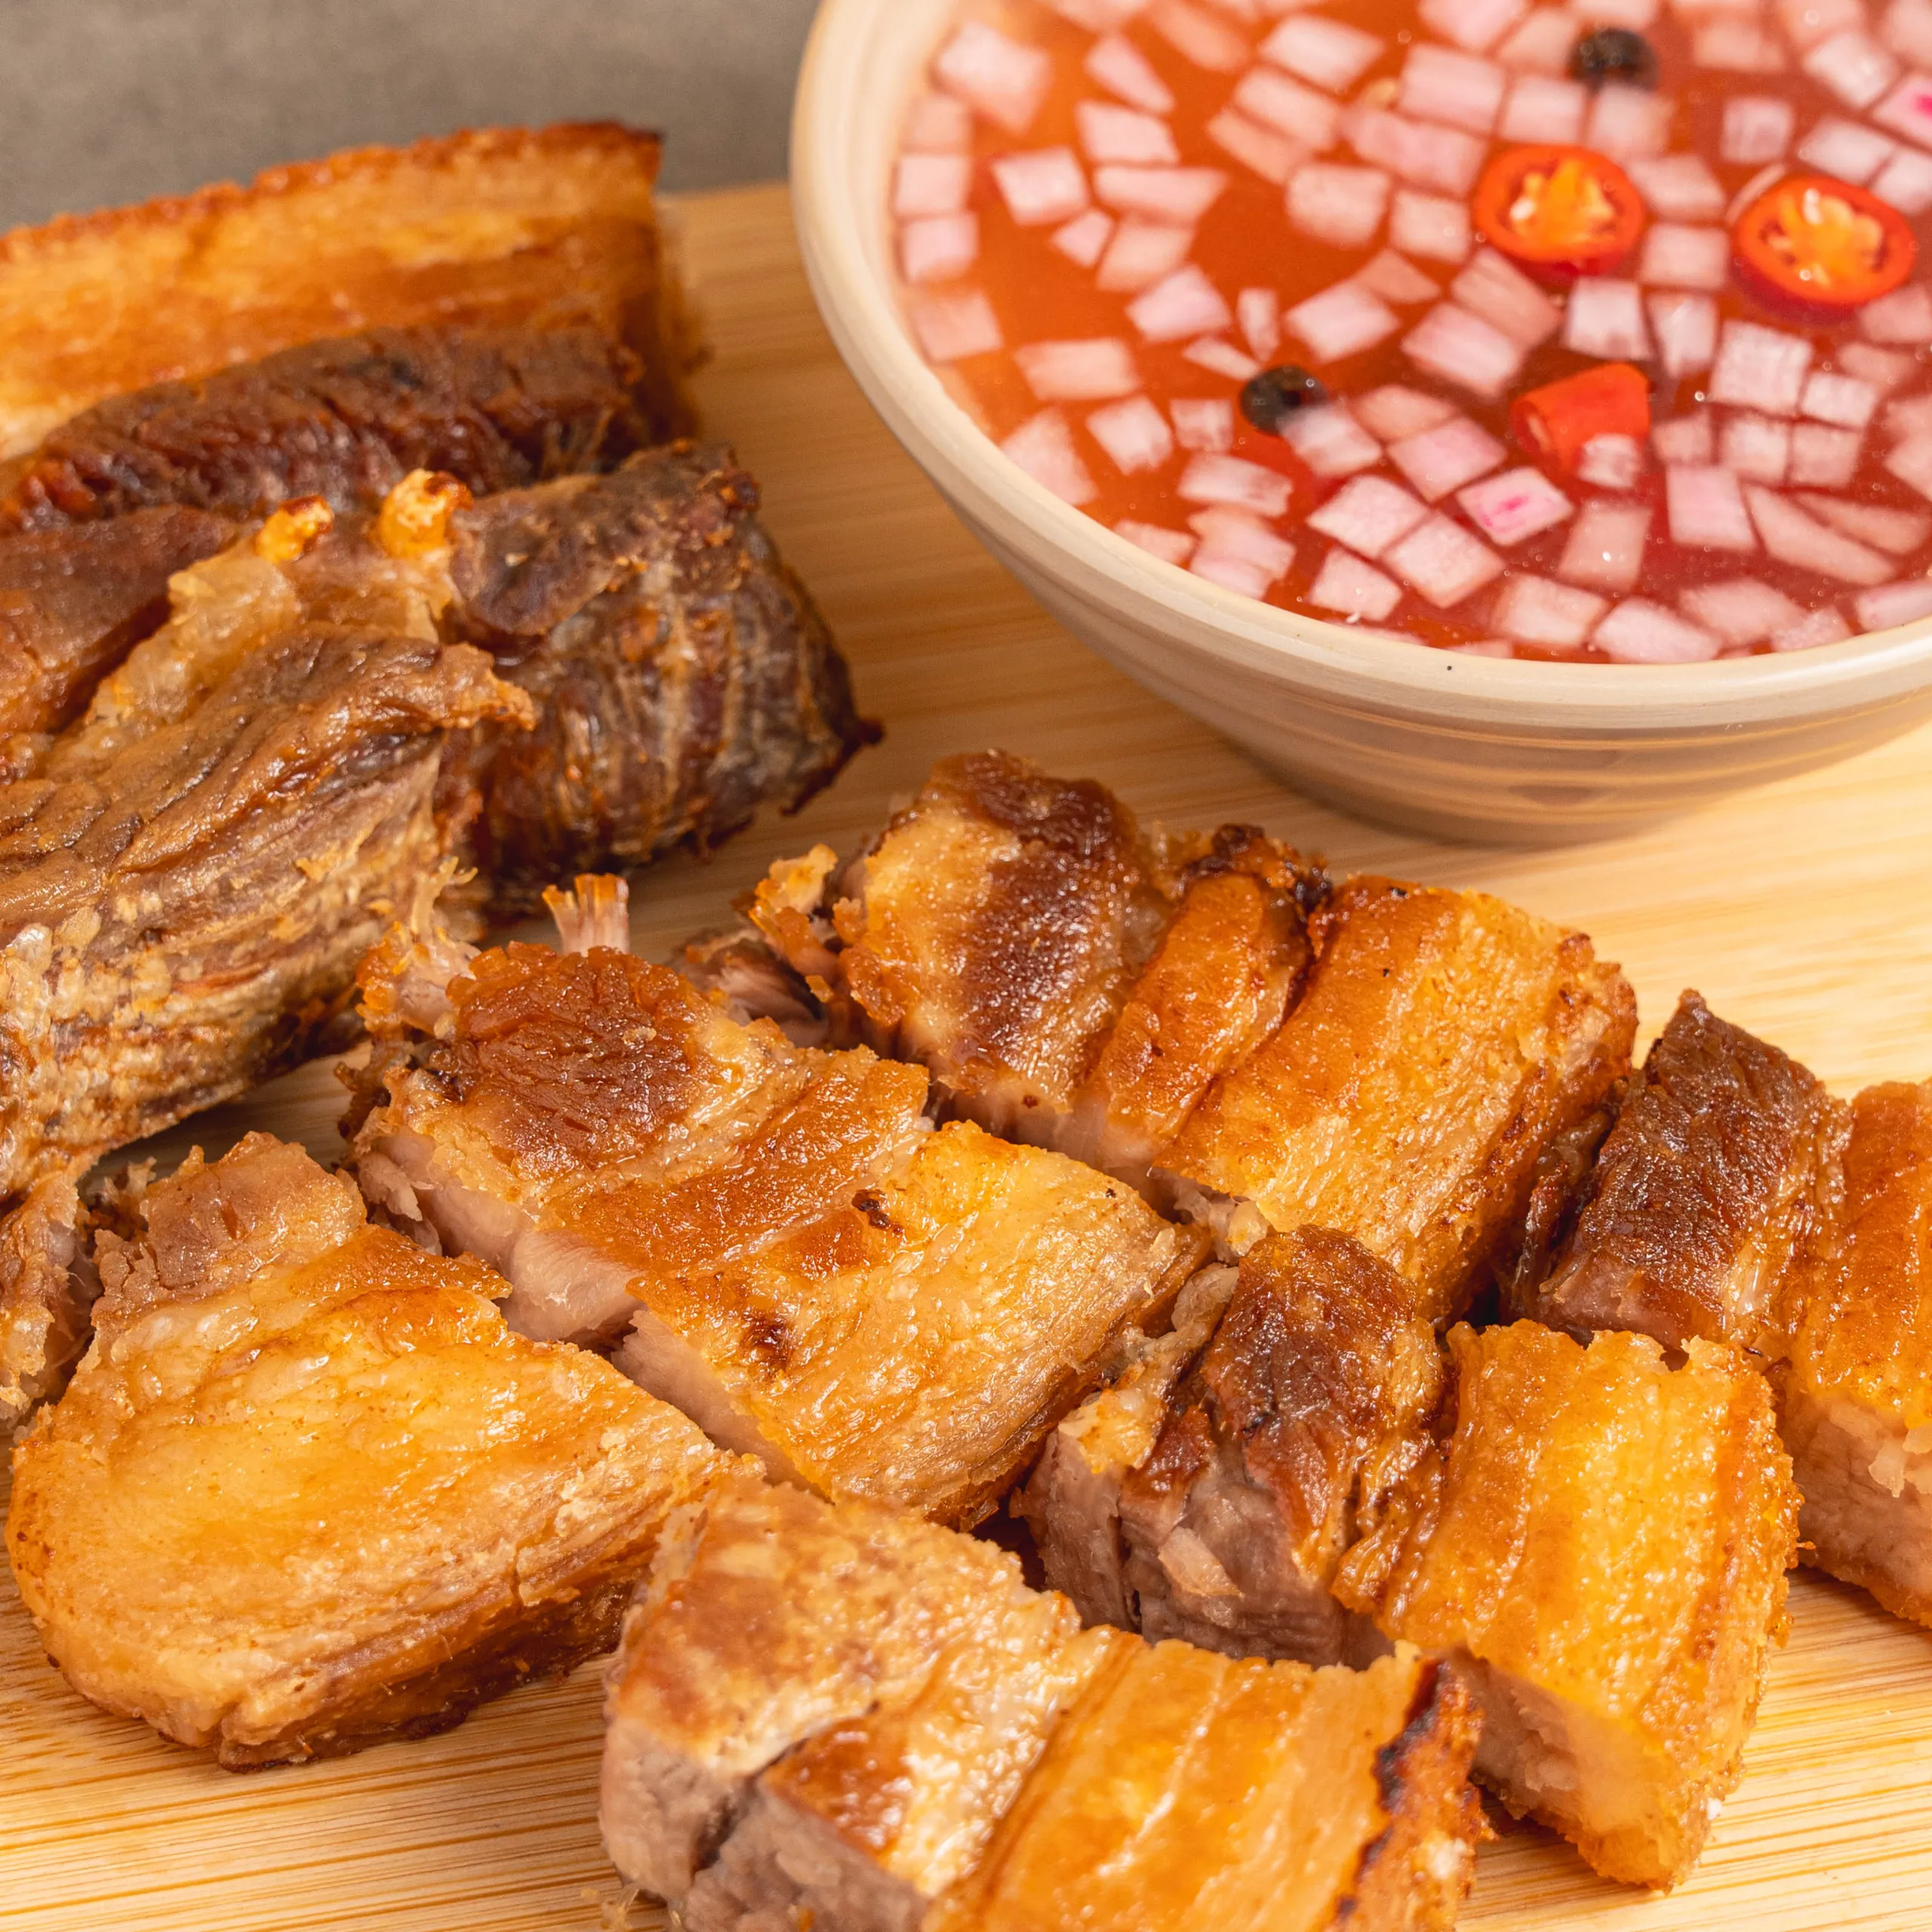
Lechon kawali. Crispy deep fried pork belly, which is said to be a smaller scale of a whole Lechon. The popular Lechon was introduced in our very own soil by the Spaniards. Instead of roasting a whole pig, the idea of deep frying the best part where the fat and the lean meet. This dish also resembles the famous Ilocano dish: Bagnet. Kawali, in Tagalog means: Wok (Source: Food Tale Philippines).
Trivia: Lechon Kawali came way before Lechon Macau. (Source: Yummy Ph.)
Recipe tips:
Dry the pork thoroughly before you experience the wrath of oil splatter and you achieve crispier skin. Refrigerate the boiled pork, uncovered- overnight, can make an even crunchier texture. Use a deep, heavy pot when frying as to create a boundary for splattering oil. Fry your pork in batches to maintain oil temperature and crispiness. Make the pork rest for a few minutes, around 5 to 10 minutes before
slicing to keep the pork’s juice. You can poke the skin lightly with a fork before boiling for better texture.
My personal tip: Before boiling, you can actually marinade your meat with Sprite or 7UP. Add Garlic, pepper corns, Soy Sauce or Worcestershire or liquid seasoning. Soda helps break down tough fibers from. You can leave the marinade overnight
Substitutes:
If pork belly is not available- or if you’d like a different cut of meat, there are some alternatives that can be used, to gain the flavor and texture of Lechon Kawali:
- Liempo Pork Cut, less on fat. You have a somewhat leaner version.
- Pork Shoulder. Has balanced amount of fat and meat.
- Pork Ribs. Deeper and savory in flavor, with a slightly different texture.
When choosing a substitute, please consider the cooking time. Adjust your cooking
time as needed for the meat substitute you would use. Even if you want the good
crunch out of this dish, lets remember that even hard hearts are soft inside
What to serve with it:
In true Filipino form, what is eating Lechon Kawali without the following side dishes that you can choose from:
- Atchara: It’s the perfect side dish for all seasons. Most especially, fried and crispy
food just like Lechon Kawali. Made from green papaya (well, the most popular one).
But it’s also made of Bitter Gourd (Ampalaya) or Green Mango. This is actually
bottled process kind of food. But still natural, which lives on on shelves due to the
sweet vinegar syrup. - Saw Sawan: Sauce it up with the famous liver sauce In a bottle who’s logo is a man
with a straw hat. (Sorry I don’t think I can say specific brands). Or you can make
your own with soy sauce, vinegar, siling labuyo (wild chili or bird’s eye chili). Crush
some garlic or mince it, chop tomatoes and mix it all up. Add a teaspoon of brown
sugar (or even less). I add chopped onions and chopped cucumber. It’s the best for
me. But you’ll definitely eat more rice. - If you plan on serving this with another viand, it can be paired with Sinigang or
Pinakbet. For lesser guilt feelings since they’re vegetables. You can also pair it with
Roast Chicken or your home made salad. You can also pair it with Inihaw na Bangus
or any seafood viand.
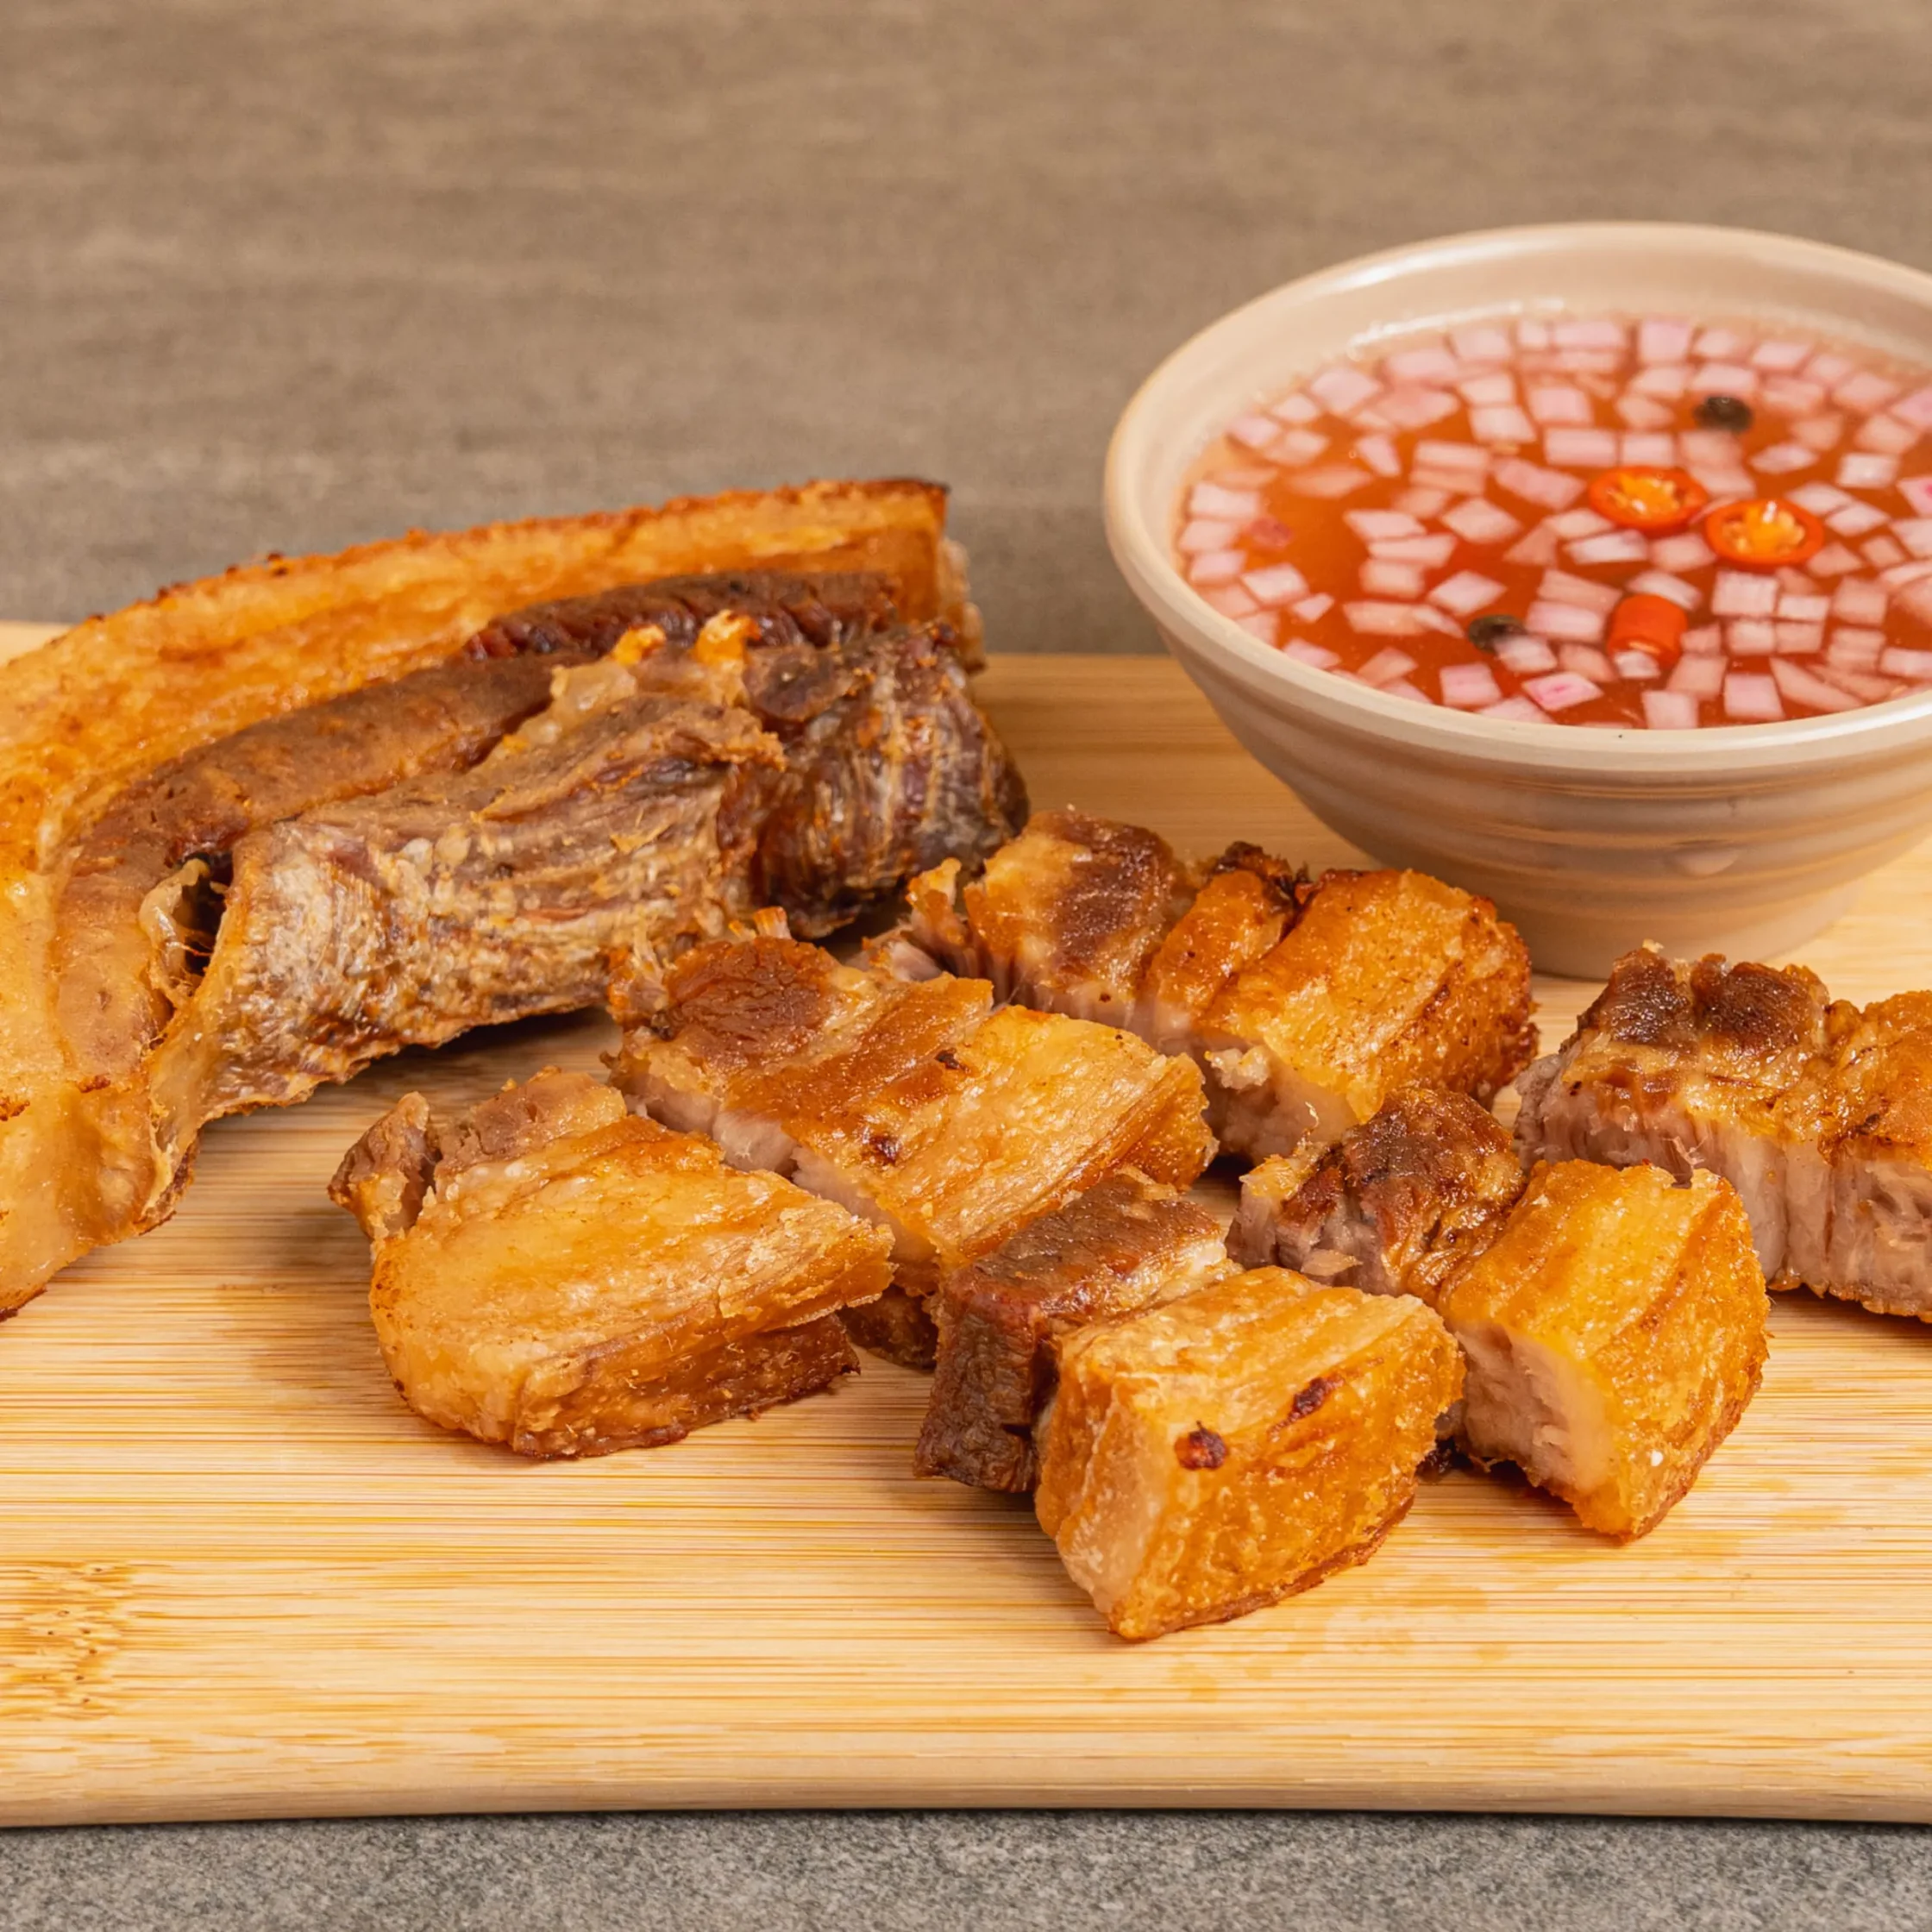
Understanding the Ingredients
Pork belly
Pork belly is the traditional choice for lechon kawali because it contains a good balance of meat, fat, and skin.
The fat is important because it keeps the meat moist during cooking, while the skin becomes wonderfully crisp when fried.
A piece that is too lean may become dry, while extremely fatty pork can be overwhelmingly rich. Look for pork belly with a reasonable balance of meat and fat.
Water
Water is used to simmer the pork until tender.
During this stage, the meat absorbs the flavors of the garlic, bay leaves, and peppercorns.
Peppercorns
Whole peppercorns provide a warm, aromatic flavor without making the broth overwhelmingly peppery.
Using whole peppercorns also makes it easier to remove them after boiling.
Bay leaves
Bay leaves provide a subtle herbal aroma.
They are especially useful in Filipino meat dishes because they add depth without overpowering the pork.
Garlic
Garlic gives the pork a savory aroma while it simmers.
You do not need to mince it for this recipe. Whole or lightly crushed cloves are convenient because they can easily be removed from the cooking liquid.
Cooking oil
Oil is necessary for the final frying stage.
A neutral cooking oil with a high smoke point is appropriate.
Vinegar
Vinegar is the perfect partner for rich fried pork.
Its acidity cuts through the fatty richness of the pork and refreshes the palate.
Onion
Diced onion adds sweetness, crunch, and freshness to the vinegar sauce.
Red chili
Chili adds heat to the dipping sauce.
You can increase or decrease the amount depending on your tolerance for spicy food.
Salt
Salt balances the acidity of the vinegar and brings out the flavors of the onion, peppercorns, and chili.
Recipe Tips for Extra Crispy Lechon Kawali
• Dry the pork extremely well before frying. This is one of the most important steps.
• Chill the boiled pork uncovered if possible. Refrigeration helps dry the skin.
• Do not rush the boiling stage. The pork needs enough time to become tender.
• Do not overboil the pork. Extremely soft pork can be difficult to handle during frying.
• Use a deep and sturdy pan. This reduces the risk of oil splashing over the sides.
• Never overcrowd the pan. Fry in batches if necessary.
• Keep the oil temperature steady. Oil that is too cool can produce greasy pork.
• Avoid excessively smoking oil. Extremely hot oil can burn the outside before the pork becomes properly crisp.
• Use long tongs. They provide more distance between your hands and the hot oil.
• Do not add wet pork to hot oil. Moisture can cause dangerous splattering.
• Drain on a wire rack when possible. This helps preserve crispness.
• Cut the pork after a short rest. This makes it easier to handle.
• Serve immediately. Crispy pork gradually loses its crunch as it sits.
• Keep the dipping sauce separate. Pouring vinegar directly over the pork will soften the crispy skin.
• Balance the richness with something acidic. Vinegar, calamansi, or atchara can make the meal much more enjoyable.
Ingredient Substitutions
Pork belly
Pork shoulder can be used, although it will not provide the same combination of meat, fat, and skin.
If crispy skin is the main goal, pork belly with skin attached is the better choice.
White vinegar
Cane vinegar is an excellent Filipino-style alternative.
Apple cider vinegar can also be used, although it will give the sauce a slightly fruitier flavor.
Red chili
Siling labuyo can be used for a distinctly Filipino heat.
You can also use red pepper flakes if fresh chili is unavailable.
Onion
Red onion can replace white or yellow onion.
It will provide a slightly sharper flavor and attractive color.
Garlic
Although garlic is included in the pork simmering liquid, you can increase the amount if you enjoy a stronger garlic aroma.
You can also add minced garlic to the vinegar sauce.
Peppercorns
Ground black pepper can be used if whole peppercorns are unavailable.
However, whole peppercorns provide a cleaner infusion and a pleasant texture in the vinegar sauce.
Bay leaves
Fresh bay leaves can be used if available, although dried bay leaves are more common and convenient.
Optional Sauce Variations
Spicy Vinegar Sauce
Increase the amount of red chili or use siling labuyo for significantly more heat.
You can also add minced garlic.
Garlic Vinegar
Combine vinegar with minced garlic, onion, chili, and black pepper.
This is a simple but flavorful dipping sauce that works extremely well with crispy pork.
Calamansi Vinegar
Add a small amount of calamansi juice to the vinegar sauce.
The citrus gives the sauce a brighter flavor.
Sweet-Spicy Sauce
For a sweeter dipping sauce, add a small amount of sugar.
This creates a sweet, sour, salty, and spicy combination.
Knowledge About Lechon Kawali
One of the most interesting things about lechon kawali is that its texture comes from two different cooking stages.
The first stage is moist cooking.
The pork is simmered in water with aromatics, allowing the heat to gradually tenderize the meat. During this process, connective tissues soften and the pork becomes easier to chew.
The second stage is dry, high-temperature cooking.
Frying removes surface moisture and creates the crisp texture that defines the dish.
This is why skipping the boiling stage can produce a very different result. Simply frying raw pork belly can create a crispy exterior, but the meat may not have the same tender, slow-cooked quality.
The opposite is also true. If you boil the pork but do not fry it properly, you will have tender pork but not the signature crispy skin.
Lechon kawali is therefore essentially a study in contrast: tender versus crisp, rich versus acidic, savory versus sharp.
The vinegar sauce is not merely an optional condiment. It plays an important role in the overall eating experience.
Pork belly contains substantial fat, and the acidity of vinegar helps cut through that richness. This is why even a simple vinegar sauce can make a dramatic difference.
Another important concept is moisture control.
Crispy skin depends on reducing surface moisture before frying. This is why drying the pork is so important.
Some cooks even refrigerate the boiled pork uncovered overnight before frying. This is not required, but it can help produce a drier surface and potentially better crisping.
The Science Behind the Crispy Skin
The satisfying crunch of lechon kawali comes largely from the transformation of moisture and fat at high heat.
During the simmering stage, the pork becomes tender and the skin softens.
During frying, the high temperature drives moisture from the surface while the skin becomes browned and crisp.
The browning that occurs during frying also produces complex roasted flavors.
This is one reason the final texture can be so dramatically different from the boiled pork.
However, crispness is also temporary. Once fried pork sits in a humid environment or comes into contact with watery sauces, moisture can migrate back into the crust and soften it.
That is why the vinegar sauce should be served on the side.
If you pour the sauce over the pork long before serving, you lose some of the crisp texture that makes lechon kawali special.
Health Benefits and Nutritional Information
Lechon kawali is undeniably an indulgent dish. Pork belly is naturally high in fat, and the recipe adds additional fat through frying.
That does not mean it cannot be part of a balanced diet, but portion size and preparation matter.
Pork
Pork provides high-quality protein, which is important for maintaining and repairing body tissues.
It can also provide nutrients such as vitamin B1, zinc, selenium, and other B vitamins.
However, pork belly contains considerably more fat than leaner cuts of pork.
Garlic
Garlic contributes sulfur-containing plant compounds and adds substantial flavor without requiring much additional fat.
Bay leaves
Bay leaves are mainly used for aroma and flavor rather than as a major nutritional ingredient.
Peppercorns
Black pepper contributes flavor and contains naturally occurring plant compounds.
Onion
Onion contributes vitamin C, small amounts of fiber, and various plant compounds.
It also provides freshness to the vinegar sauce.
Chili
Red chili peppers contain vitamin C and naturally occurring carotenoids and capsaicin.
They also add flavor without requiring additional fat.
Vinegar
Vinegar adds acidity with relatively few calories.
Its main culinary role in this dish is to balance the richness of the pork.
Making Lechon Kawali a More Balanced Meal
If you want to enjoy lechon kawali as part of a more balanced meal, consider pairing a smaller serving of pork with plenty of vegetables.
Good choices include:
• Fresh tomato and onion salad
• Steamed pechay
• Kangkong
• Blanched vegetables
• Atchara
• Cucumber salad
• Fresh leafy greens
The combination of rich pork, steamed rice, and acidic or fresh vegetables creates a more balanced eating experience.
You can also control the portion of rice and pork according to your dietary needs.
For people who need to limit saturated fat or sodium, lechon kawali is better treated as an occasional indulgence rather than an everyday main dish.
Serving Suggestions
Lechon kawali is naturally rich, so side dishes with freshness or acidity are especially helpful.
A classic plate might include:
• Steamed white rice
• Crispy lechon kawali
• Spiced vinegar
• Atchara
• Sliced tomatoes
• Cucumber
• Fresh onions
You can also serve it with Filipino-style liver sauce or lechon sauce if you prefer a sweeter and richer accompaniment.
For a family meal, place the crispy pork in the center of the table and keep the dipping sauce in a separate bowl so everyone can control how much sauce they want.
Final Words
Lechon kawali is a dish that rewards patience. It may seem simple because the ingredient list is short, but getting the texture right requires attention to the small details.
The pork first needs enough time to become tender. Then it needs to be cooled and dried properly before it ever touches the hot oil. Finally, the frying needs to be done carefully enough to produce golden, crisp skin without burning the exterior or making the pork unnecessarily greasy.
That combination of tender meat and crunchy skin is what makes lechon kawali so irresistible.
The vinegar sauce completes the experience. Its sharp acidity cuts through the richness of the pork, while the onion, peppercorns, and chili provide sweetness, aroma, and heat. A bite of crispy pork followed by a little spicy vinegar is a combination that feels unmistakably Filipino.
Although lechon kawali is often associated with celebrations, it does not need to wait for a special occasion. It can be prepared for a family weekend lunch, a gathering with friends, or simply when you want something comforting and indulgent.
At the same time, because pork belly and deep frying make this a rich dish, it is best enjoyed thoughtfully and in reasonable portions. Pairing it with vegetables, fresh salads, or atchara can make the meal feel more balanced without taking away from the pleasure of eating crispy pork.
Perhaps that is what makes lechon kawali such a beloved Filipino dish: it does not try to be complicated. It takes a humble piece of pork, gives it time, heat, and care, and turns it into something memorable. The crackling skin, tender meat, sharp vinegar, steamed rice, and familiar Filipino flavors all come together in a meal that is meant to be shared.
And when the first piece of pork hits the hot oil and begins to crisp, you already know that something delicious is on the way.