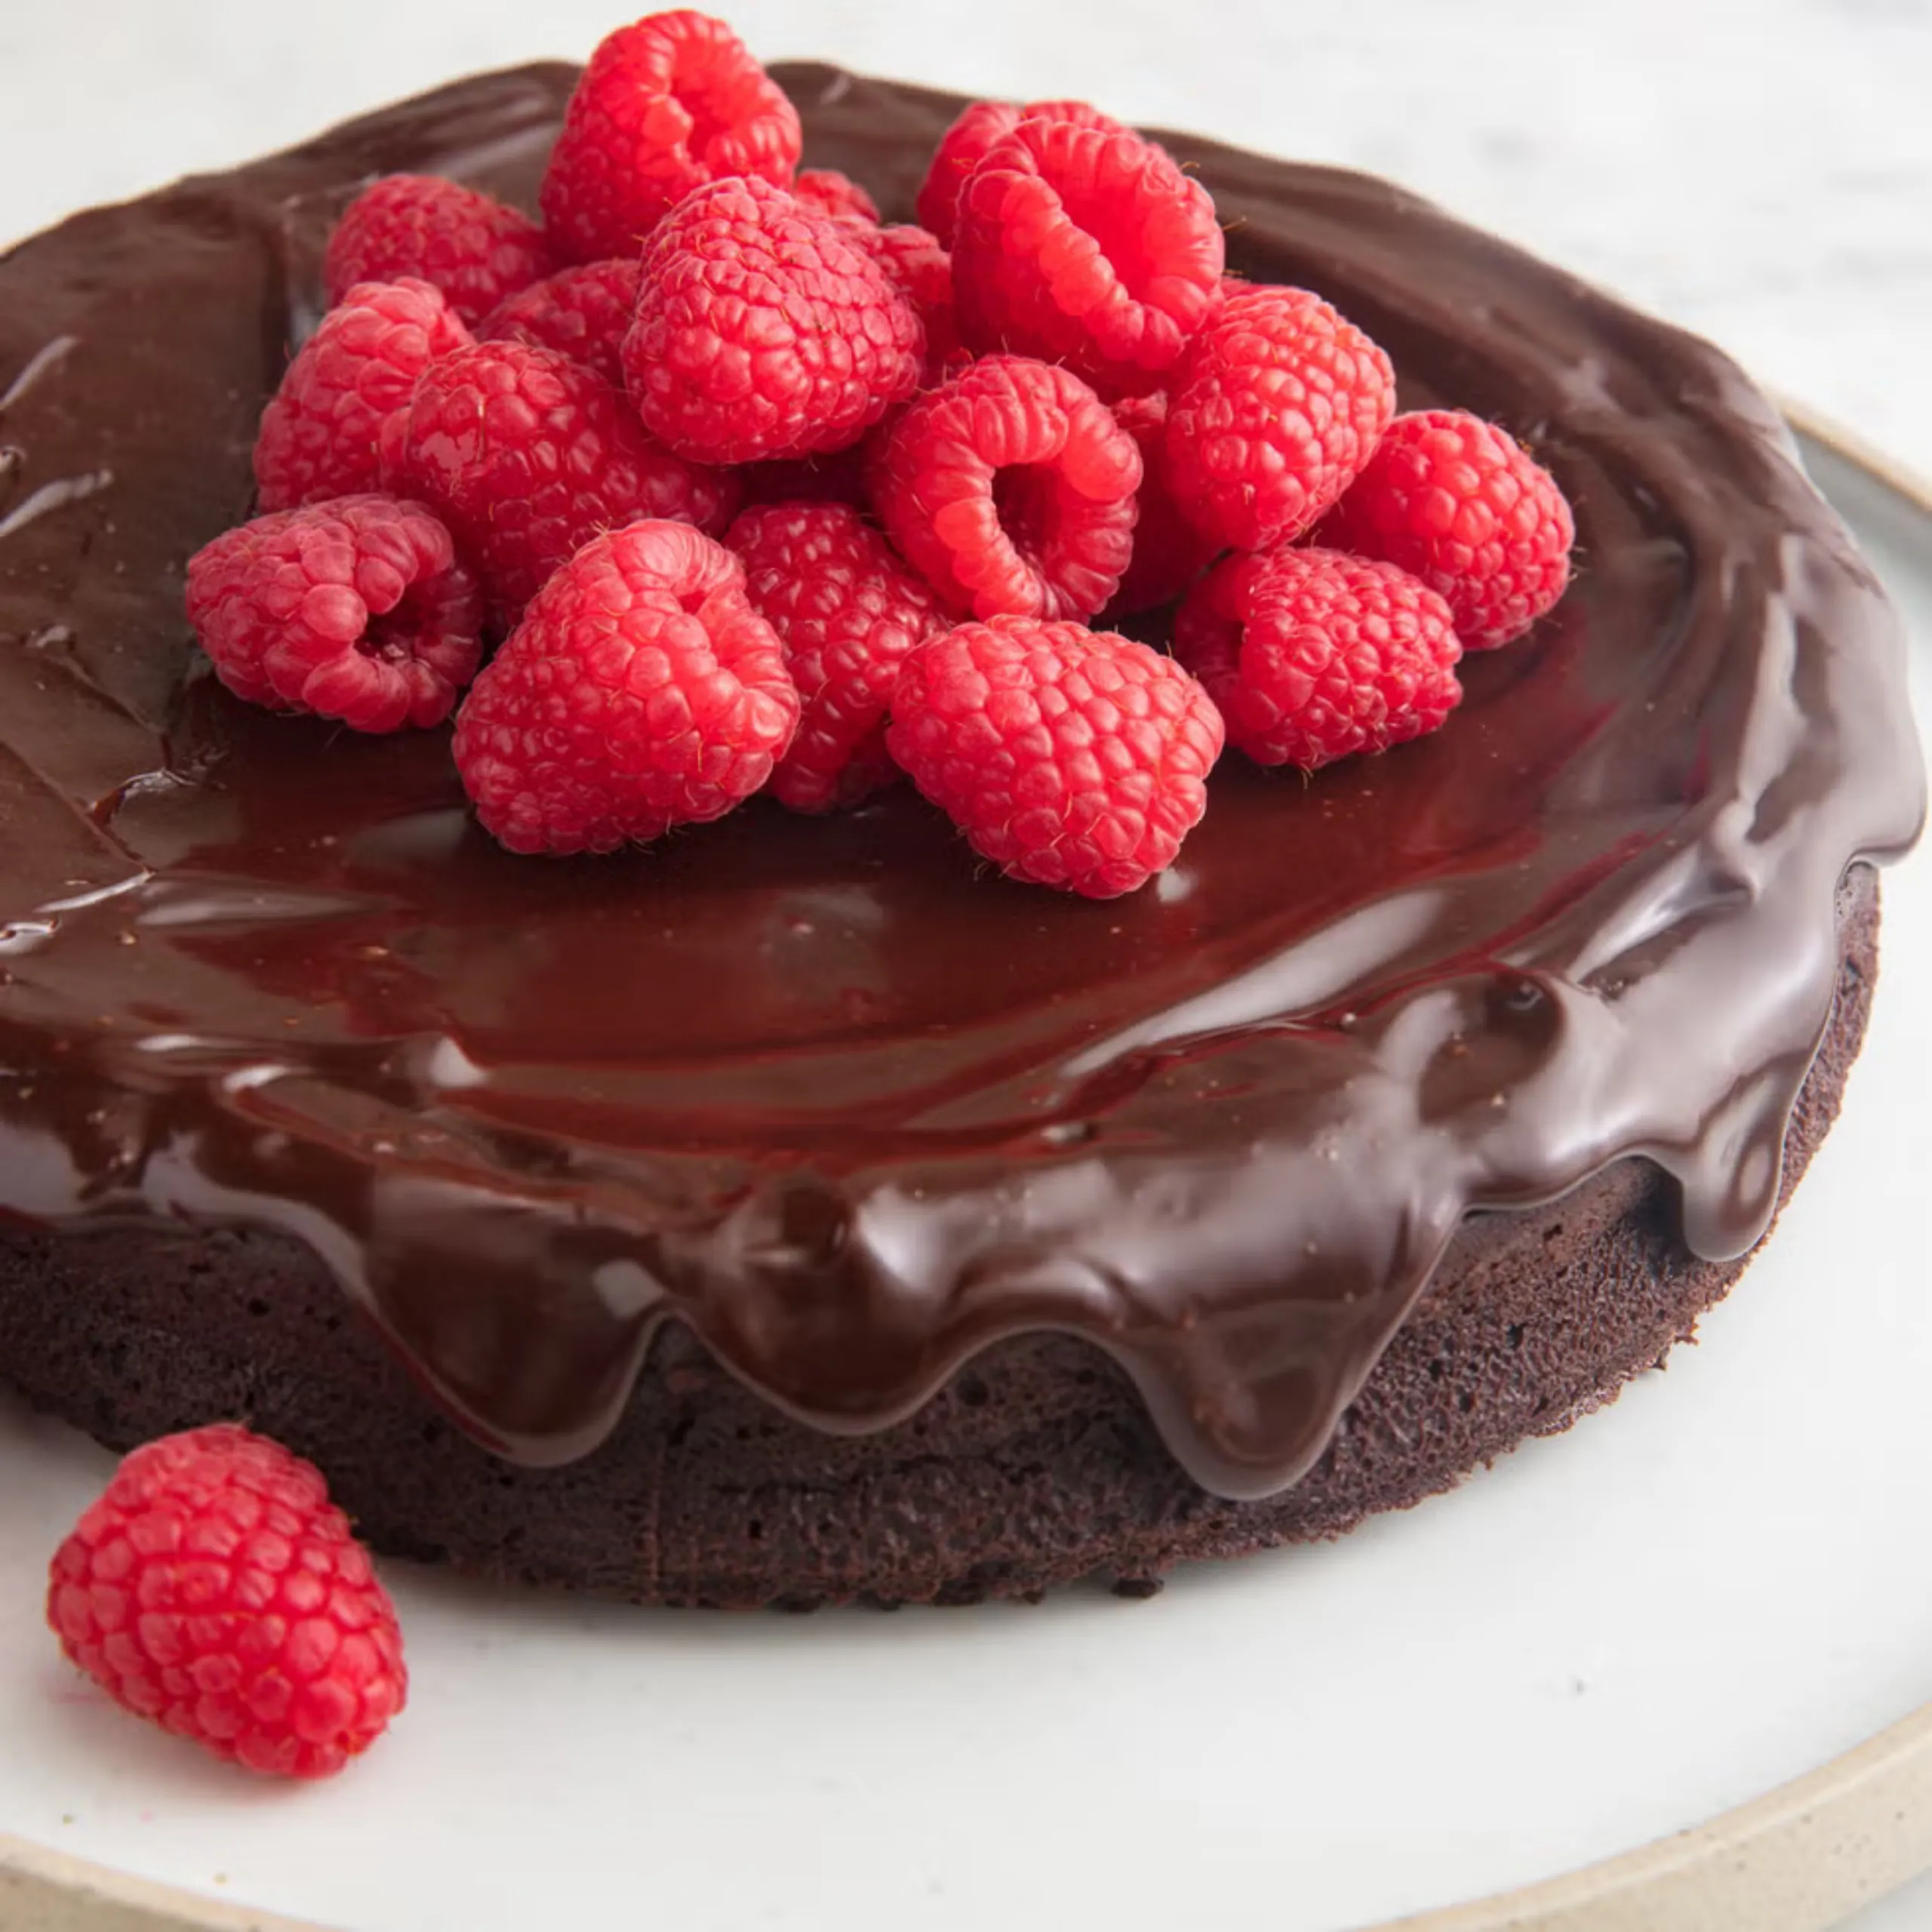


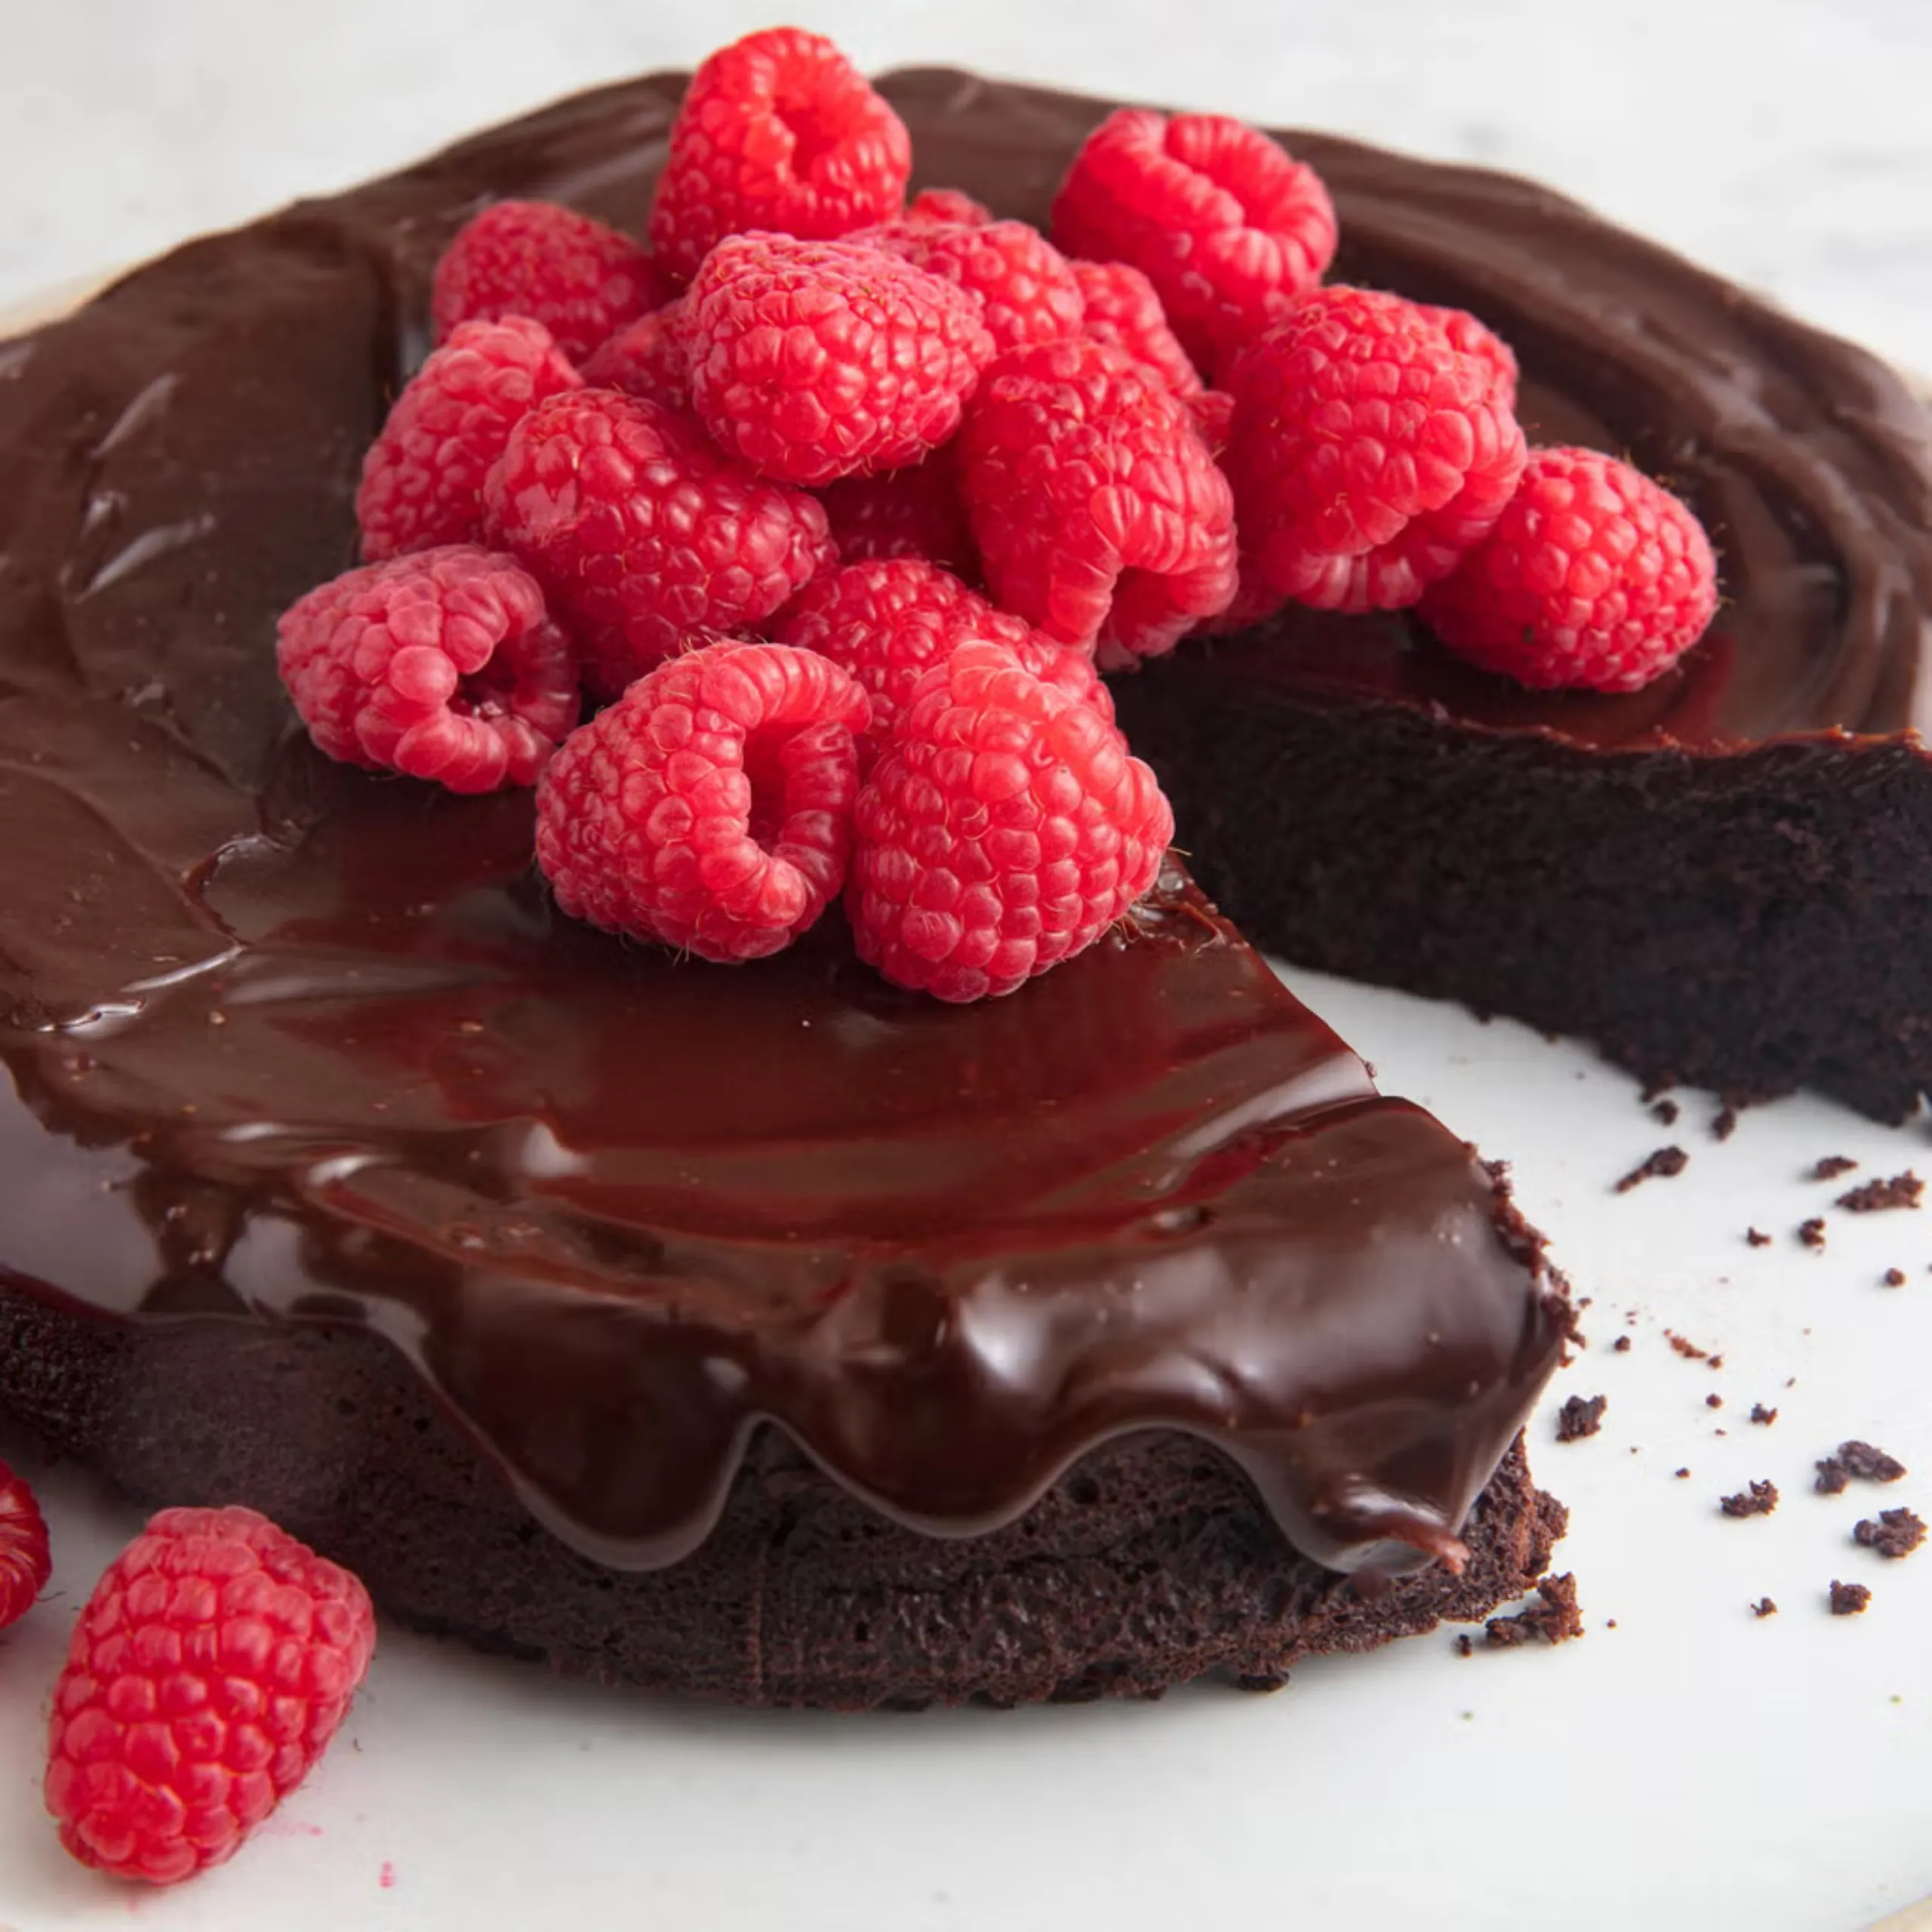
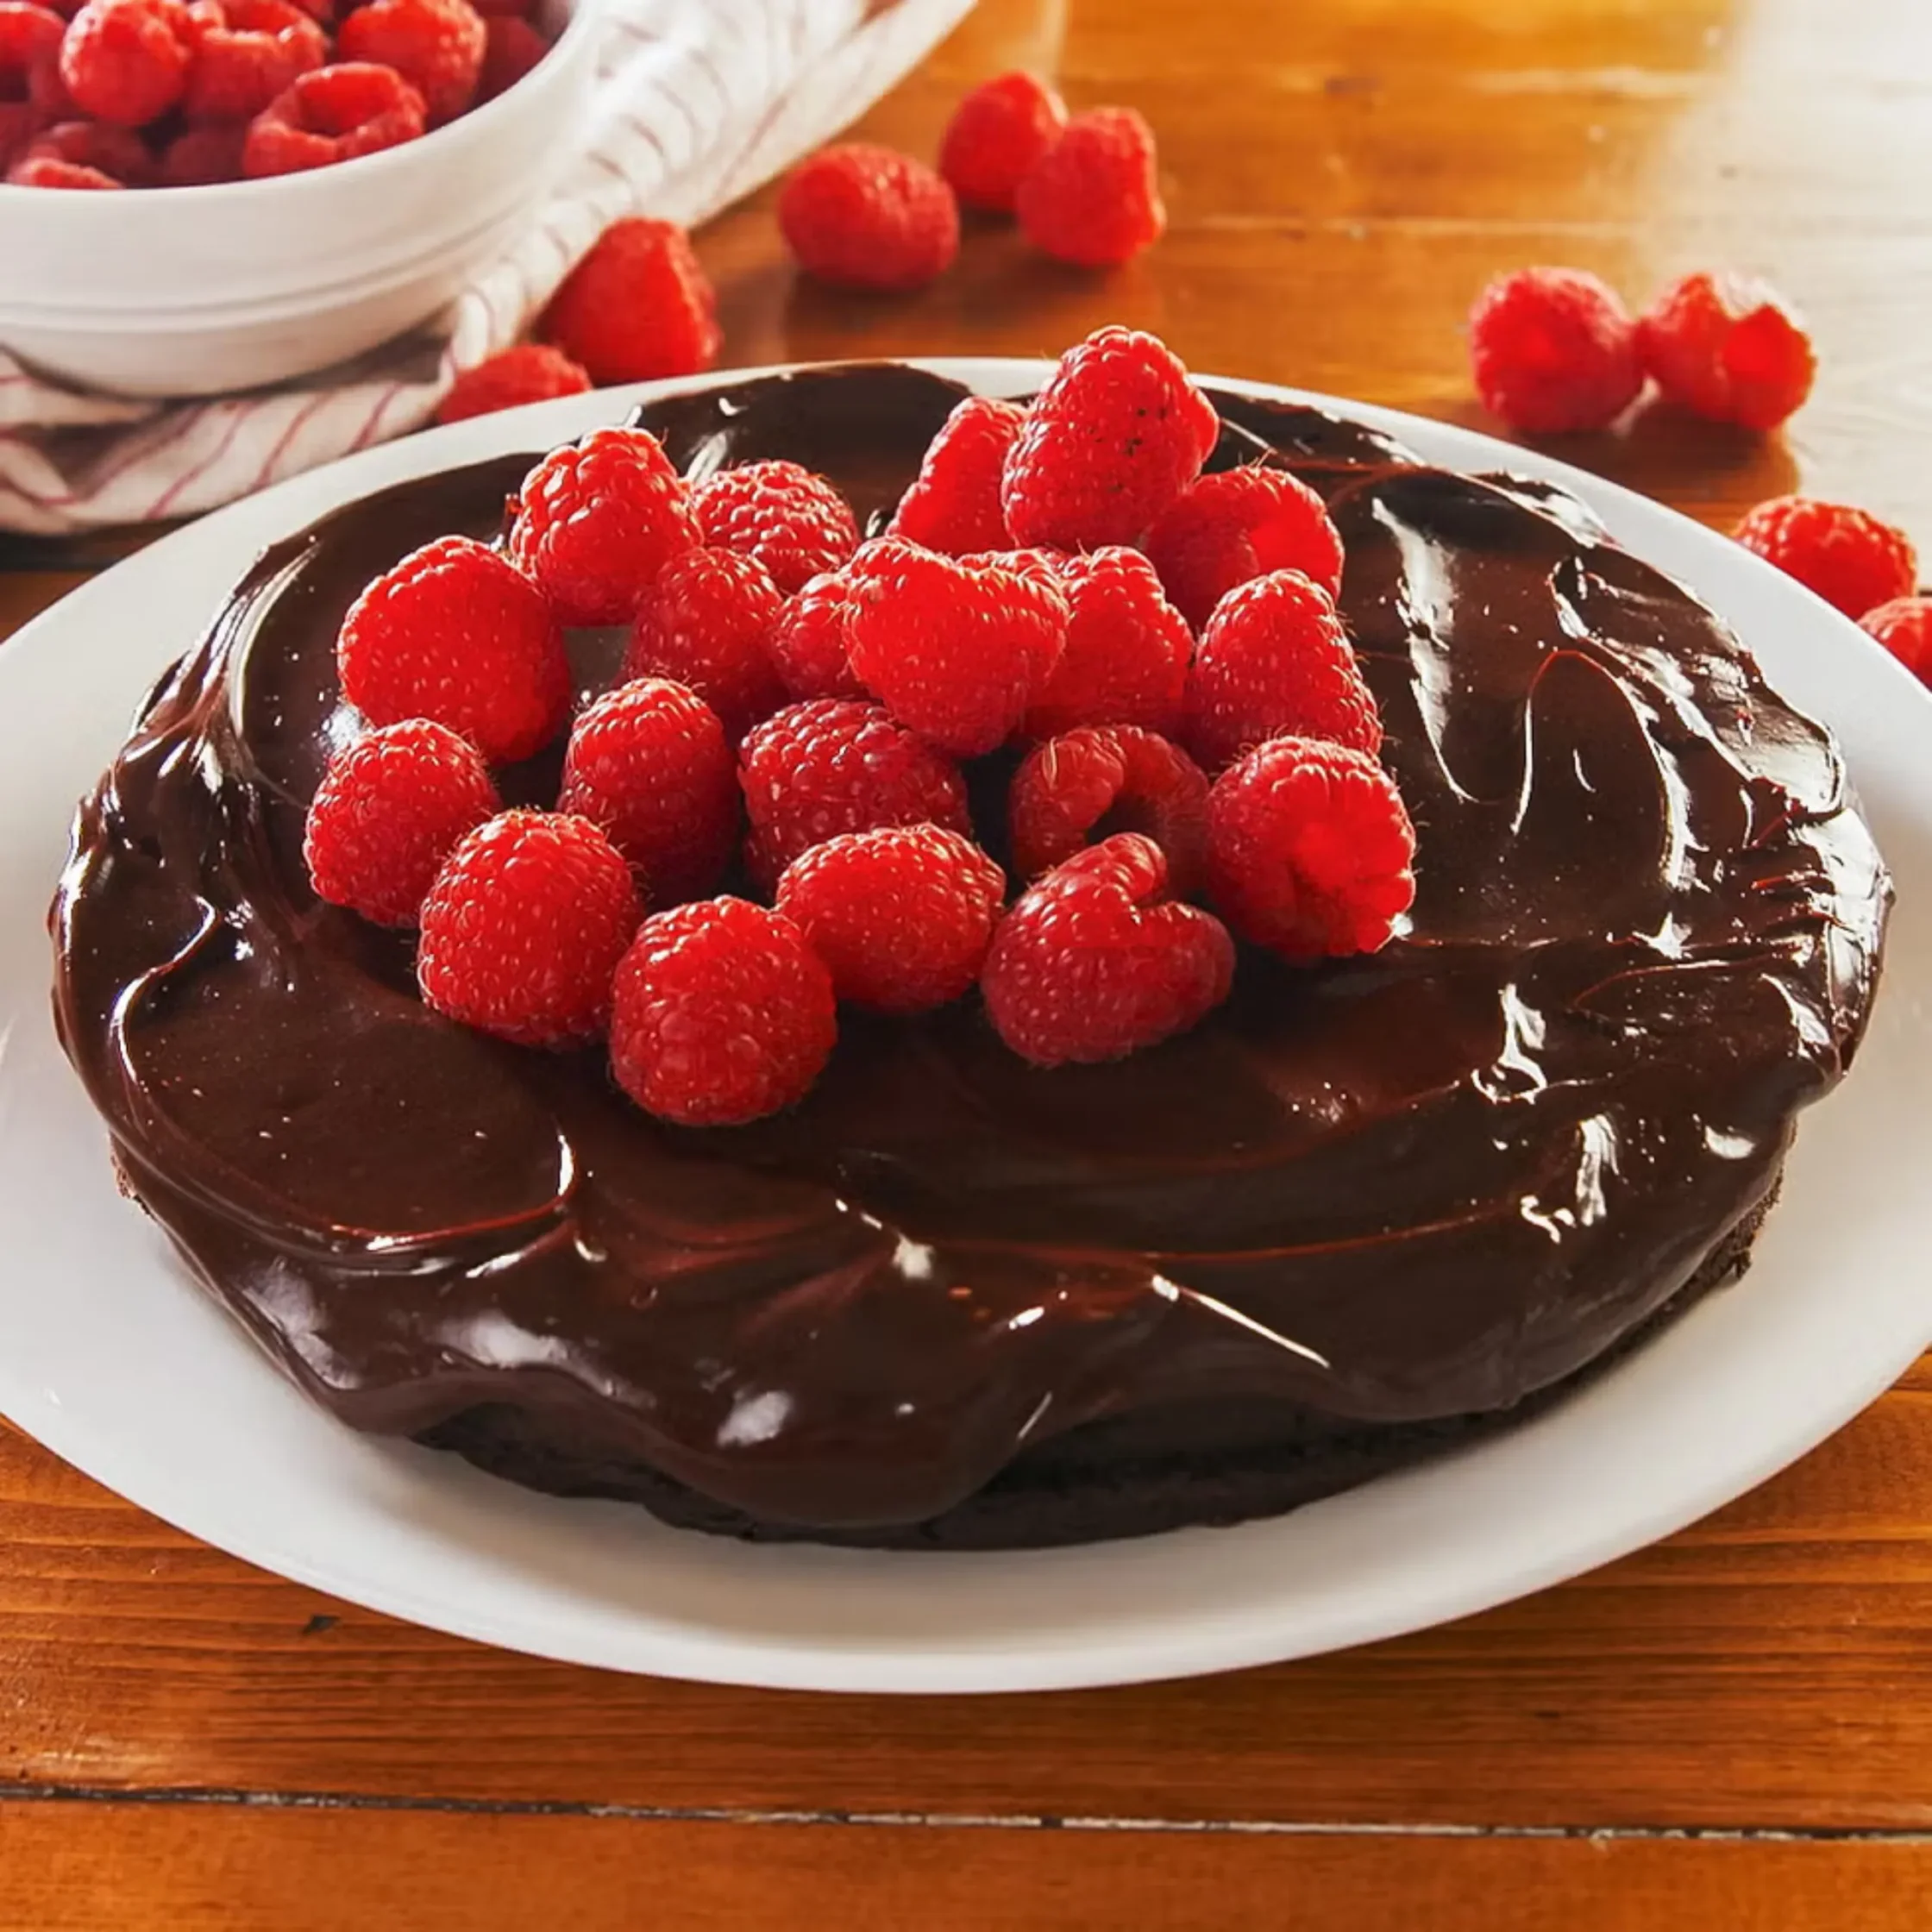
Chocolatey, rich, melt-in-your-mouth delicious, this chocolate cake doesn’t need flour to be delicious. The best part about this flourless cake is that it doesn’t require any flour alternatives—cocoa powder and eggs give it all the lift and structure it needs. Elegant and sleek, this is the cake I make most often whenever I’m having dinner guests or need to throw together a quick and easy dessert for a party. It can be made ahead of time, takes minimal effort, any gluten-free guests can still enjoy it, and most importantly, it always elicits oohs and aahs when I pour the ganache on just before serving.
What People Are Saying:
“Delicious! Made the cake exactly as written. Served with raspberries, as shown. The acidity was a nice balance with the rich cake. Served chantilly (light, airy, sweetened whipped cream) on the side. Rave reviews!” – BlueFlower
How To Make Flourless Chocolate Cake
INGREDIENTS
- Bittersweet Chocolate: Bittersweet chocolate is the backbone of this cake. Because there is no flour, the chocolate is important for providing structure, texture, and that deep fudginess that is oh-so delicious.
- Butter: Butter is essential for providing both richness and helping the ingredients bind together so that this cake has structure.
- Instant Espresso Powder: Instant espresso powder is one of our secrets to making this chocolate cake extra tasty. Espresso powder brings out the rich chocolate flavor and really lets the flavors shine.
- Granulated Sugar: Because we’re using bittersweet chocolate, it’s important to add granulated sugar so that this cake isn’t too bitter! When the sugar dissolves, it also creates that brownie-like fudginess.
- Eggs: Because there is no flour in this cake, eggs are extra important for providing structure. Eggs act as a binder to make sure that all of the ingredients get incorporated.
- Unsweetened Cocoa Powder: Cocoa powder is the best way to add even more chocolatey flavor to this recipe. We use unsweetened so that we can better control the sweetness level by just using granulated sugar.
- Heavy Cream: Heavy cream is used in the ganache because it has a high fat content, so it emulsifies the chocolate, which helps you get that silky smooth chocolate sauce.
- Semi-Sweet Chocolate Chips: We like to use semi-sweet chocolate chips in the ganache because we find that they are the perfect level of sweetness to pair with the deeply rich and slightly bitter cake.
STEP-BY-STEP INSTRUCTIONS
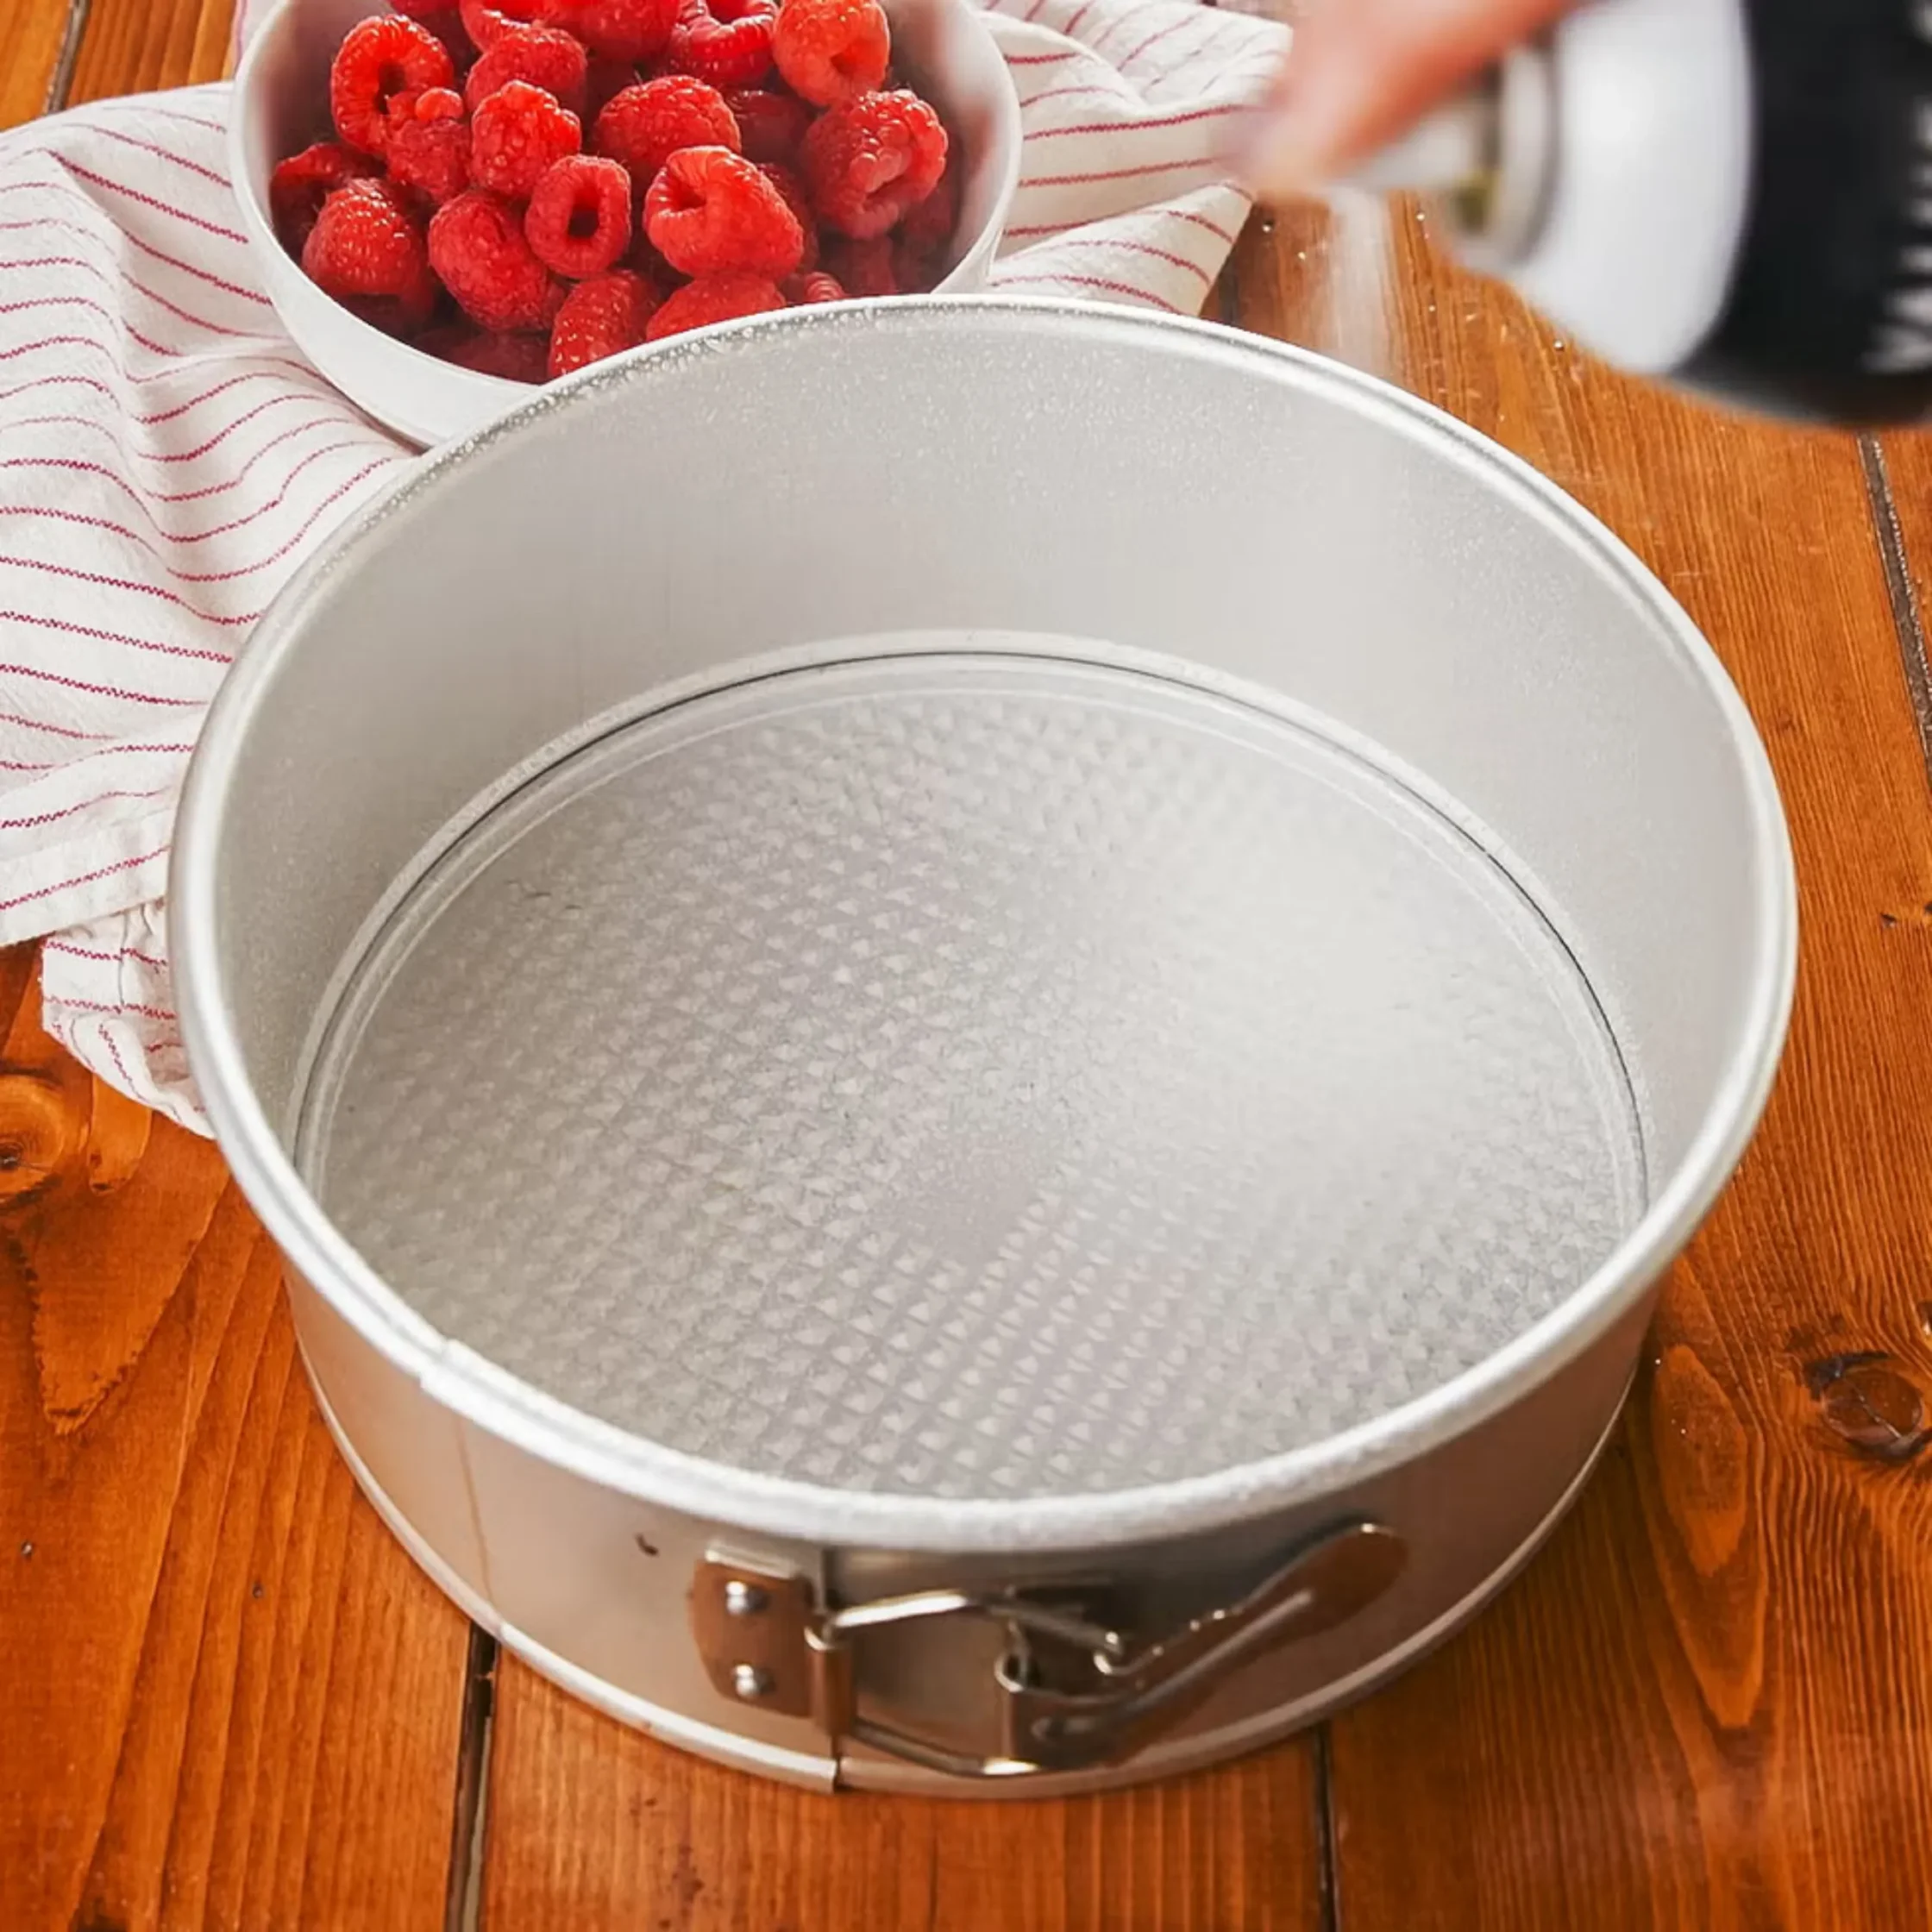
We recommend using a springform pan for this cake so that it is easier to remove later! Preheat your oven to 350º and then grease the springform pan before you start melting your chocolate.
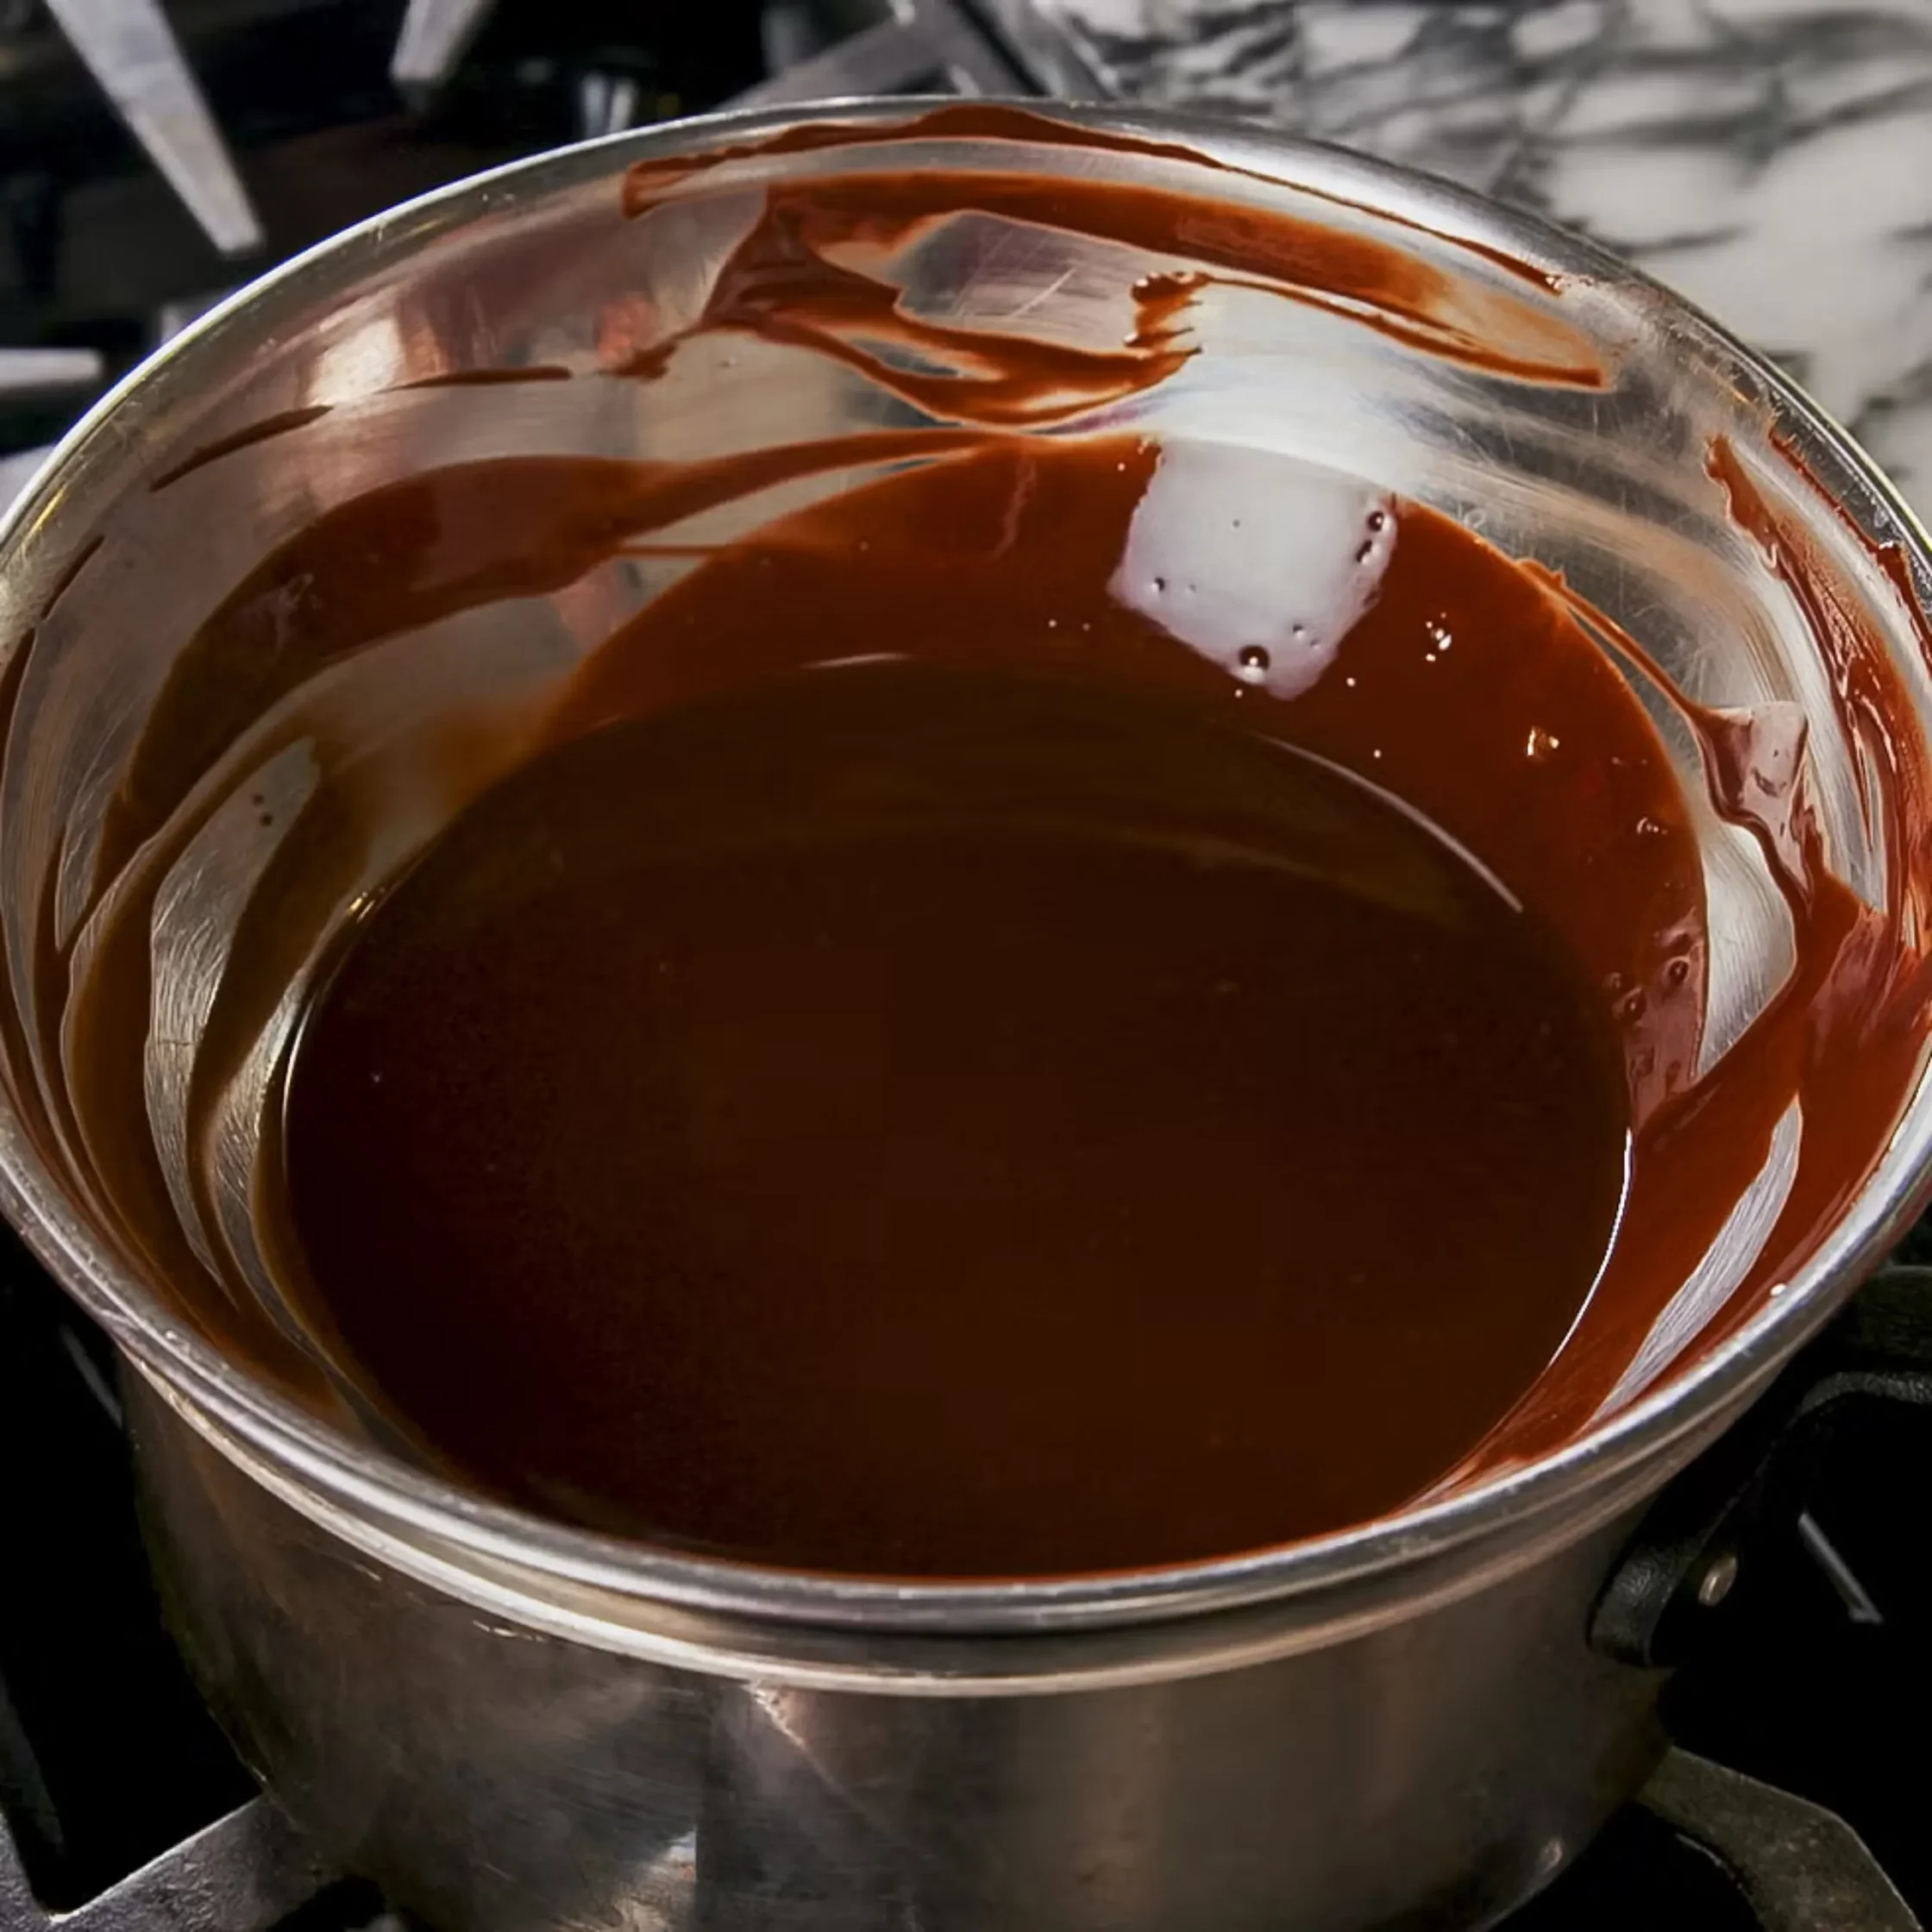
Set a small pot with about an inch of water on the stove and bring to a simmer. Place a heatproof bowl over the pot, ensuring that the bottom doesn’t touch any water, and pour in your bittersweet chocolate and butter. Continue to stir until the chocolate and butter are completely melted. This is the best way to melt chocolate without burning it!
Remove the bowl from the stove. Dissolve the espresso powder in hot water and then add the mixture to the melted chocolate along with the granulated sugar. Stir until all of the ingredients are combined, and then whisk in your eggs. At this point, the mixture should look a little bit like pudding. Next, add your cocoa powder and stir until just combined.
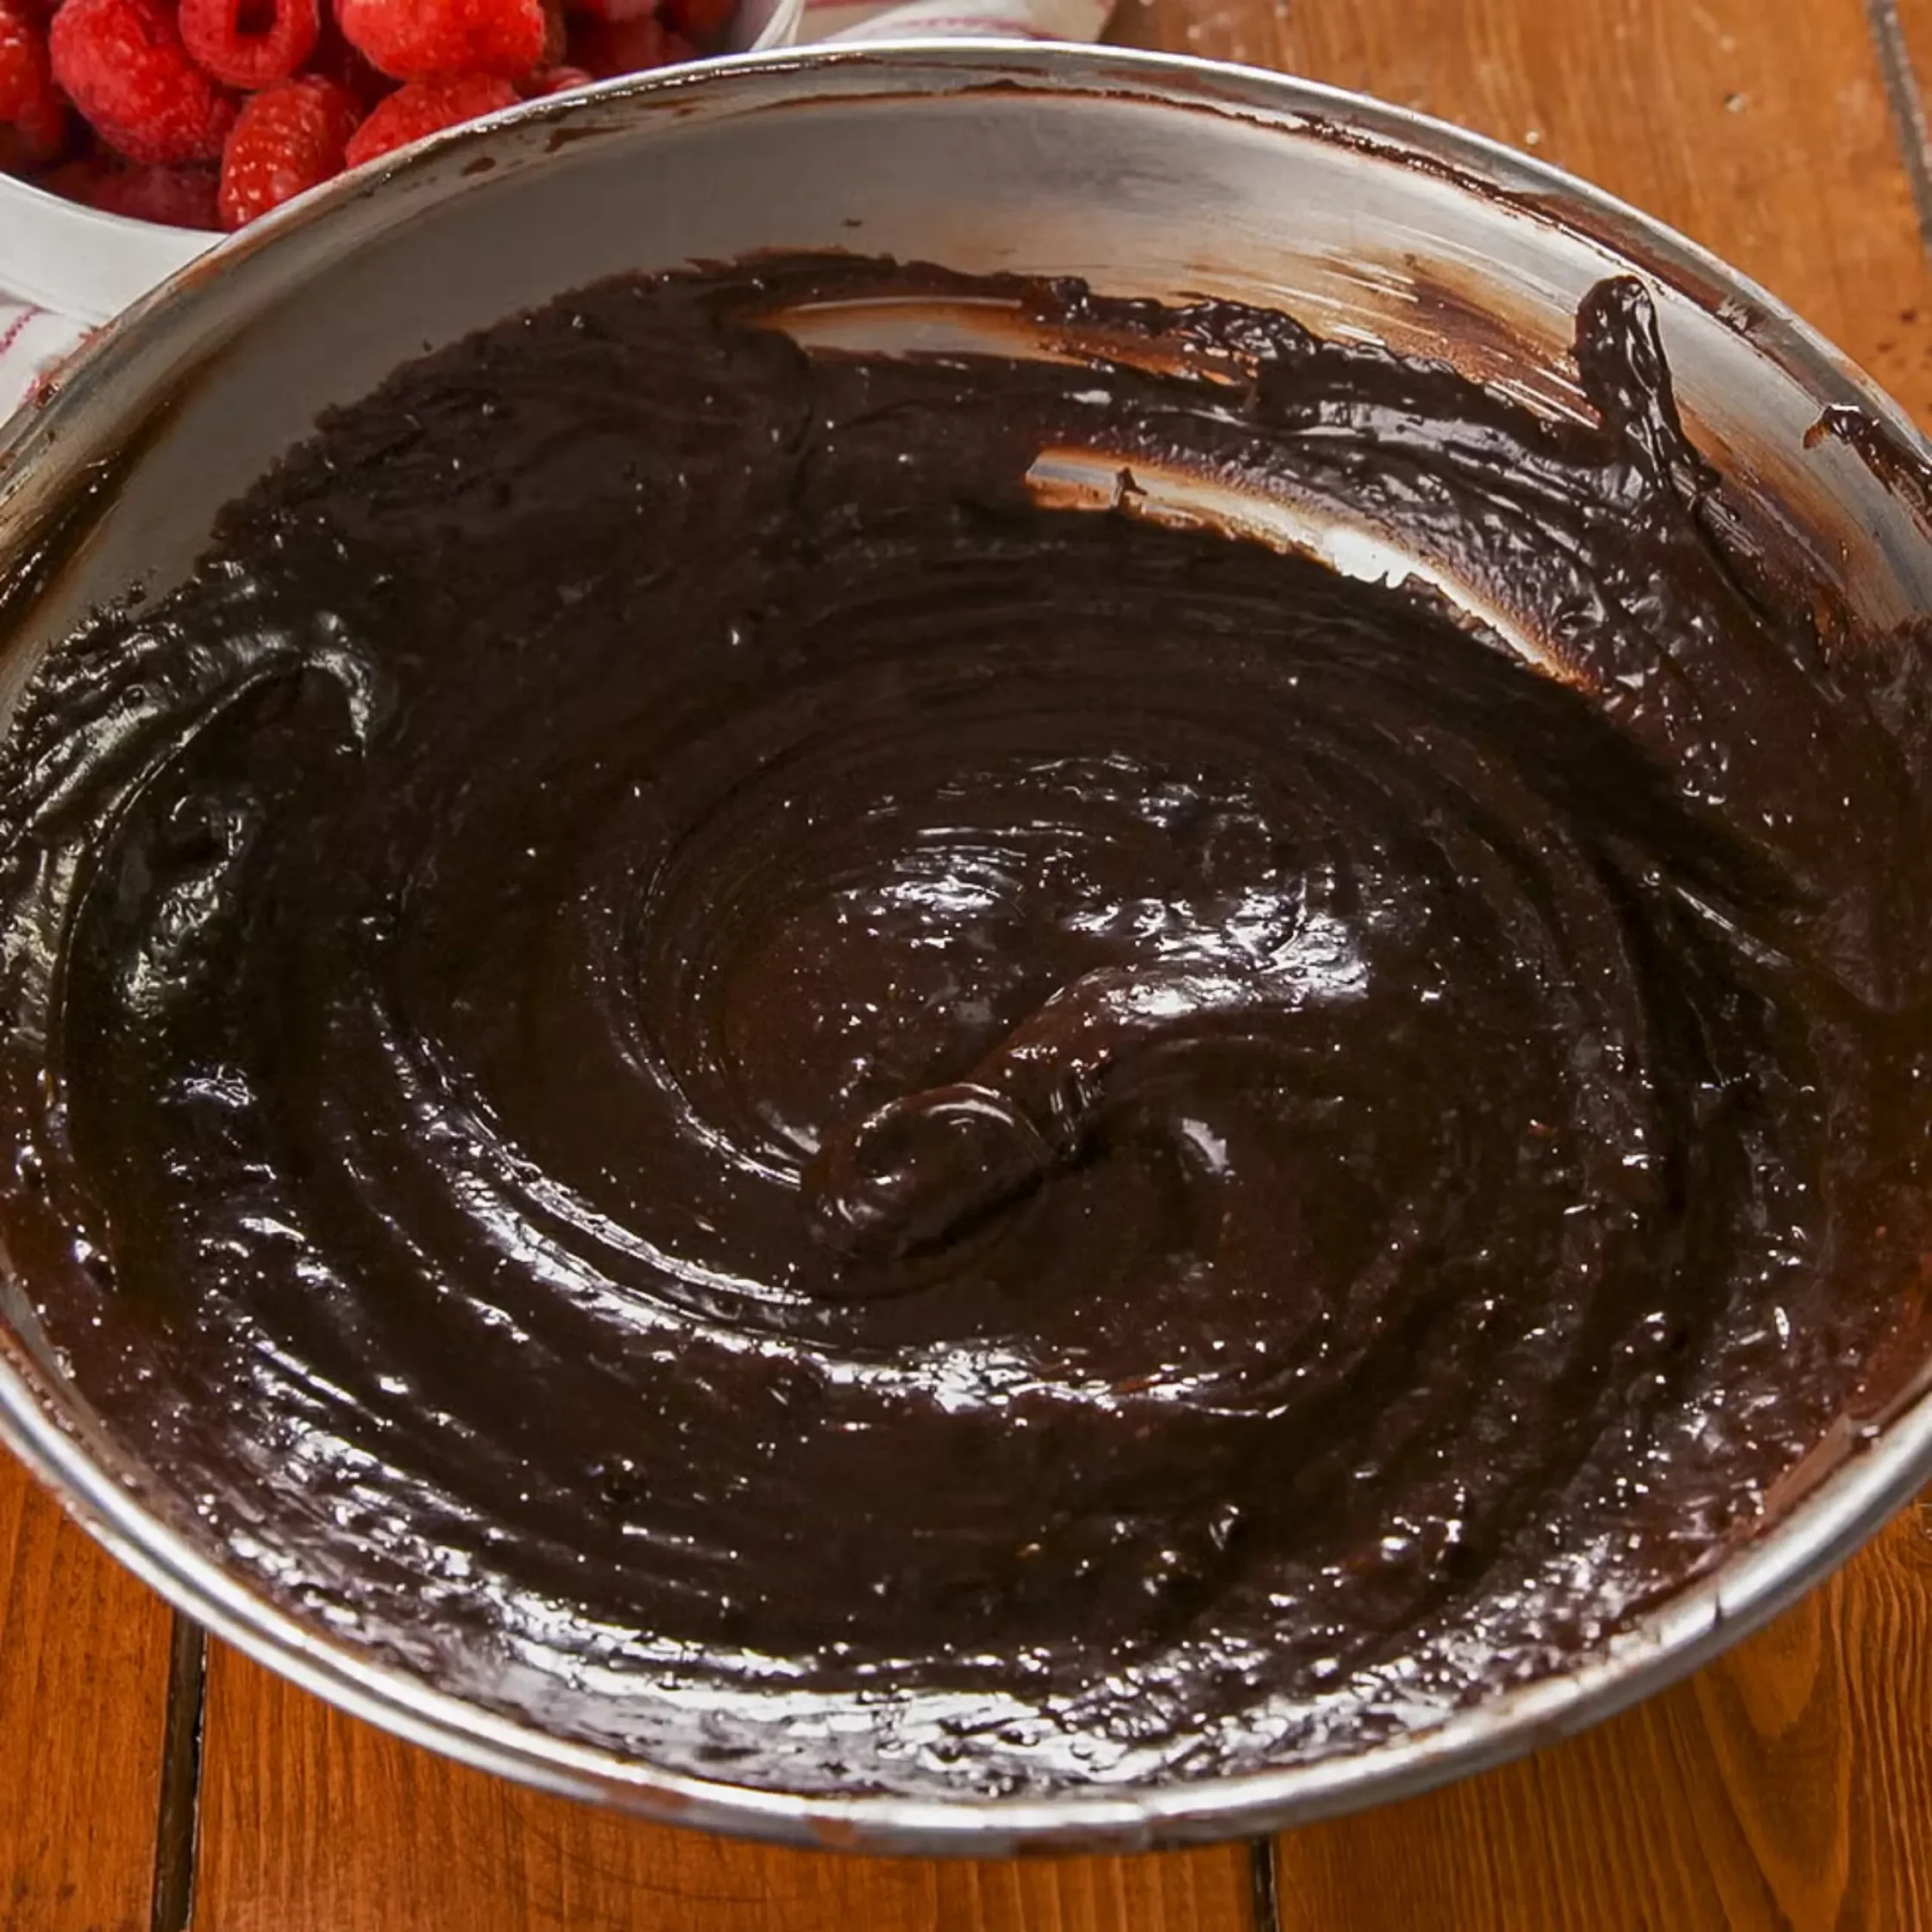
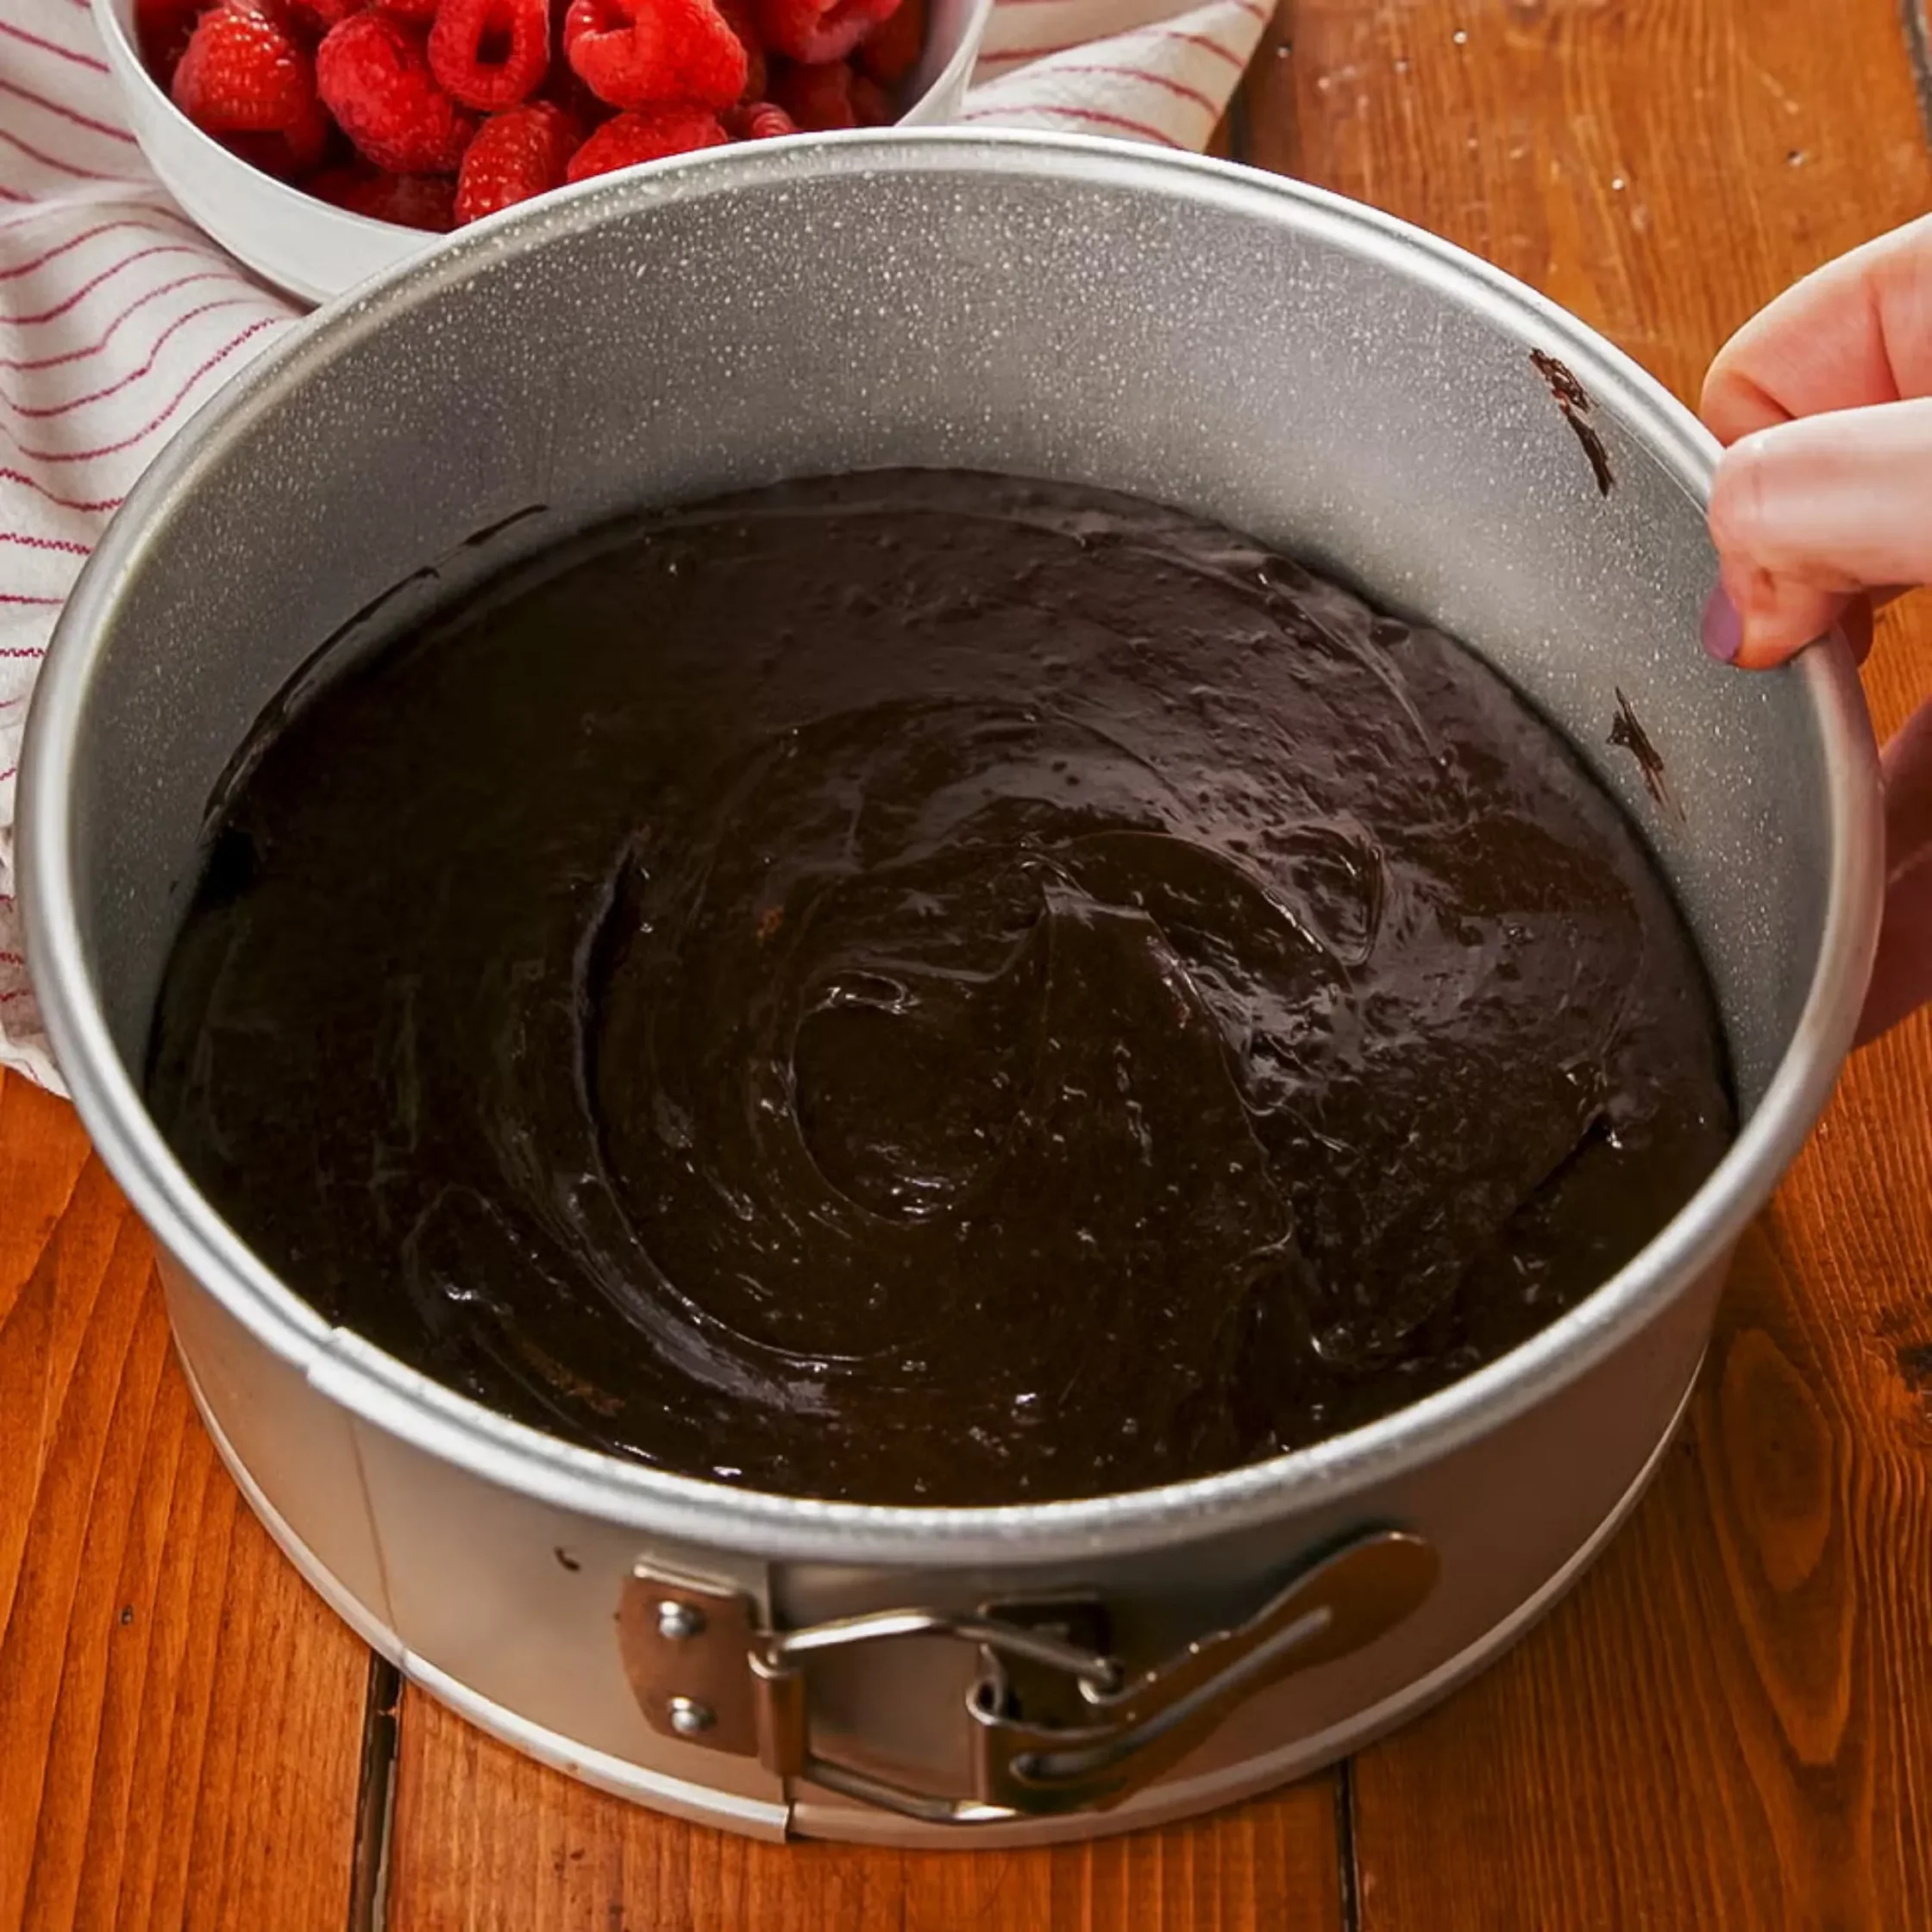
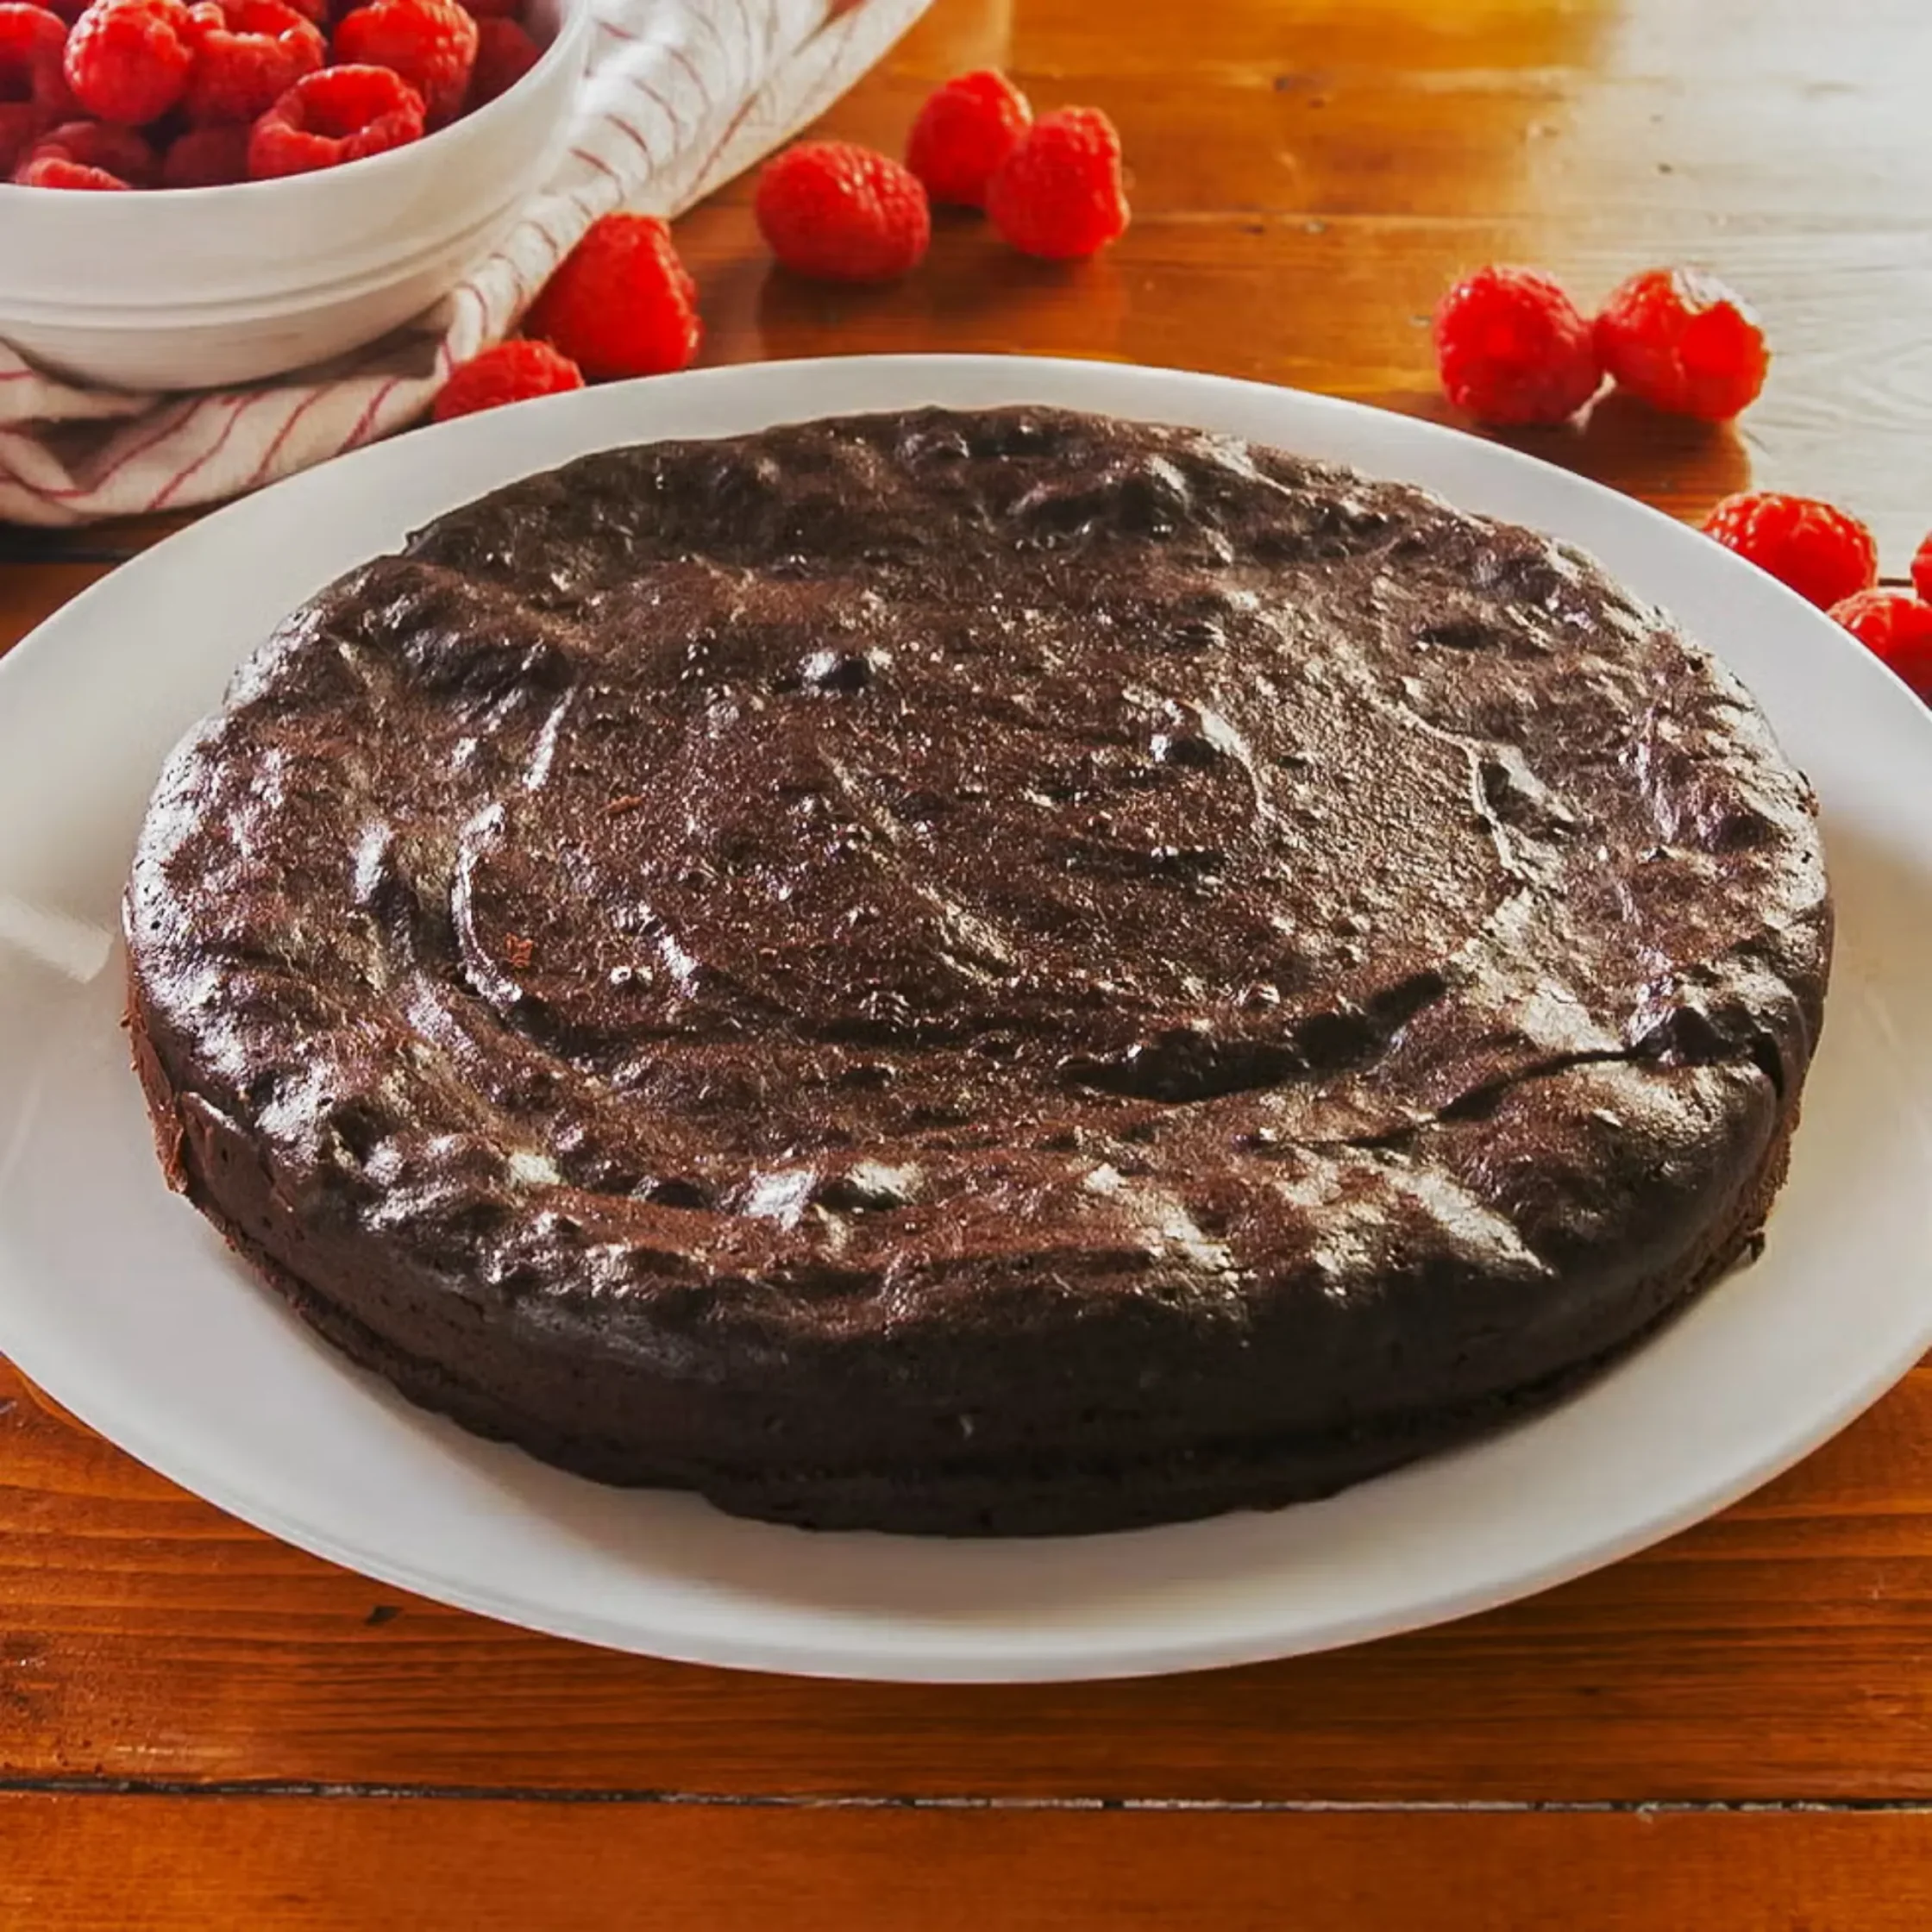
Pour the cake batter into your greased pan and cook for about 35 minutes. There will be a thin crust on the top of the cake, but a toothpick will still come out a little runny (this is good! You want the cake to be fudgy!). Allow the cake to cool for at least 15 minutes. In the meantime, you can make your ganache!
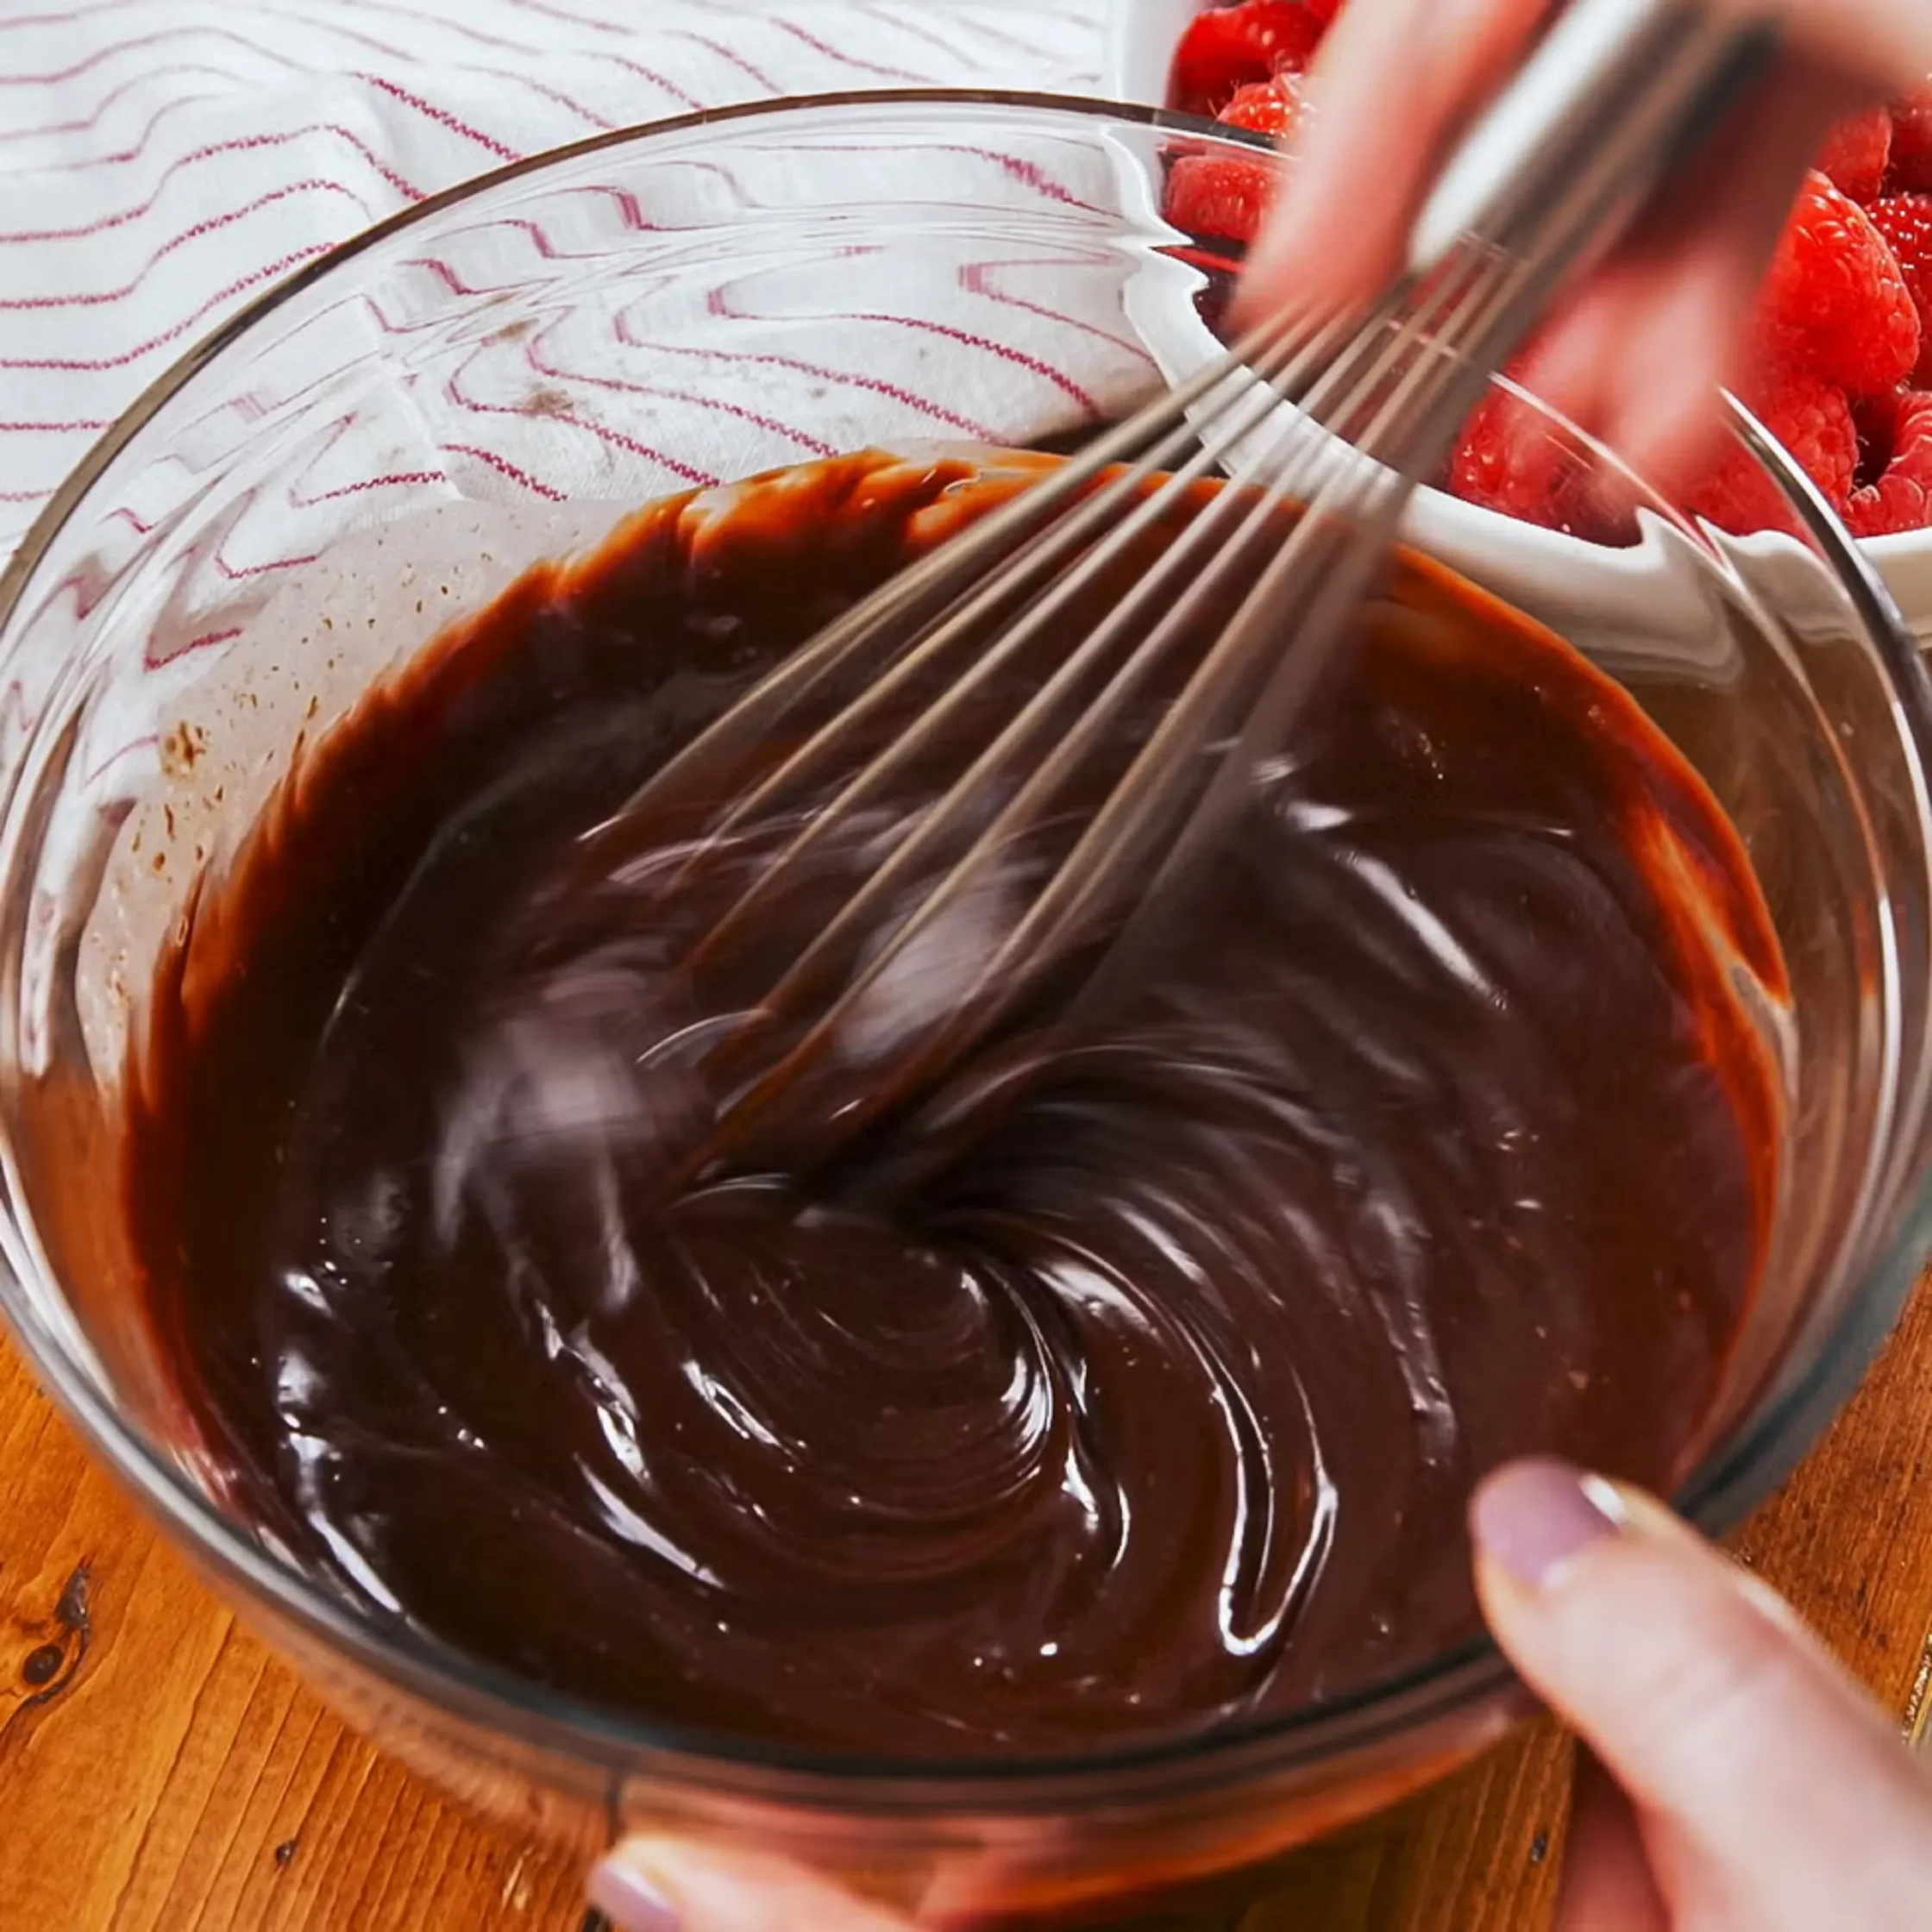
Bring the heavy cream to a simmer on the stove and then pour it over your chocolate chips in a heatproof bowl. Allow the mixture to sit for 1-2 minutes and then whisk until combined.
Pour the ganache over the cake and set it in the fridge for at least 10 minutes. Top with raspberries before serving!
The full list of ingredients and instructions can be found in the recipe below.
Recipe Tips
- How is this cake gluten-free? Do I need to buy any special ingredients to substitute for the flour? Nope. The magic of this cake is that it’s naturally gluten-free. It relies on pantry staples such as cocoa and eggs to provide structure and lift, without requiring any specialty ingredients or flour alternatives.
- How do I make sure my cake stays soft and fudgy in the center?
The short answer? Don’t over-bake it! To get that soft, fudgy center, your cake should only be in the oven for about 35 minutes. You’ll be able to tell when it’s done by taking a peek at the cake and poking it gently in the center: you’ll know it’s ready to come out when a matte crust forms on top, and the center feels just barely set. - How do I get this cake out of the pan? This cake has a delicate texture, so we don’t recommend flipping it out of a standard pan. Instead, we suggest baking it in a springform pan with removable sides. That way, you can just remove the sides and slide it off the base. If you don’t have a springform pan or prefer to bake in a standard round cake pan, make sure you let the cake cool completely before flipping it out onto a platter or cutting board.
Storage
You can definitely bake this cake the day before. We recommend letting it cool in the pan to room temperature before covering it with plastic wrap and popping it into the refrigerator. The day you’d like to serve it, pull the cake out of the refrigerator about 1 hour ahead of time and remove it from the pan. Right before you’re ready to eat, top it with freshly made ganache and serve. Any leftovers can be stored in an airtight container for up to 4 days.