
Advertisement

Kanto Style Fried Chicken Recipe

PHOTO: KIERAN PUNAY
YIELDS:
3 SERVING(S)
Prep Time:
10 MINS
Total Time:
35 MINS
Cal/Serv:
316

Nutritional Information

Calories 948 kcal
Fat 29 g
Saturated fat 8 g
Trans fat 0 g
Cholesterol 134 mg
Sodium 963 mg
Carbohydrates 123 g
Fiber 8 g
Sugar 1 g
Protein 46 g
Vitamin D 0 µg
Calcium 419 mg
Iron 8 mg
Potassium 741 mg

Note: The information shown is Edamam's estimate based on available ingredients and preparation. It should not be considered a substitute for a professional nutritionist's advice.

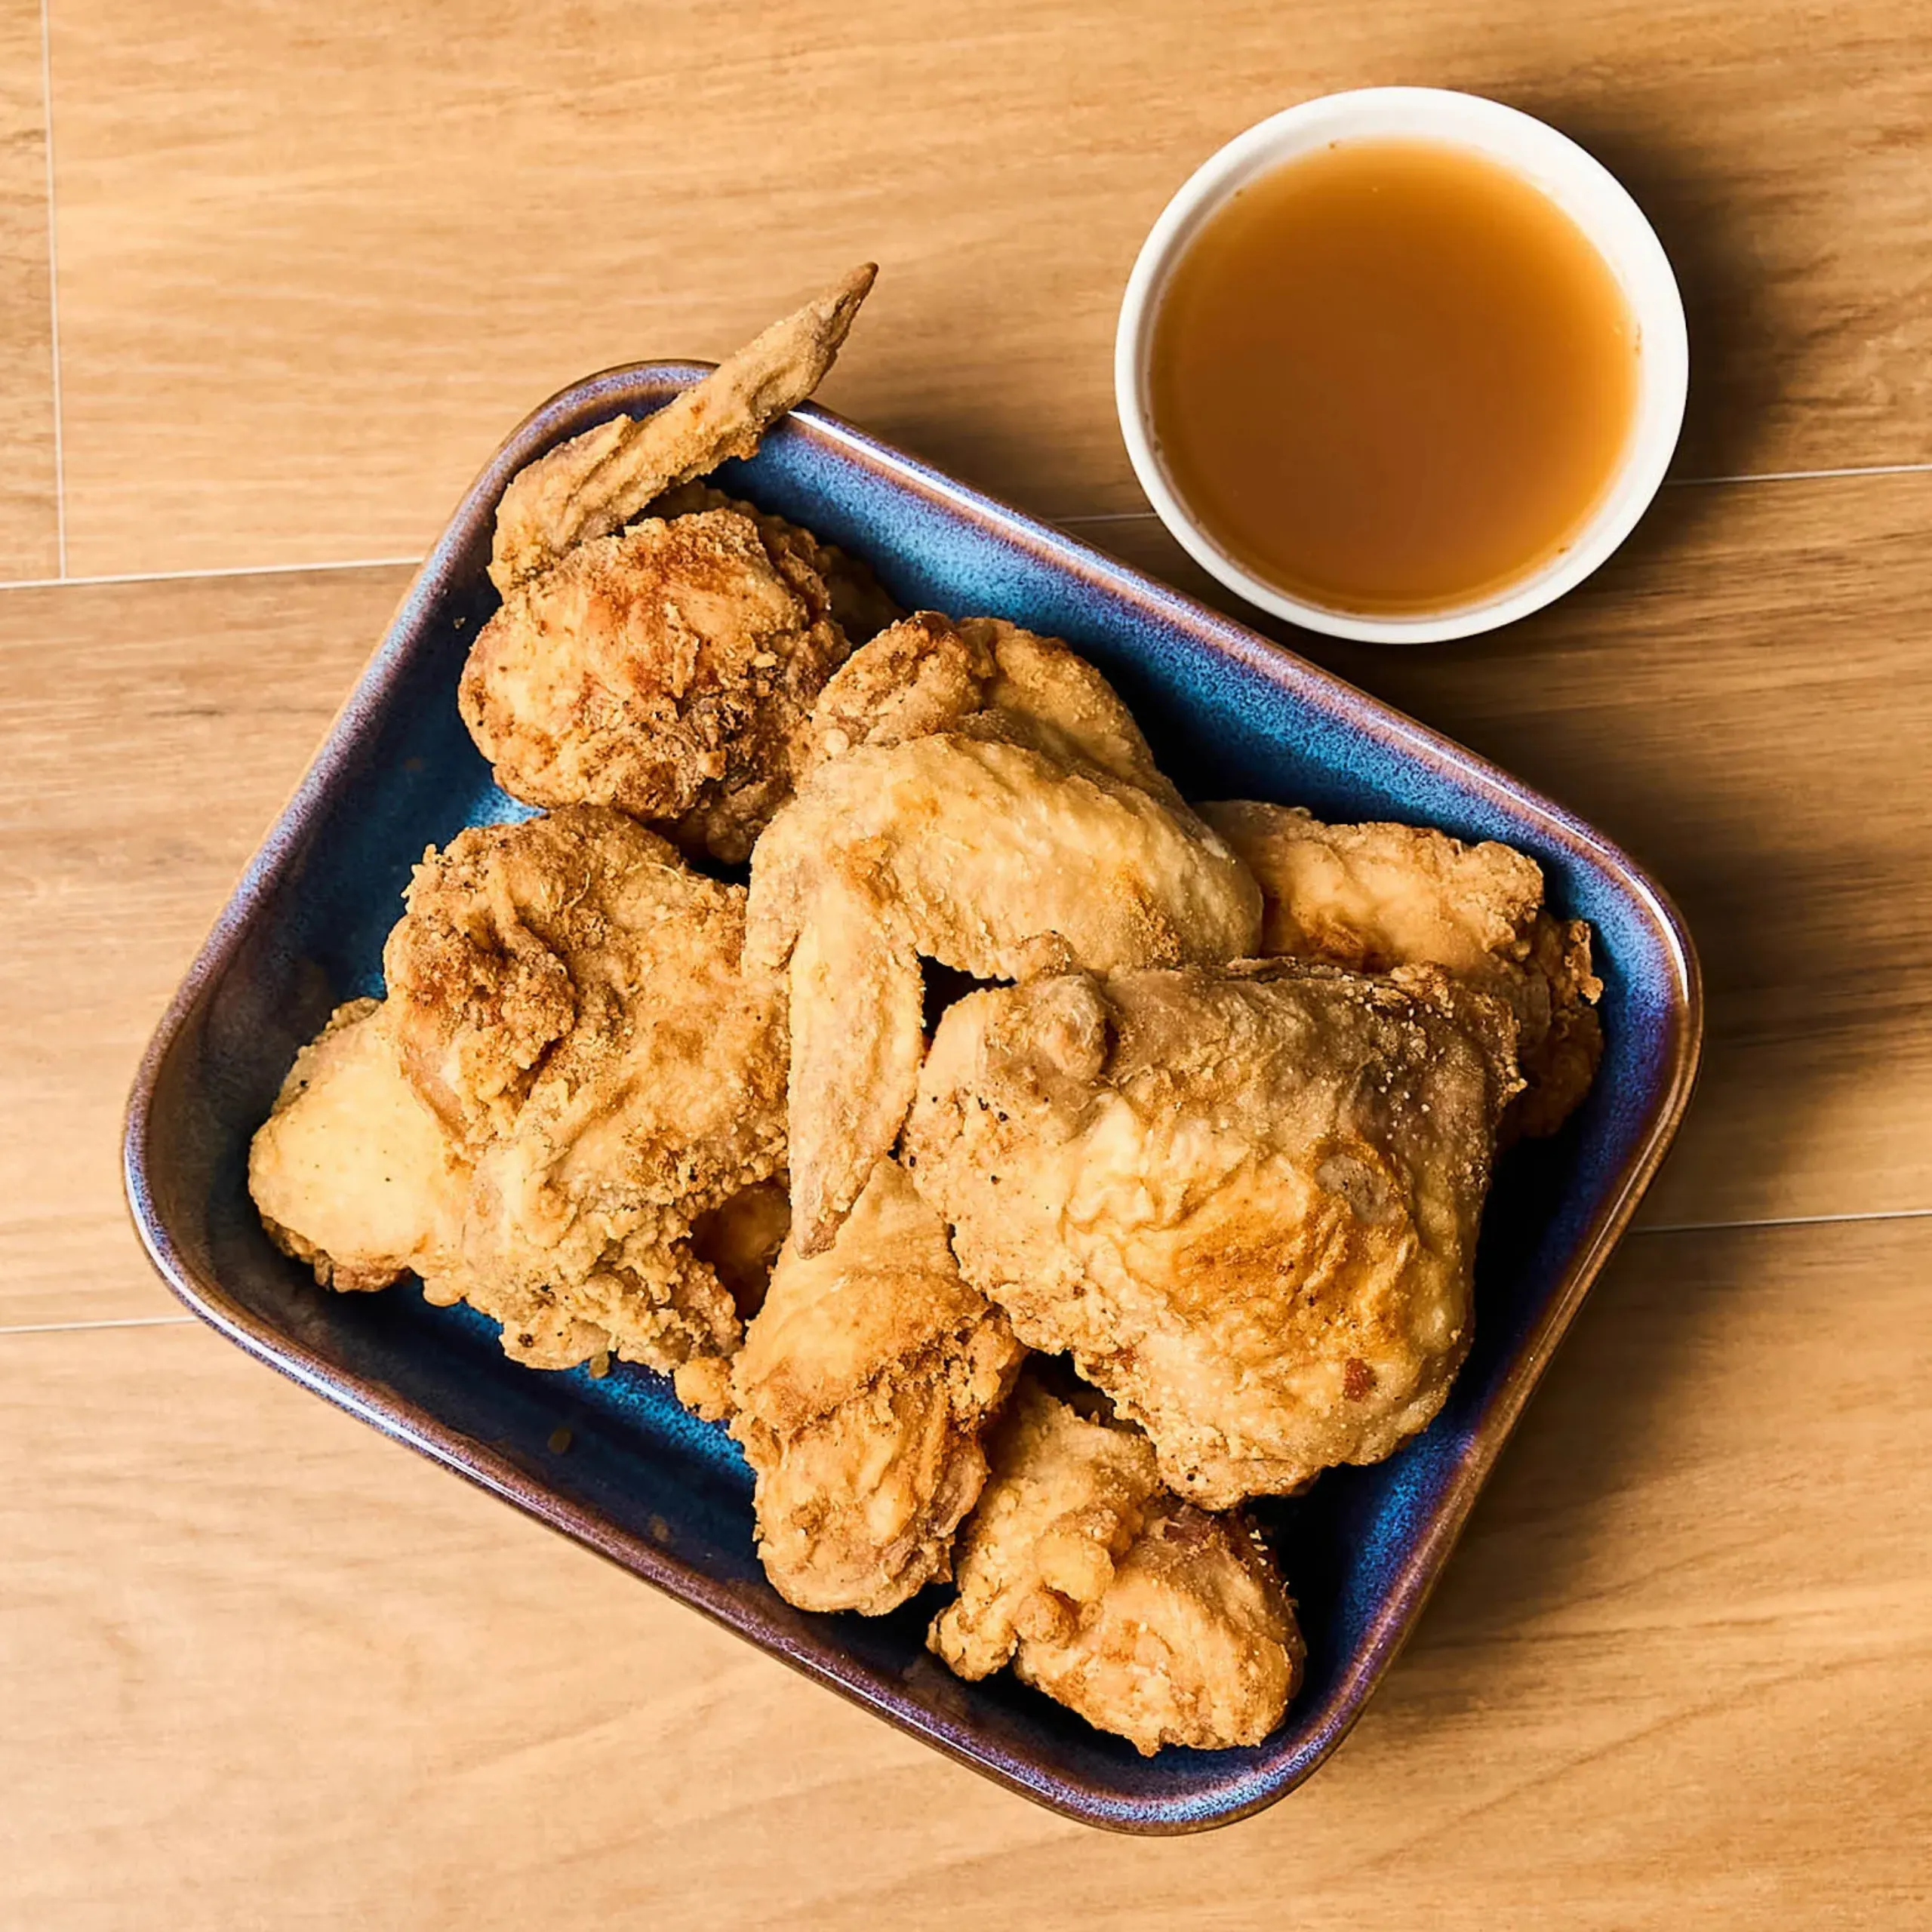
Kanto Style Fried Chicken is a beloved Filipino street food favorite known for its crispy, well-seasoned coating and juicy, flavorful meat. Inspired by the fried chicken commonly sold in neighborhood “kanto” (street corner) food stalls, this dish is simple, affordable, and incredibly satisfying. Unlike heavily battered fried chicken, Kanto Style Fried Chicken features a light yet crunchy crust seasoned with a blend of spices that allows the natural flavor of the chicken to shine through.

One of the reasons this dish has become so popular is its versatility. It can be enjoyed as a quick snack, paired with rice for lunch or dinner, or served during family gatherings, celebrations, and weekend get-togethers. Whether eaten with banana ketchup, spicy vinegar, gravy, or a simple dipping sauce, every bite delivers the comforting flavors that many Filipinos grew up enjoying.

Making Kanto Style Fried Chicken at home allows you to recreate the familiar taste of your favorite street-side stalls while using fresh ingredients and adjusting the seasonings to suit your family’s preferences. With just a handful of pantry staples and a few easy steps, you can enjoy crispy, golden fried chicken that’s every bit as delicious as the versions sold along busy streets.

A Brief History of Kanto Style Fried Chicken

Fried chicken has been enjoyed around the world for centuries, with each country developing its own unique techniques and flavors. In the Philippines, fried chicken became even more popular during the American colonial period, when Western cooking methods and recipes influenced local cuisine. Over time, Filipino cooks adapted fried chicken by incorporating local spices, seasonings, and cooking styles, creating versions that suited the Filipino palate.

The term “kanto” means “street corner” in Filipino, referring to the countless food stalls and small eateries found throughout cities and towns. These humble businesses became well known for serving affordable comfort foods, including freshly fried chicken that’s cooked to order. Because these stalls often cater to students, workers, and commuters, the recipes emphasize bold flavors, crispy texture, and generous portions at budget-friendly prices.

Unlike restaurant-style fried chicken that often relies on thick batters or elaborate marinades, Kanto Style Fried Chicken focuses on simple ingredients that deliver maximum flavor. Garlic, black pepper, paprika, and flour seasoned with spices create a crisp coating that pairs perfectly with hot rice or favorite dipping sauces.

Today, Kanto Style Fried Chicken has become more than just street food. It has found its way into home kitchens, family celebrations, and food businesses across the Philippines. While each cook may have their own secret blend of seasonings, the heart of the dish remains the same—crispy, flavorful fried chicken that’s comforting, satisfying, and made to be shared.

Recipe Tips

  • Marinate the chicken longer for richer flavor.
  • Pat the chicken dry before seasoning to improve coating adhesion.
  • Don’t overcrowd the frying pan, as this lowers the oil temperature.
  • Maintain a consistent frying temperature for the crispiest results.
  • Let coated chicken rest for 10–15 minutes before frying so the coating sticks better.
  • For extra crunch, double-coat the chicken.
  • Use a wire rack instead of paper towels to keep the coating crispy.
  • Avoid flipping the chicken too often while frying.
  • Fresh oil produces cleaner flavor and a more golden crust.

Ingredient Substitutions

This recipe is easy to adapt based on the ingredients you have available.

Chicken

Instead of drumsticks, thighs, or wings, you may use:

  • Chicken breast
  • Chicken tenders
  • Boneless chicken thighs
  • Chicken leg quarters

All-Purpose Flour

Substitute with:

  • Rice flour
  • Self-rising flour (omit the baking powder)
  • Gluten-free flour blend

Cornstarch

Replace with:

  • Potato starch
  • Tapioca starch
  • Arrowroot powder

Baking Powder

If unavailable, simply omit it. The chicken will still be crispy, although the coating may be slightly denser.

Paprika

You may substitute with:

  • Smoked paprika
  • Cayenne pepper (for heat)
  • Chili powder
  • Annatto powder for color

Garlic Powder

Use:

  • Fresh minced garlic (mixed into the seasoning)
  • Granulated garlic

Onion Powder

Replace with:

  • Finely grated onion
  • Granulated onion

Serving Suggestions

Kanto Style Fried Chicken is delicious served hot with steamed white rice, garlic fried rice, or buttery mashed potatoes. Add a side of coleslaw, pickled vegetables, or a fresh cucumber and tomato salad for balance. It also makes a great meal with French fries, corn on the cob, or buttered vegetables. Complete the experience with your favorite dipping sauces, whether it’s classic gravy, banana ketchup, or a tangy spiced vinegar.
Ingredients

For the Chicken

  • 6 Piece chicken pieces
  • 2 Tablespoon salt
  • 1 Tablespoon ground black pepper
  • 1 Tablespoon garlic powder
  • 1 Tablespoon onion powder
  • 1 Teaspoon paprika powder

For the Crispy Coating

  • 2 Cup all-purpose flour
  • 1 Cup cornstarch
  • 1 Tablespoon baking powder
  • cooking oil (enough for deep frying)
Keep screen awake

Directions

Step 1

Prepare the Chicken

Wash the chicken pieces if preferred, then pat them completely dry using paper towels. Removing excess moisture helps the seasonings stick better and produces a crispier coating during frying. If the chicken pieces are large, make a few shallow cuts through the thickest parts. This allows the seasonings to penetrate deeper and helps the chicken cook more evenly.

Step 2

Season the Chicken

In a large bowl, combine the salt, ground black pepper, garlic powder, onion powder, and paprika. Rub the seasoning mixture thoroughly over every piece of chicken, making sure all sides are evenly coated. Cover the bowl and let the chicken marinate for at least 30 minutes. For deeper flavor, refrigerate it for 2 to 8 hours or overnight.

Step 3

Prepare the Coating

In another large bowl, mix together the all-purpose flour, cornstarch, and baking powder until evenly combined. The cornstarch helps create a lighter, crispier crust, while the baking powder produces tiny air pockets that make the coating extra crunchy.

Step 4

Coat the Chicken

Remove each piece of seasoned chicken from the bowl and dredge it thoroughly in the flour mixture. Press the flour firmly onto the chicken to help create a thicker, crunchier crust. Shake off any excess coating before frying. For an extra-crispy finish, lightly mist the coated chicken with water or dip it quickly into cold water before coating it again with the flour mixture. This creates small craggy bits that become wonderfully crunchy after frying.

Step 5

Heat the Oil

Pour enough cooking oil into a deep frying pan or heavy pot so the chicken can cook evenly. Heat the oil over medium heat until it reaches approximately 170–175°C (340–350°F) If you don’t have a thermometer, test the oil by dropping in a pinch of flour. It should sizzle immediately without burning.

Step 6

Fry the Chicken

Carefully place several pieces of coated chicken into the hot oil without overcrowding the pan. Fry for about 12–15 minutes, turning occasionally so all sides cook evenly. The chicken should develop a beautiful golden-brown color while remaining juicy inside. Use a meat thermometer if available. The internal temperature should reach 74°C (165°F).

Step 7

Drain and Rest

Transfer the cooked chicken onto a wire rack or a plate lined with paper towels to remove excess oil. Allow the chicken to rest for about 5 minutes before serving. This helps the juices redistribute and keeps the meat moist. Serve while hot and crispy.

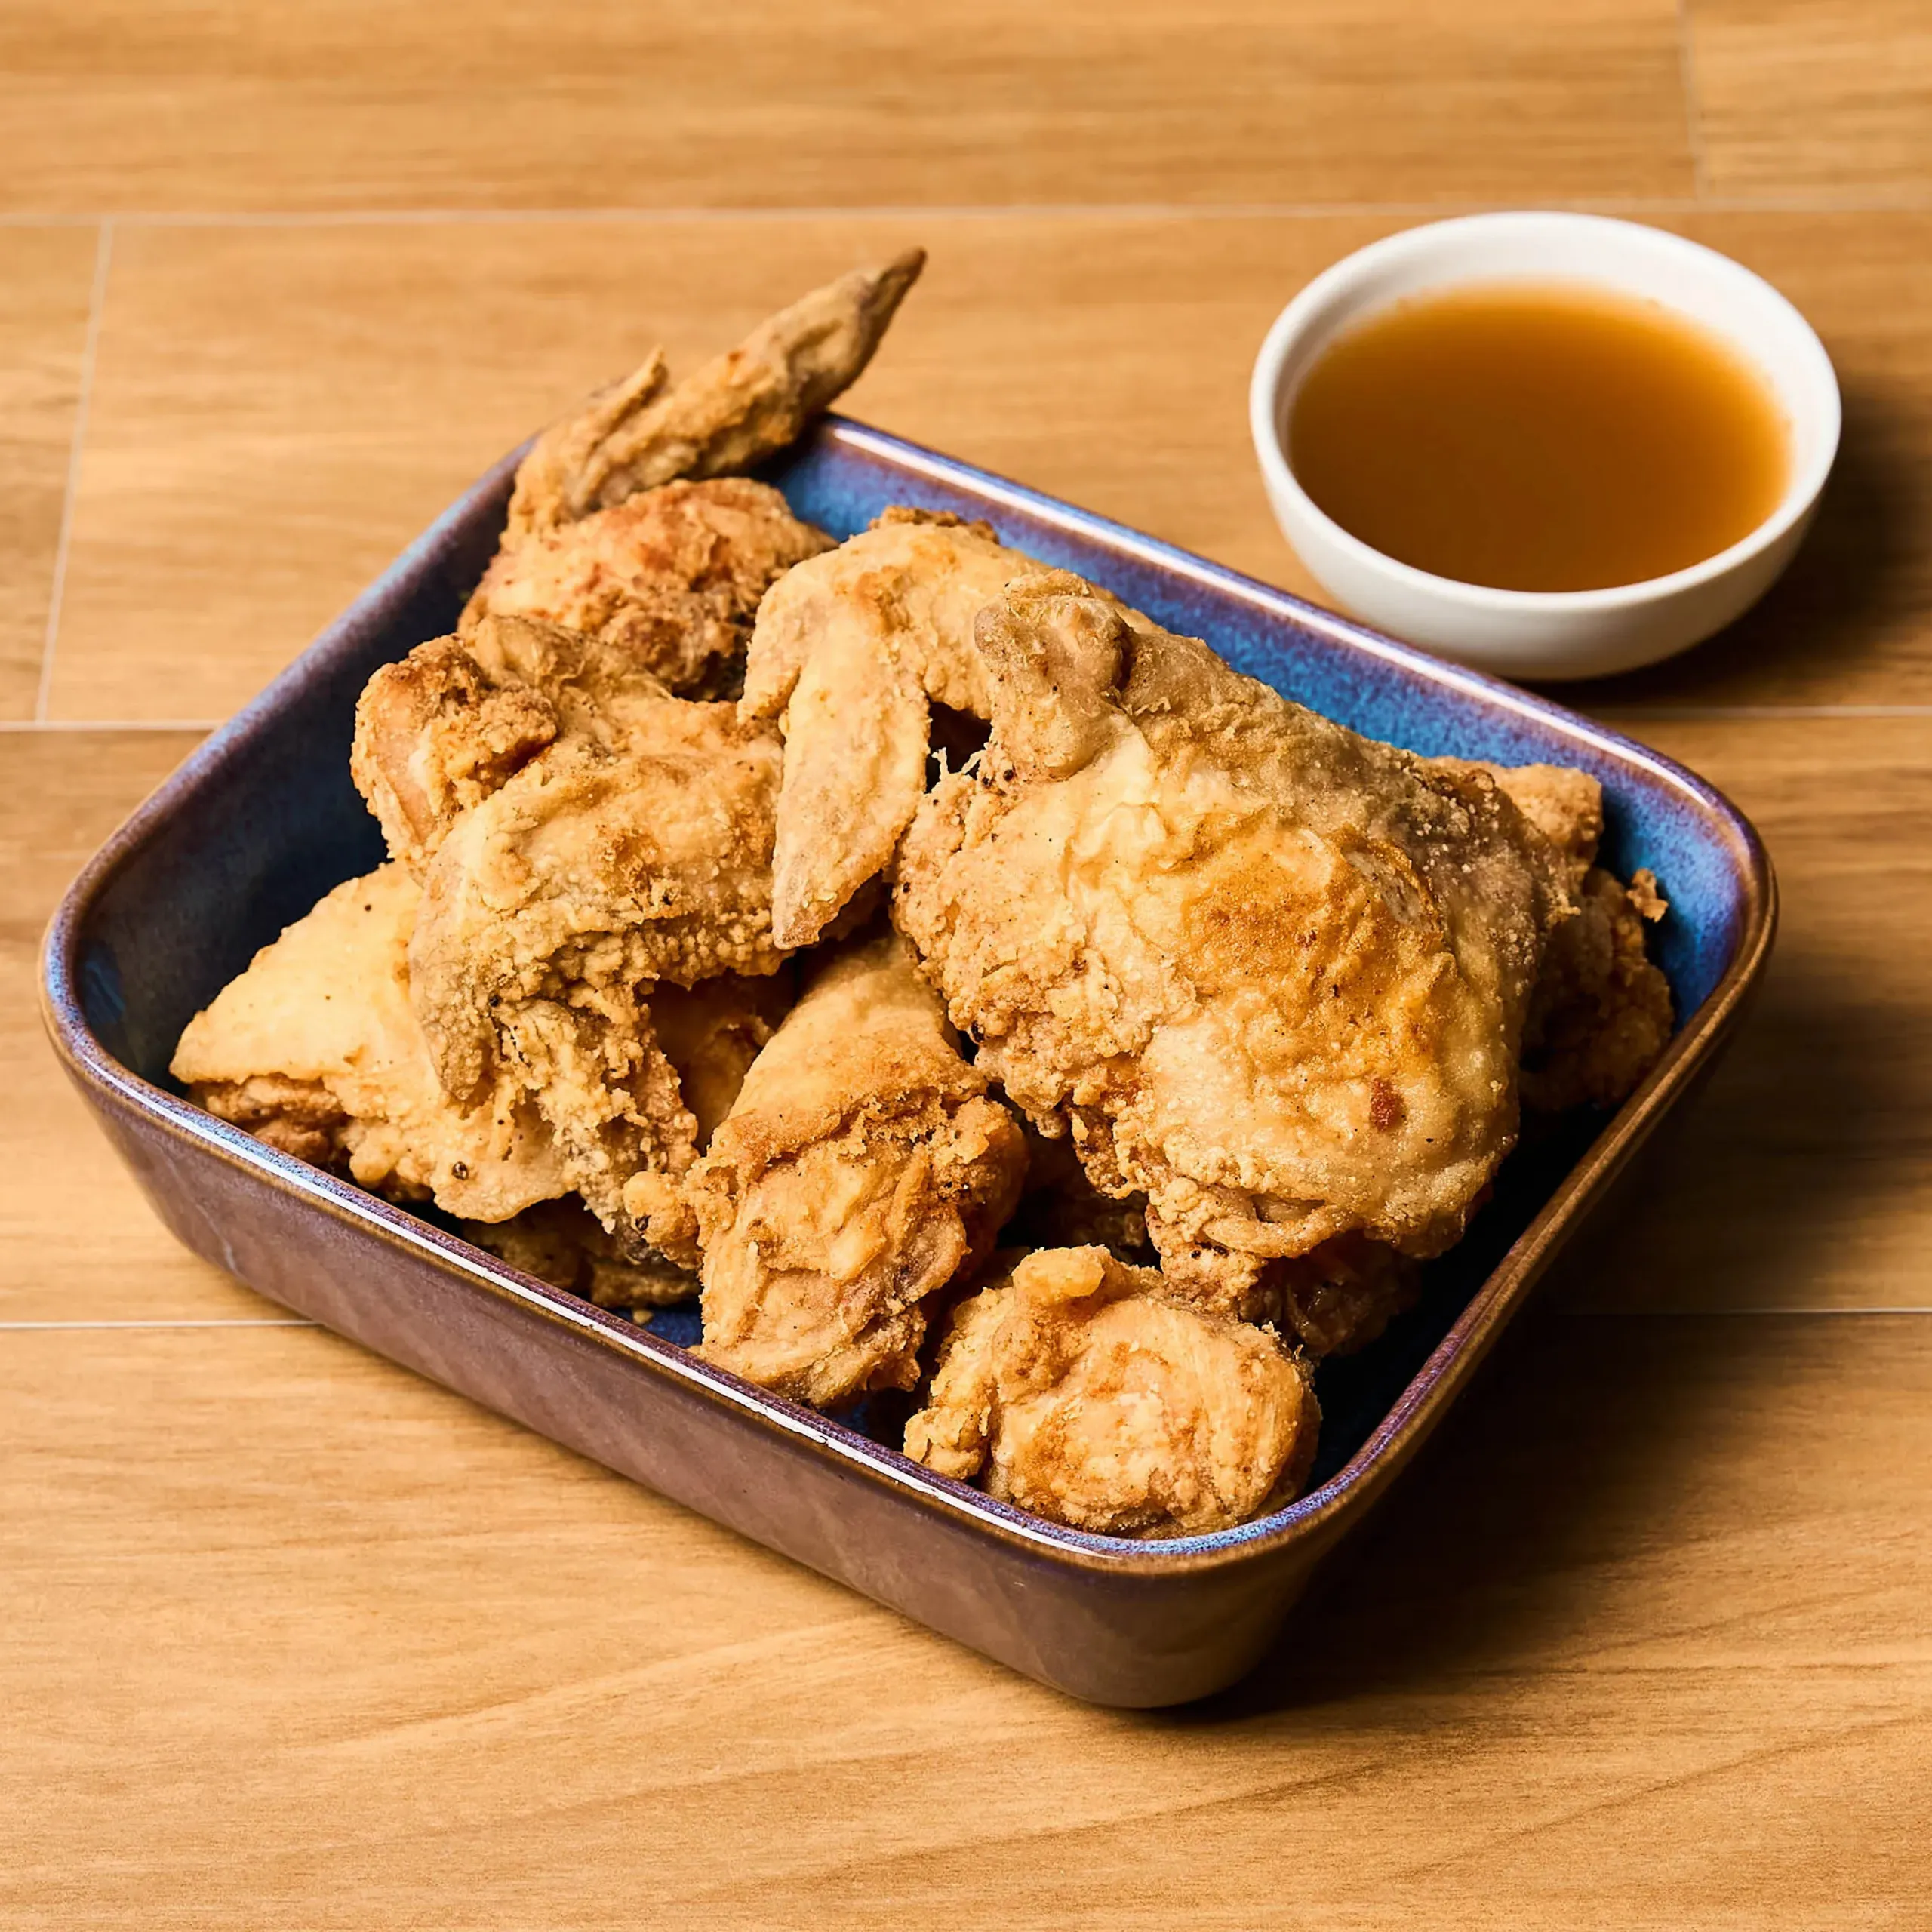
Pile of crispy fried chicken pieces in a blue tray on a wooden table, with a small bowl of brown dipping sauce nearby
PHOTO: KIERAN PUNAY


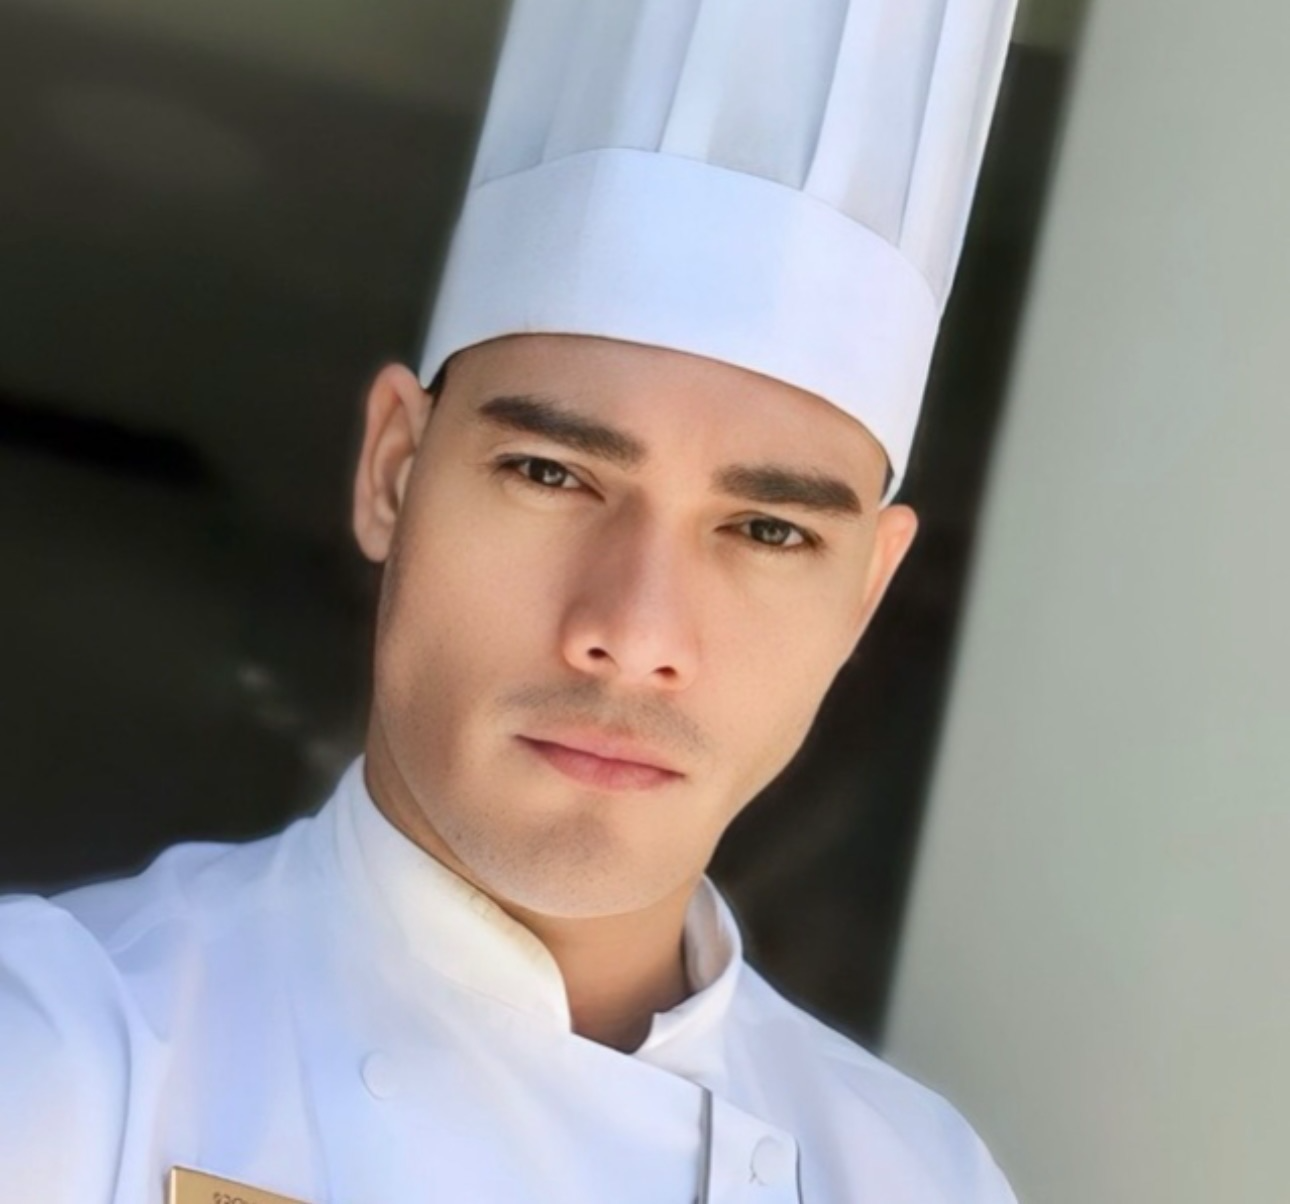
Alexander Villarante

Recipe Developer

Alexander Villarante is a passionate culinary professional with more than 15 years of experience in the hospitality industry, having built his career in prestigious five-star luxury hotels abroad. He studied Culinary Arts at the Singapore Boston Business School, where he developed a strong foundation in both classical and modern culinary techniques. Throughout his career, he has worked alongside talented chefs from diverse cultural backgrounds, refining his skills and gaining extensive experience in creating exceptional dining experiences. His dedication to excellence has earned him recognition in the competitive culinary scene. Alexander participated in the Philippine Culinary Cup, where he received several citations for his creativity, technical expertise, and commitment to his craft. These achievements reflect his passion for continuous learning and his pursuit of culinary excellence.


Frequently Asked Questions

“Kanto” means “street corner” in Filipino. The dish is inspired by the fried chicken commonly sold at neighborhood food stalls and small eateries throughout the Philippines.

Drumsticks and thighs are the most popular because they stay juicy during frying, but wings and boneless thighs also work well.

Yes. Lightly spray the coated chicken with cooking oil and air fry at 200°C (400°F) for about 22–28 minutes, turning halfway through. Cooking time may vary depending on the size of the chicken pieces.

Absolutely. Arrange the coated chicken on a wire rack placed over a baking tray and bake at 200°C (400°F) for 35–45 minutes, turning once halfway through.

Allow the fried chicken to drain on a wire rack instead of stacking it. Avoid covering it immediately, as trapped steam can soften the crust.

Yes. Season the chicken the night before and refrigerate it. Coat the chicken just before frying for the best texture.

Yes. Reheat in an oven or air fryer at 180°C (350°F) for about 8–10 minutes to restore crispiness. Avoid microwaving if possible, as it can soften the coating.

Popular choices include banana ketchup, spicy vinegar with onions and chili, garlic mayonnaise, honey mustard, barbecue sauce, gravy, or sweet chili sauce.

0 0 votes
Total of Ratings
guest
Rating
Ratings for Article
0 Comments
Oldest
Newest Most Voted

To provide a customized ad experience, we need to know if you are of legal age in your region.

By making a selection, you agree to our Terms & Conditions.