How do you like your cake? Do you enjoy those alternating layers of the sponge and icing? Or do you prefer the donut-like design straight from a trusty mold?
Chances are, if you’re in a rush, the latter’s got to be your reliable, last minute option. And for another good reason, too. With its built-in design, you can ease up on the decoration and still get that moist, fluffy cake. That’s thanks to the bundt pan.
Bundt Pan History: Why This Pan Was Invented
In the 1950s, the term “bundt” was first coined by Dotty and Dave Dalquist to name their own iteration of the Germans’ heavy, cast-iron gugelhupf pan for their bundkuchen or “gathering cake.” The word bund also meant “bond” or “gathering.” The couple’s version was made out of aluminum, creating a lightweight version as requested by a group of Jewish women.

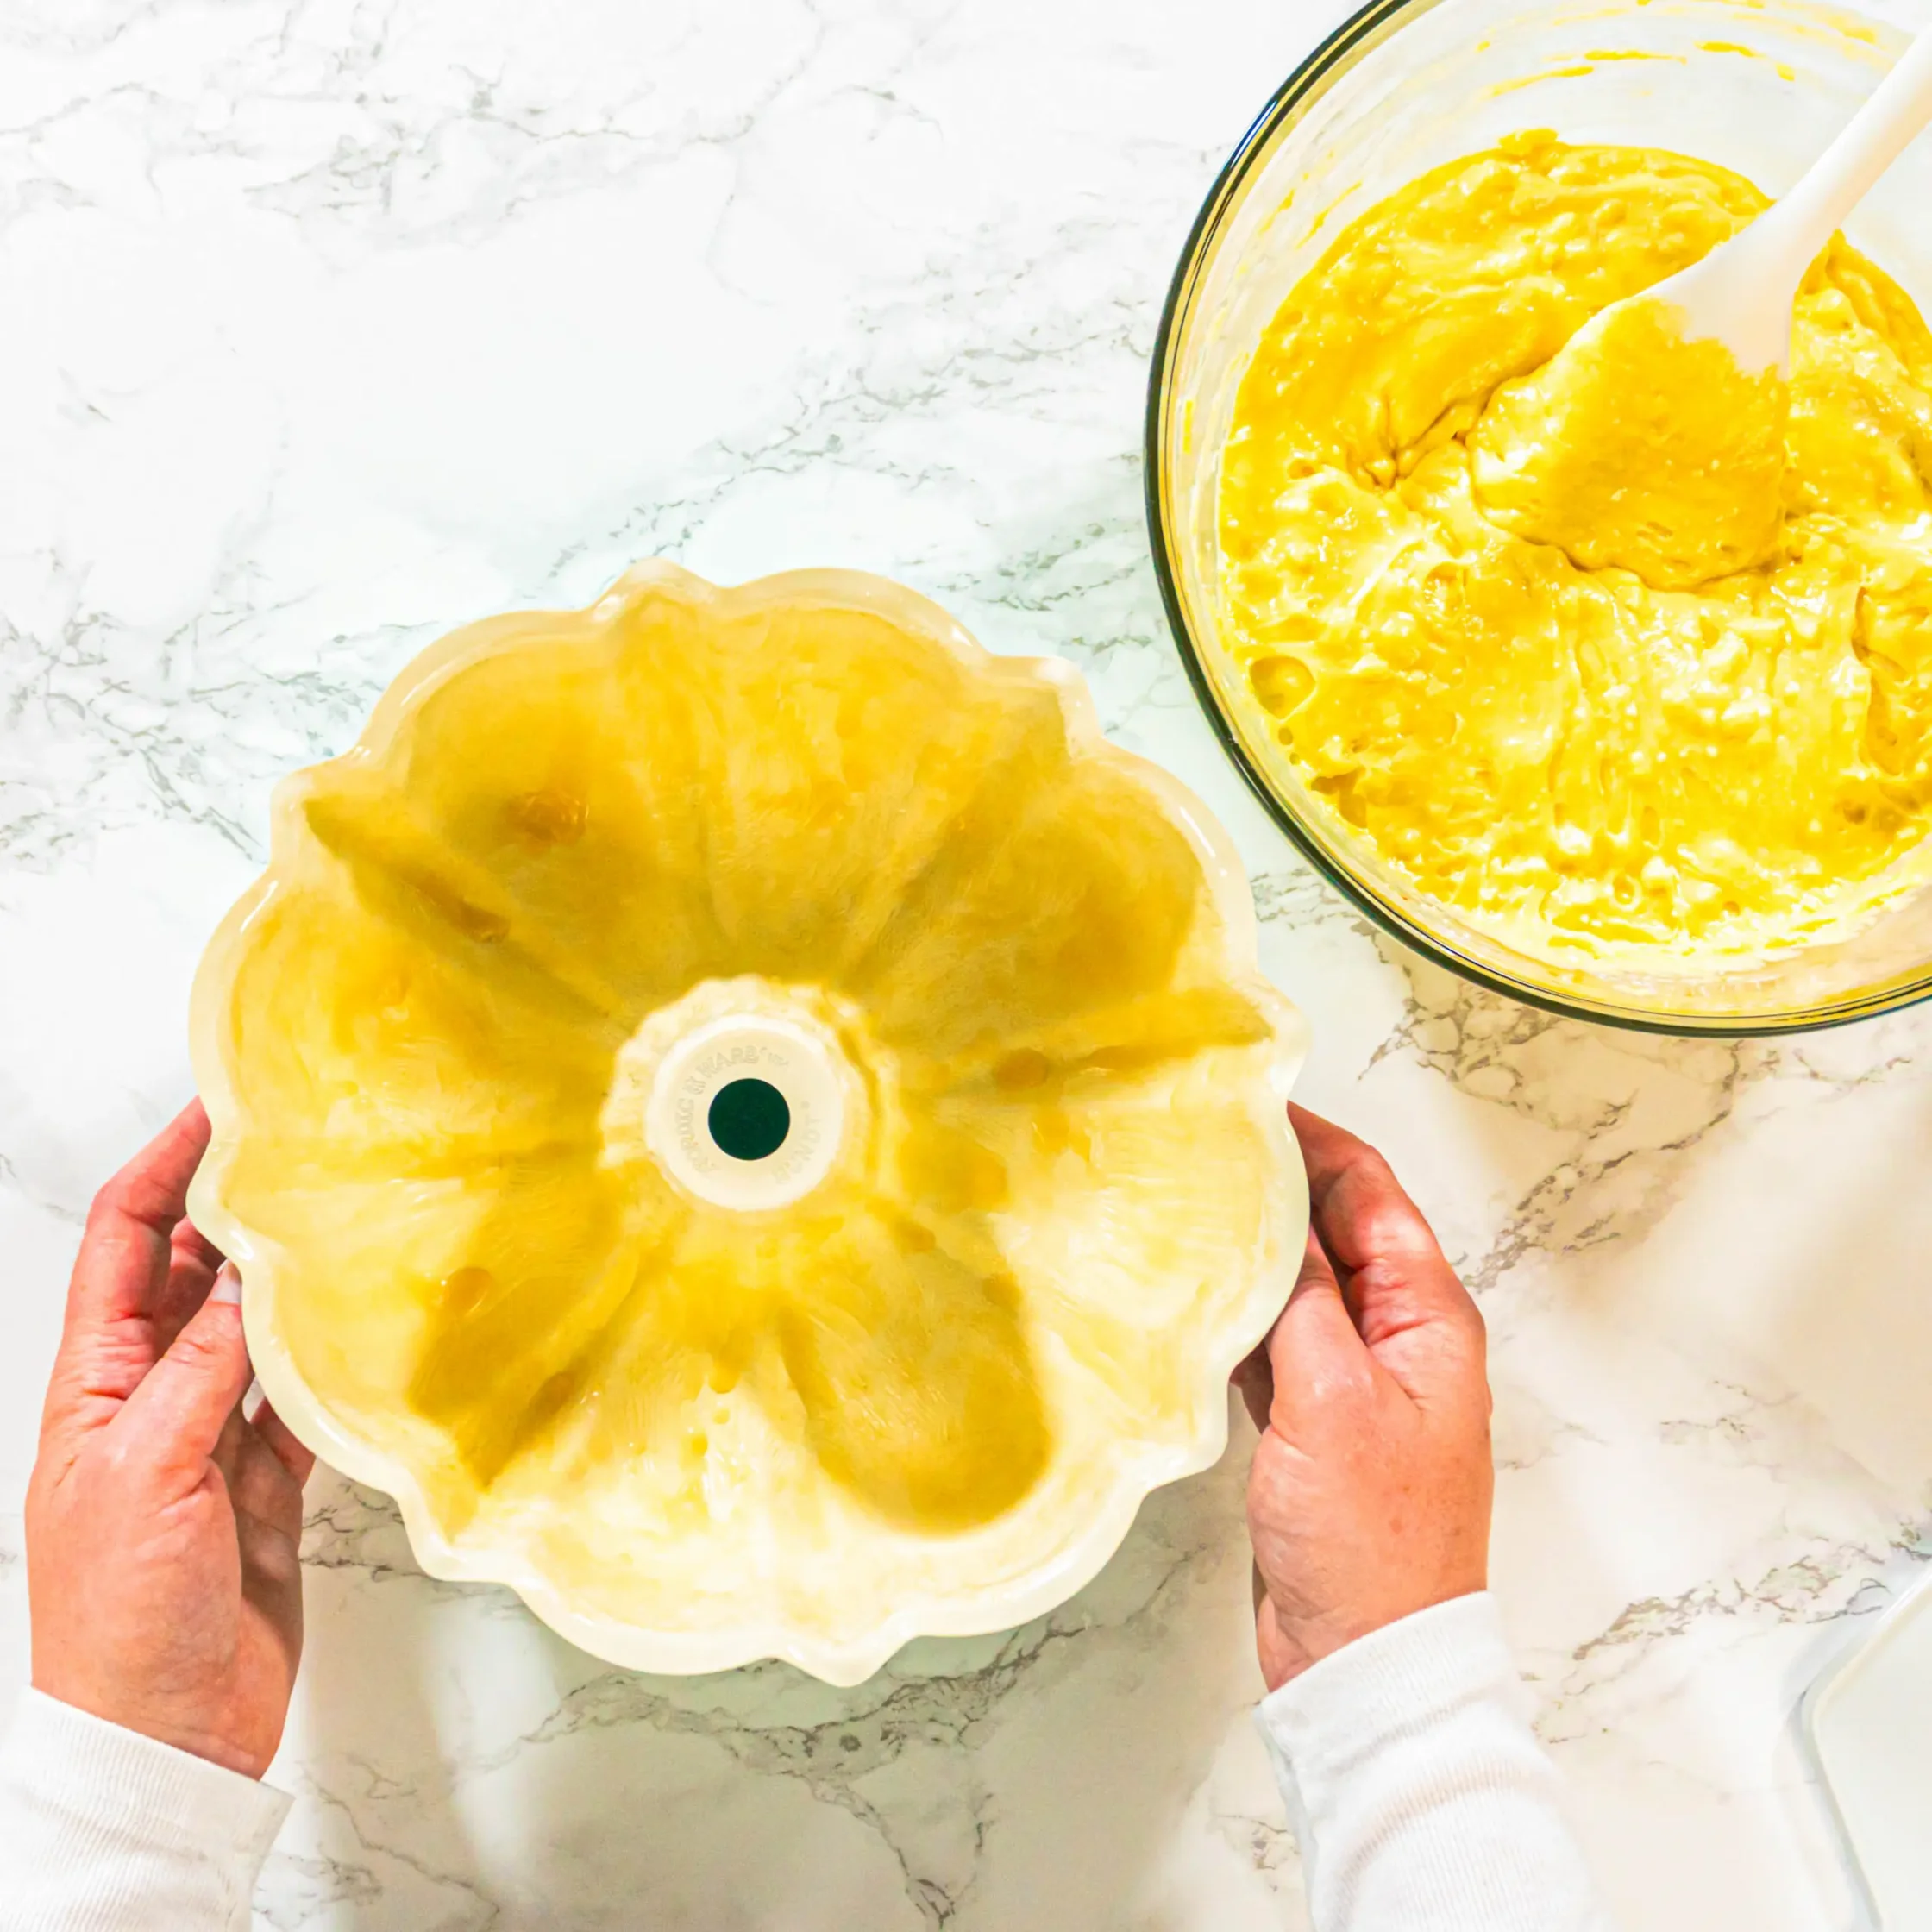
You know how baking cakes sometimes upsets you because the middle part is still a little liquid-y? Well, the bundt pan’s hollow tubed center functions to distribute the heat more evenly. That means no more underbaked areas for your cakes, and you get that moist, fluffy texture. It also works for denser pound cakes!
Tunnel of Fudge: How the Bundt Pan Gained Fame
For more than 15 years, the market for the bundt pan was stale. But Ella Helfrich changed it all in 1966 when she joined the 1966 Pillsbury Bake-Off Contest. With a bundt pan in hand, she finished in second place with her “Tunnel of Fudge” cake.
The combination of cocoa powder and walnuts allowed a rich, sweet flavor to develop much like in a fudgy brownie’s. Ella used a Double Dutch Frosting Mix but this was eventually discontinued by the baking brand in the 1980s. A modern recipe mentioned that the key to a gooey fudge was letting the cake cool down for two hours before taking it out of the mold.
After Helfrich’s winning cake recipe, American wives suddenly had to have this bundt pan in their kitchens! The Dalquists suddenly had orders piling up, operating their makeshift factory at the basement of their Minneapolis home for 24 hours. Their family legacy, Nordic Ware, has made around 70 million bundt pans over the years.
They have even expanded their line with different shapes and sizes, even making holiday-themed iterations such as their Pumpkin Patch, Gingerbread House, and Holiday Wreath ones. Even the details of the edges now vary, from rounded to sharper forms. You can even choose different bundt molds such as Braided, Swirl, or Pirouette, depending on your preference.
Savory Bundt Pan Recipes: Roast Chicken & Bread
Think it’s just for cake? The bundt pan has a lot of uses in the kitchen, which should make it a staple in yours.
Want some roasted chicken with veggies on the side? Prop your chicken onto the central tube, then spread your chopped vegetables in the pan. While cooking, the juices of your meat will drip down on your veggies, letting the flavor seep into them.
If you’re thinking of upping your bread baking skills, the bundt pan can be your new best friend. Use it as a mold for your pull apart dinner rolls, focaccia, or even your cinnamon rolls! With its tubed center, you’re guaranteed to have the heat evenly distributed. Plus, your bread’s looped shape makes it easier to cut and portion in pieces.
How to Make a Taco Crunch Ring in a Bundt Pan
Having some friends or family over? Tacos are always a good DIY finger food for your guests, but this time, why not elevate yours? Turn them into a taco crunch ring that still achieves the layer-by-layer flavors of your regular Mexican dish.
Start by assembling your sliced tortilla strips around your bundt pan as your base, followed by your shredded tex-mex cheese. Add your cooked taco meat, then go for another layer of cheese. Repeat this step until your pan is full, then cover it with the last strips of your tortilla chips. Spray or drizzle some oil on this layer, and throw it in your preheated oven for 45 minutes at 175° Celsius. You can even add more cheese on top and melt it with your torch, or sprinkle some cilantro for that extra fresh color and flavor.
So, the next time you see a bundt pan, you know it’s not just for a sweet recipe. It’s also for savory dishes, which truly makes it a versatile tool that you’ll find yourself reaching for.

Frequently Asked Questions
To prevent sticking, generously grease every crevice of the pan with a professional “cake goop” (a mix of flour, oil, and shortening) or a specialized baking spray with flour. Unlike standard pans, the intricate designs of a Bundt mold require meticulous coating to ensure a clean release. Avoid using regular butter alone, as the milk solids can act as a glue, causing the cake’s exterior to tear.
A dry Bundt cake usually results from overbaking or failing to account for the pan’s central tube, which cooks the cake from the inside and outside simultaneously. Because the hollow core speeds up the baking process, you should start checking for doneness 5–10 minutes earlier than a standard round recipe suggests. Using a moisture-rich batter, such as a pound cake or sour cream-based sponge, helps withstand the intense heat.
You should let a Bundt cake cool in the pan for exactly 10 to 15 minutes before attempting to invert it onto a wire rack. If you flip it too early, the delicate warm structure will collapse; if you wait too long, the cooling sugars will cause the cake to bond to the metal. This specific window allows the cake to firm up while the steam helps release the edges.
You can use most standard cake recipes in a Bundt pan, provided you adjust the volume to fill only two-thirds of the mold to allow for rising. Denser batters, like pound cakes or fudgy cocoa recipes, perform best because they hold the pan’s intricate architectural details without crumbling. Avoid very light, airy batters like chiffon or angel food, as they lack the structural integrity to support the Bundt’s height.
To roast a chicken in a Bundt pan, prop the bird upright by sliding the central tube into the cavity, then fill the bottom ring with chopped vegetables. This vertical orientation allows the heat to circulate 360 degrees around the meat for crispier skin, while the juices drip down to flavor the vegetables below. Ensure you cover the center hole with foil to prevent juices from leaking onto your oven floor.