


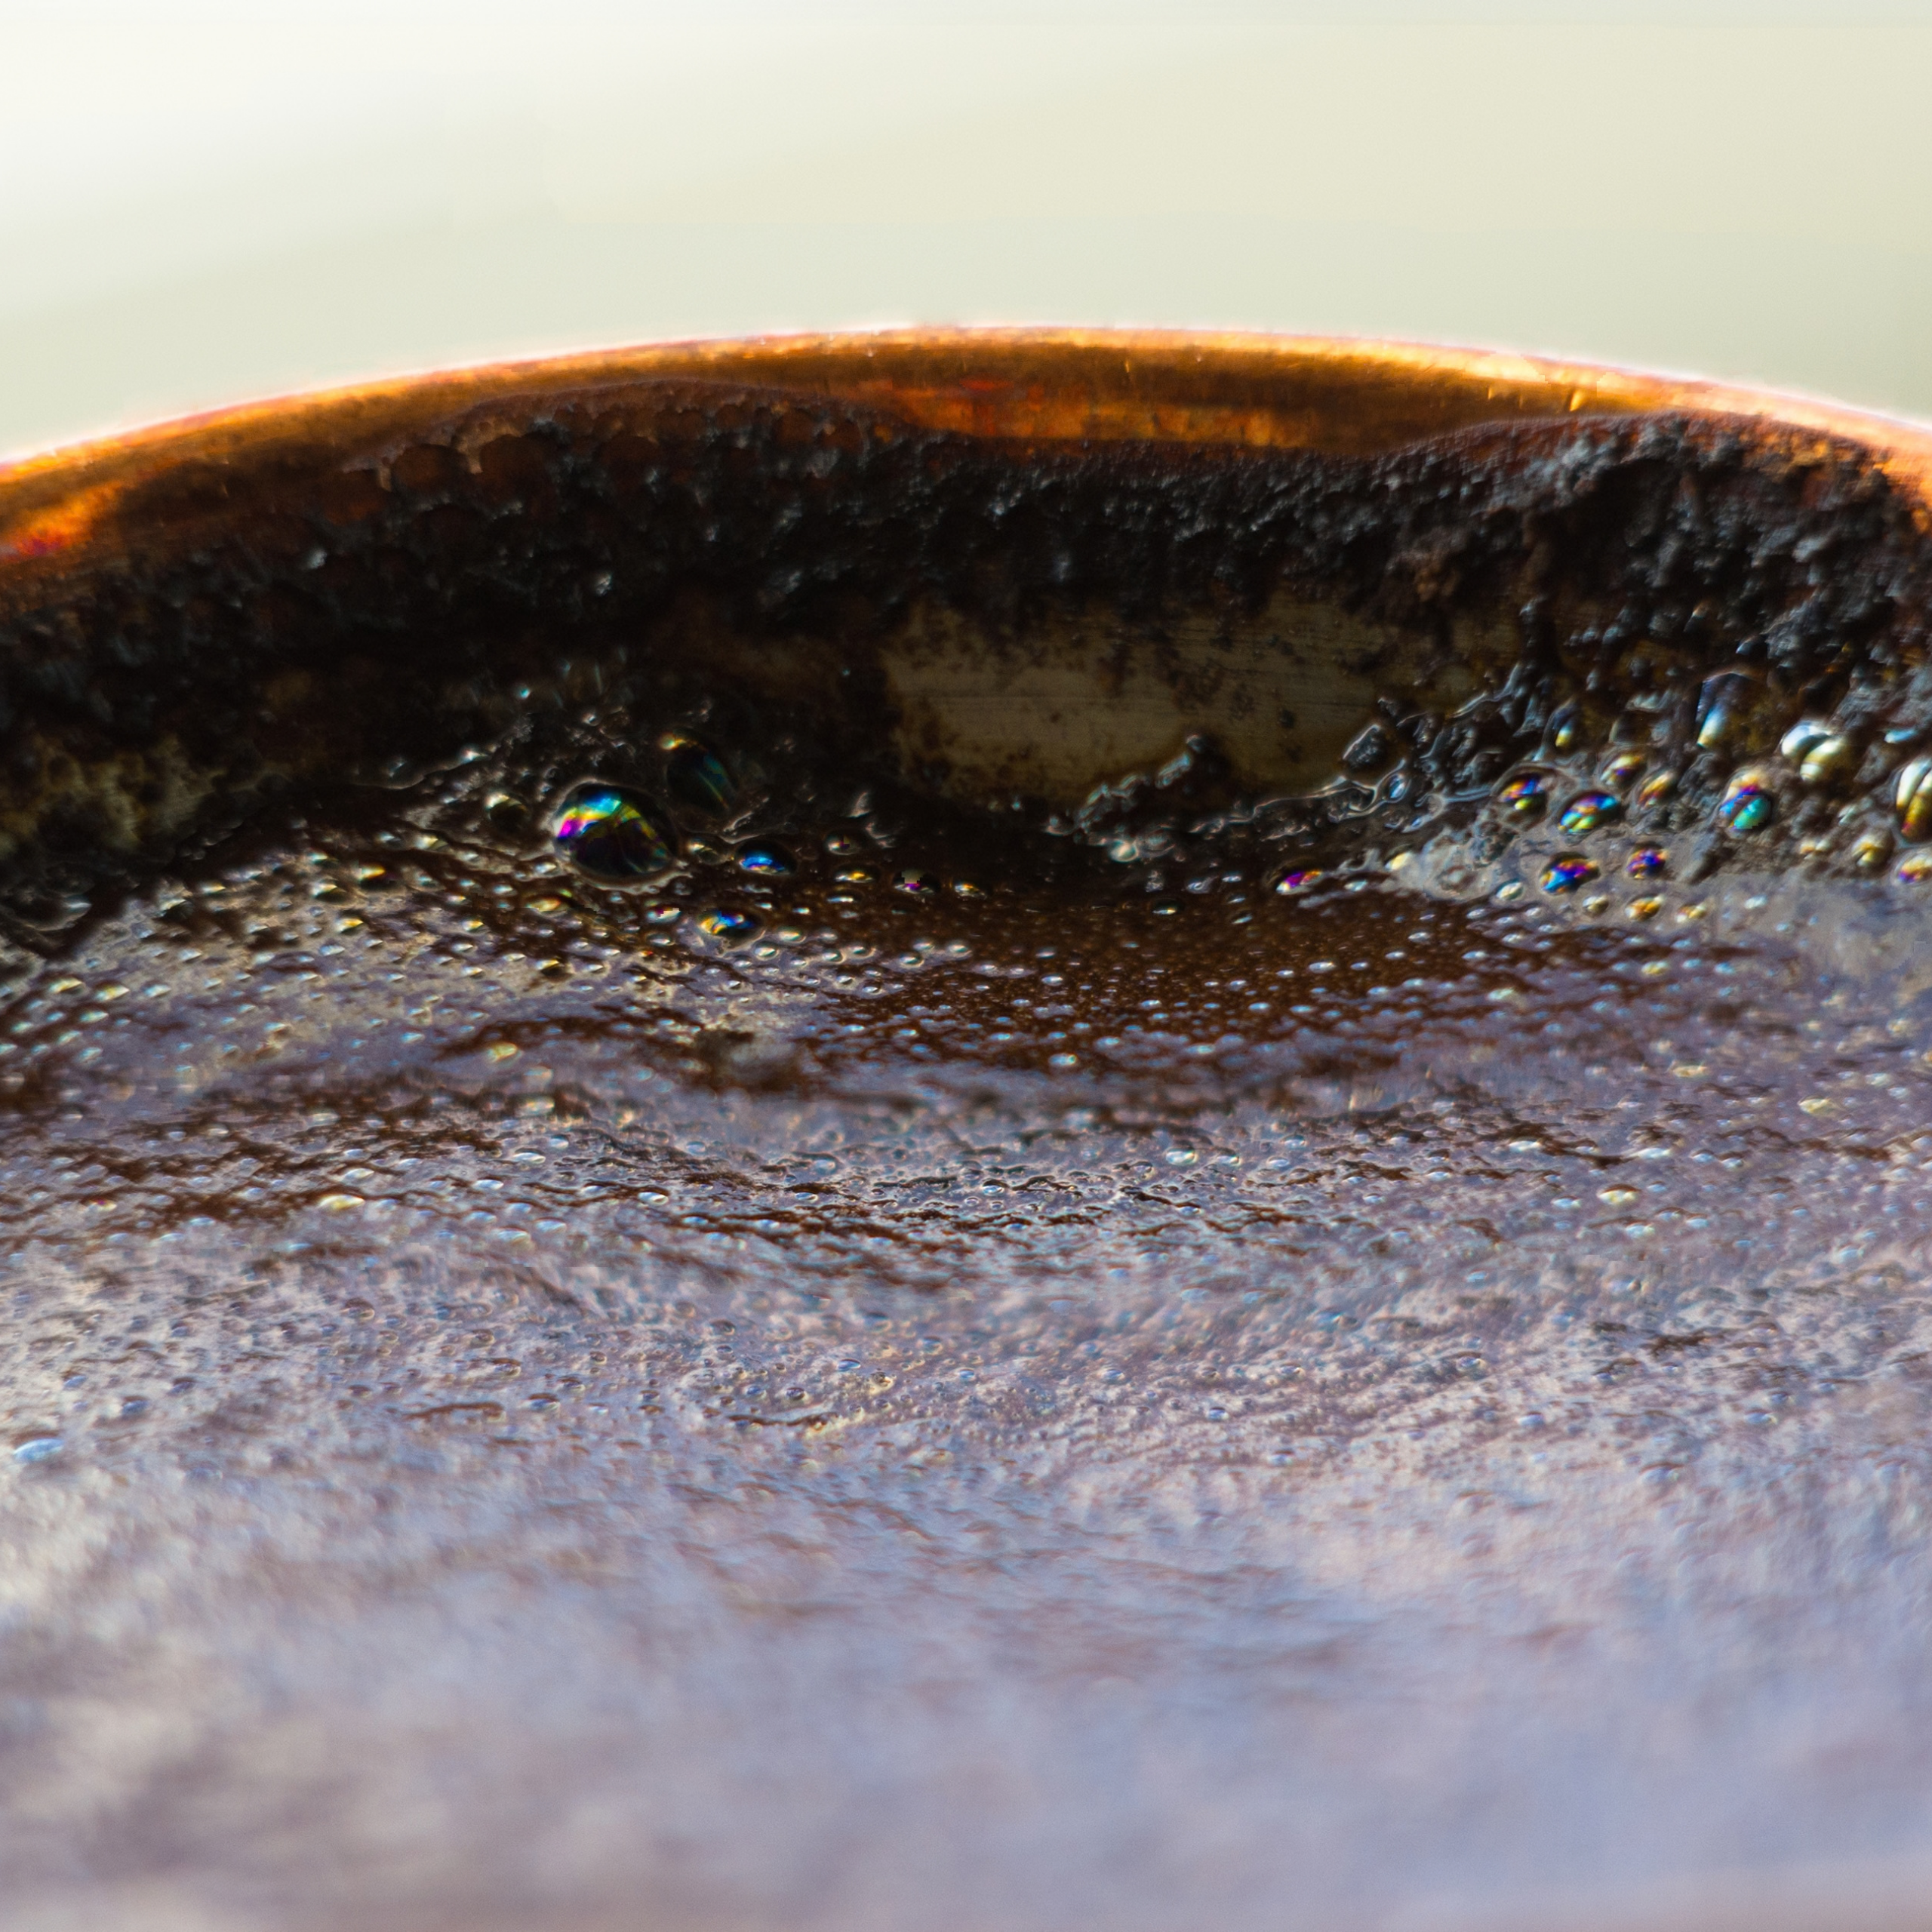
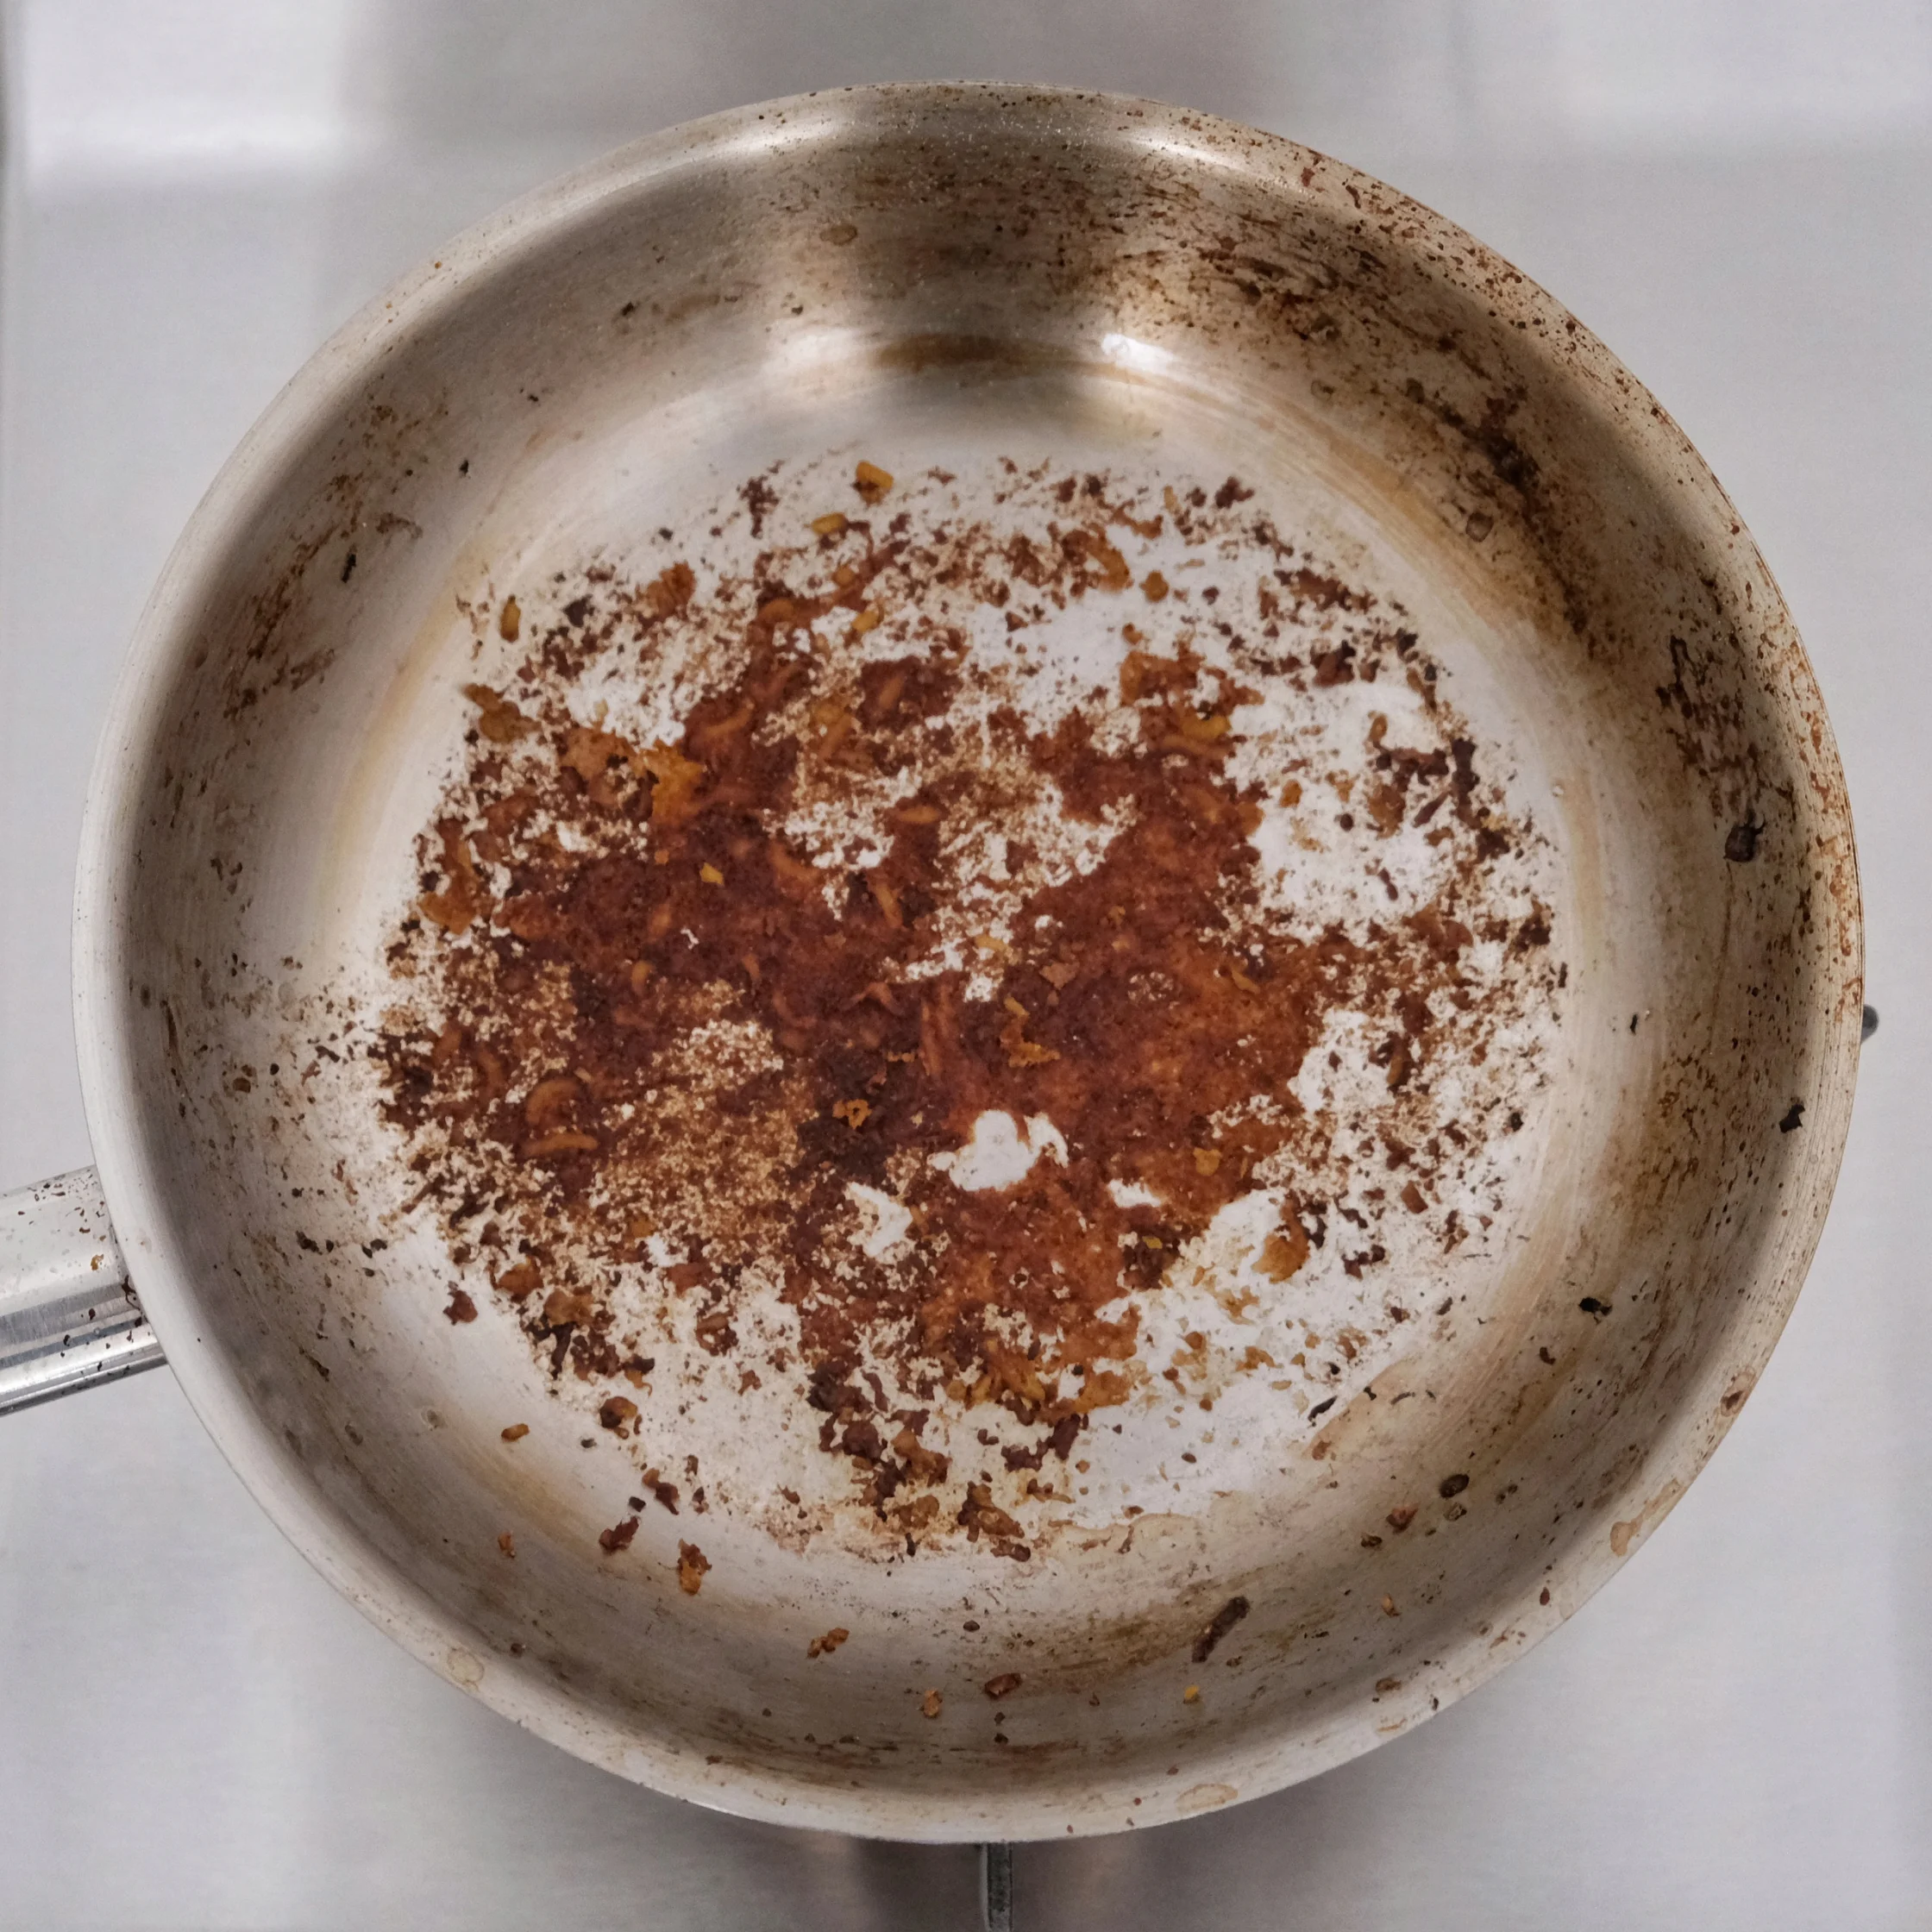
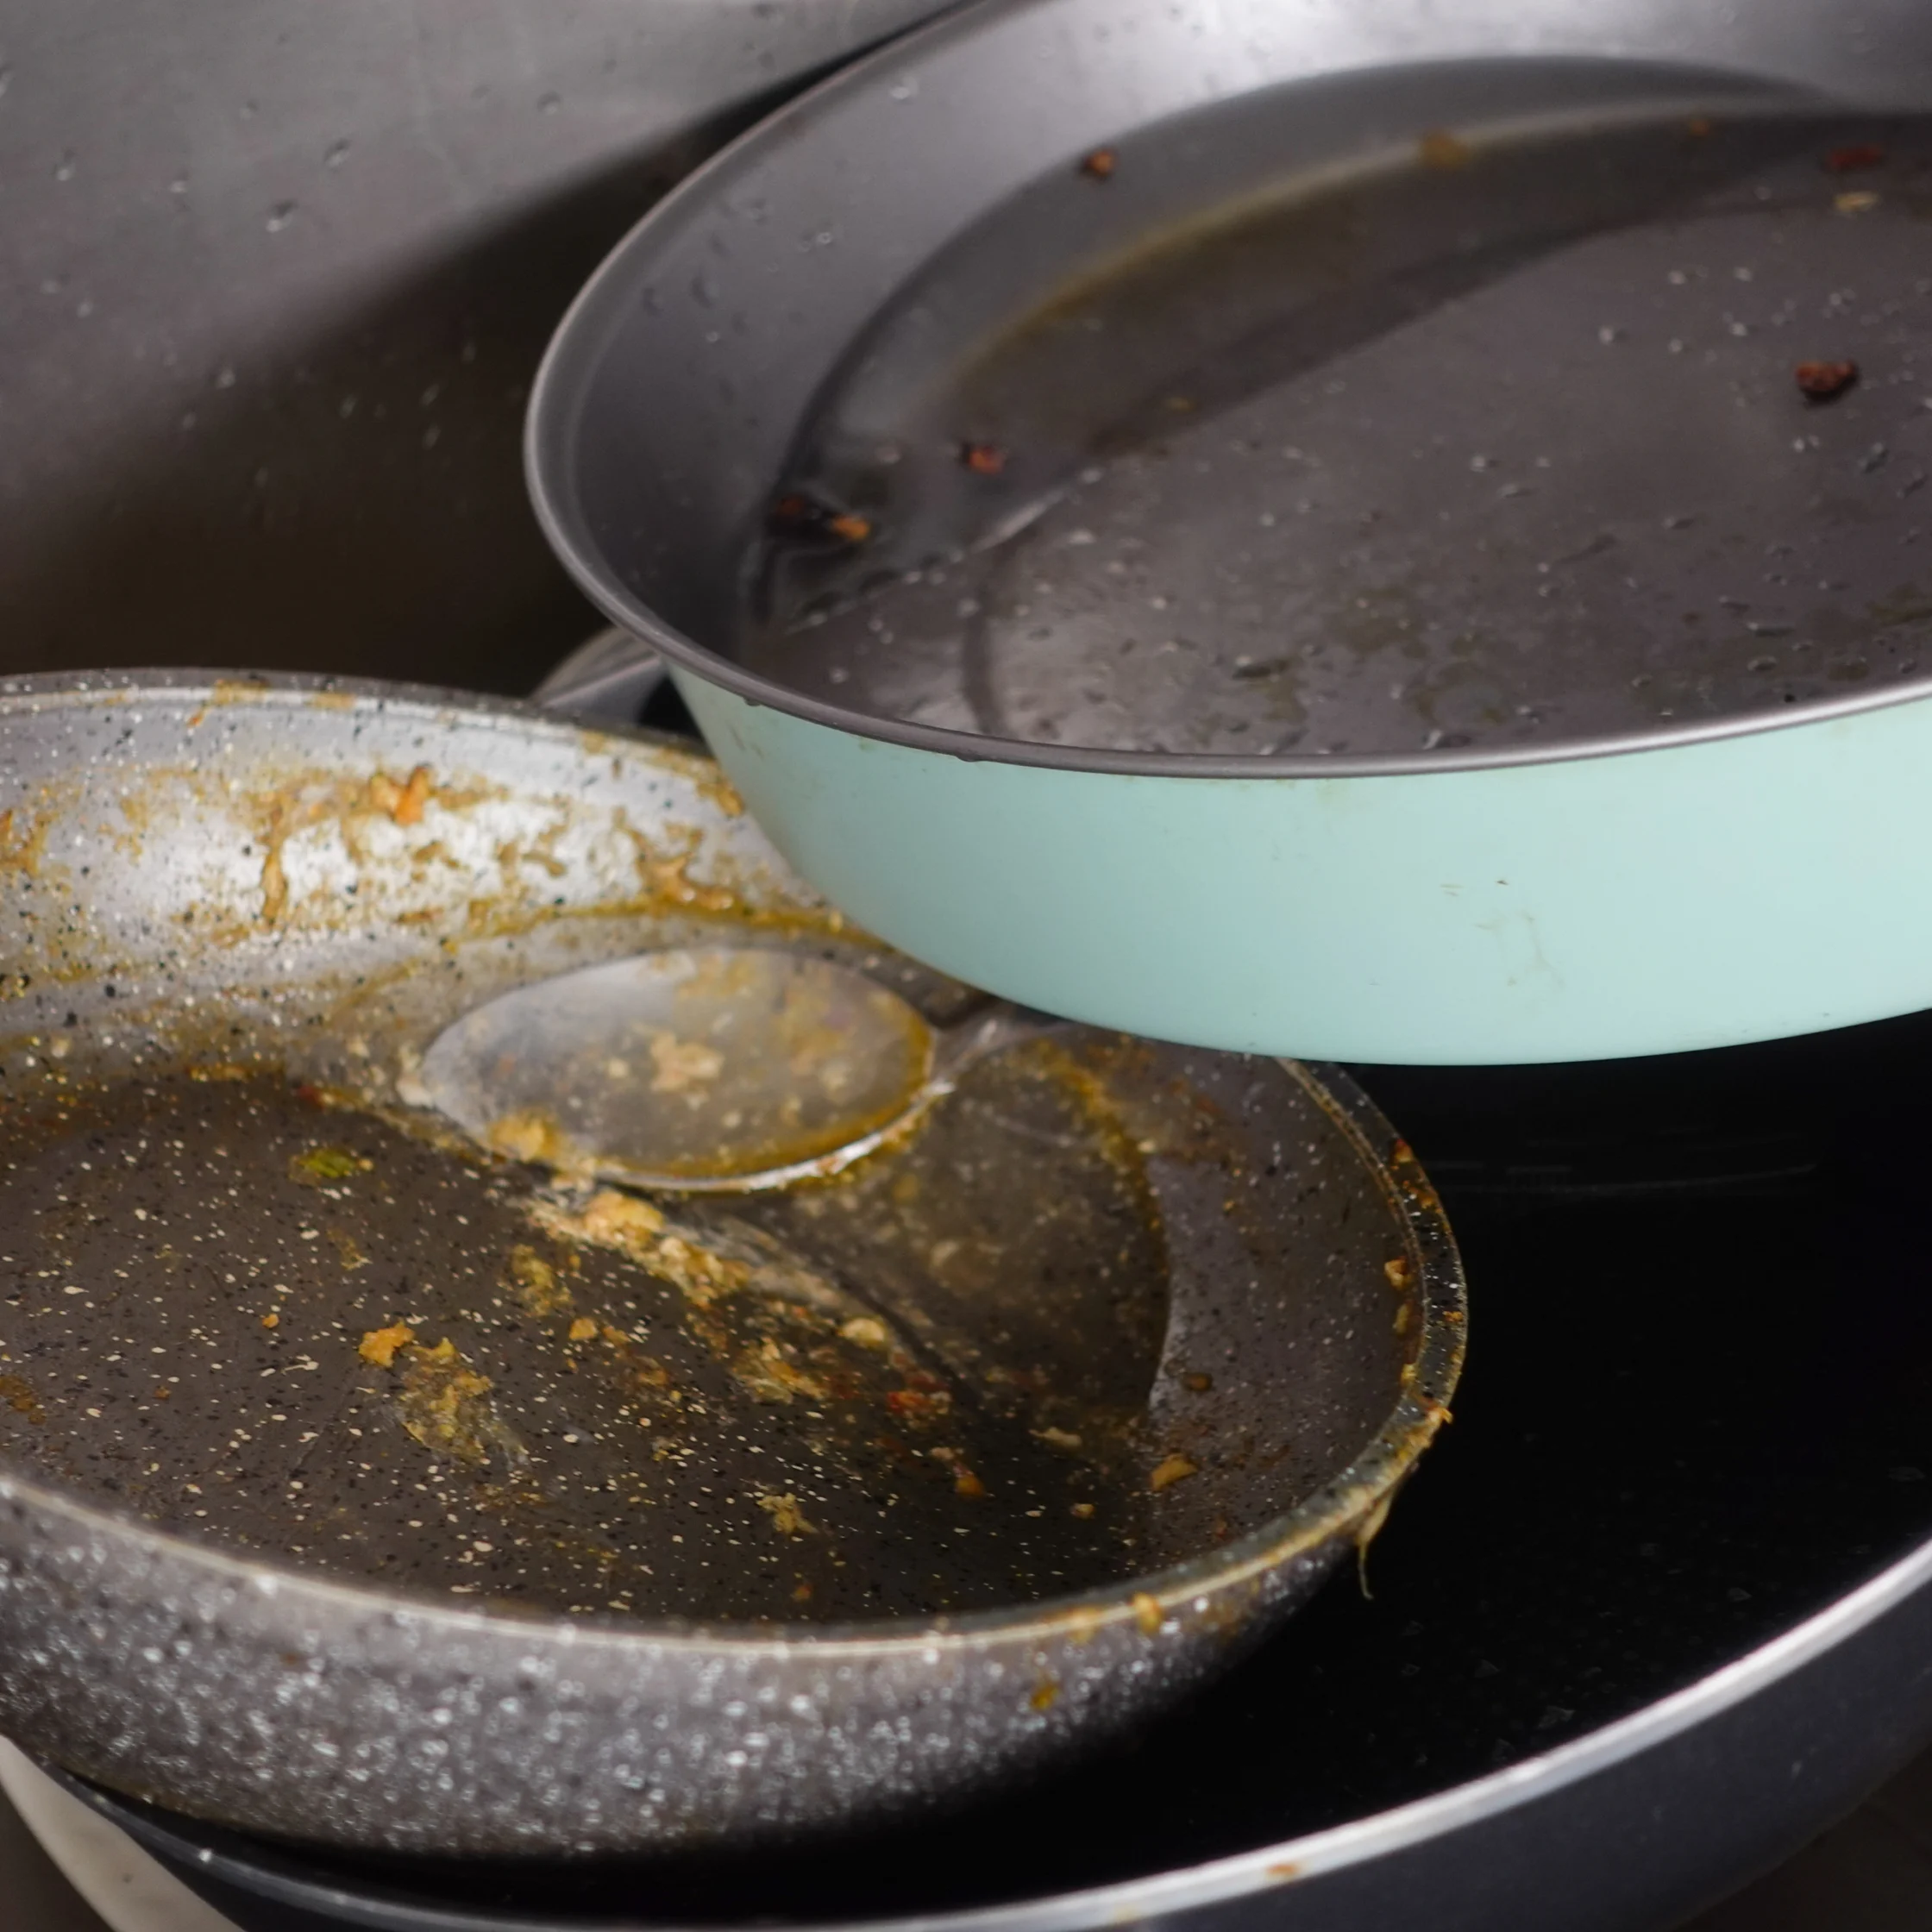
Anyone who cooks at home has been there: you flip over your favorite cooking pan only to find the bottom caked in a dark, sticky layer of hot grease and charred residue. Or if you’re closer to a beginner like me, you’ve definitely ended up with a pan covered in burnt bits many times while cooking.
The standard dish soap and soft sponge combo barely makes a dent. And no matter how much vinegar, boiling lemon water, or dish tablets you throw at it, trying hacks like that may end up causing more harm than good.
But don’t throw in the towel just yet. You don’t need to scrub until your arms and wrists start to ache.
I’m here to tell you that there is one method that trumps all the rest, and it’s not because it uses a specialized cleaning product. In fact, I’m willing to bet you have the main ingredient in your pantry right now: baking soda.
1. Combine Baking Soda and Water into a Paste
Baking soda has more use cases besides helping dough and batters rise. When it comes to cleaning the burnt, greasy bits that are left stuck on your metal pan, it can act as an alkaline, mild abrasive cleaner. Because burnt-on pan bottoms consist of acidic, burnt-on organic oils and carbon, baking soda works in two ways. First, it breaks down the acidic grease, making it much easier to scrape off or even just rinse off. Second, while it is considered abrasive, it isn’t nearly enough to gouge the hard metal of your pan.
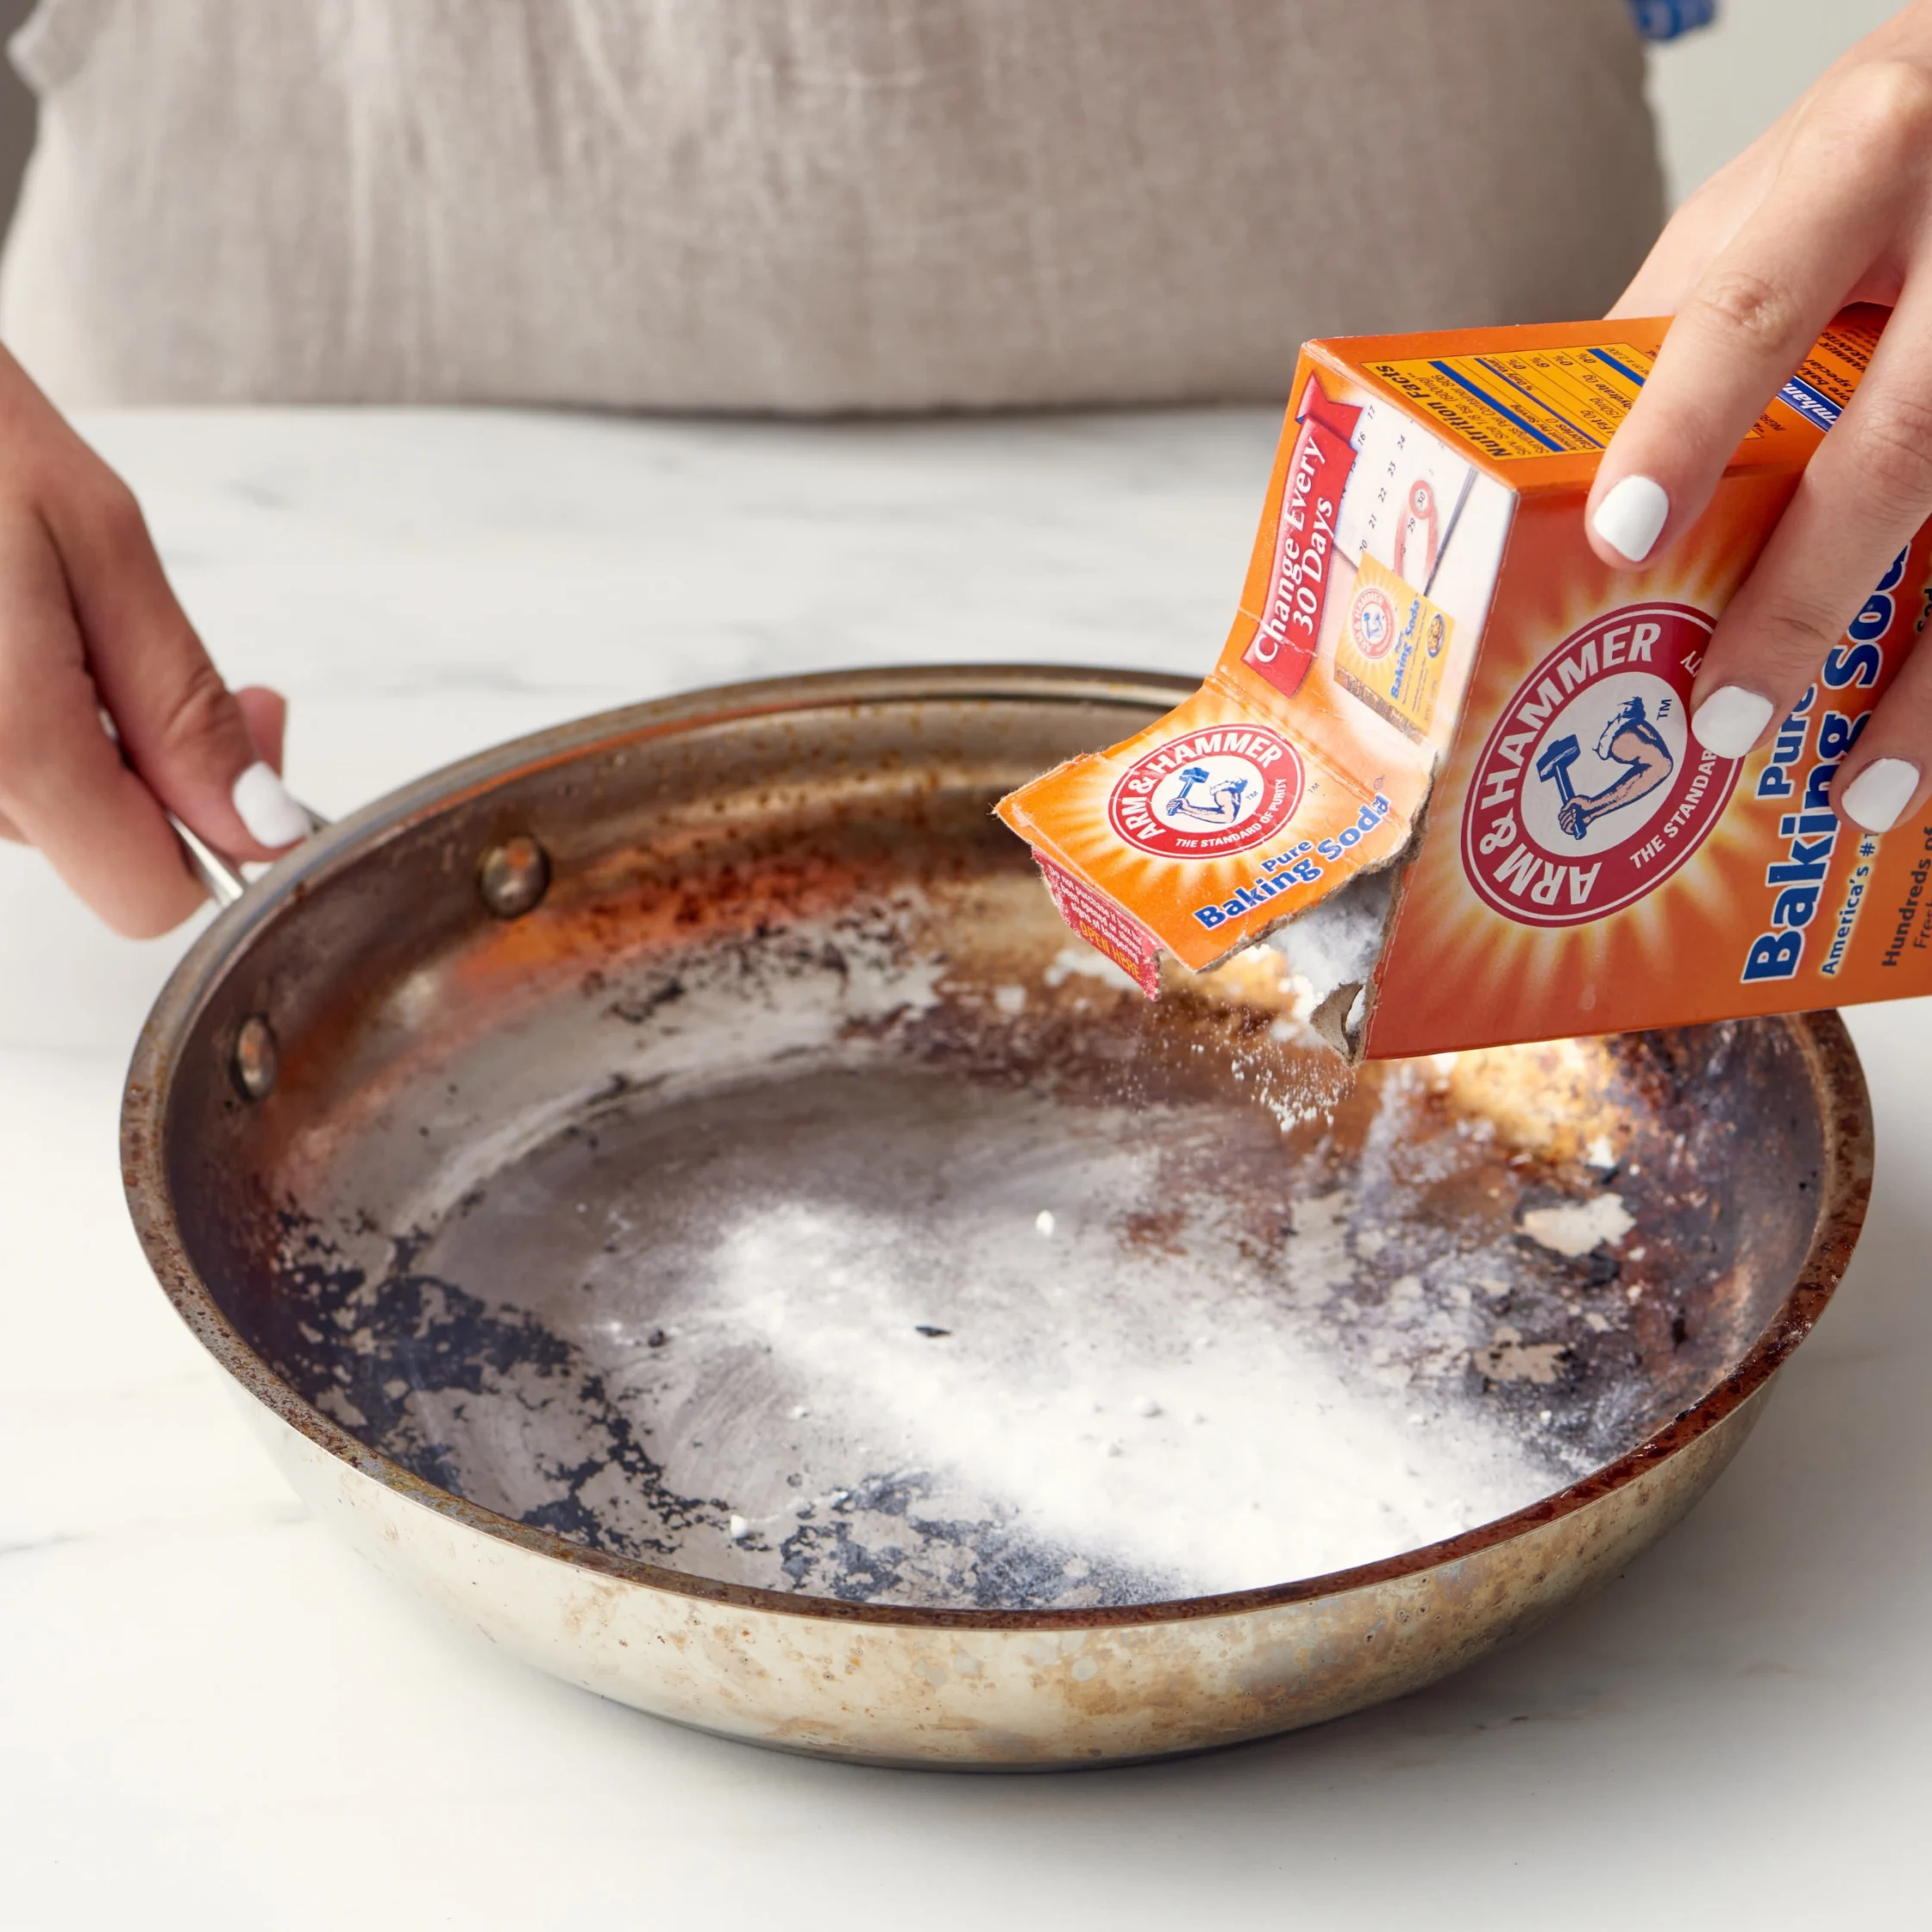
Add baking soda directly onto the burnt area. About 1 to 3 tablespoons should be enough. Regardless if you’re trying to clean the bottom of the pan or the pan itself, add just enough water to cover said burnt area. Combining the two should create a runny paste.
2. Let It Sit
How long you let this paste sit in your metal pan will depend on how stubborn the burnt residue is. You can leave it for as short as 10 to 15 minutes if it’s a lighter residue and as long as overnight if it’s a heavier or thicker residue.
If you are cleaning the pan, you can try using a wooden or silicone spatula after letting it sit in in order to scrape off any burnt parts that are easier to remove.
Other than that, just let it do its thing. You need to give it time to soften the harder carbon bonds or, in other words, the burnt bits.
3. Scrub Using Aluminum Foil or Sponge
If you have any leftover aluminum foil from a baking session or from ordering takeout, now is a good time to get it out and use it!
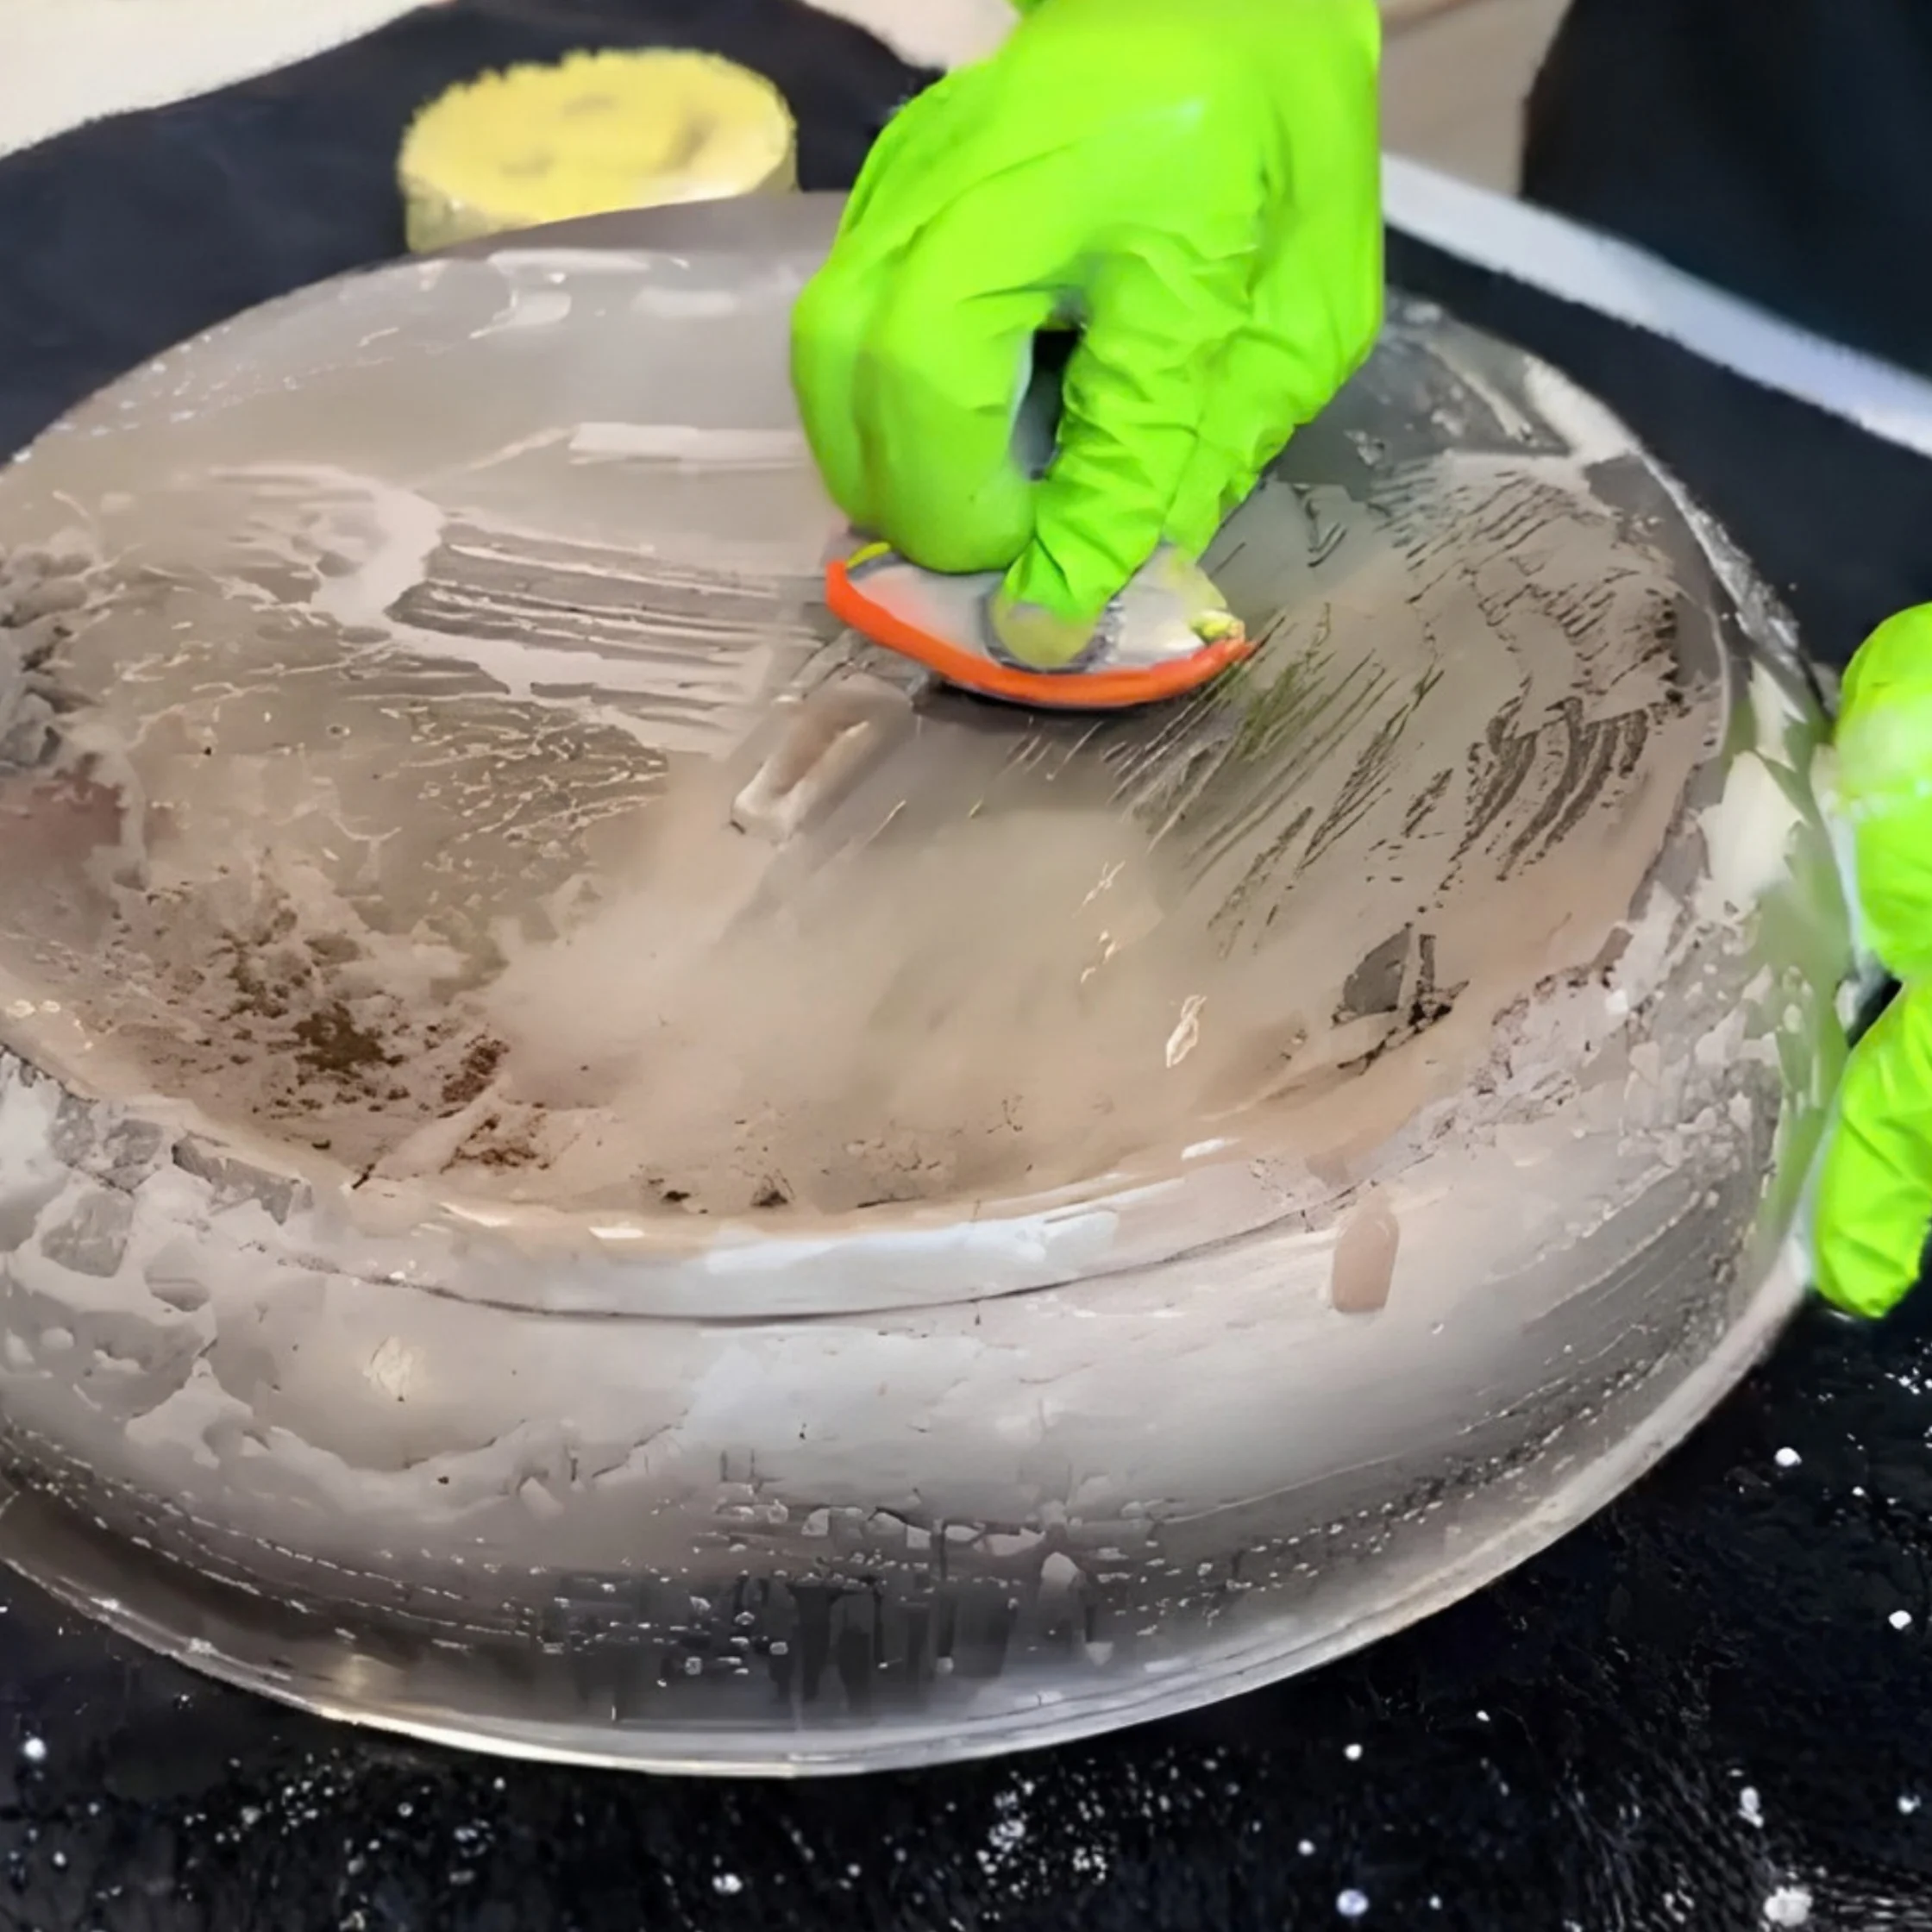
Crumple it up into a ball and use that to start scraping out all of that burnt gunk off. Because of the baking soda and water paste, all of that black residue should come off really easily.
Because aluminum is softer than stainless steel, making a crumpled ball of foil an aggressive scraper against brittle carbon while remaining safe for the heavy-duty undersides of stainless steel cookware.
For more delicate pans, you can opt for a softer sponge and it would work just as well.
4. Rinse, Then Wash
After scrapping off everything, make sure to rinse away the dark slurry. A lot of people will emphasize using warm water, but using room temperature to cool water will work just as well.
Don’t forget to wash the metal pan how you normally would with dish soap and a soft sponge. This is just so you can ensure you’ve removed any remaining baking soda from the paste from earlier.
Does this work for all kinds of pans?
While every step from making the baking soda-water paste and letting it sit first can apply for most pans, the use of aluminum foil can vary from household-to-household.
It’s not recommended to scrape the surface of any non-stick pan, enameled pan, or cast-iron pan. It will ruin the coating that allows it to be non-stick or enameled in the first place. Other than this, the baking soda and water method is still applicable and just as effective.
On stainless steel pans, baking soda paste paired with crumpled aluminum foil works exceptionally well on the heavy exterior bottom, but stick to a much softer kind of sponge for the interior surface to avoid micro-scratching.
On enameled or non-stick pans, use only baking soda with a soft sponge on both sides. Avoid using harsher abrasives like aluminum foil as it could permanently ruin delicate coatings.
And as for cast iron or carbon steel pans, avoid baking soda soaks and abrasive scrubbers altogether as the alkaline chemical action and friction will strip away the essential non-stick seasoning layer.
Besides learning new techniques or trying difficult recipes, learning how to cook can also be about knowing when you can work smarter rather than harder.
A lot of people mistake a burnt pan as a lost cause when in reality it just takes a bit of elbow grease and patience. With a couple of tablespoons of baking soda and a few minutes of scrubbing, you can restore even the darkest pan bottoms to a mirror shine without spending money on specialty cleaners.

Frequently Asked Questions
Combine 1 to 3 tablespoons of baking soda with just enough water to cover the burnt area. This should form a runny paste.
Baking soda works because it acts as an alkaline, mild abrasive cleaner that helps break down and scrub away the burnt, greasy bits stuck to metal pans.
It depends on how much burnt residue is left on your pan. If it’s just a light residue, it can take between 10 to 15 minutes. But if it’s way more than that, consider leaving it overnight before moving on to the next step.
No. While many people emphasize using warm water, room temperature or cool water works just as well to rinse away the dark slurry.
No. Scrubbing non-stick or enameled pans with aluminum foil will ruin their protective coating. However, you can still safely use the baking soda paste on these pans as long as you swap the foil for a non-abrasive scrubbing tool.