

It’s easy to make a hard-boiled egg, which also means it is just as easy to mess up. But fear not, there are ways to avoid getting “cratered eggs”, or “pockmarked eggs.”
When you peel a hard-boiled egg and chunks of the white tear away with the shell, the rough, pitted surface left behind is called a cratered or pockmarked egg. While these dented eggs look messy and are hard to slice nicely, they are still completely safe and delicious to eat.
Fortunately, you do not have to settle for ugly eggs. As shown by these 6 tips, it doesn’t take a miracle ingredient or luck to make perfect hard-boiled eggs every single time.
You don’t need a fancy kitchen contraption. You don’t need to add vinegar to your pot of water. You don’t even need to buy a specific commercial grade of egg.
1. Wait until your eggs are at room temperature
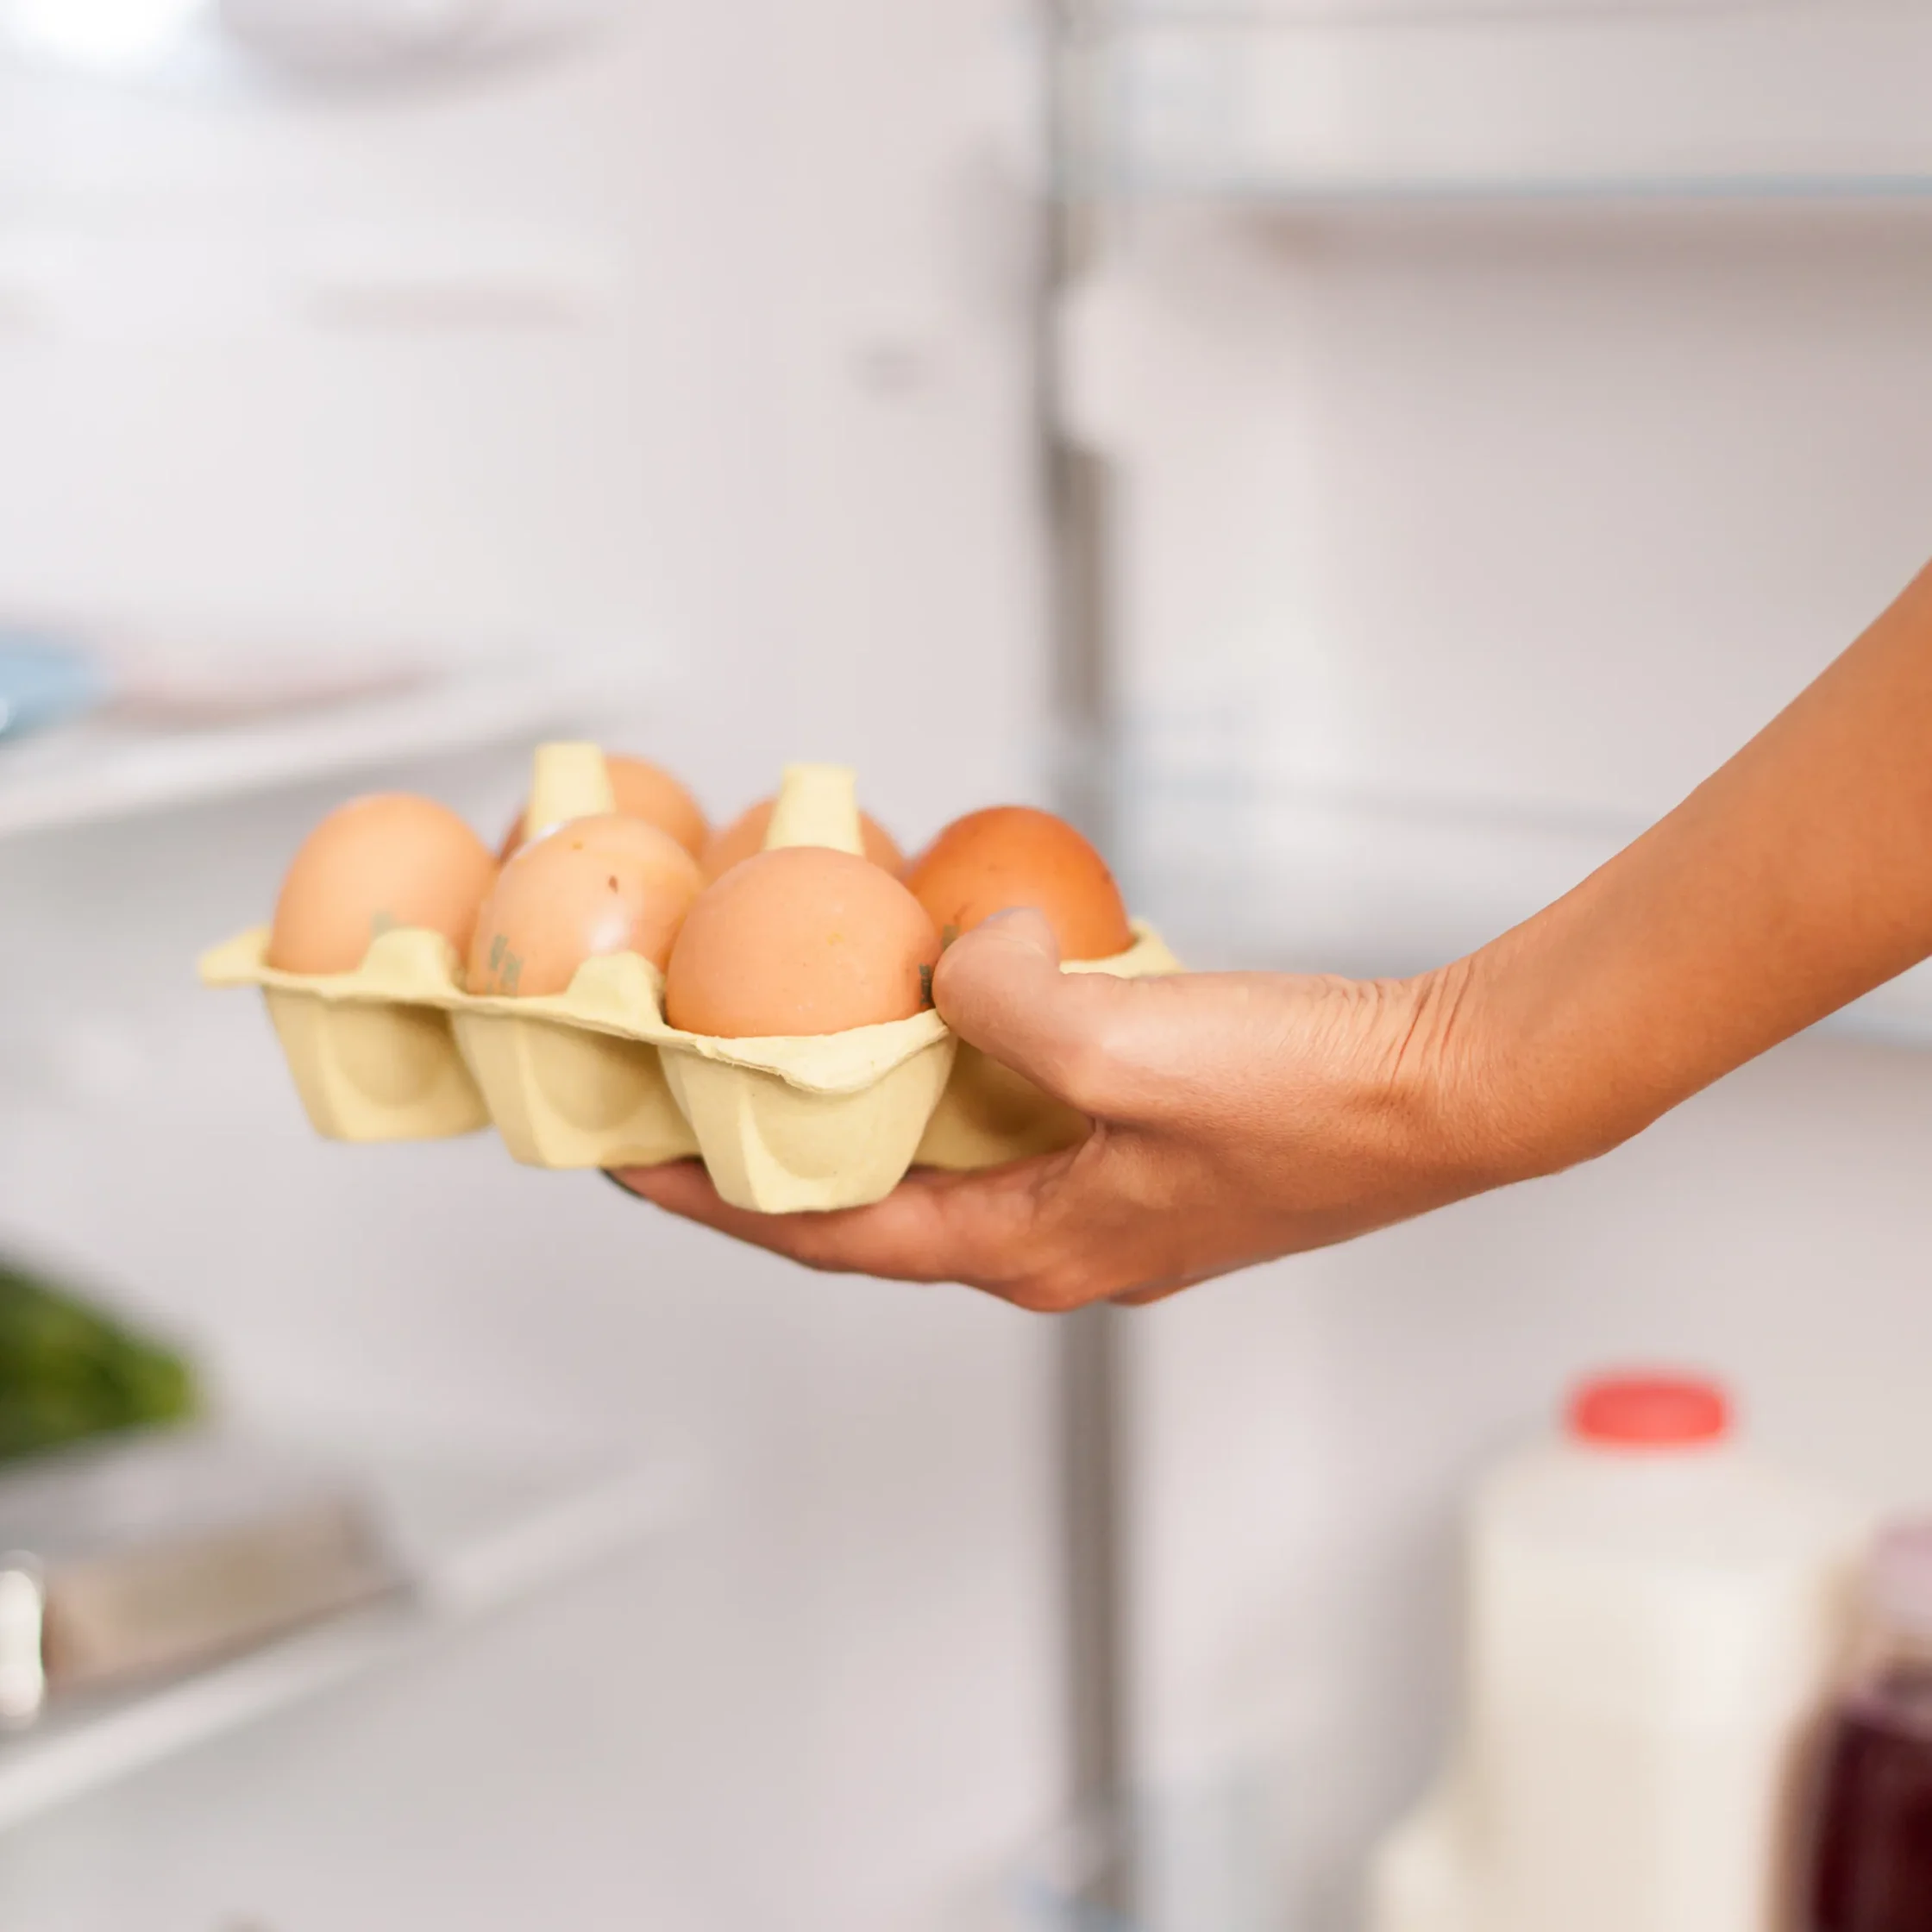
If you usually store your eggs in the refrigerator, your first step should be to bring them back to room temperature. If they’ve come straight from the fridge and you immediately drop them in boiling water, that is a guaranteed way for your eggs to crack while boiling.
While there are cases wherein the shells crack while boiling no matter what because egg shells can be quite thin, most of the time, it is because of a sudden thermal shock. As a result, the egg whites could seep out and the shape as it cooks will look like white bubbles or wisps. These parts are technically still edible, but they are very rubbery. Right off the bat, you’ve already deformed what could have been a perfectly shaped hard-boiled egg.
Tip number 1 on making perfect hard-boiled eggs is as simple as leaving your eggs out or placing them in room temperature water for 15-20 minutes to cool them down.
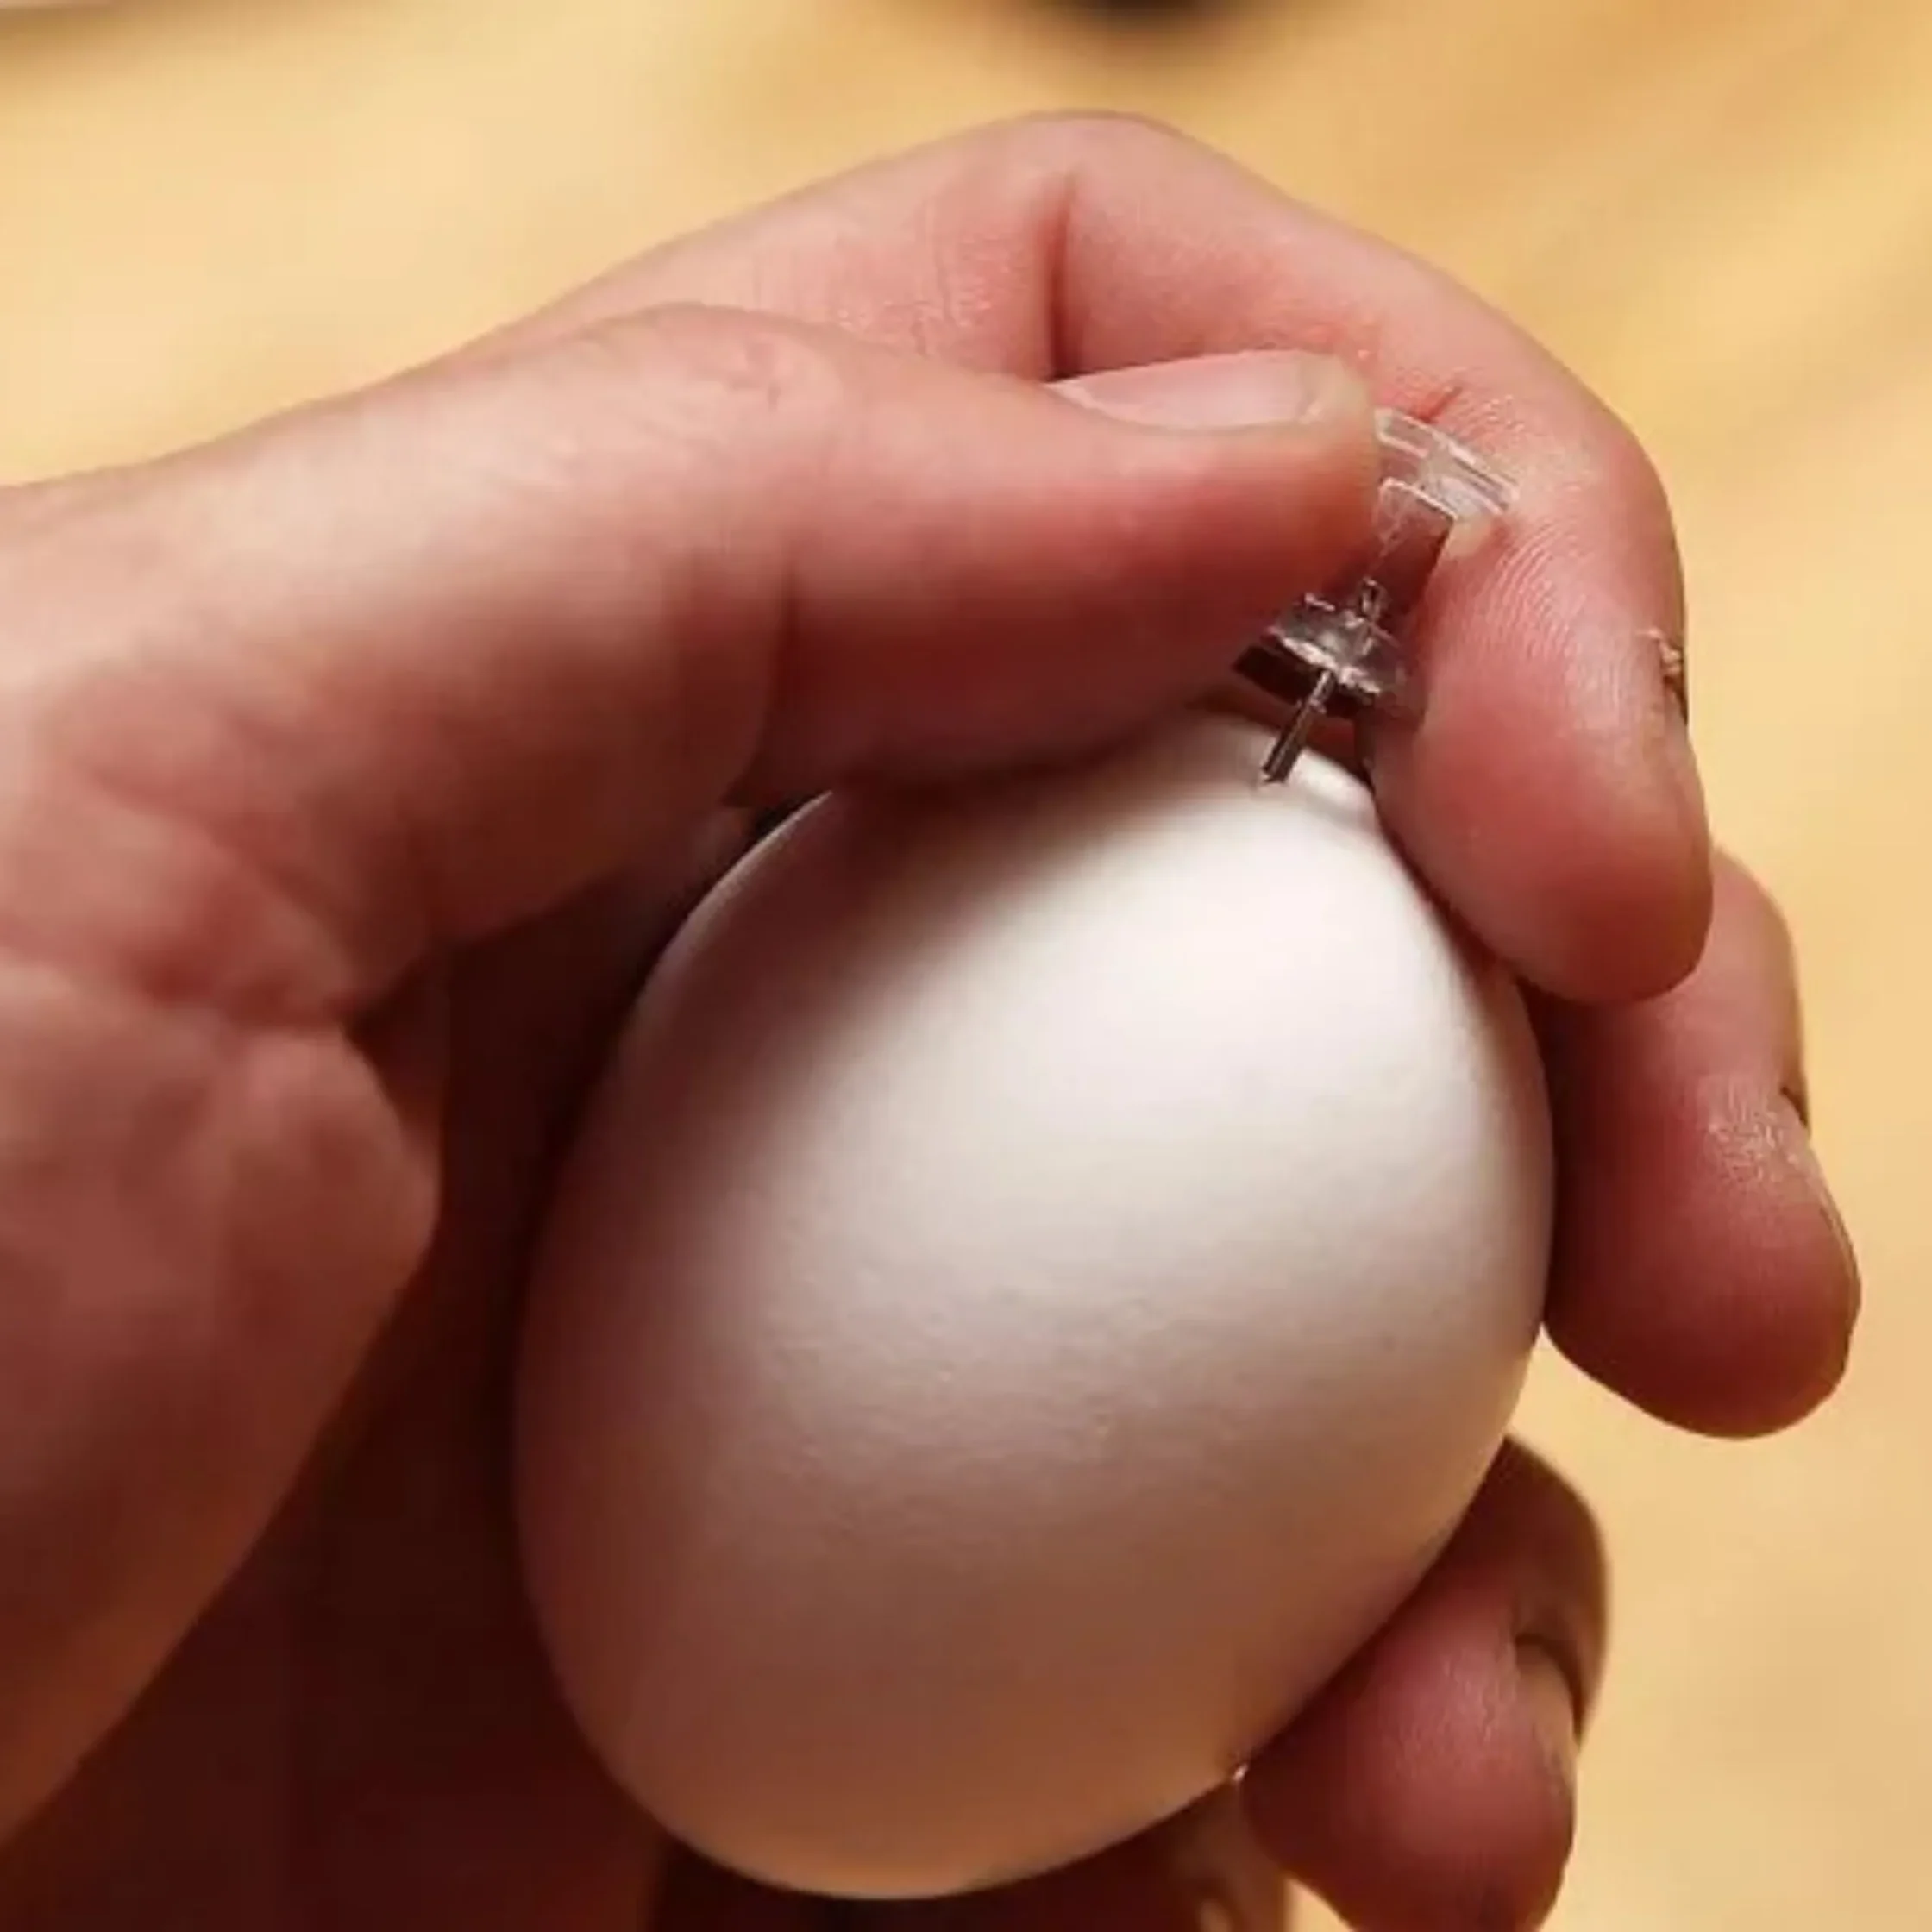
2. Prick the rounded part of your eggs
When you peel a hard-boiled egg, you might notice two things: a flat indentation at the wider, rounded bottom, and a thin white membrane right underneath the shell. These two things are connected. Eggs naturally have a small pocket of air, called an air cell, trapped between the membrane and the shell at that rounded end.
To get perfectly oval eggs, use a pin or needle to gently prick the bottom of the shell before boiling. This punctures the air cell, allowing the trapped air to escape as the water heats up. By releasing this small air pressure, the egg white can expand fully into the rounded space, ensuring your eggs come out beautifully shaped and less likely to crack during cooking.
3. Add your eggs into already boiling water
One sure-fire way to make peeling your eggs harder for yourself is by placing your eggs in the water before you start boiling it. Known as a cold start, this is a simple mistake that leads to the shell to stick to the egg even more. This happens because slow-heating water allows the proteins in the egg white to bind tightly to the inner shell membrane like glue, making it really hard to peel away.
The best way to do it is simple and requires only a little bit of patience: boiling at a hot start.
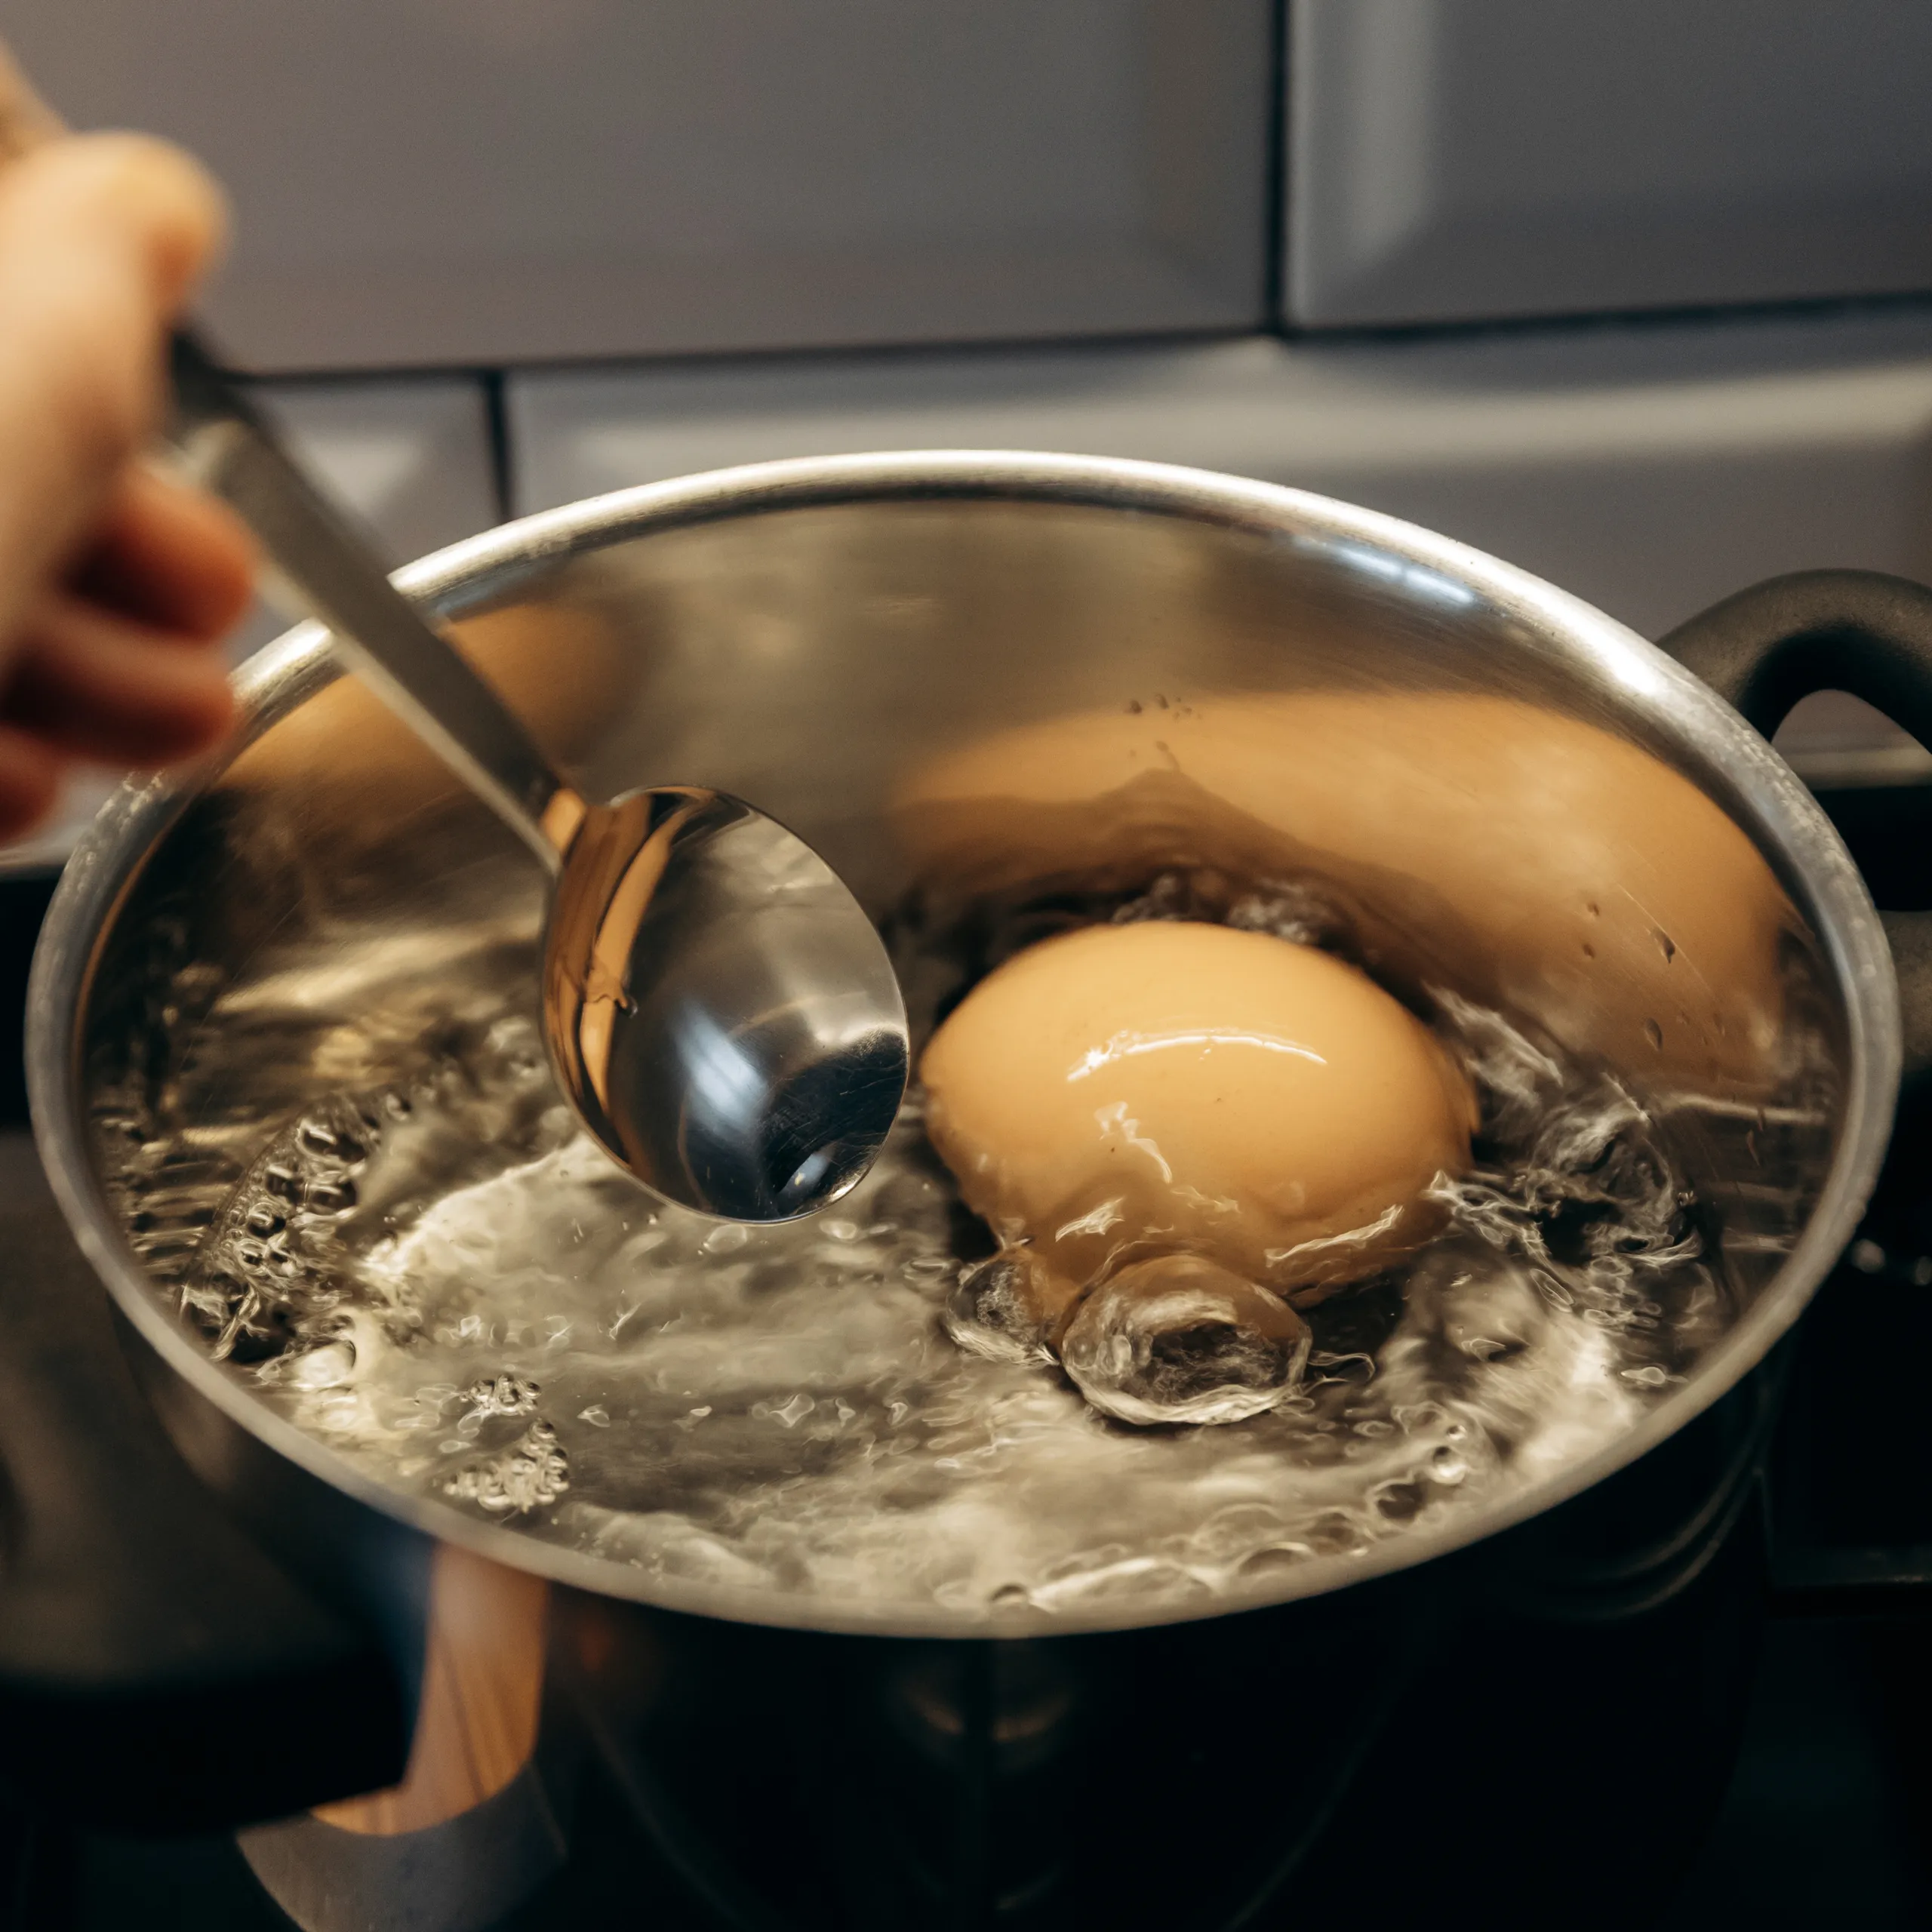
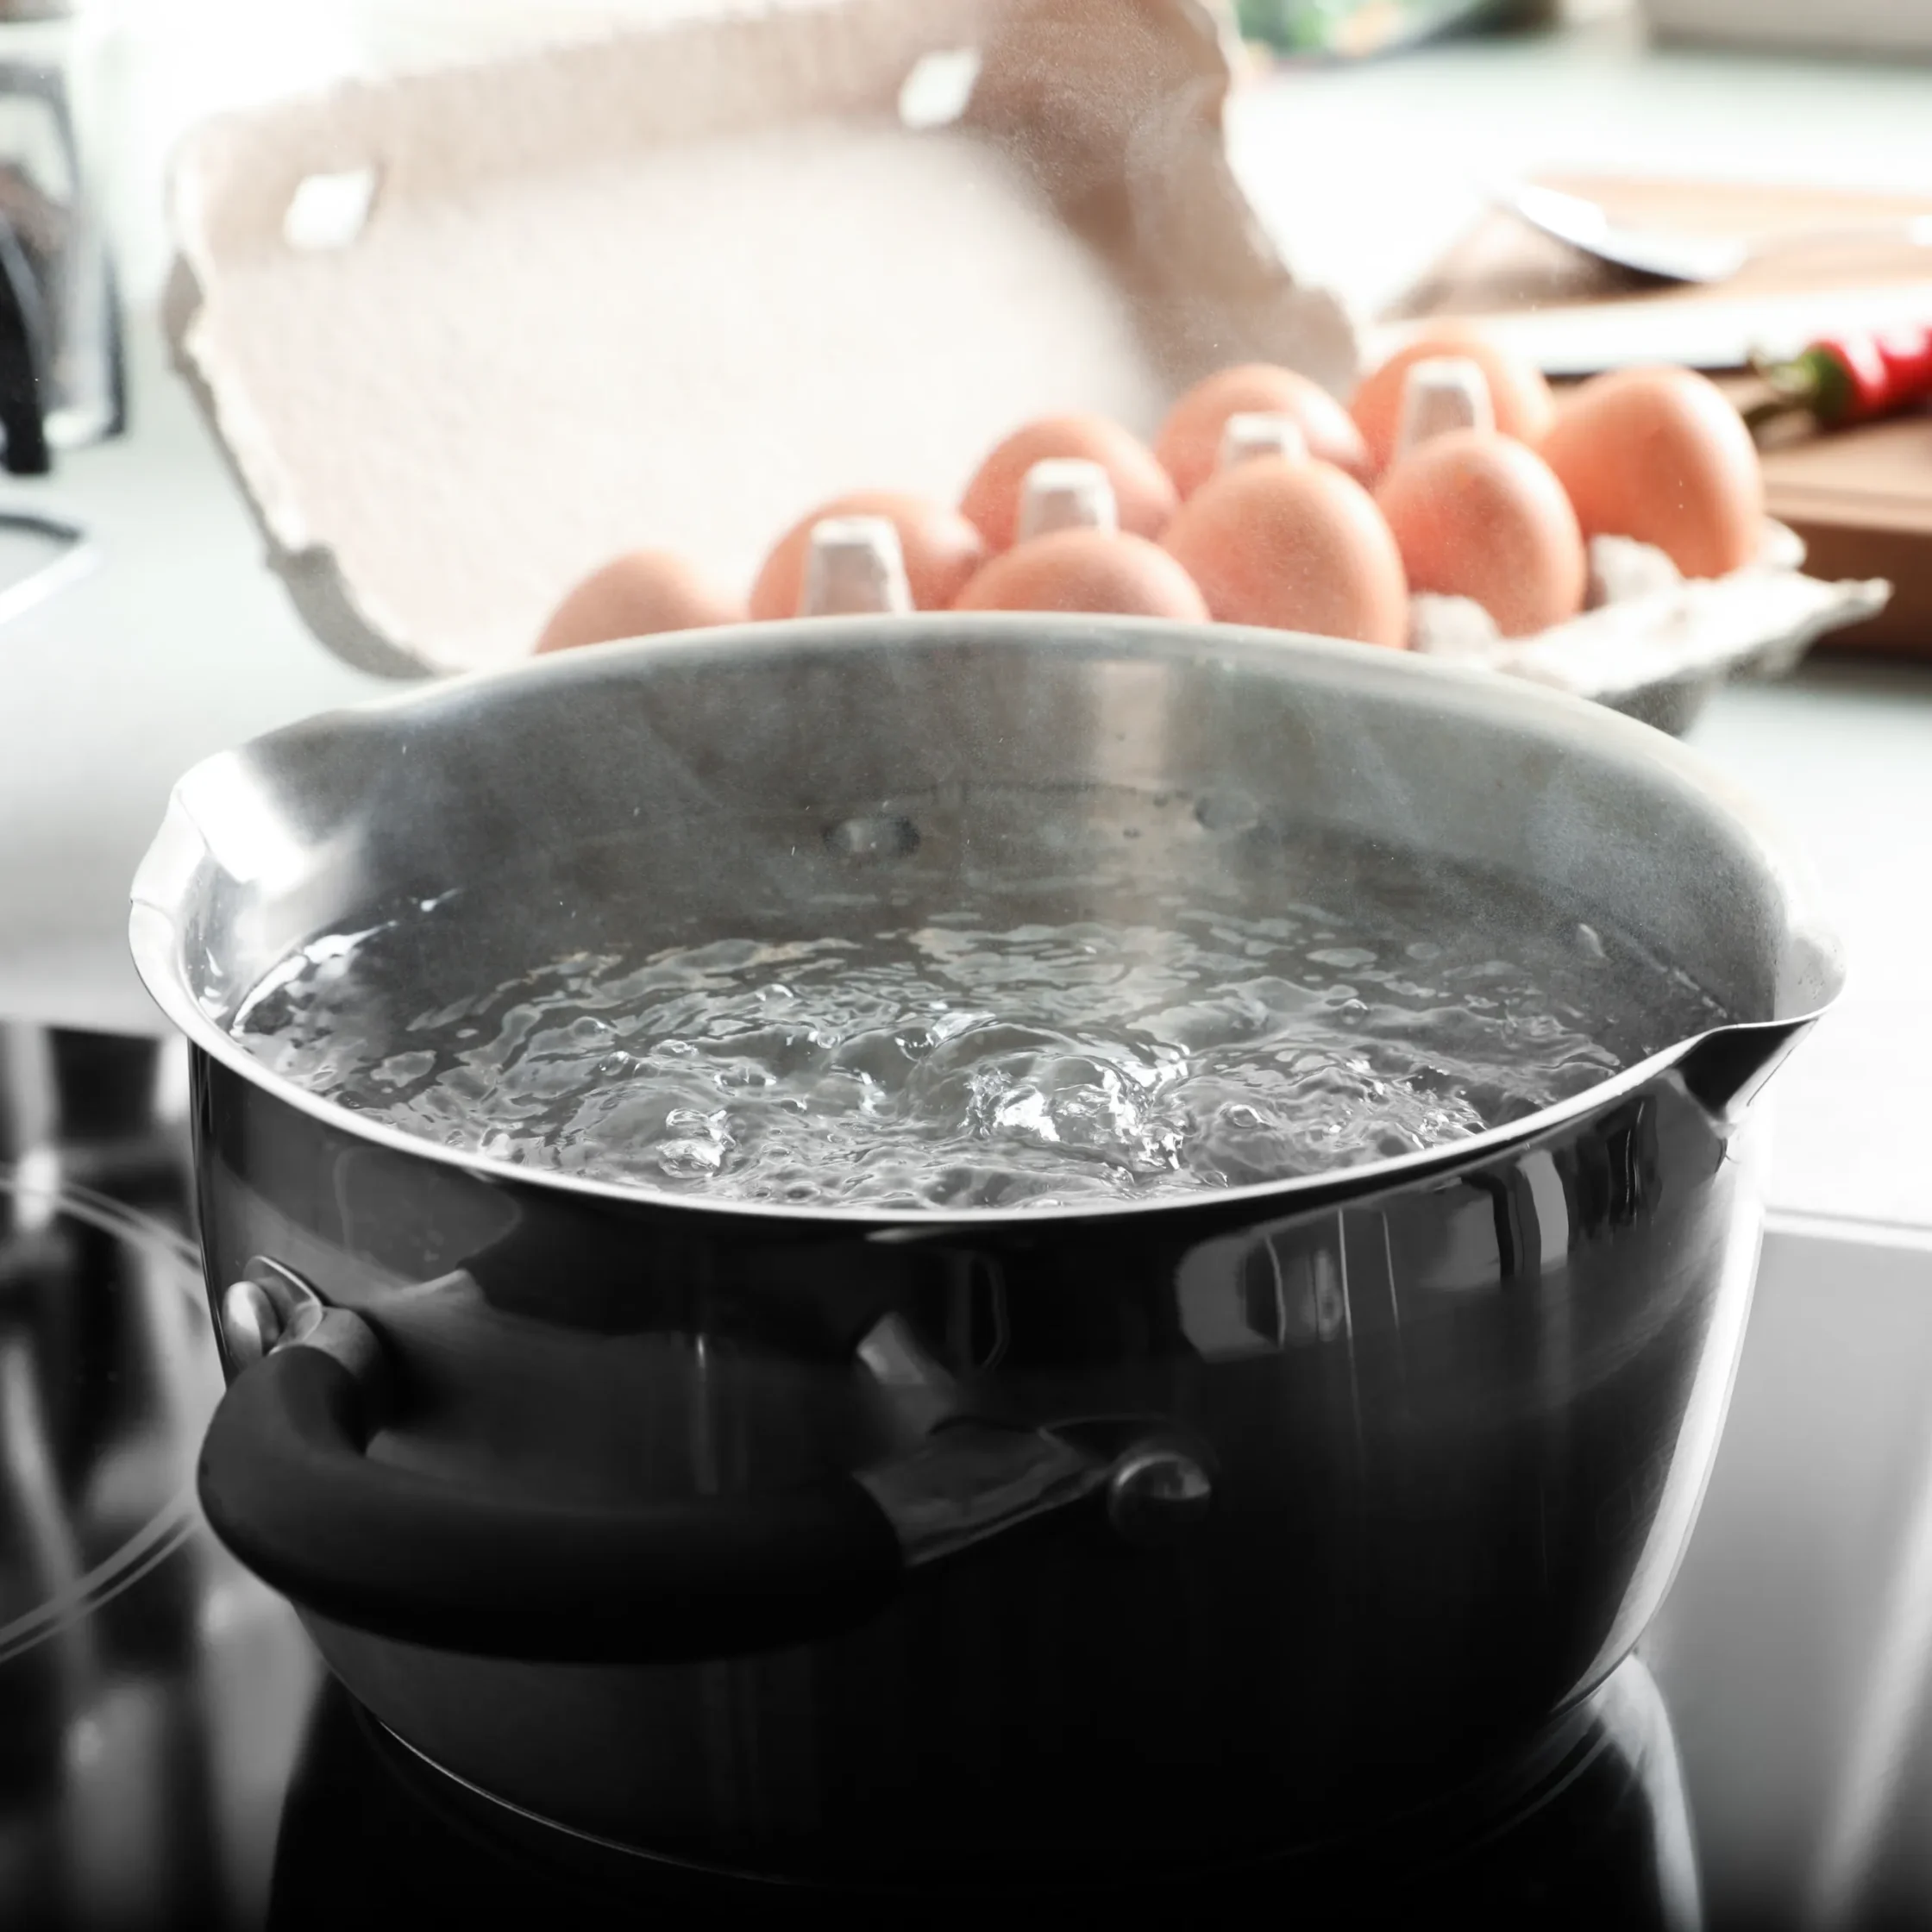
In a pot, make sure you’ve put enough water so that it completely submerges the eggs. Wait for your water to come to a rolling boil, then gently place your eggs into the already boiling water.
4. Boil for 10 minutes
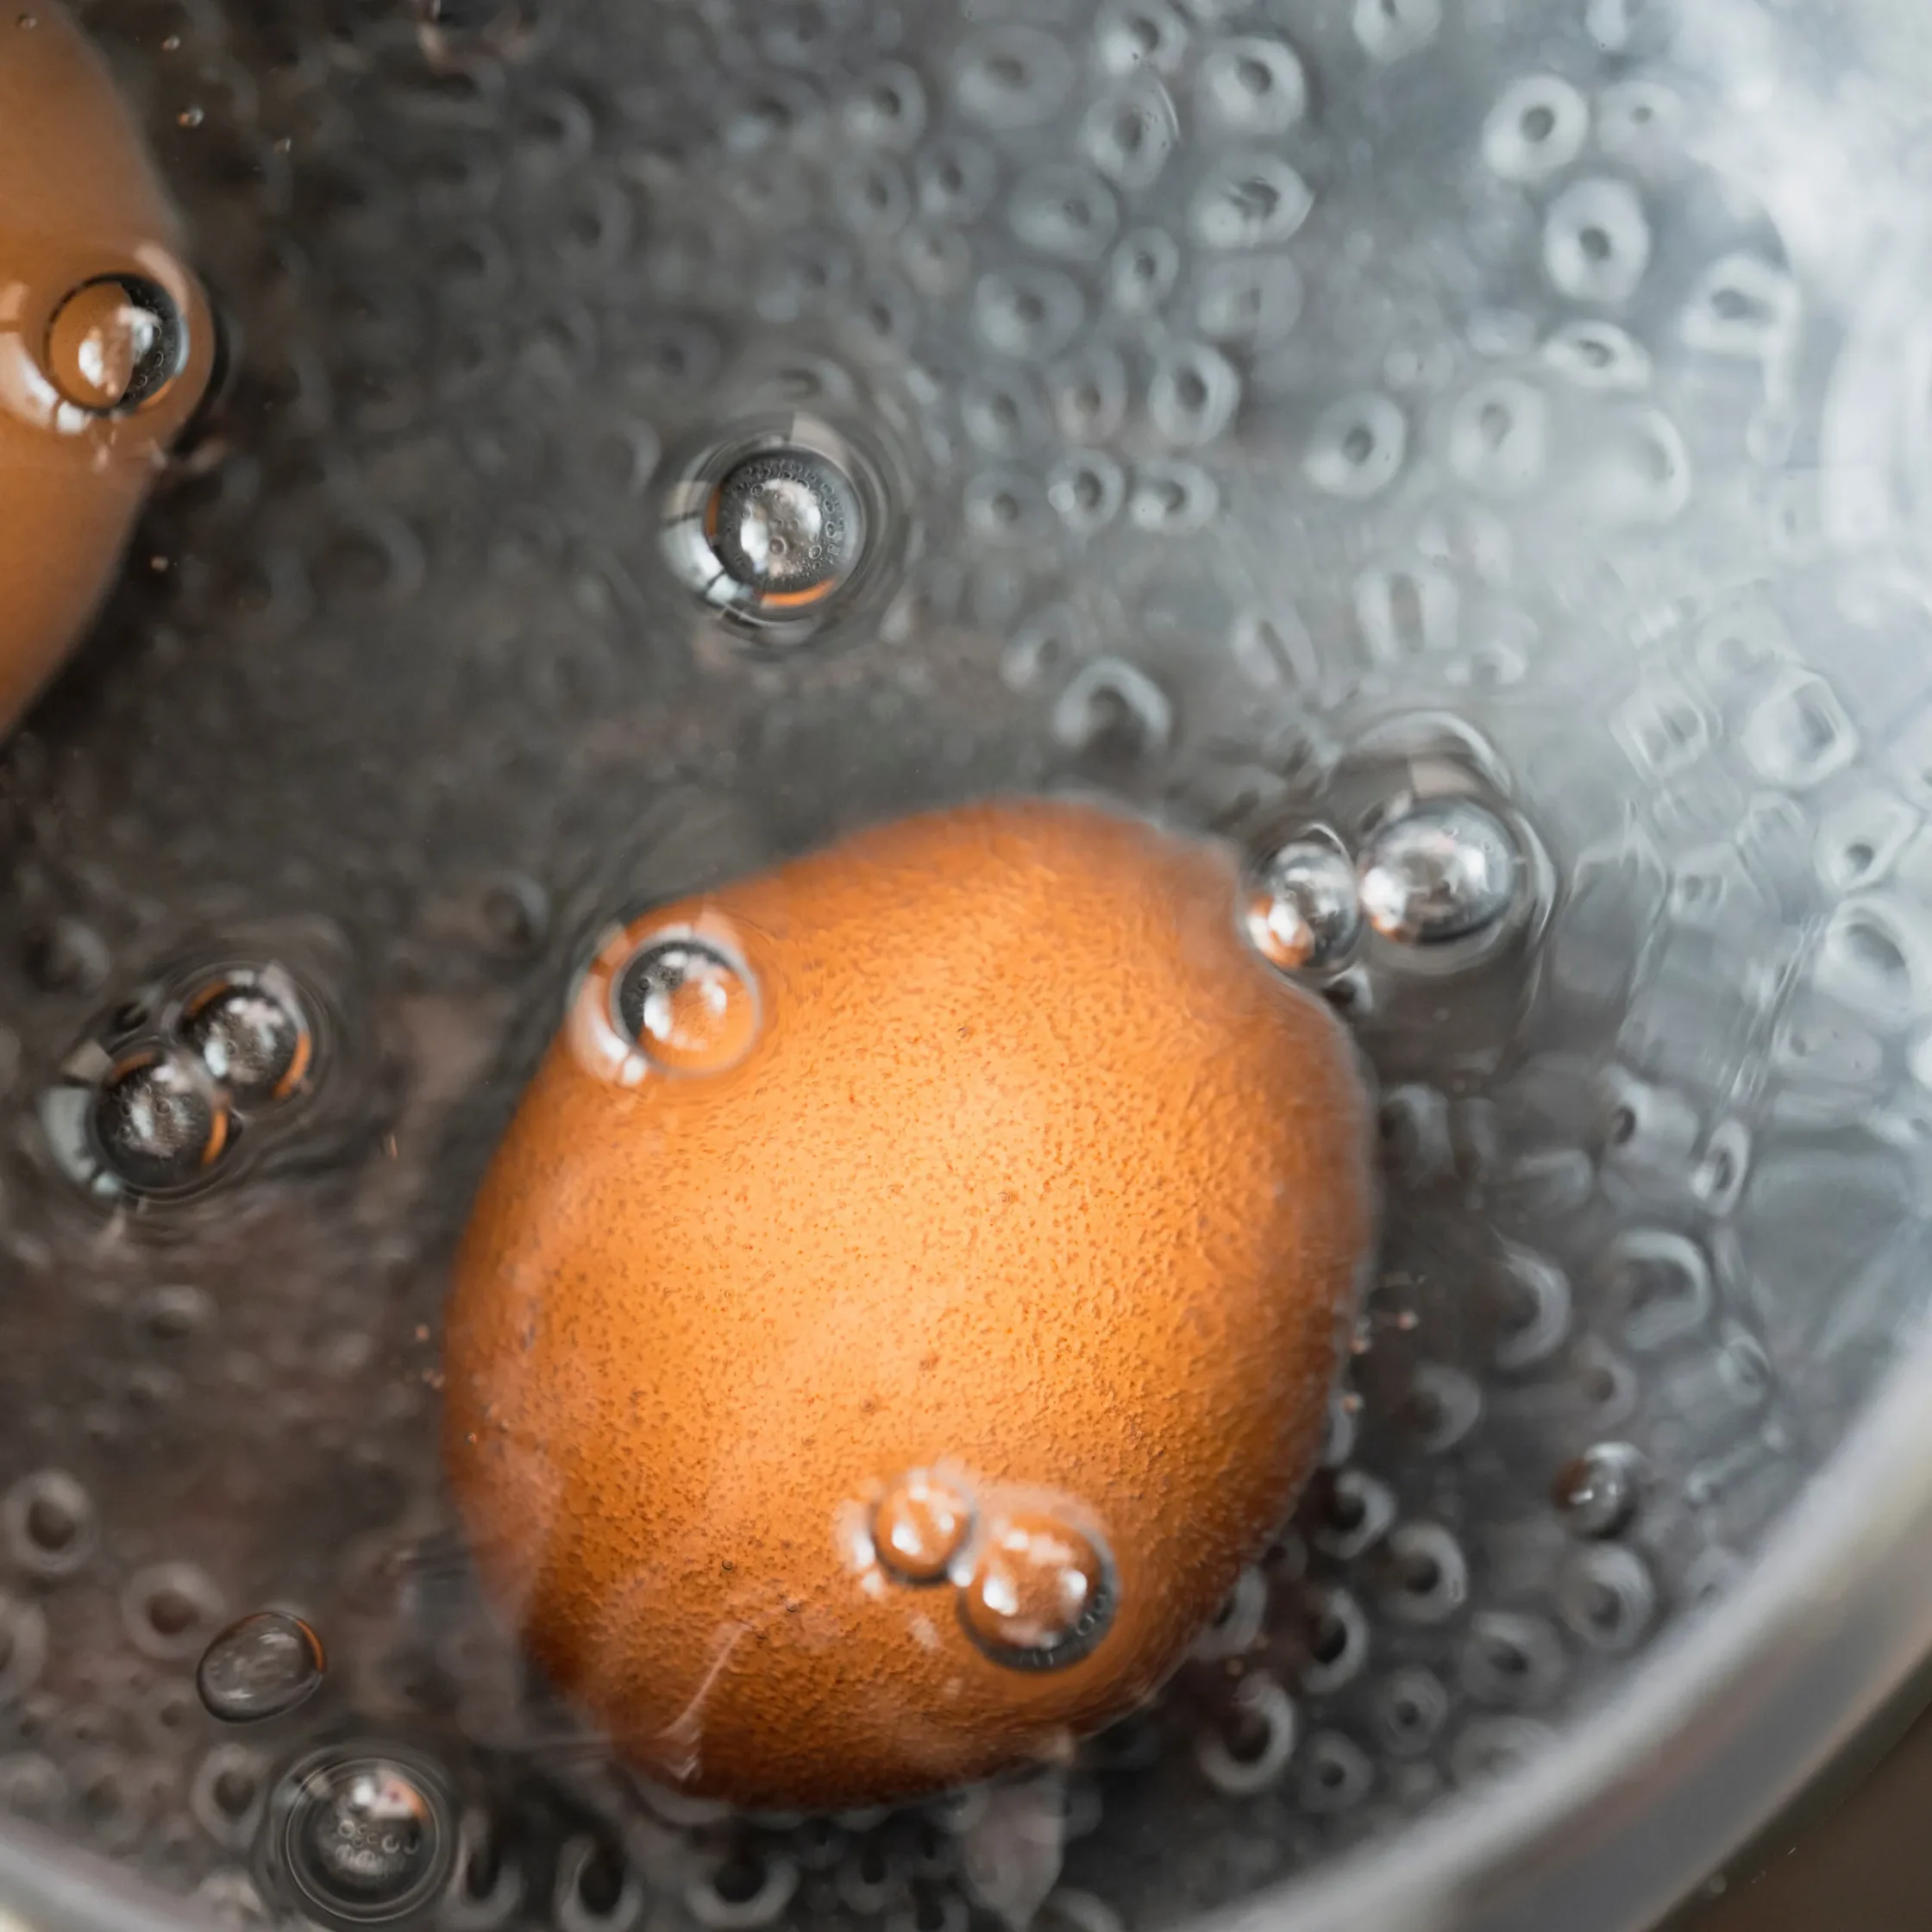
For anyone who has searched online how to boil an egg in the past, you’ve probably already seen those guides of how long you have to boil it depending on what cook you want. So it really depends on which you are trying to go for.
But generally speaking, for hard-boiled eggs with firm egg whites and a fully cooked yolk, boiling them for 10 minutes is the sweet spot. And if you wanna be extra sure, you can boil it for as long as 12 to 14 minutes.
5. Immediately transfer to an ice bath
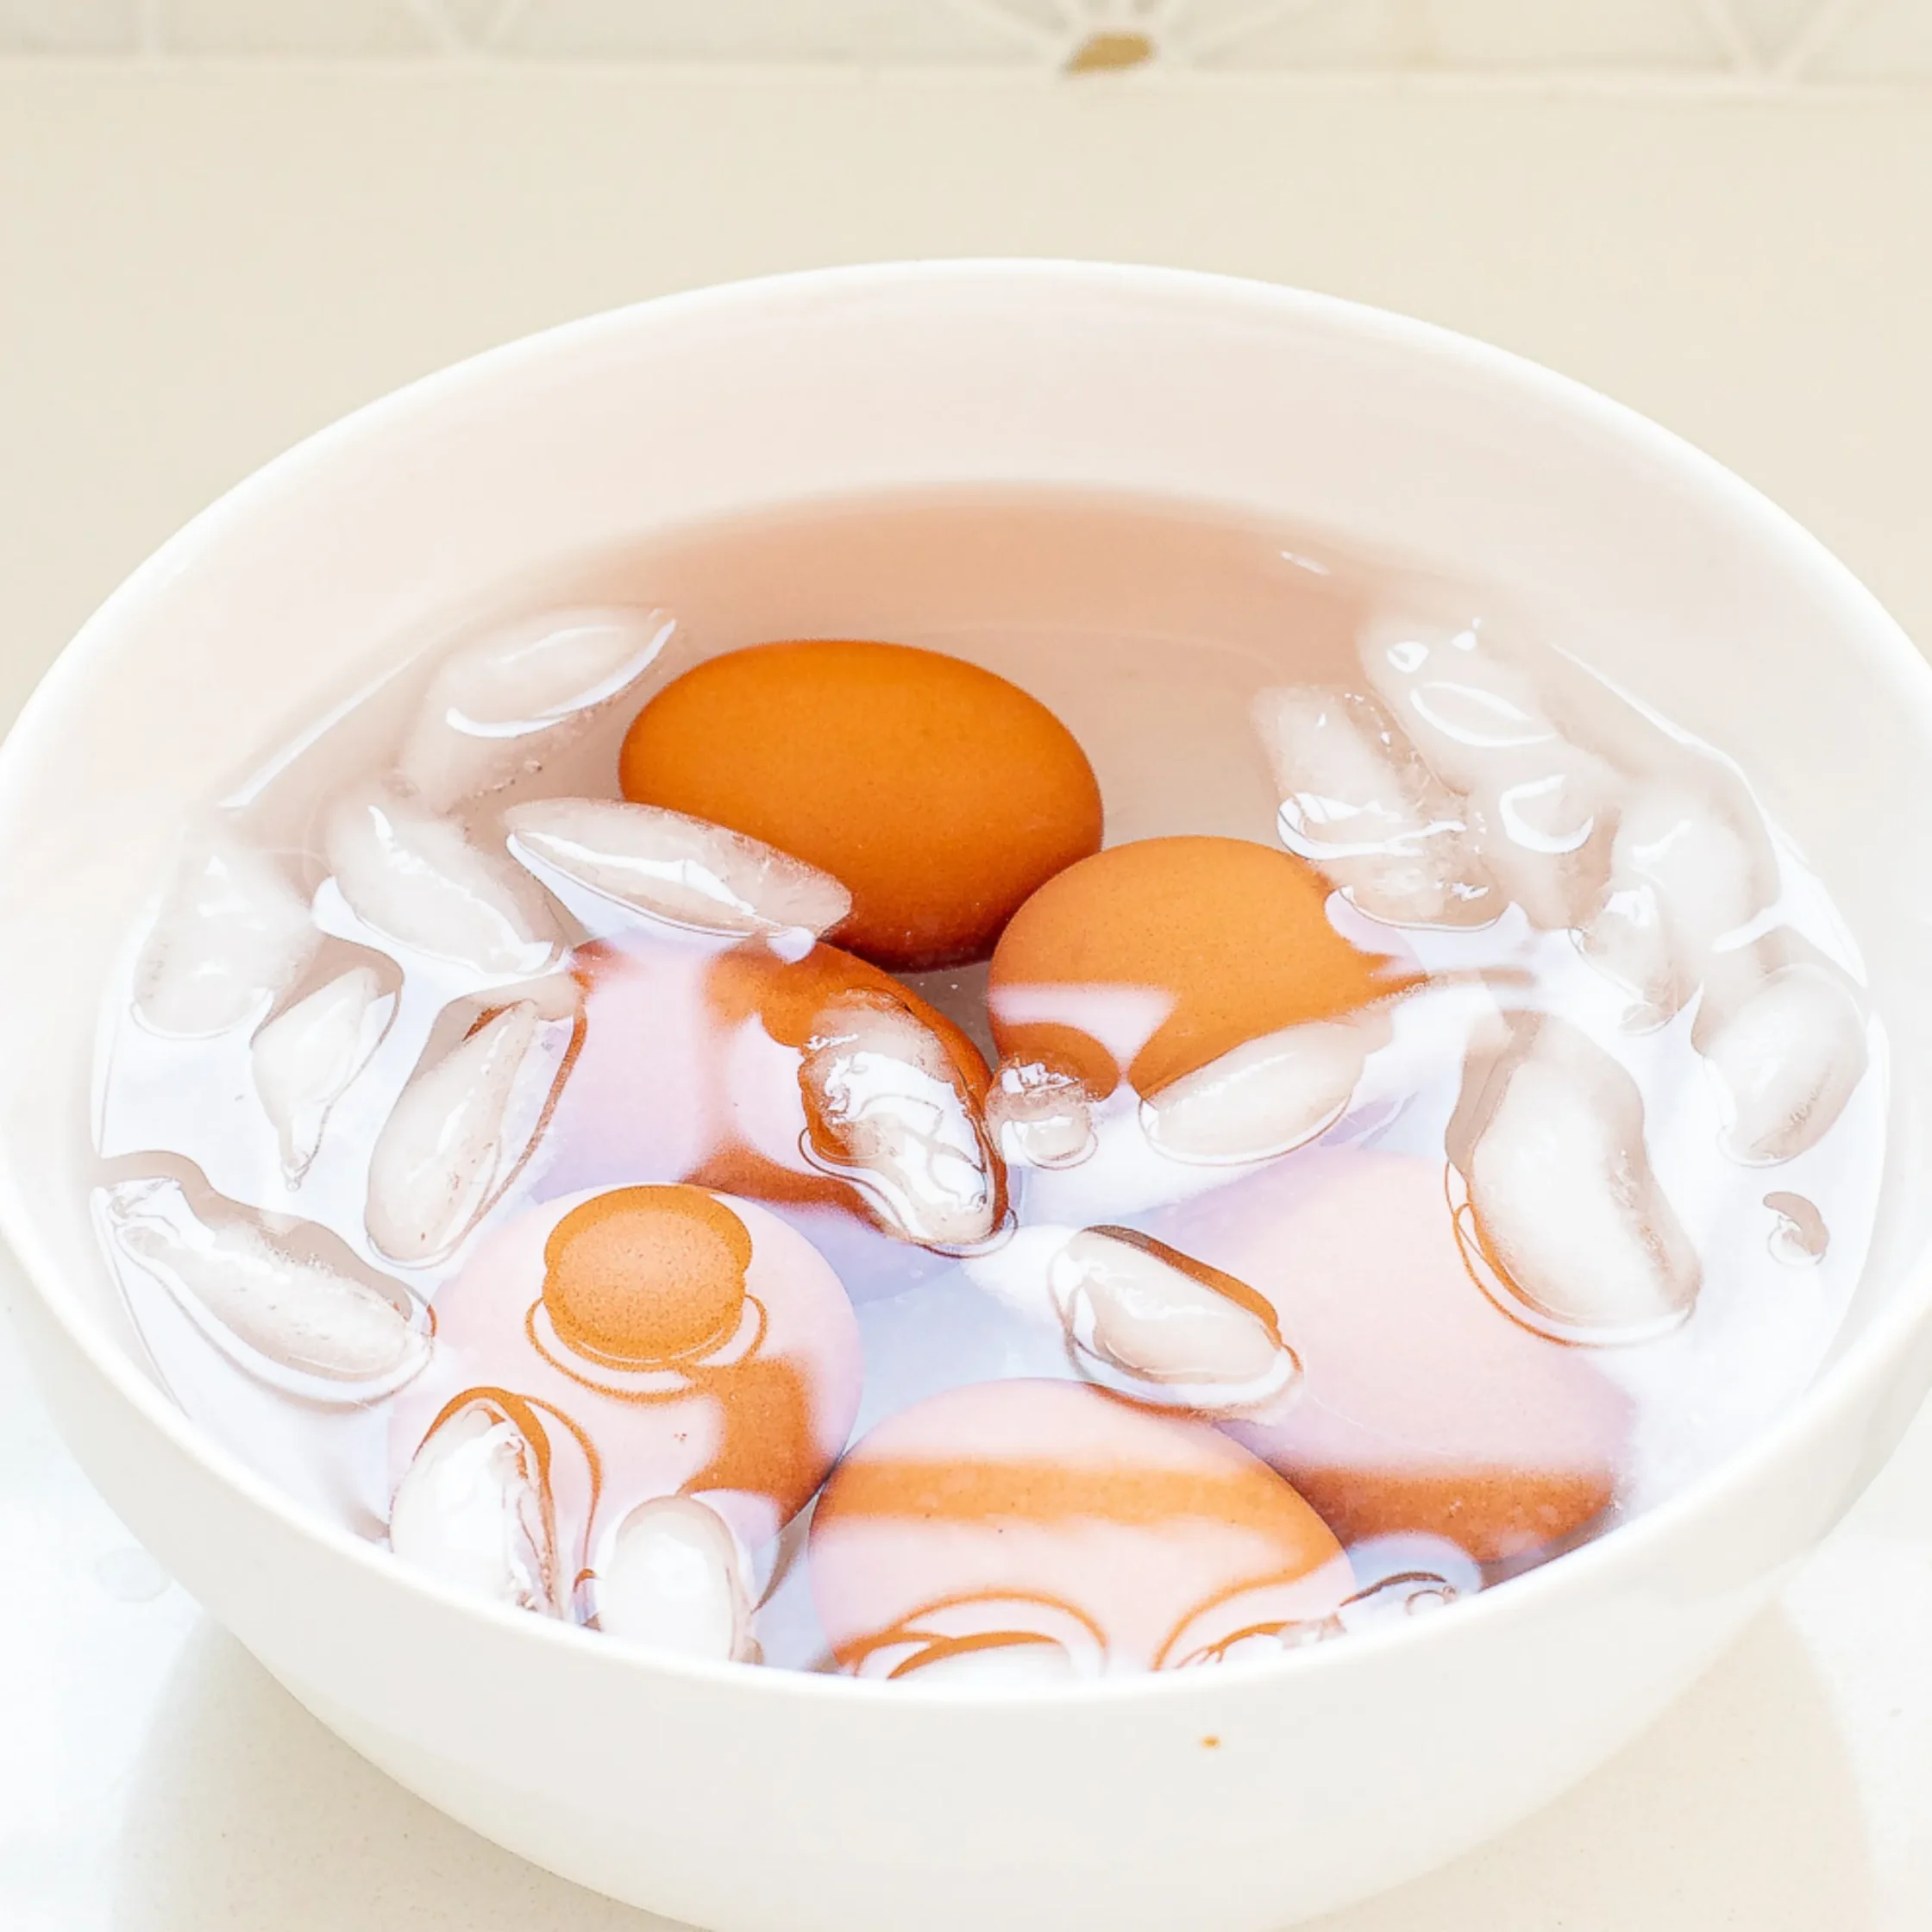
Immediately transferring your eggs from your boiling pot of water to an ice bath does wonders, specifically for when you start peeling the shell off. And for what may seem like a waste of ice at first, trust me when I say it does, in fact, make a difference.
Contrary to what we were trying to avoid pre-boiling, in this instance, the thermal shock is a good thing, because it not only stops the cooking process, but it also creates space between the shell, the membrane, and the freshly boiled egg.
6. Peel the shell while the eggs are in water
Before even attempting to peel, the first thing you should do is make sure that your eggs have completely cooled down. Waiting between 10 to 15 minutes should do the trick.
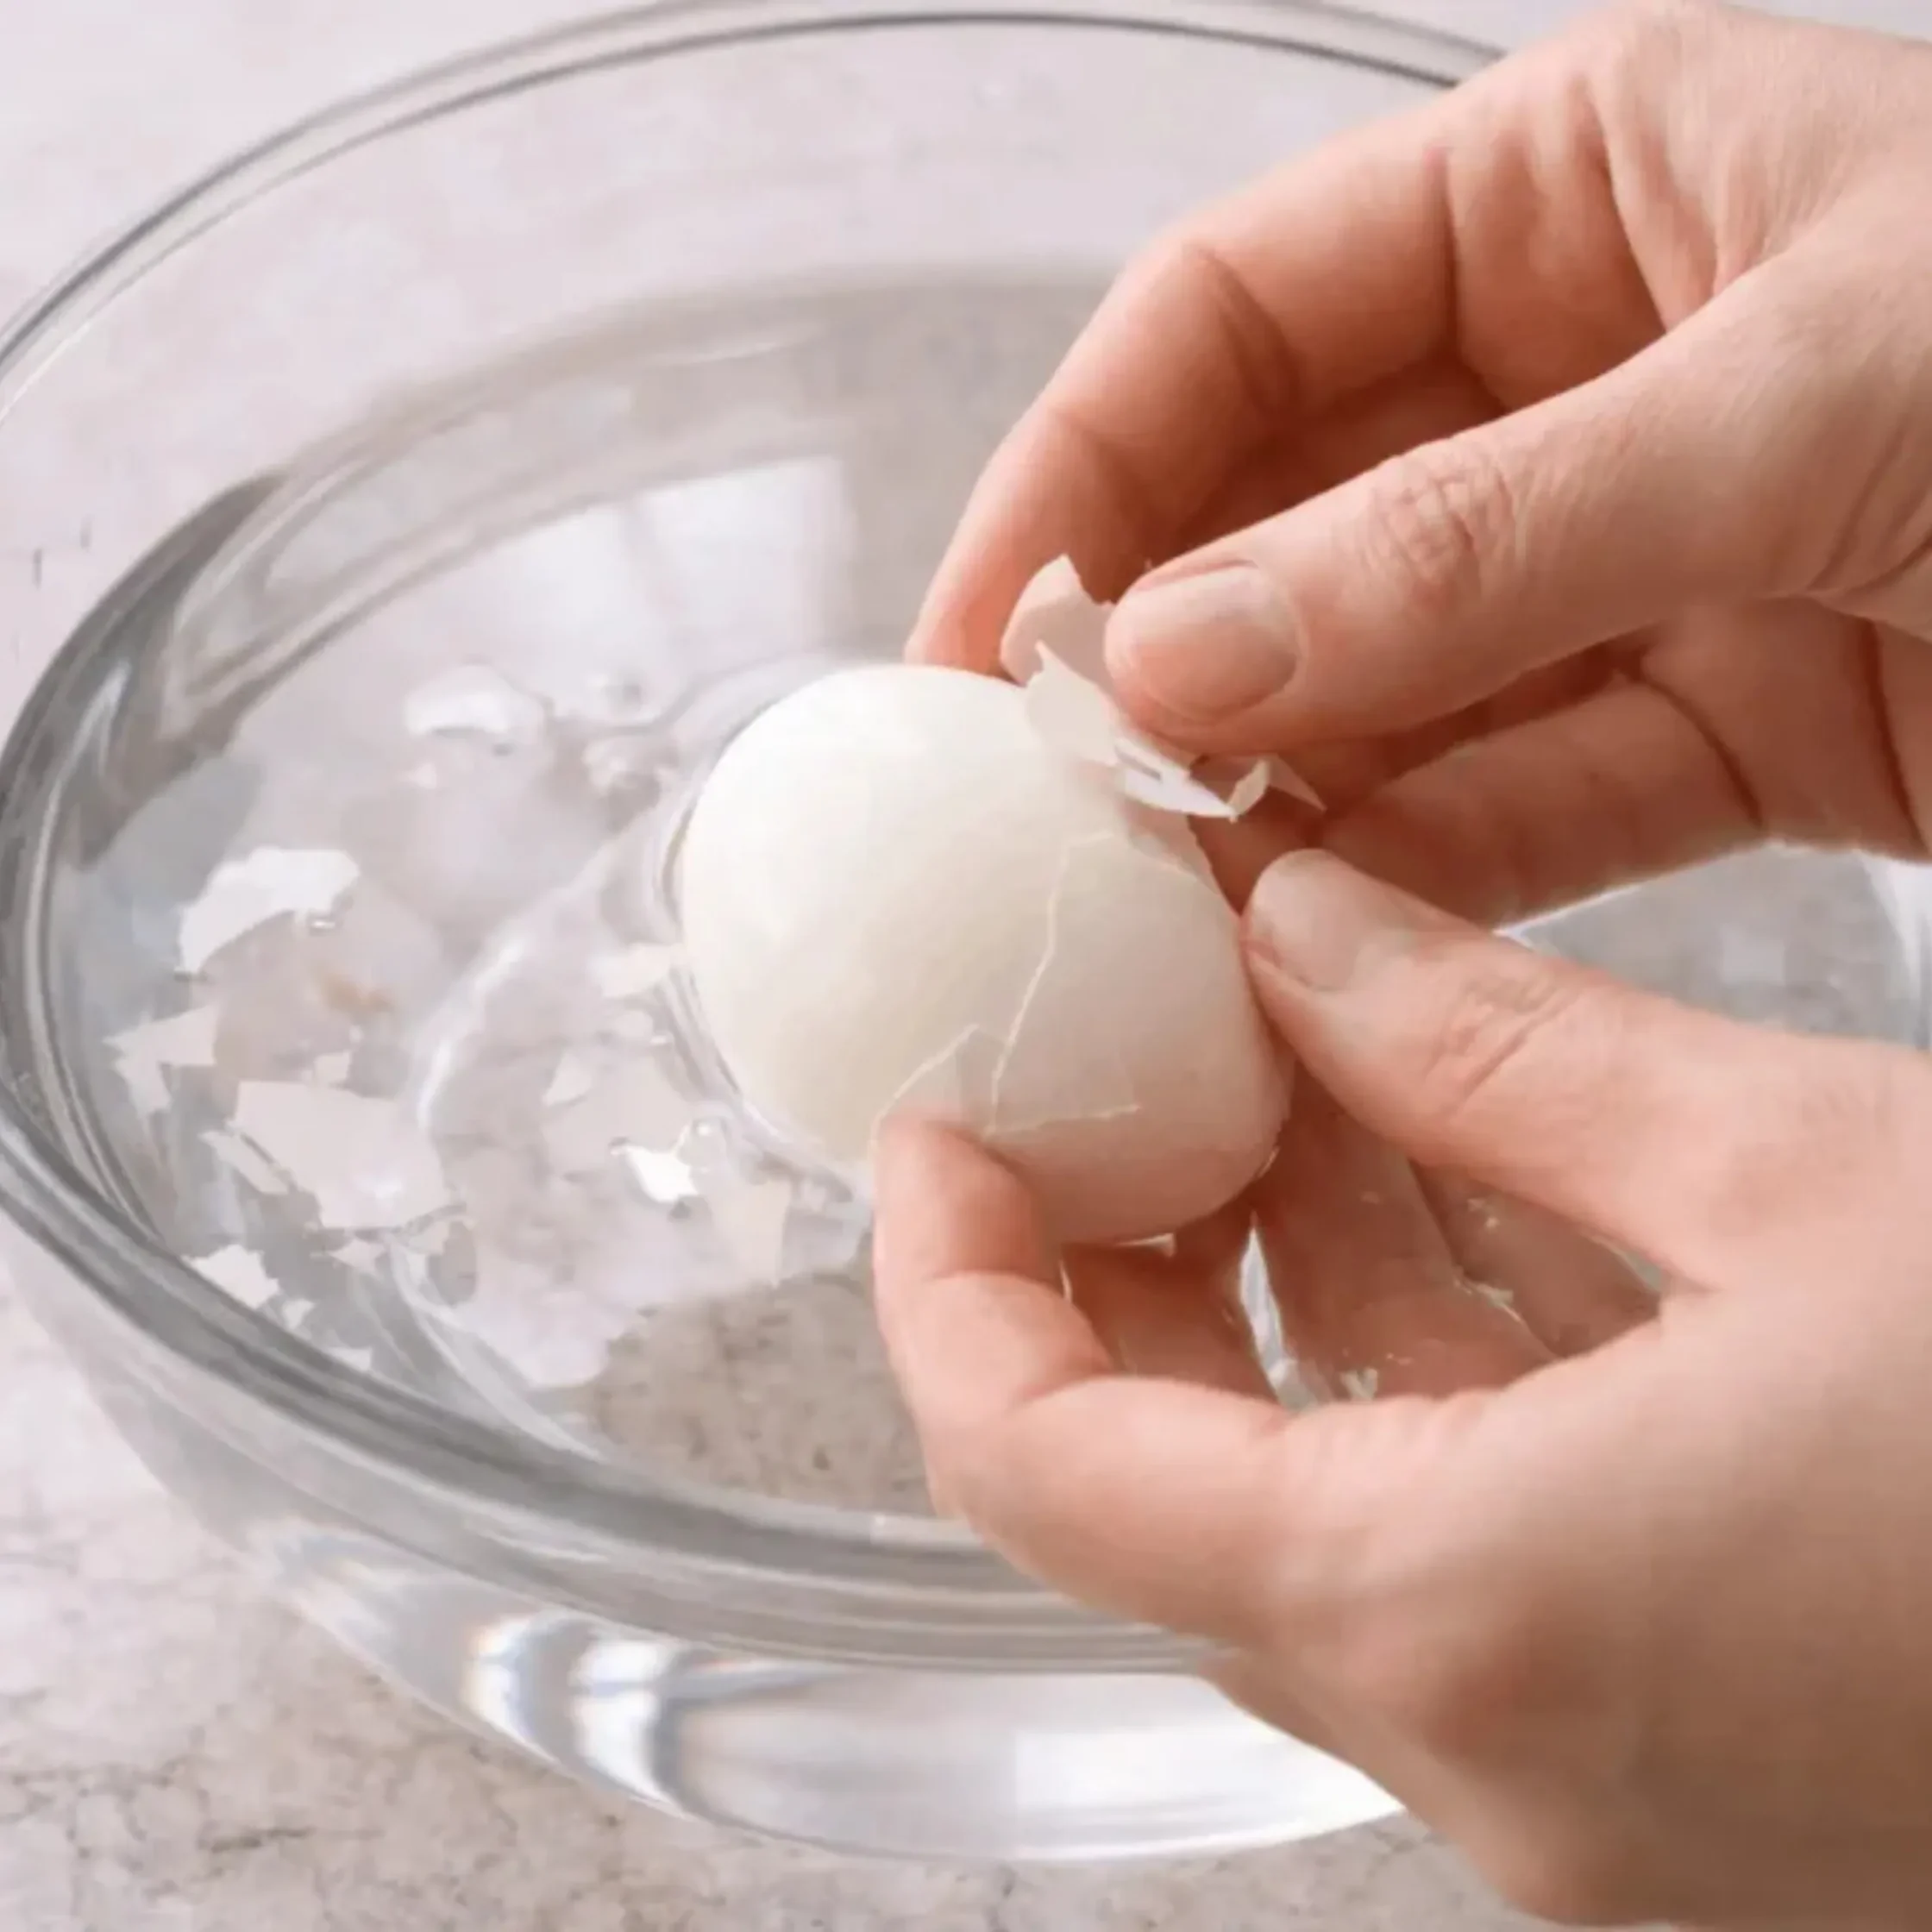
The last tip is peeling your eggs while they are submerged in water. First, you crack your egg by lightly tapping and rolling it on your counter, making sure to do this on a flat surface to avoid it from cracking inwards. Then dip it into a bowl of room temperature water and slowly remove the shell while submerged.
Don’t confuse this with peeling under running water from your faucet, though. What this method is able to do more effectively is to get the water to seep in between the shell and the egg so that separates them even further, creating an instant gap that lessens all the picking you have to do—avoiding those unwanted “craters”.

Frequently Asked Questions
For hard-boiled eggs, 10 minutes is ideal. If ever you want the yolk even more cooked, you can go up to 12 to 14 minutes. Anything less than 10 may come out soft-boiled or jammy.
If you want to avoid the shell from sticking to the egg, it’s best to boil them at a hot start.
Pricking the bottom or rounded part of the egg releases air from that small air pocket, ensuring that your egg doesn’t have a flat bottom at the end after boiling.
In the context of cooking, an ice bath refers to putting ice in a container full of water. This is primarily used to stop the cooking process of any protein of vegetable you put in it. When making hard-boiled eggs, not only does the ice bath stop your eggs from cooking any more than you would like, but it also helps create space between the egg and the shell.
The best way to peel a hard-boiled egg with ease is by peeling the shell while submerged in water. Water seeping in between the egg and the shell makes it even easier for you to peel the shell off.