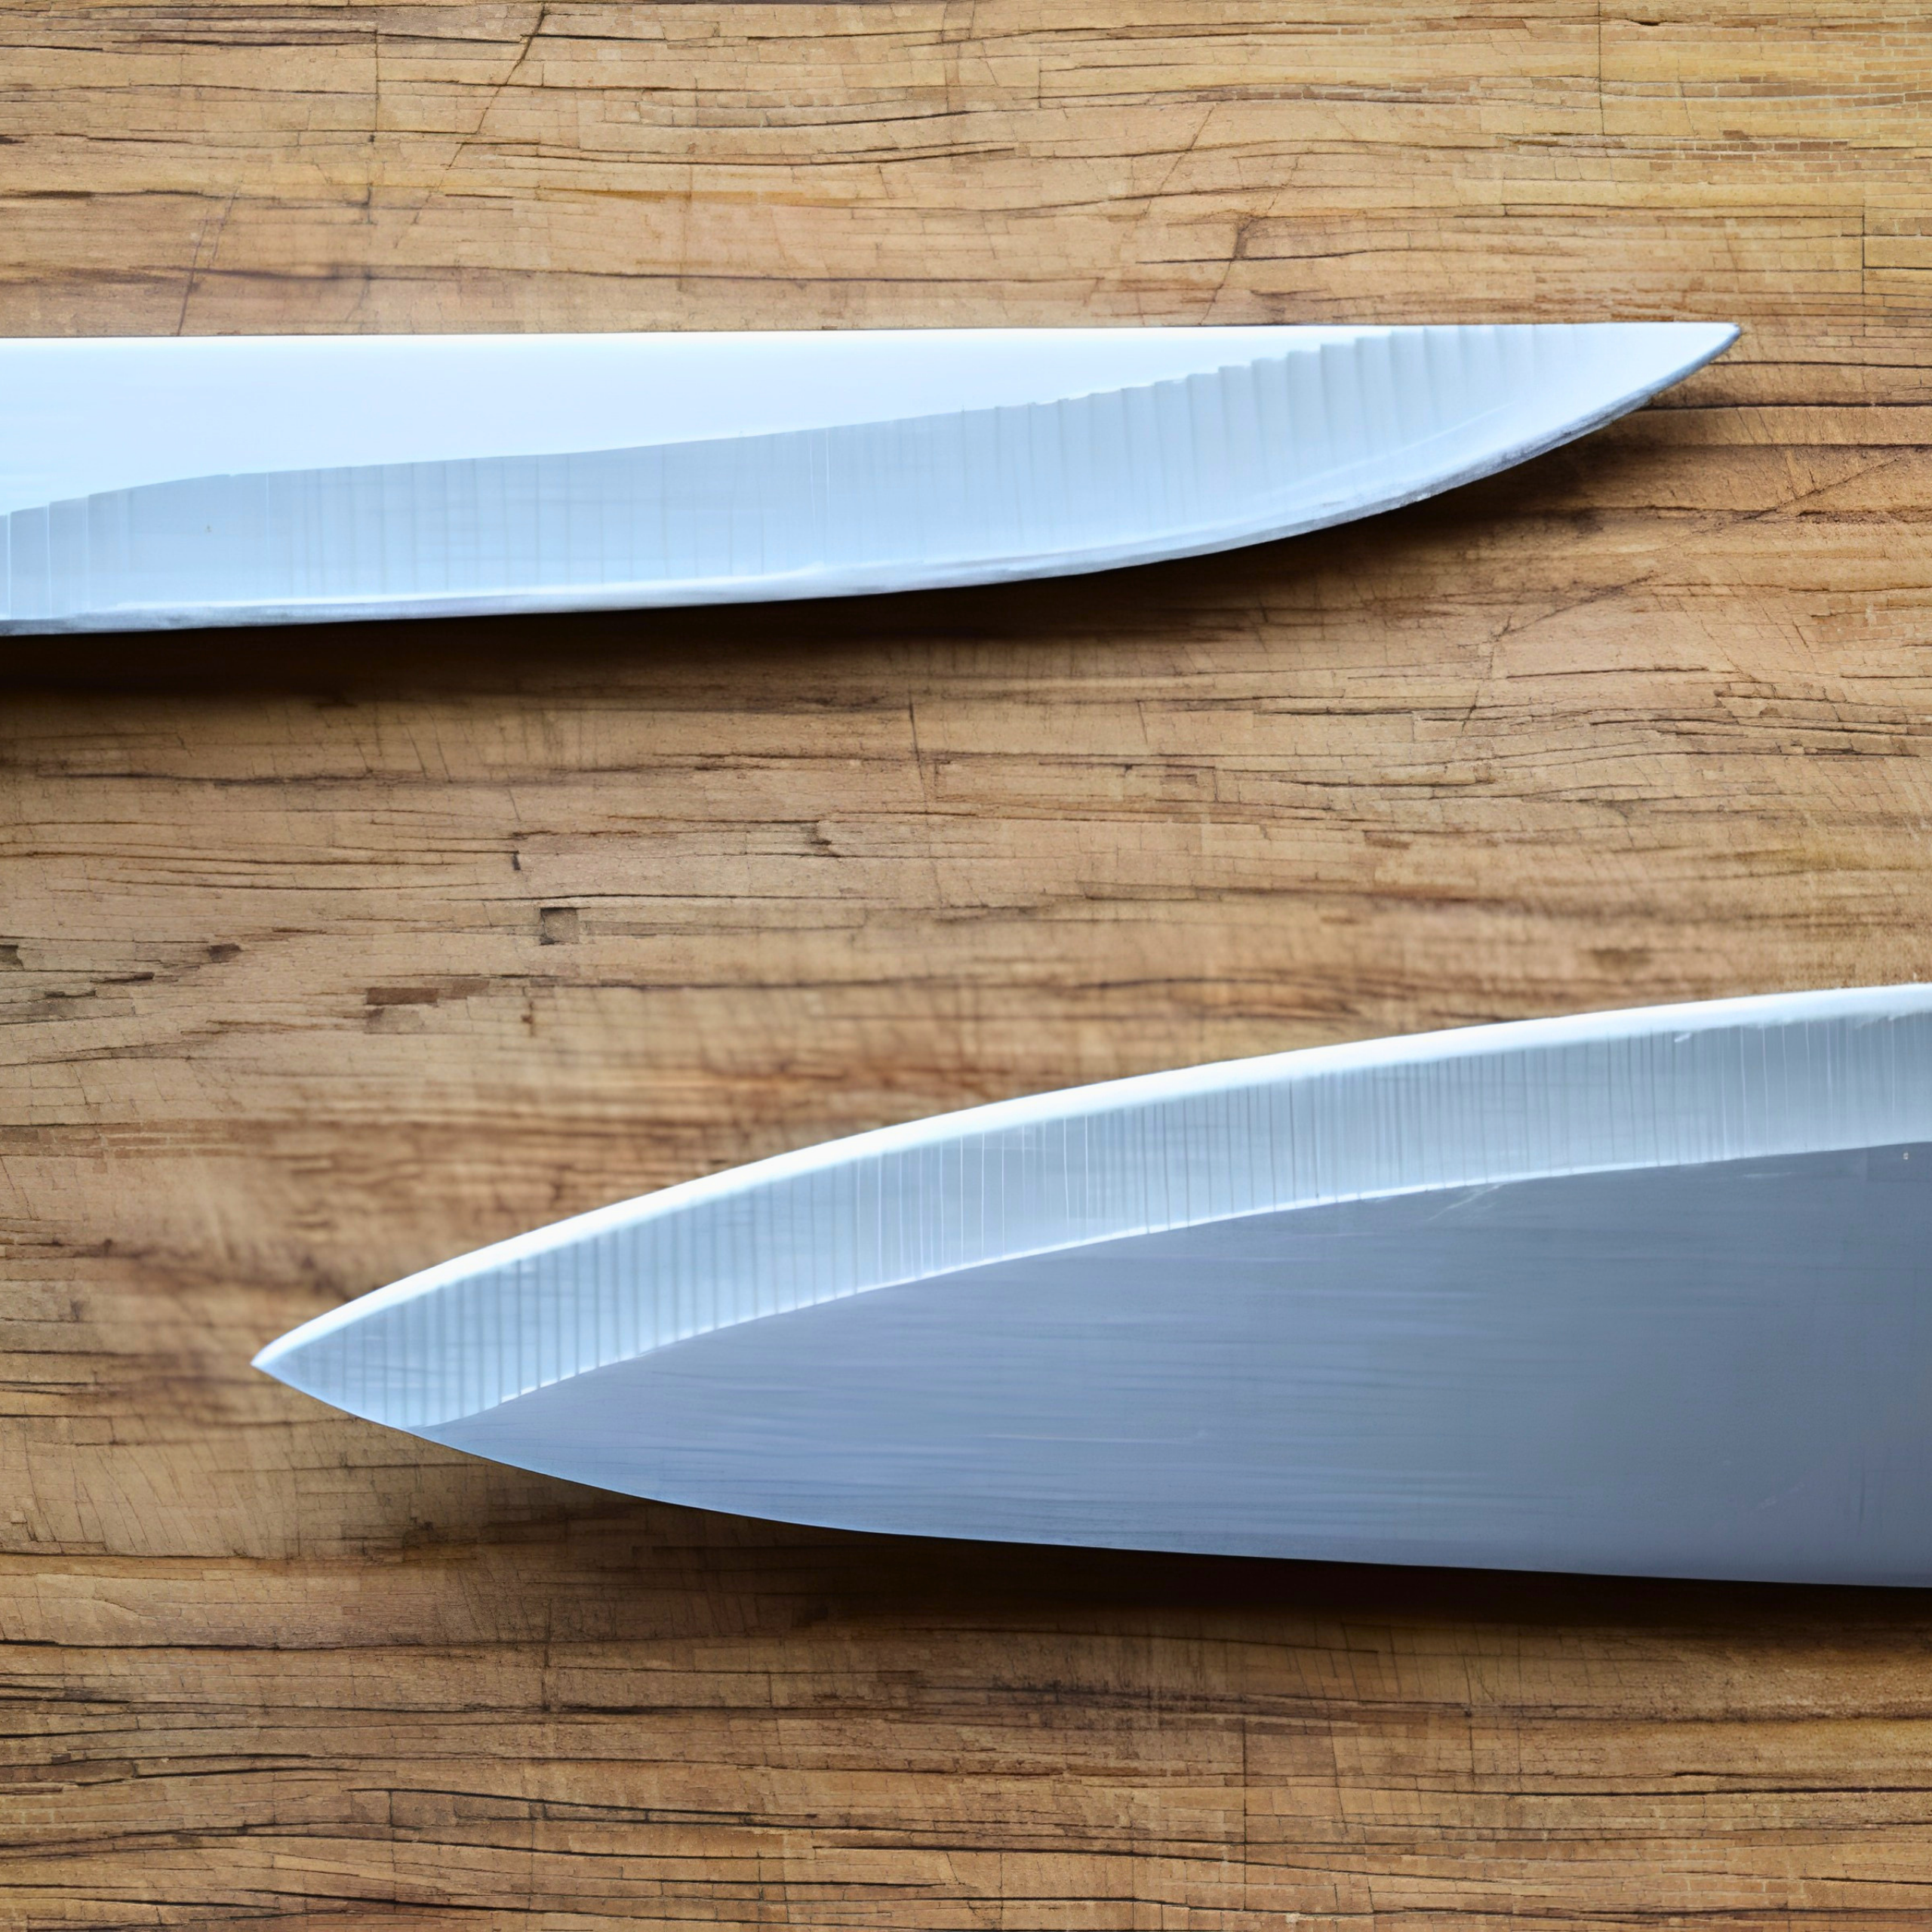
There’s nothing quite as frustrating, or as surprisingly dangerous, in the kitchen as a dull knife.
When a blade loses its sharp edge, it slips off smooth tomato skins, squashes tender herbs, and forces you to exert extra pressure, increasing the risk of an accidental slip.
While a traditional wet whetstone or professional sharpening kit is ideal for maintaining your cutlery, let’s be honest: most of us don’t own a whetstone at home. Most of us also may not own a self-adjusting knife sharpener or honing steel either.
The good news? With a few simple household items you likely already have in your kitchen drawers, you can put a keen, functional edge back on your chef’s knife or paring blade in just a few minutes.
1. Use A Ceramic Mug, Plate, or Bowl
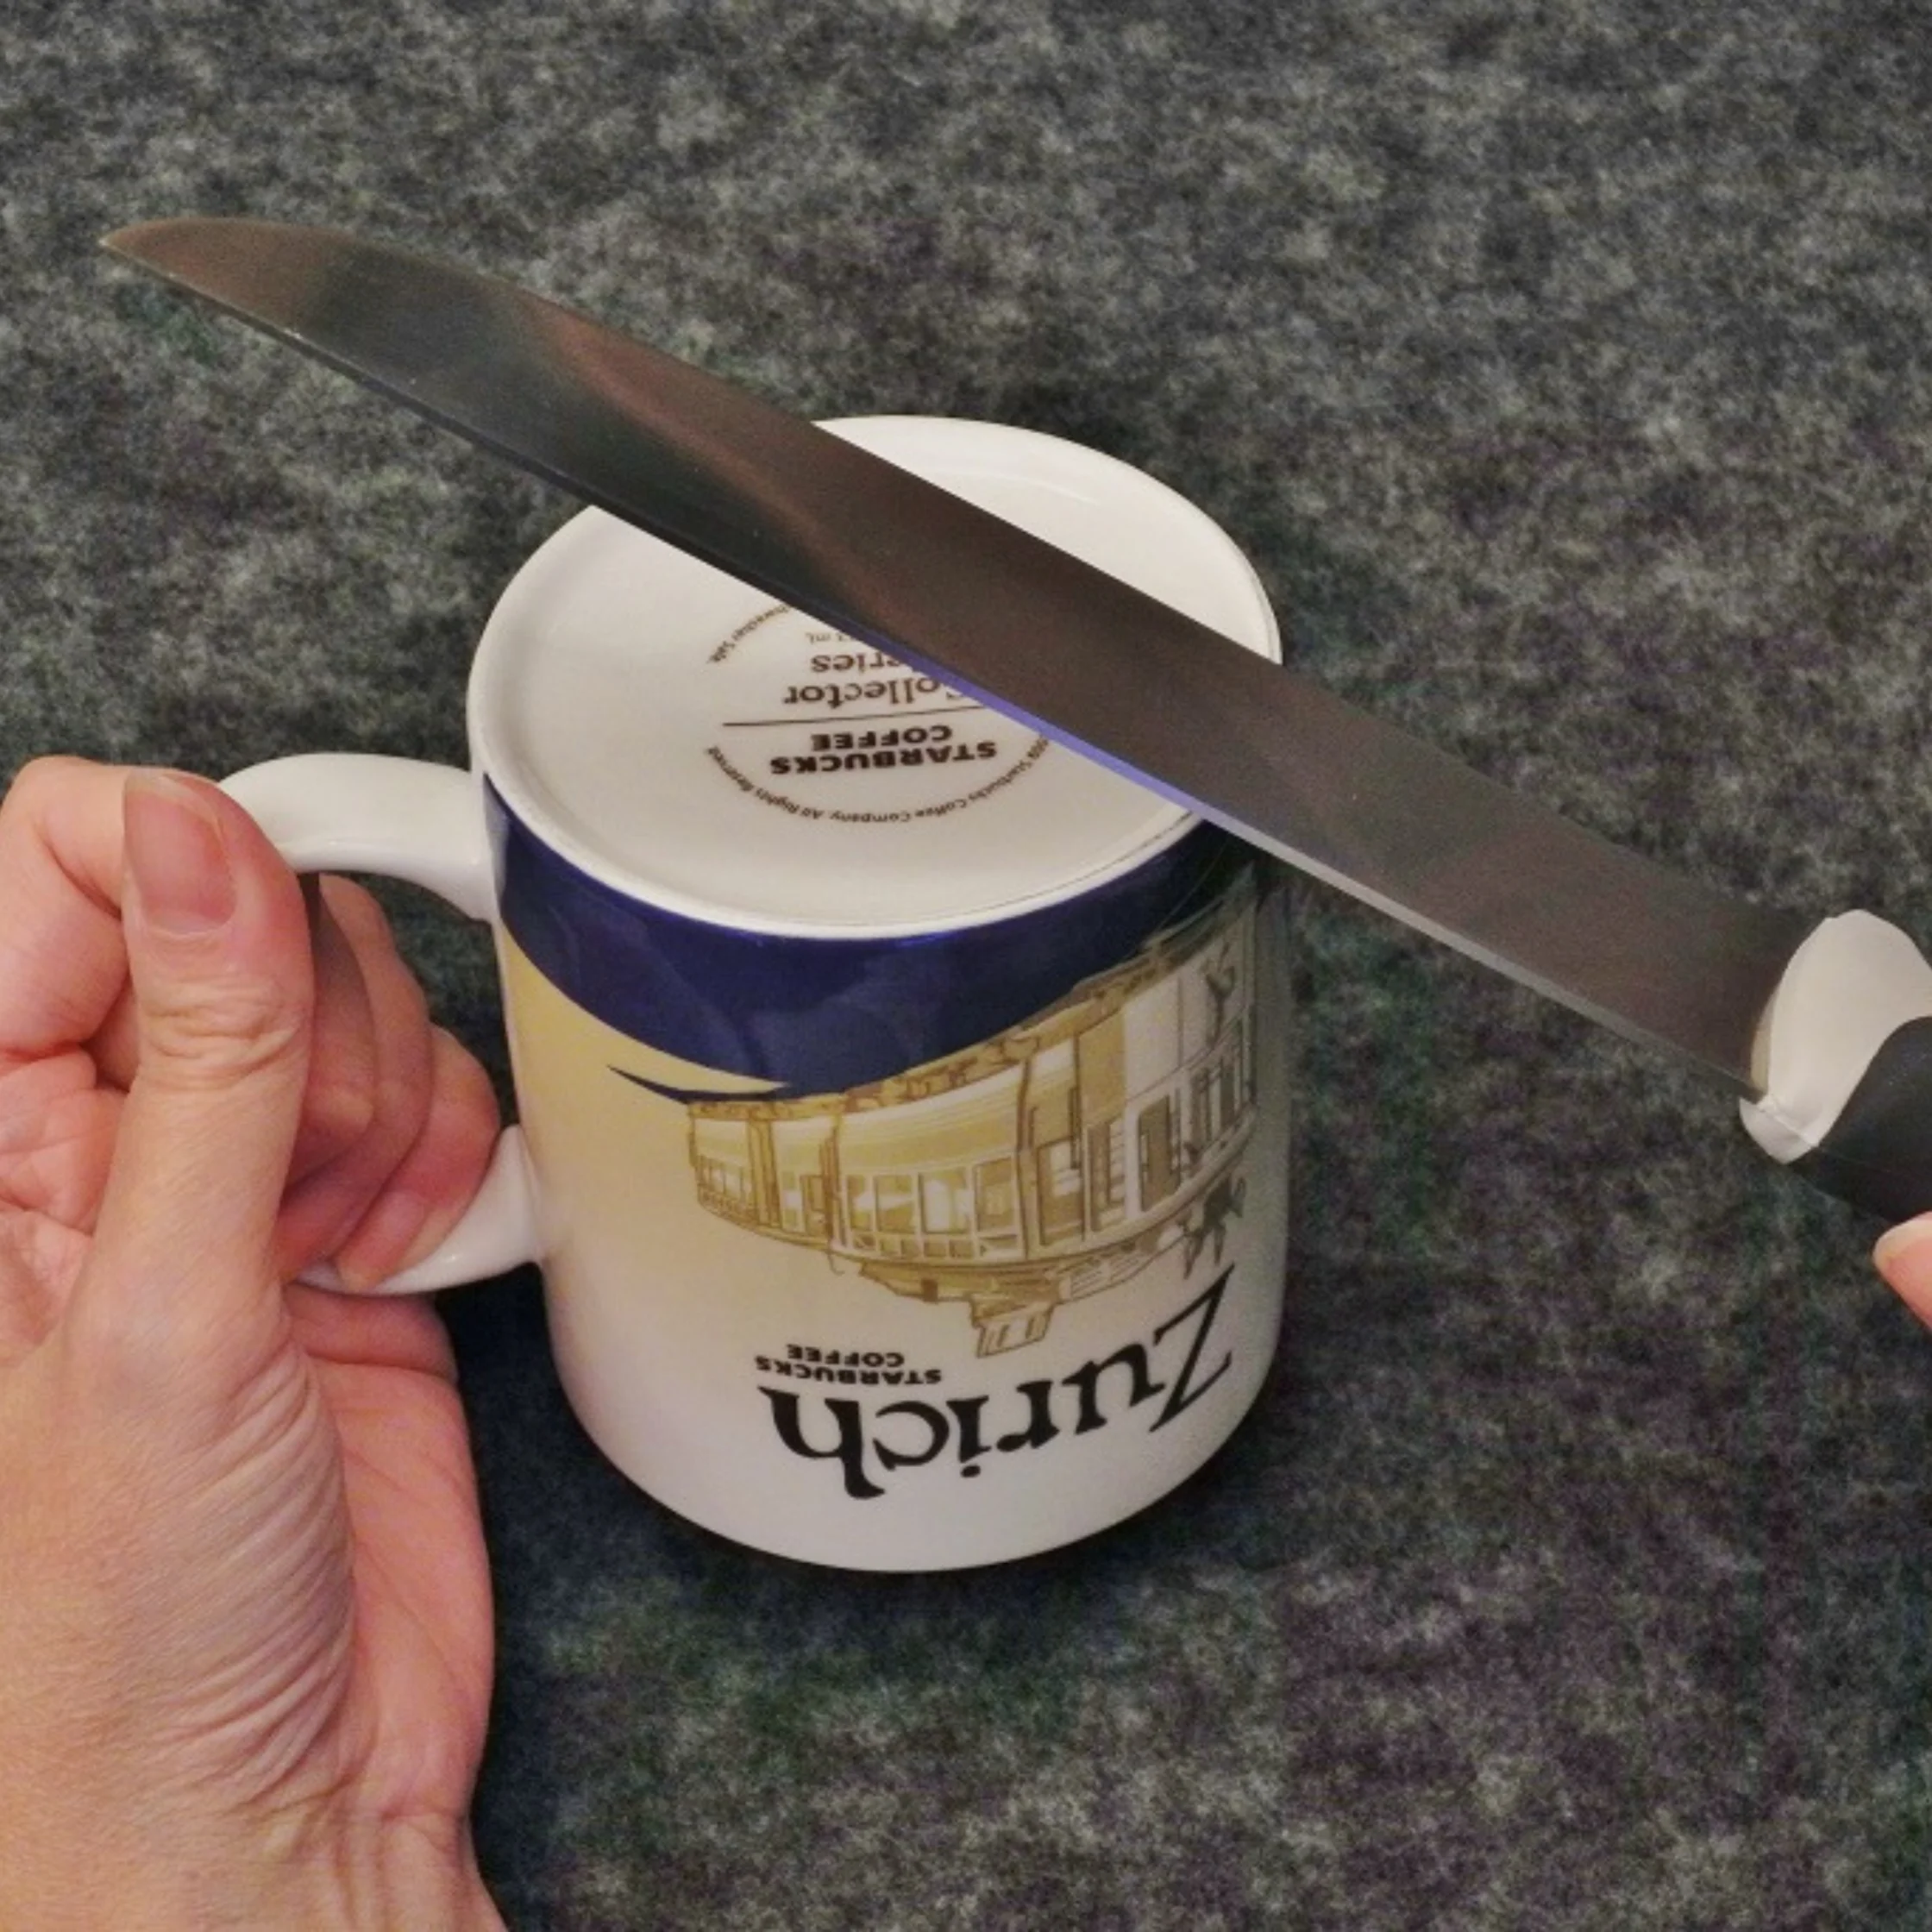
If you have a standard coffee mug or ceramic bowl in your cupboard, you already own a makeshift sharpening stone. Unglazed ceramic is an abrasive material that acts similarly to fine-grit sharpening stones.
First, turn the mug, plate, or bowl upside down on a flat, stable surface. It’s highly recommended to place a damp towel underneath to prevent any sliding. Looking at the exposed, unglazed rough ring on the bottom edge, take your knife at a 15–20° angle and run the blade against the rough ceramic ring. With light to moderate pressure, pull the blade across the ring from the base of the knife to the tip in one smooth stroke. Repeat this motion for about 5-10 times on both sides before wiping the blade with a clean cloth to remove any fine metallic dust.
The biggest tip for doing this is to make sure your 15–20° angle is consistent when sharpening either side of the blade.
2. Use the Spine of Another Knife
In a pinch, you can use the flat, smooth spine of another sturdy stainless steel chef’s knife as a makeshift honing rod.
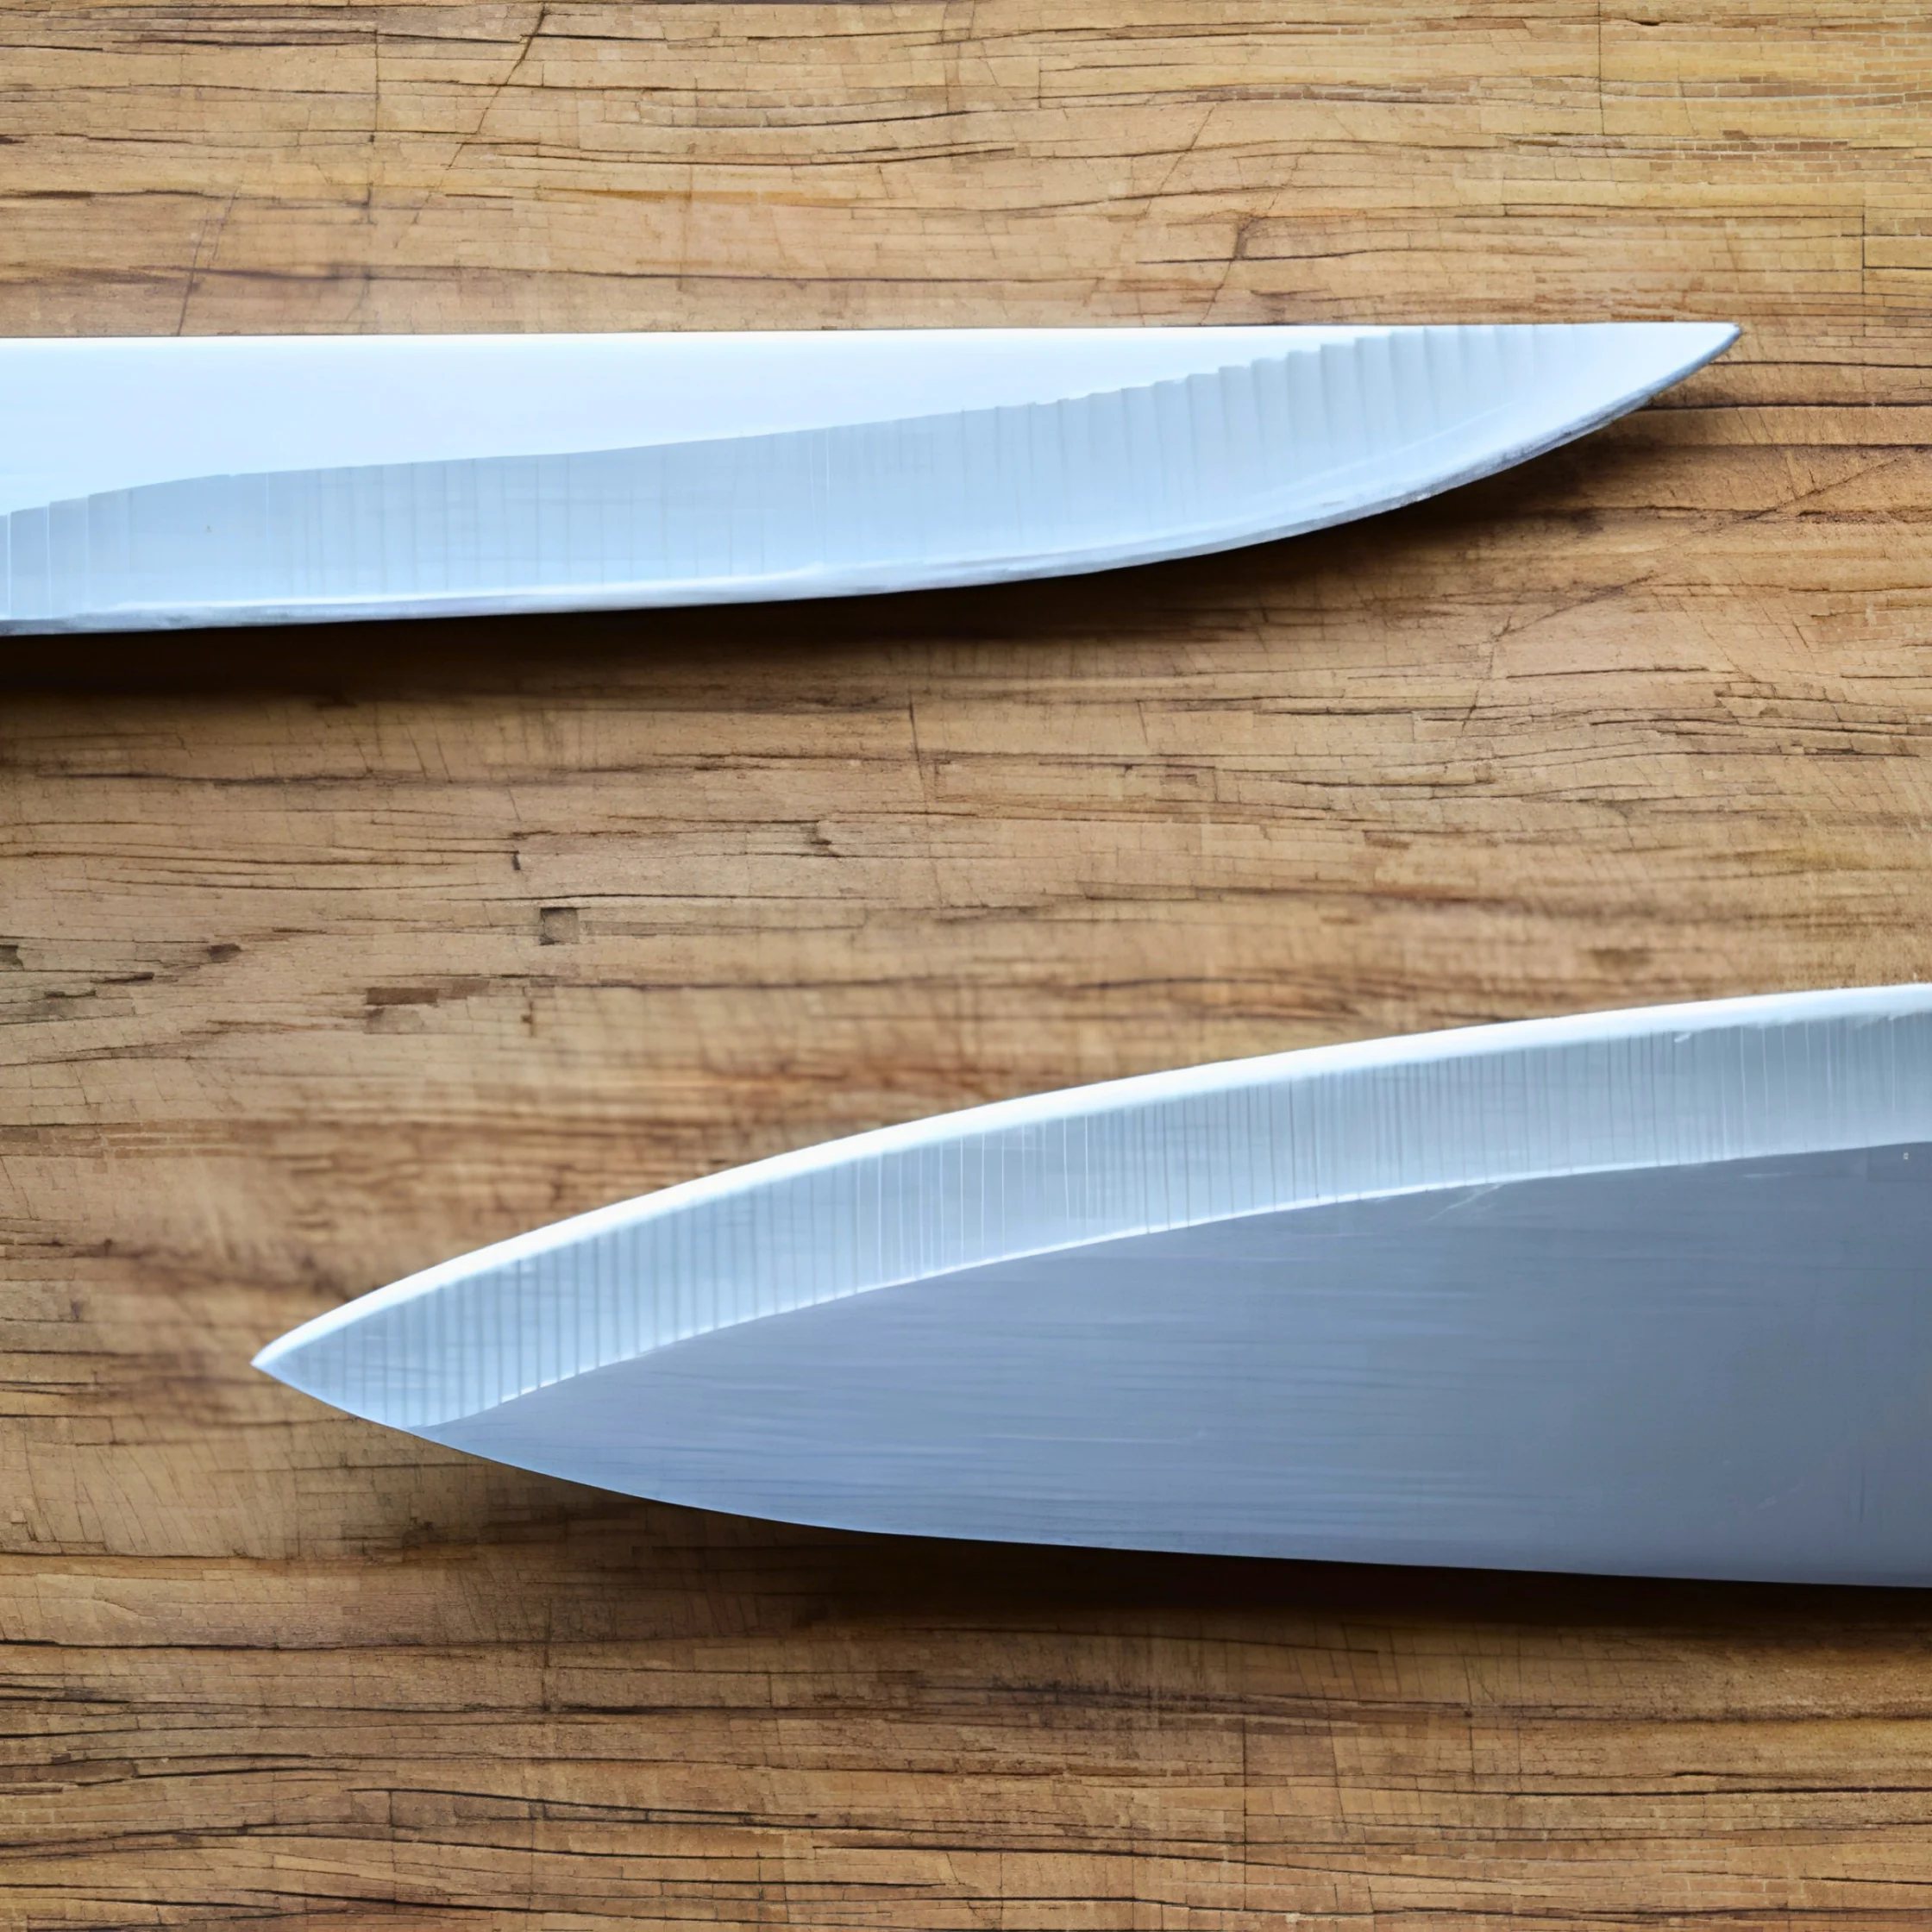
Hold the base knife firmly by its handle on a cutting board, spine facing up. Take the dull knife and cross the blades in an “X” shape. Angle the dull blade at 20 degrees against the spine of the second knife. Carefully stroke the edge down and across the spine from heel to tip, mimicking the motion of a honing steel. You should alternate between sides for 6 to 8 gentle passes.
3. Use A Sandpaper
This is the part of the list where we start looking at items found outside of the kitchen. Think of this suggestion as a DIY whetstone alternative that might especially appeal to households that are a bit handy with craft or home improvement projects.
Fine-grit sandpaper can be remarkably effective at reinforcing a dull edge because the silicon carbide or aluminum oxide coating mimics the grit of a sharpening stone.
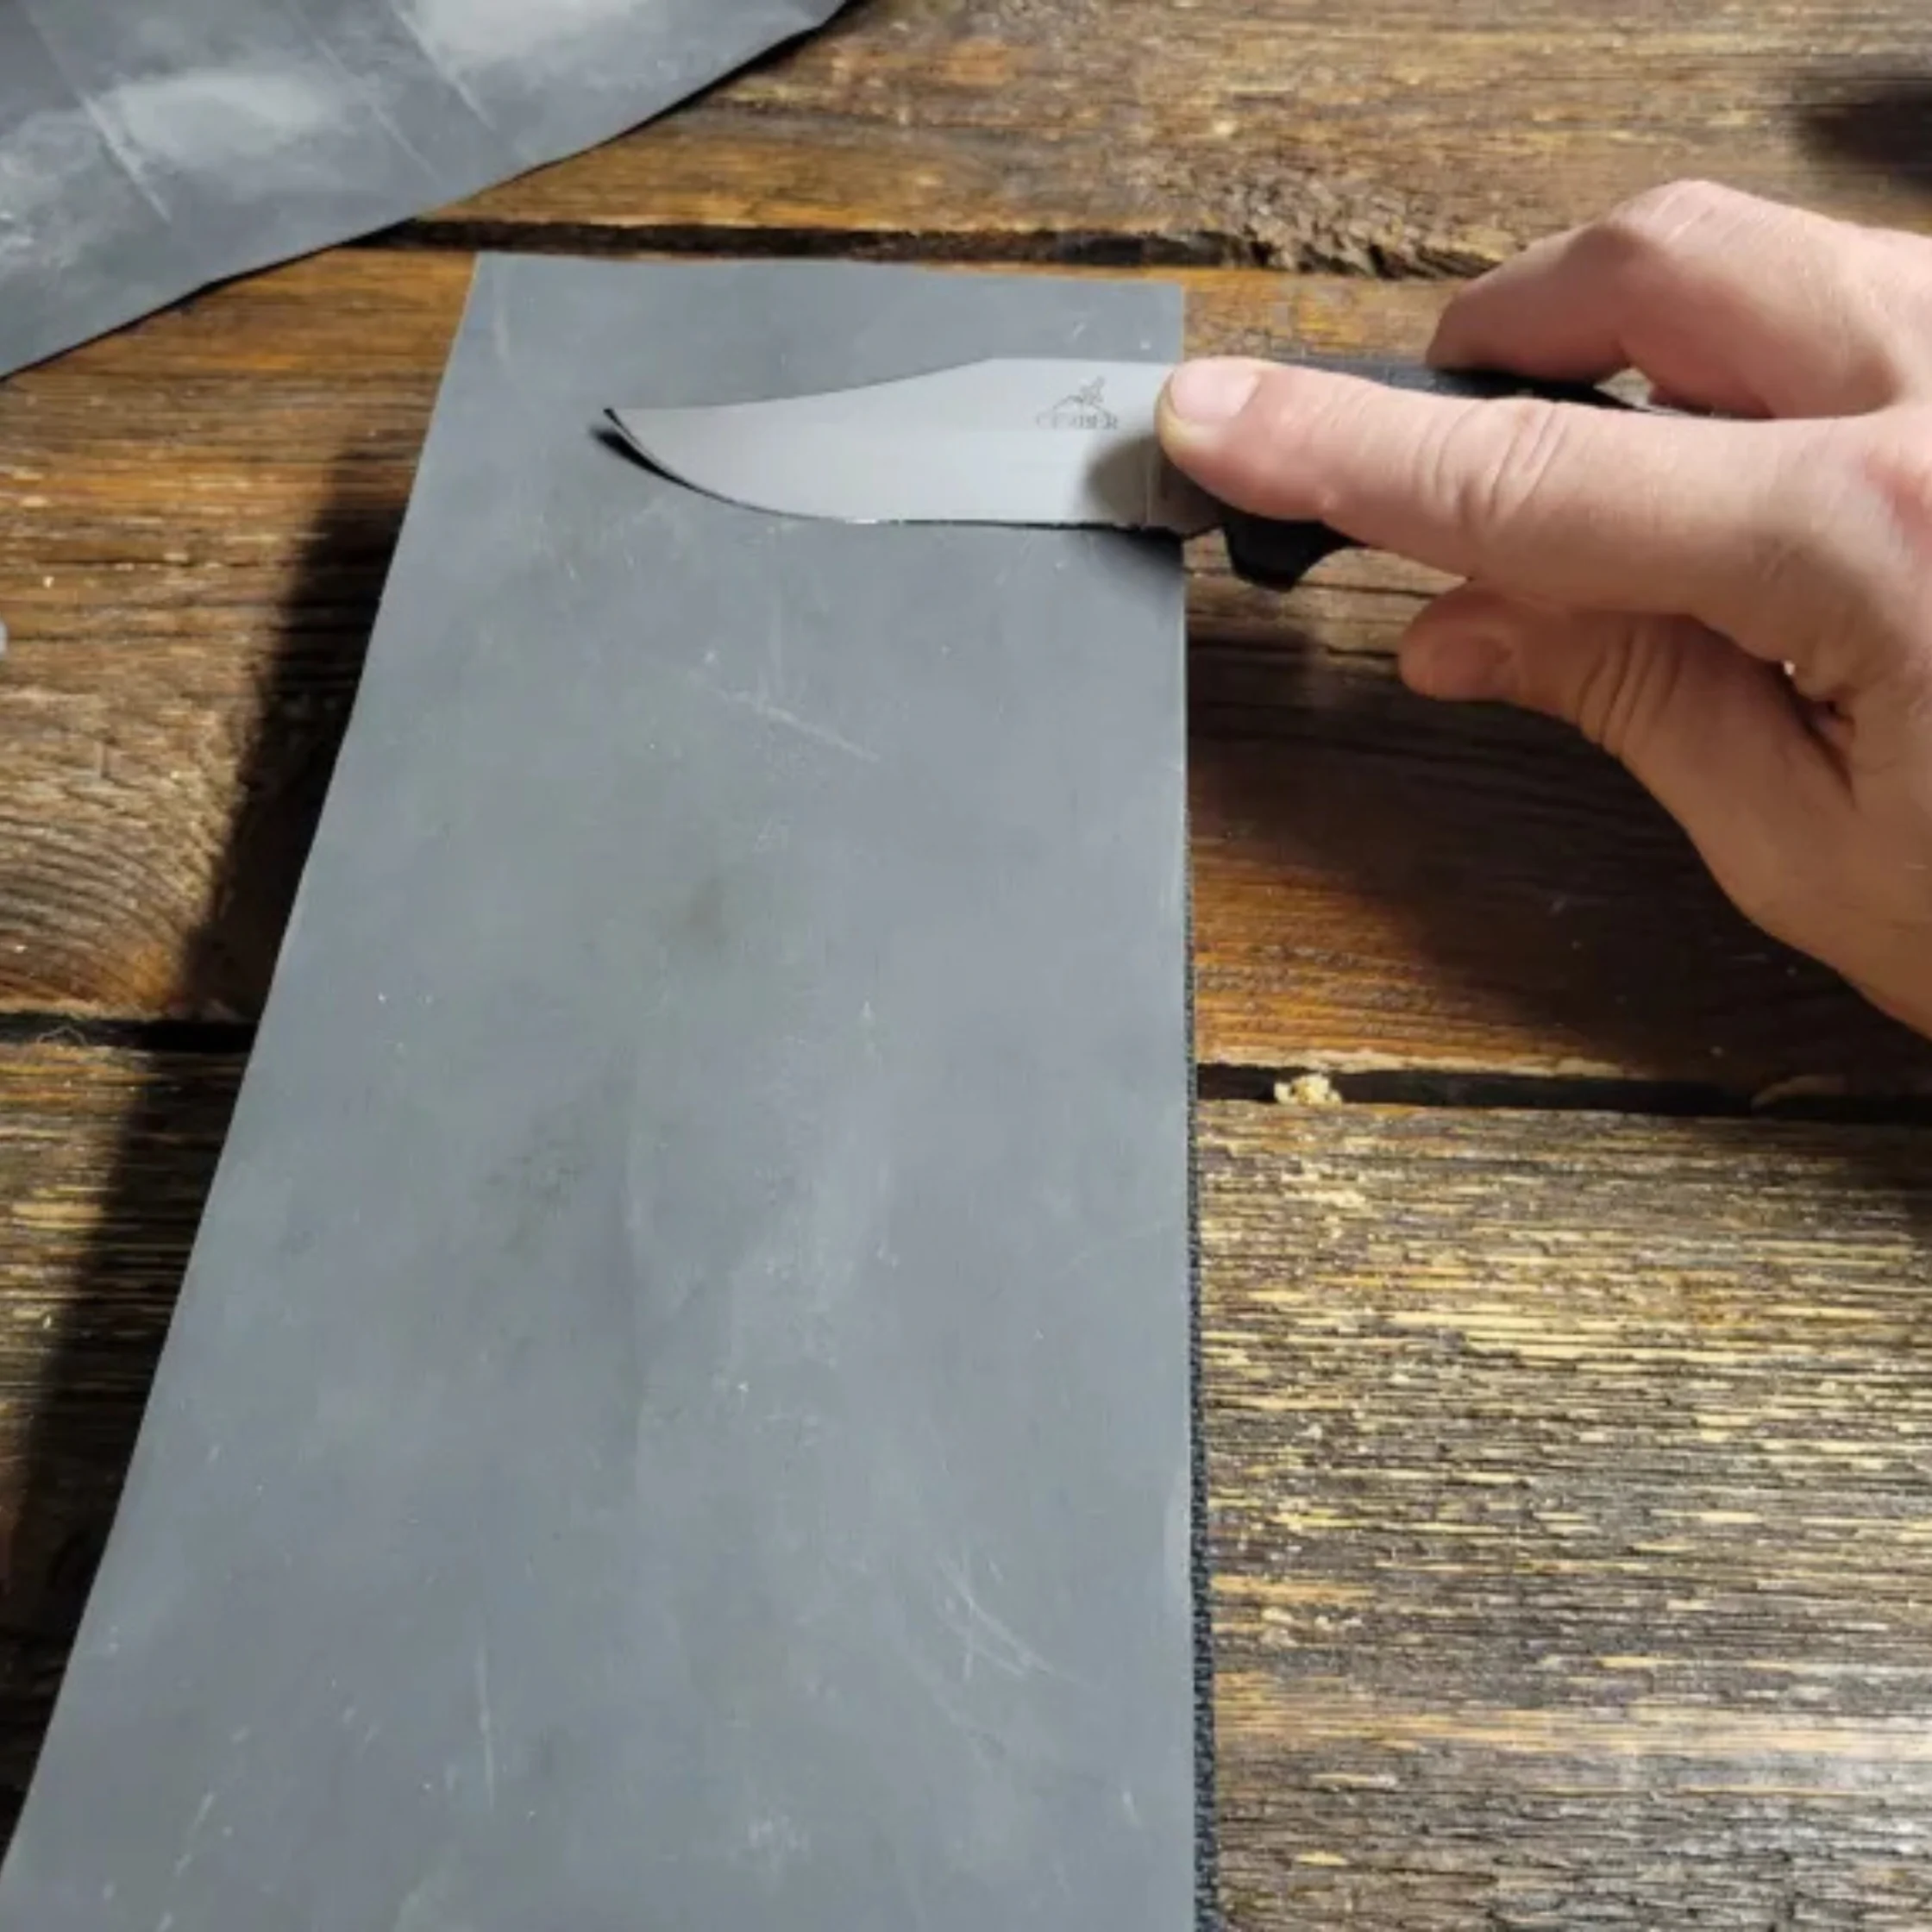
One key technical detail worth keeping in mind is choosing sandpaper with a high enough grit. If you are sharpening a dull blade, consider using (or checking if you already have) 1000-grit sandpaper. If you need to finish or polish the edge, opt for 2000-grit or higher.
Wrap or tape the sandpaper securely around a flat block of wood or sturdy chopping board before wetting it slightly with a few drops of water or mineral oil. Sweep the blade across the paper at a 20° angle from heel to tip, alternating sides evenly until it’s as sharp as you want.
Use up and down arrow keys to resize the meta box pane.
4. Use A Nail File or Emery Board
This one is for the people who do their own nails and are also trying to get better in the kitchen.
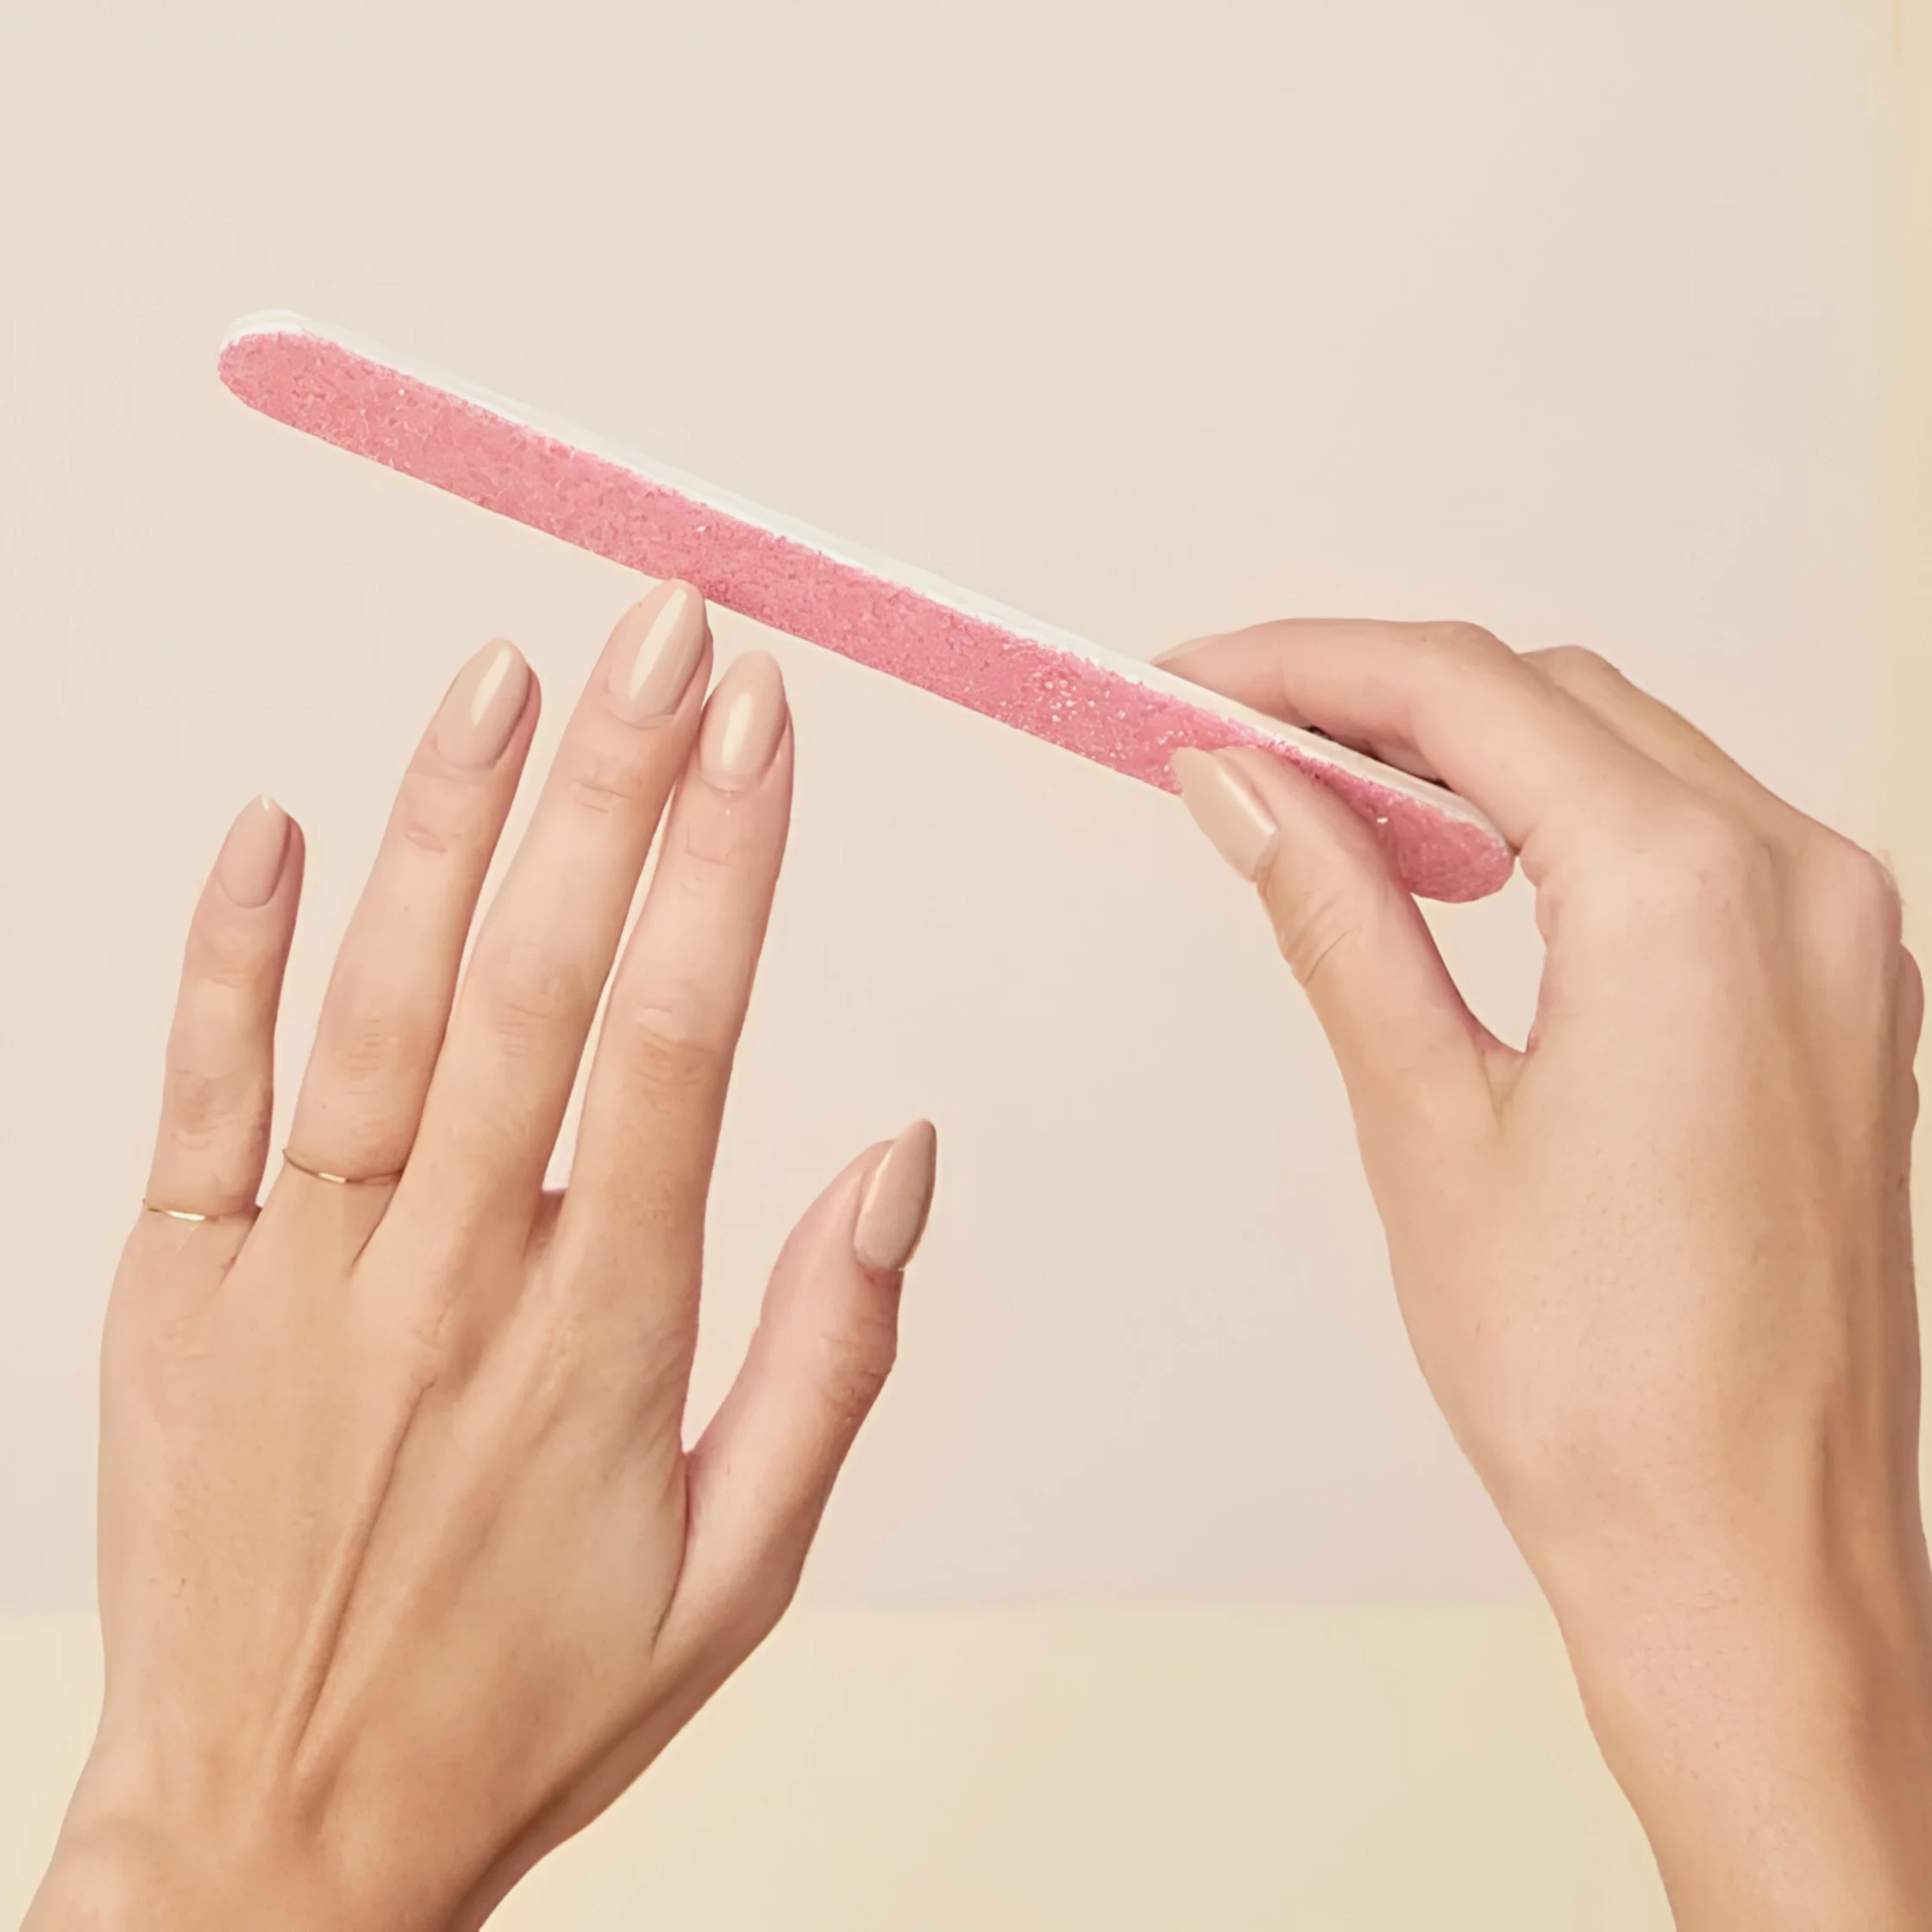
When you’re dealing with small paring knives or utility blades, a double-sided emery board or nail file offers just enough abrasive surface to revive an edge.
Start by laying down your nail file or emery board flat on your countertop or on a cutting board. Just like with the ceramic trick, hold your dull knife at a 15–20° angle and draw the edge across the file, moving from base to tip. Use the with the coarser side of the board if the knife is very dull, and finish on the finer side. Do this on each side for about 5 to 8 light strokes, making sure to wipe the blade clear and clean afterward.
Use up and down arrow keys to resize the meta box pane.
5. Use A Leather Belt
At first, I couldn’t believe this was an actual trick. But after seeing it pop up not just in general kitchen tips but also in Swiss Army knife enthusiast articles, it turns out it serves a very specific purpose when it comes to honing your trusty blade.
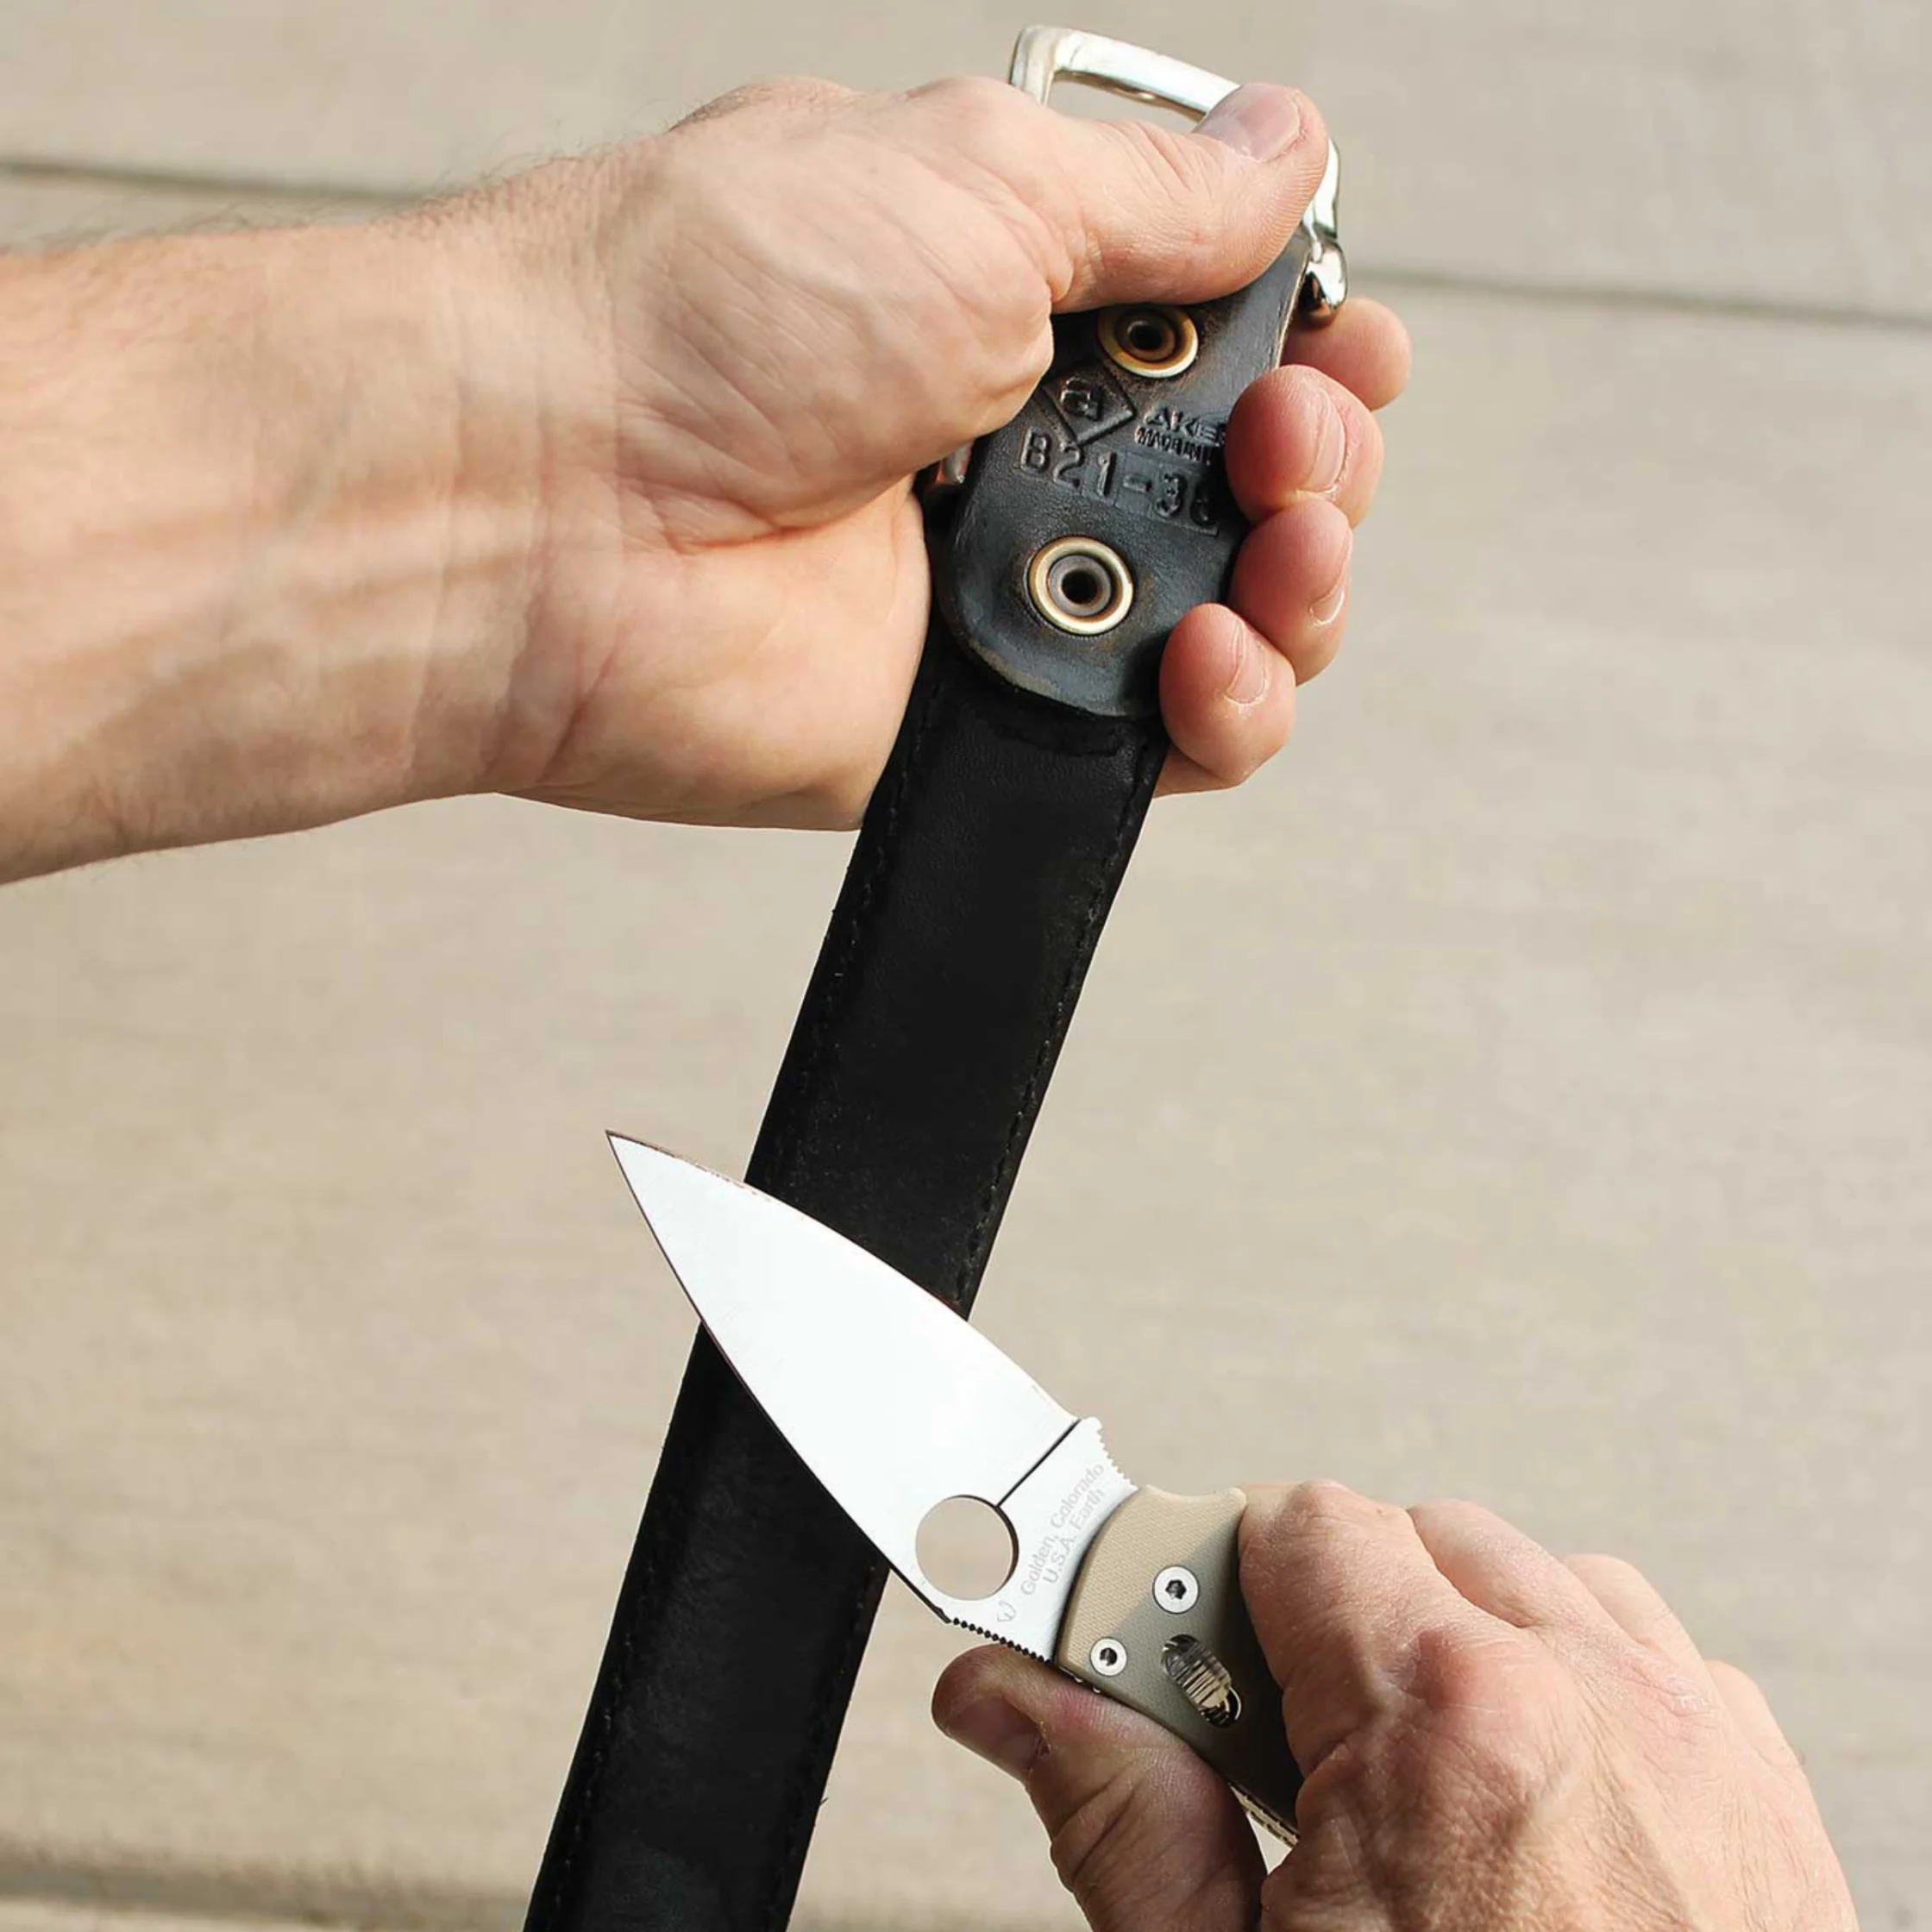
If your knife isn’t nicked or completely blunt, but just lacks that buttery “slice-through-a-ripe-tomato” sharpness, it may just need honing. A smooth leather belt acts as a strop. For the uninitiated like me, a strop refers to the flexible strip of leather or material traditionally used to polish, align, and refine the razor-sharp edge of a blade. The difference between honing and sharpening your knife comes down to what it does to the blade. The former, which is what the leather belt does, is for straightening the edge of the blade, while the latter removes bits of the knife to sharpen it.
First, loop a plain leather belt (ideally use an older, unused one without heavy embossing or metal studs) around a sturdy post, or hold one end taut against a table. You’re going to be using the rougher underside of the belt, so make sure that part is facing up toward you. With the edge pointed away from the direction you are pulling, drag the knife from heel to tip along the leather. Alternate sides with light pressure for about 10 to 15 passes per side.
While these makeshift hacks won’t replace a professional sharpening or a proper whetstone tune-up, they are absolute lifesavers when prep time is short.
To get the safest and best results, always prioritize angle over physical force. Maintain a steady 15–20° angle and let the surface do the work. Remember that sharpening leaves behind microscopic metal dust, so wash and dry your knife thoroughly before letting it near any food. And lastly, test the new sharpness with caution. Never, ever run your thumb along the edge. Instead, test it by gently slicing through a sheet of paper or a ripe tomato skin.
Equipped with an everyday ceramic mug, fine sandpaper, or an old leather belt, you don’t need fancy gear to handle kitchen prep with confidence. Keep these quick fixes in your back pocket, and a dull blade will never slow down your cooking again.

Frequently Asked Questions
Yes. As long as you follow basic safety precautions, you can use a ceramic mugs, nail files, and even another knife to sharpen a dull blade.
A dull knife requires you to exert extra downward force while cutting. This extra pressure makes the blade far more likely to slip off smooth surfaces and slide toward your fingers. A sharp knife glides through food with minimal effort, giving you far more control.
The unglazed, rough ring at the bottom of standard ceramic mugs or bowls is made of exposed ceramic, which is an abrasive material similar to a fine-grit sharpening stone. Sweeping your blade across this rough ring grinds away tiny amounts of metal to restore sharp edge.
It’s best to use a plain, flat leather belt, one that is ideally an older, unused one—without heavy surface embossing, metallic coatings, or metal studs. Use the rougher, unfinished underside of the belt and pull the blade trailing away from the cutting edge so you don’t slice into the leather.
No. Some of these specific hacks are designed for straight-edged chef’s knives, paring knives, and utility blades. Serrated knives have individual grooved teeth that require a specialized conical sharpening rod to hone each serration individually.