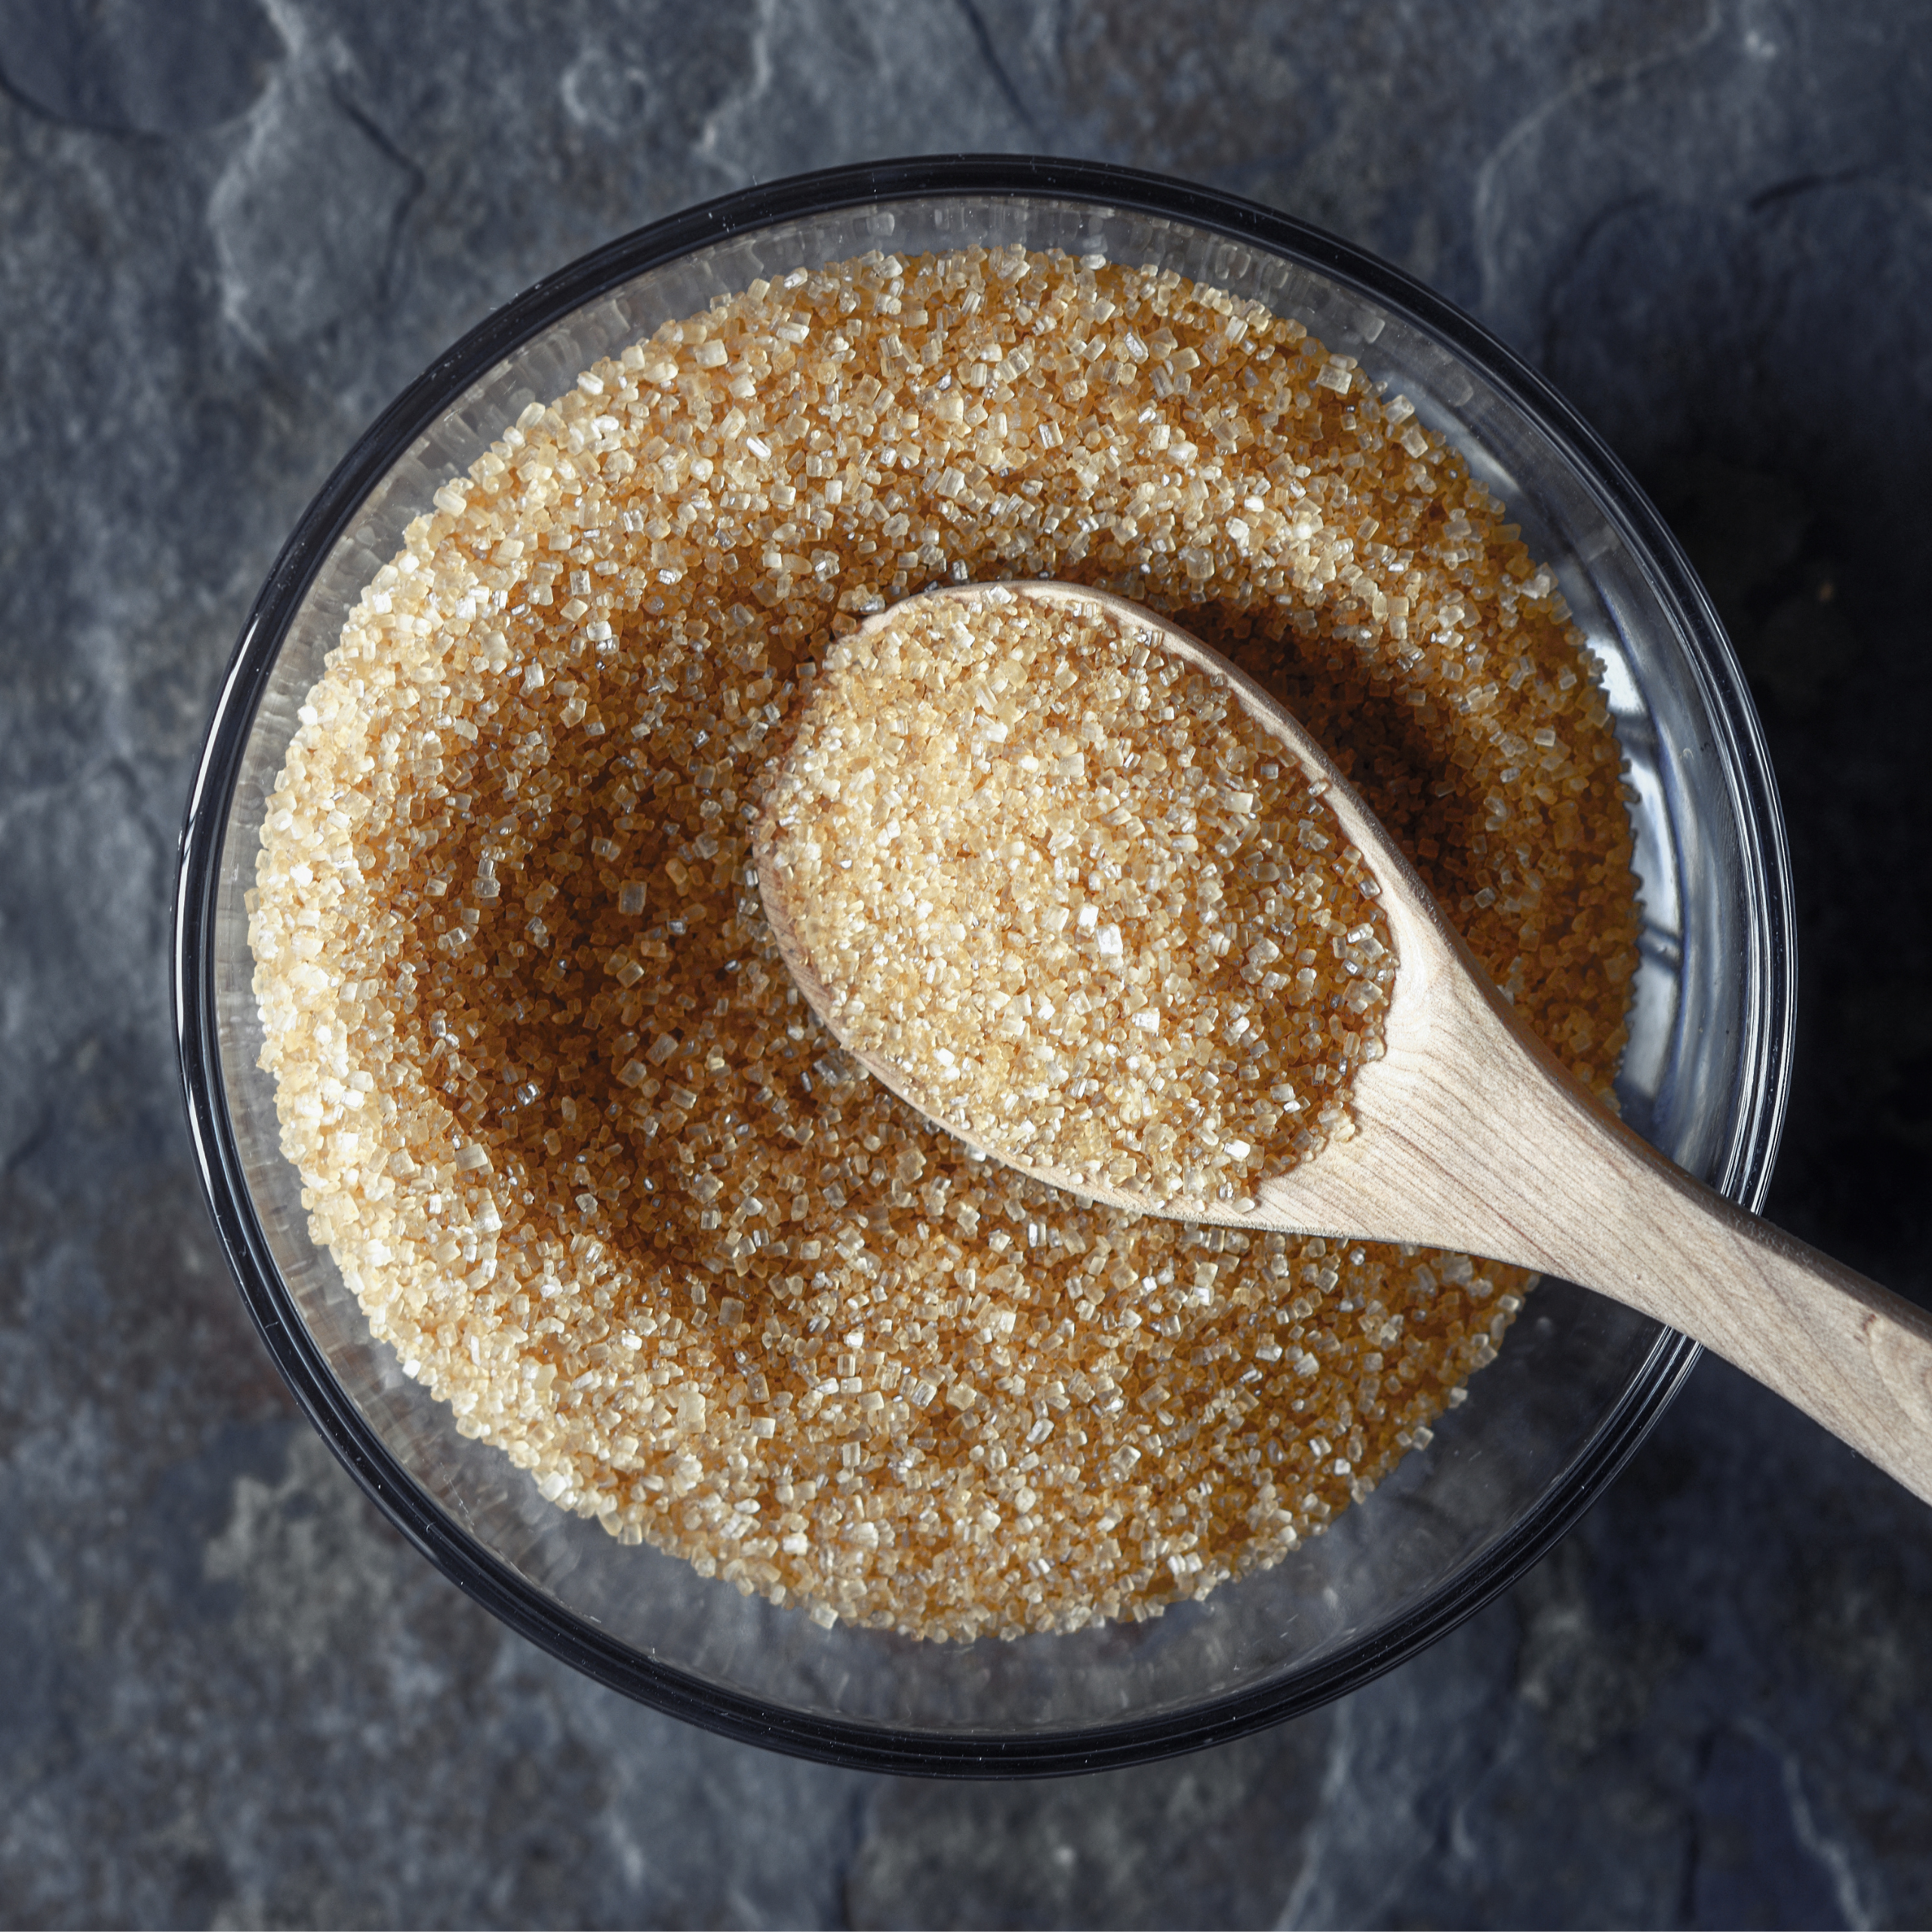
If you’re an avid baker or have ever made local comfort dishes like biko, carioca, or humba, chances are you’ve worked with brown sugar plenty of times.
When it comes to cooking and baking, the differences between white and brown sugar extend far beyond color, requiring a bit more nuance from us as home cooks.
One major difference lies in their storage temperaments. While white sugar’s main enemies are heat, humidity, and unwanted moisture, brown sugar is quite the opposite as it can often end up in dire need of moisture.
Why Does Brown Sugar Harden?
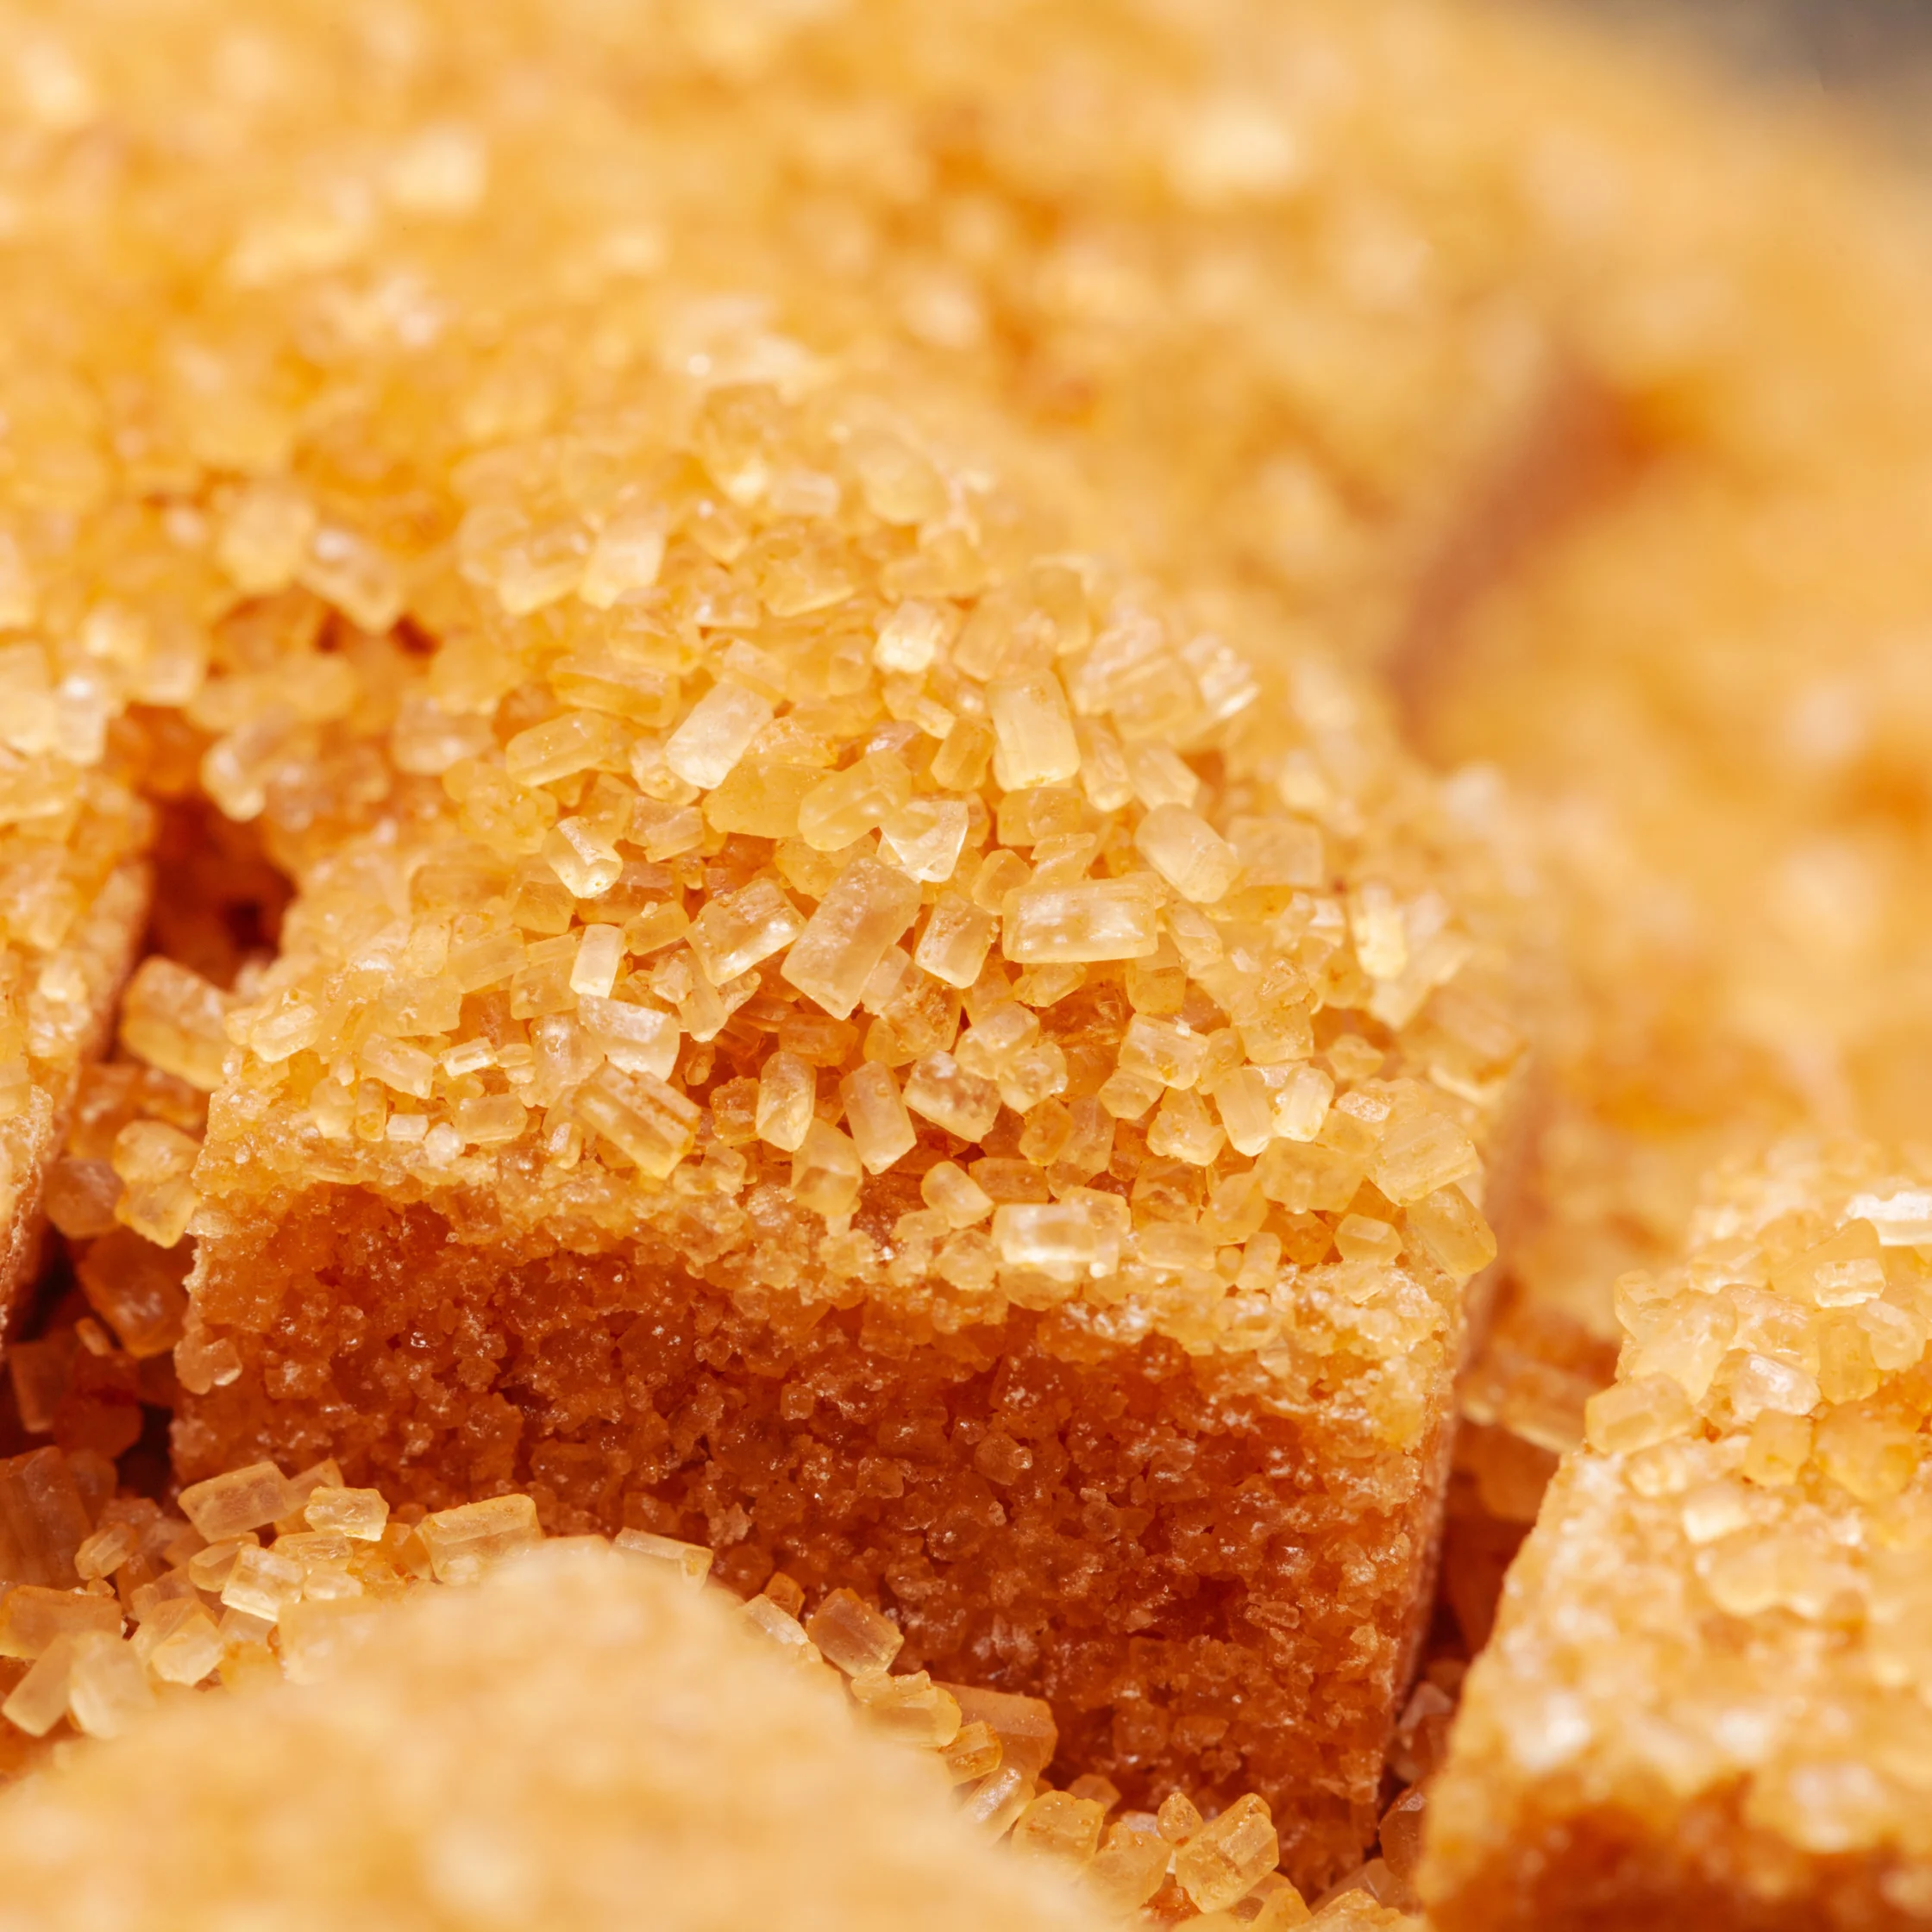
According to Courtney Gaine, president and CEO of the Sugar Association, the reason brown sugar hardens is because of the molasses. For those who may not be familiar with it, think of molasses as a dark syrup separated from raw sugar during refining. It is what makes brown sugar brown and rich in flavor in the first place, but it is also what causes it to lose moisture over time.
You can’t just break up stubborn brown sugar clumps into smaller pieces by force, unless you are genuinely short on time and just need a quick fix. To truly make it soft and usable again, you have to add moisture back into the sugar.
How Do You Store Brown Sugar Properly?
Storing brown sugar properly involves making sure it isn’t exposed to excess air or moisture, which ensures it can last indefinitely. Both freshly bought and rehydrated brown sugar should be stored in an airtight container in a dry place. It isn’t recommended to store it inside your fridge, as the environment is typically too humid.
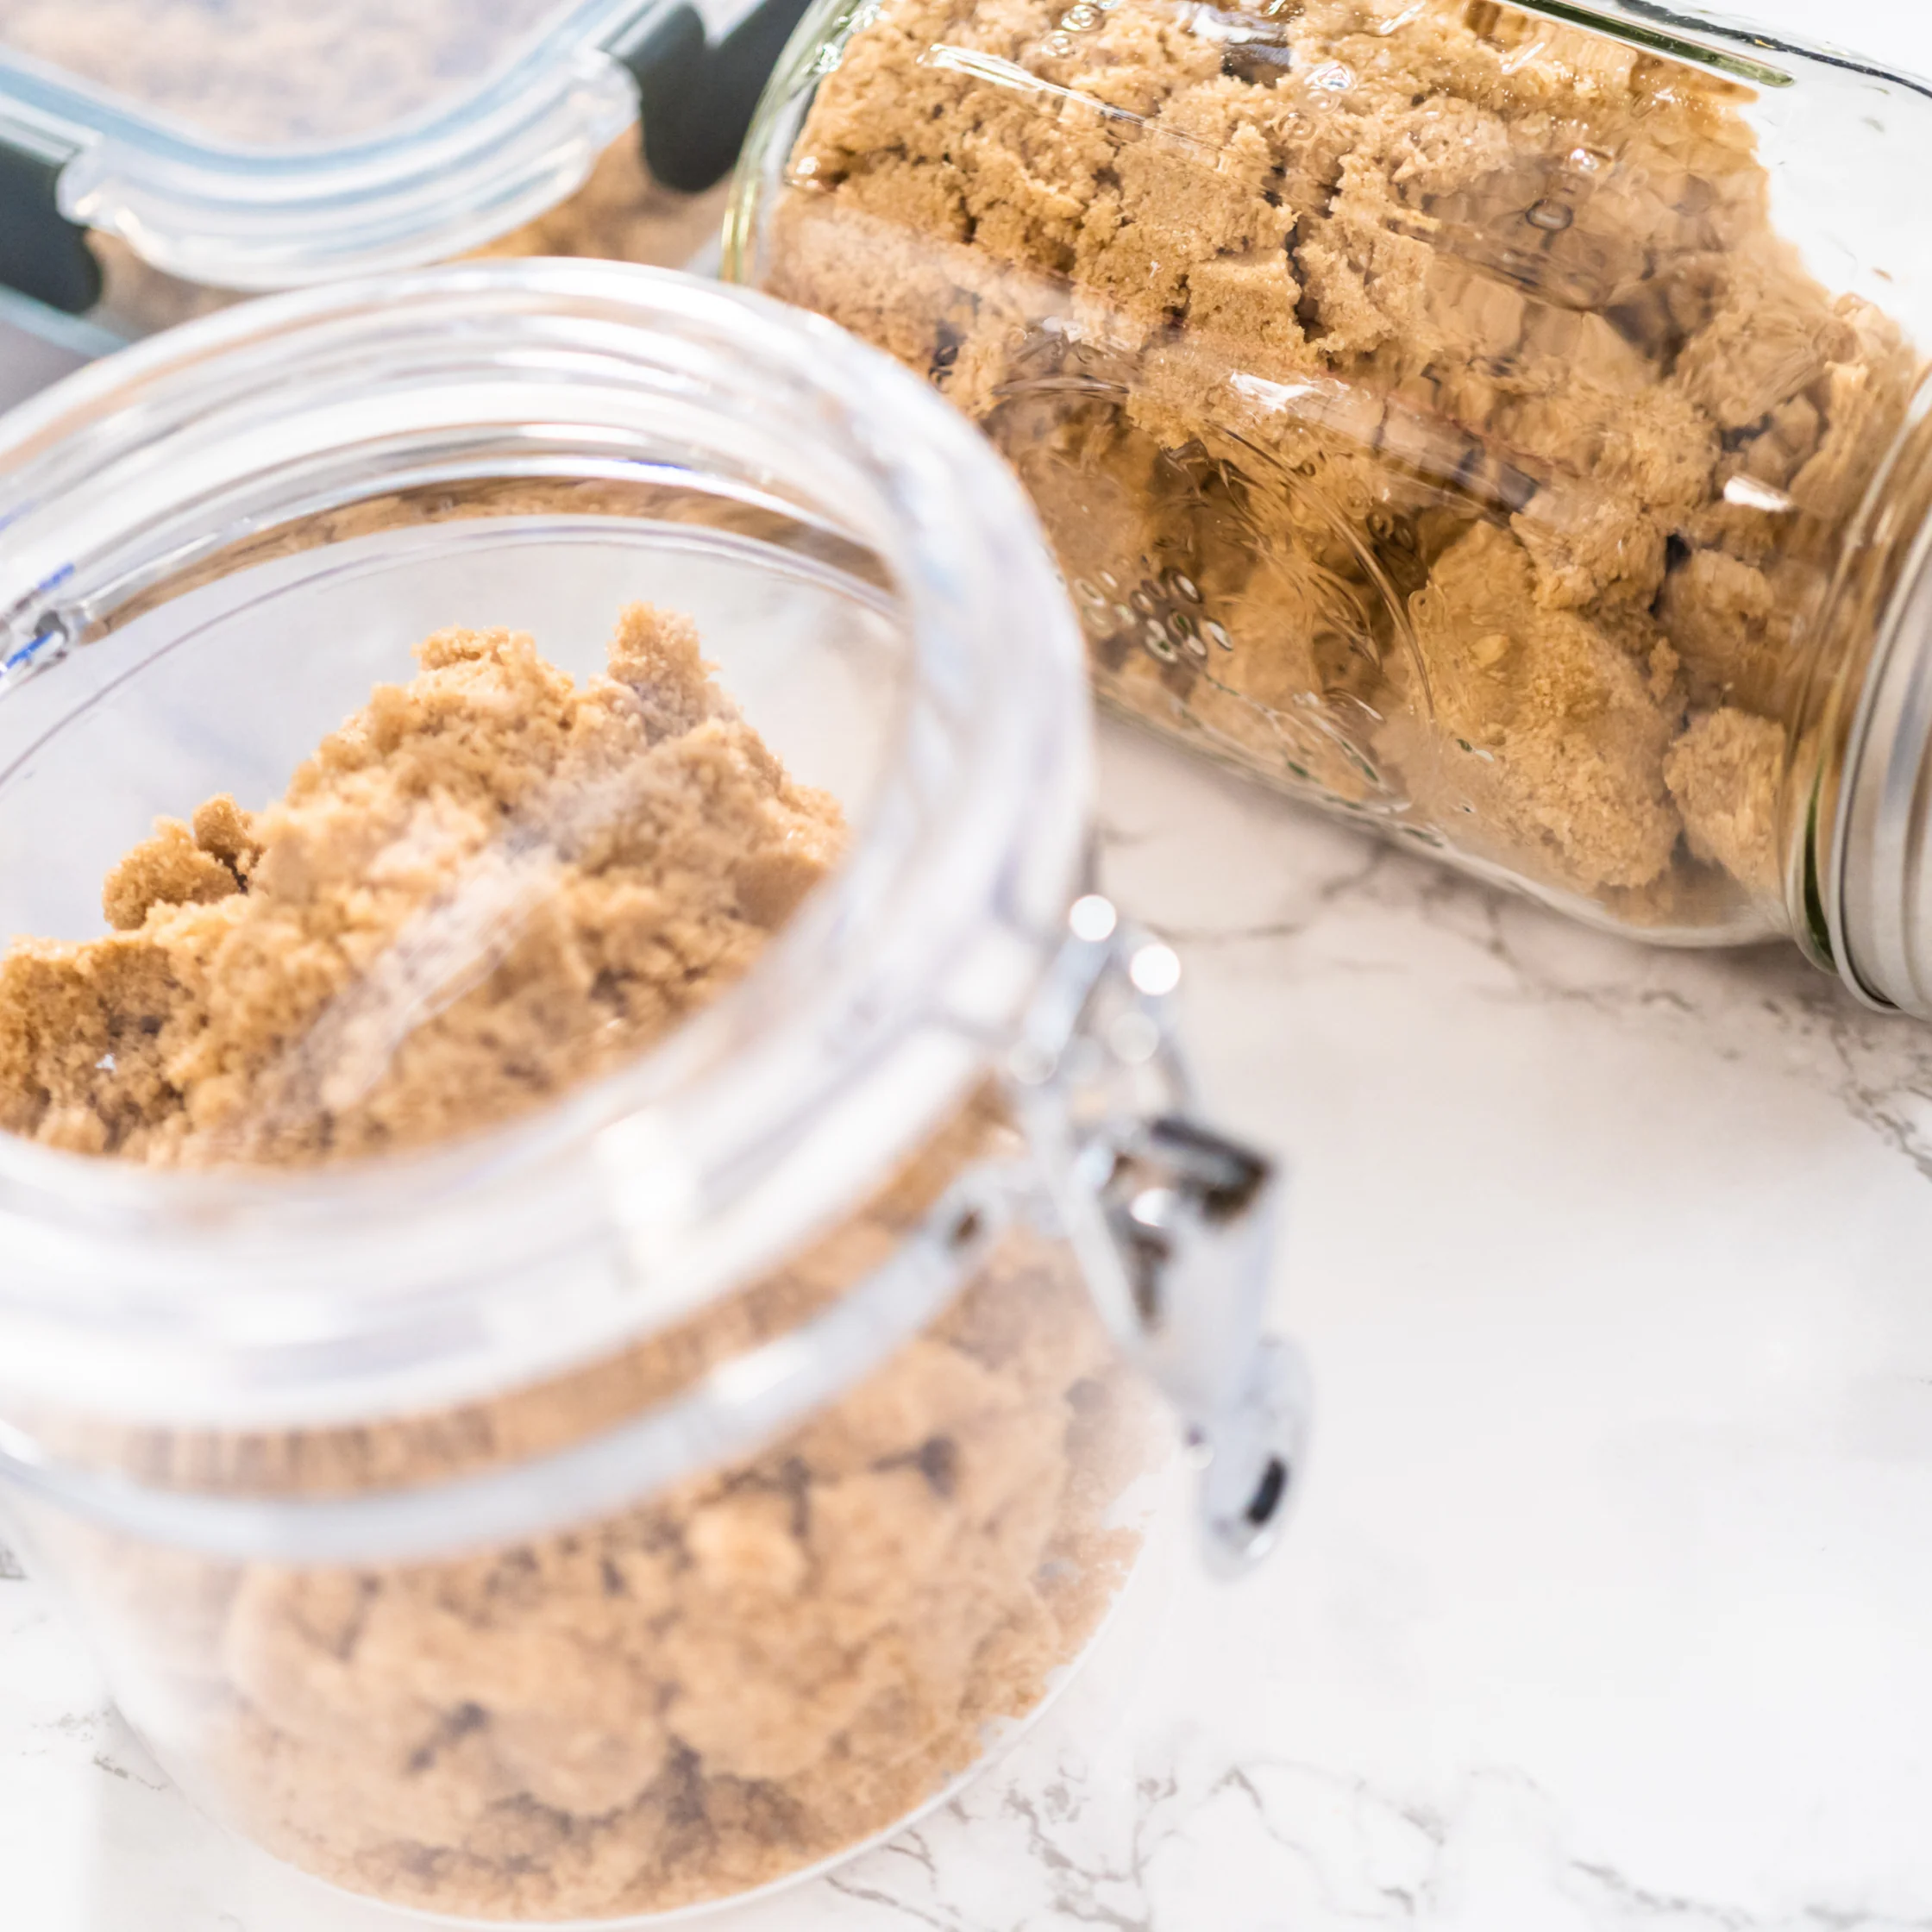
But some of you didn’t start reading this article to learn about preventive measures. You came here because you are probably holding a rock-hard clump of brown sugar in your hand, planning on using it for a recipe you may or may not have already started, and you just now checked on the state of your pantry.
Don’t worry, there is hope. Ordered from what takes the longest to the quickest, here are 5 ways to quickly soften your brown sugar (with the pros and cons already laid out for you).
1. Terracota or brown sugar saver
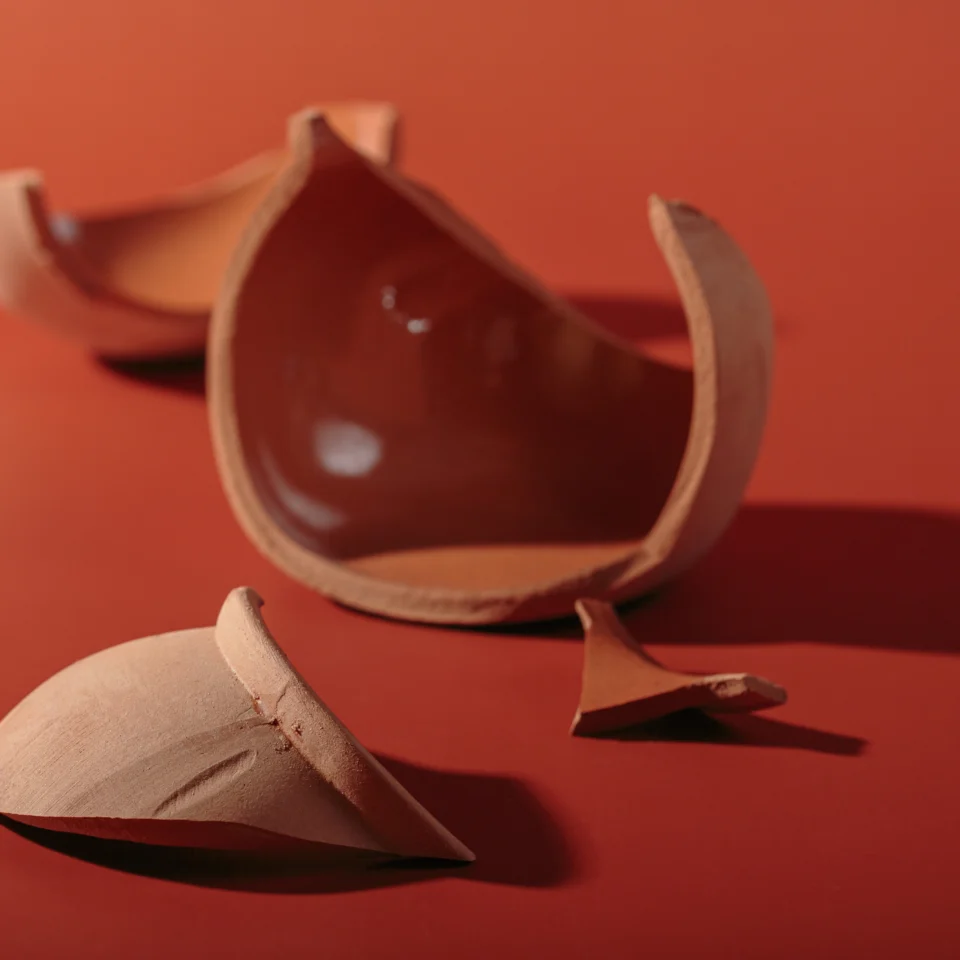
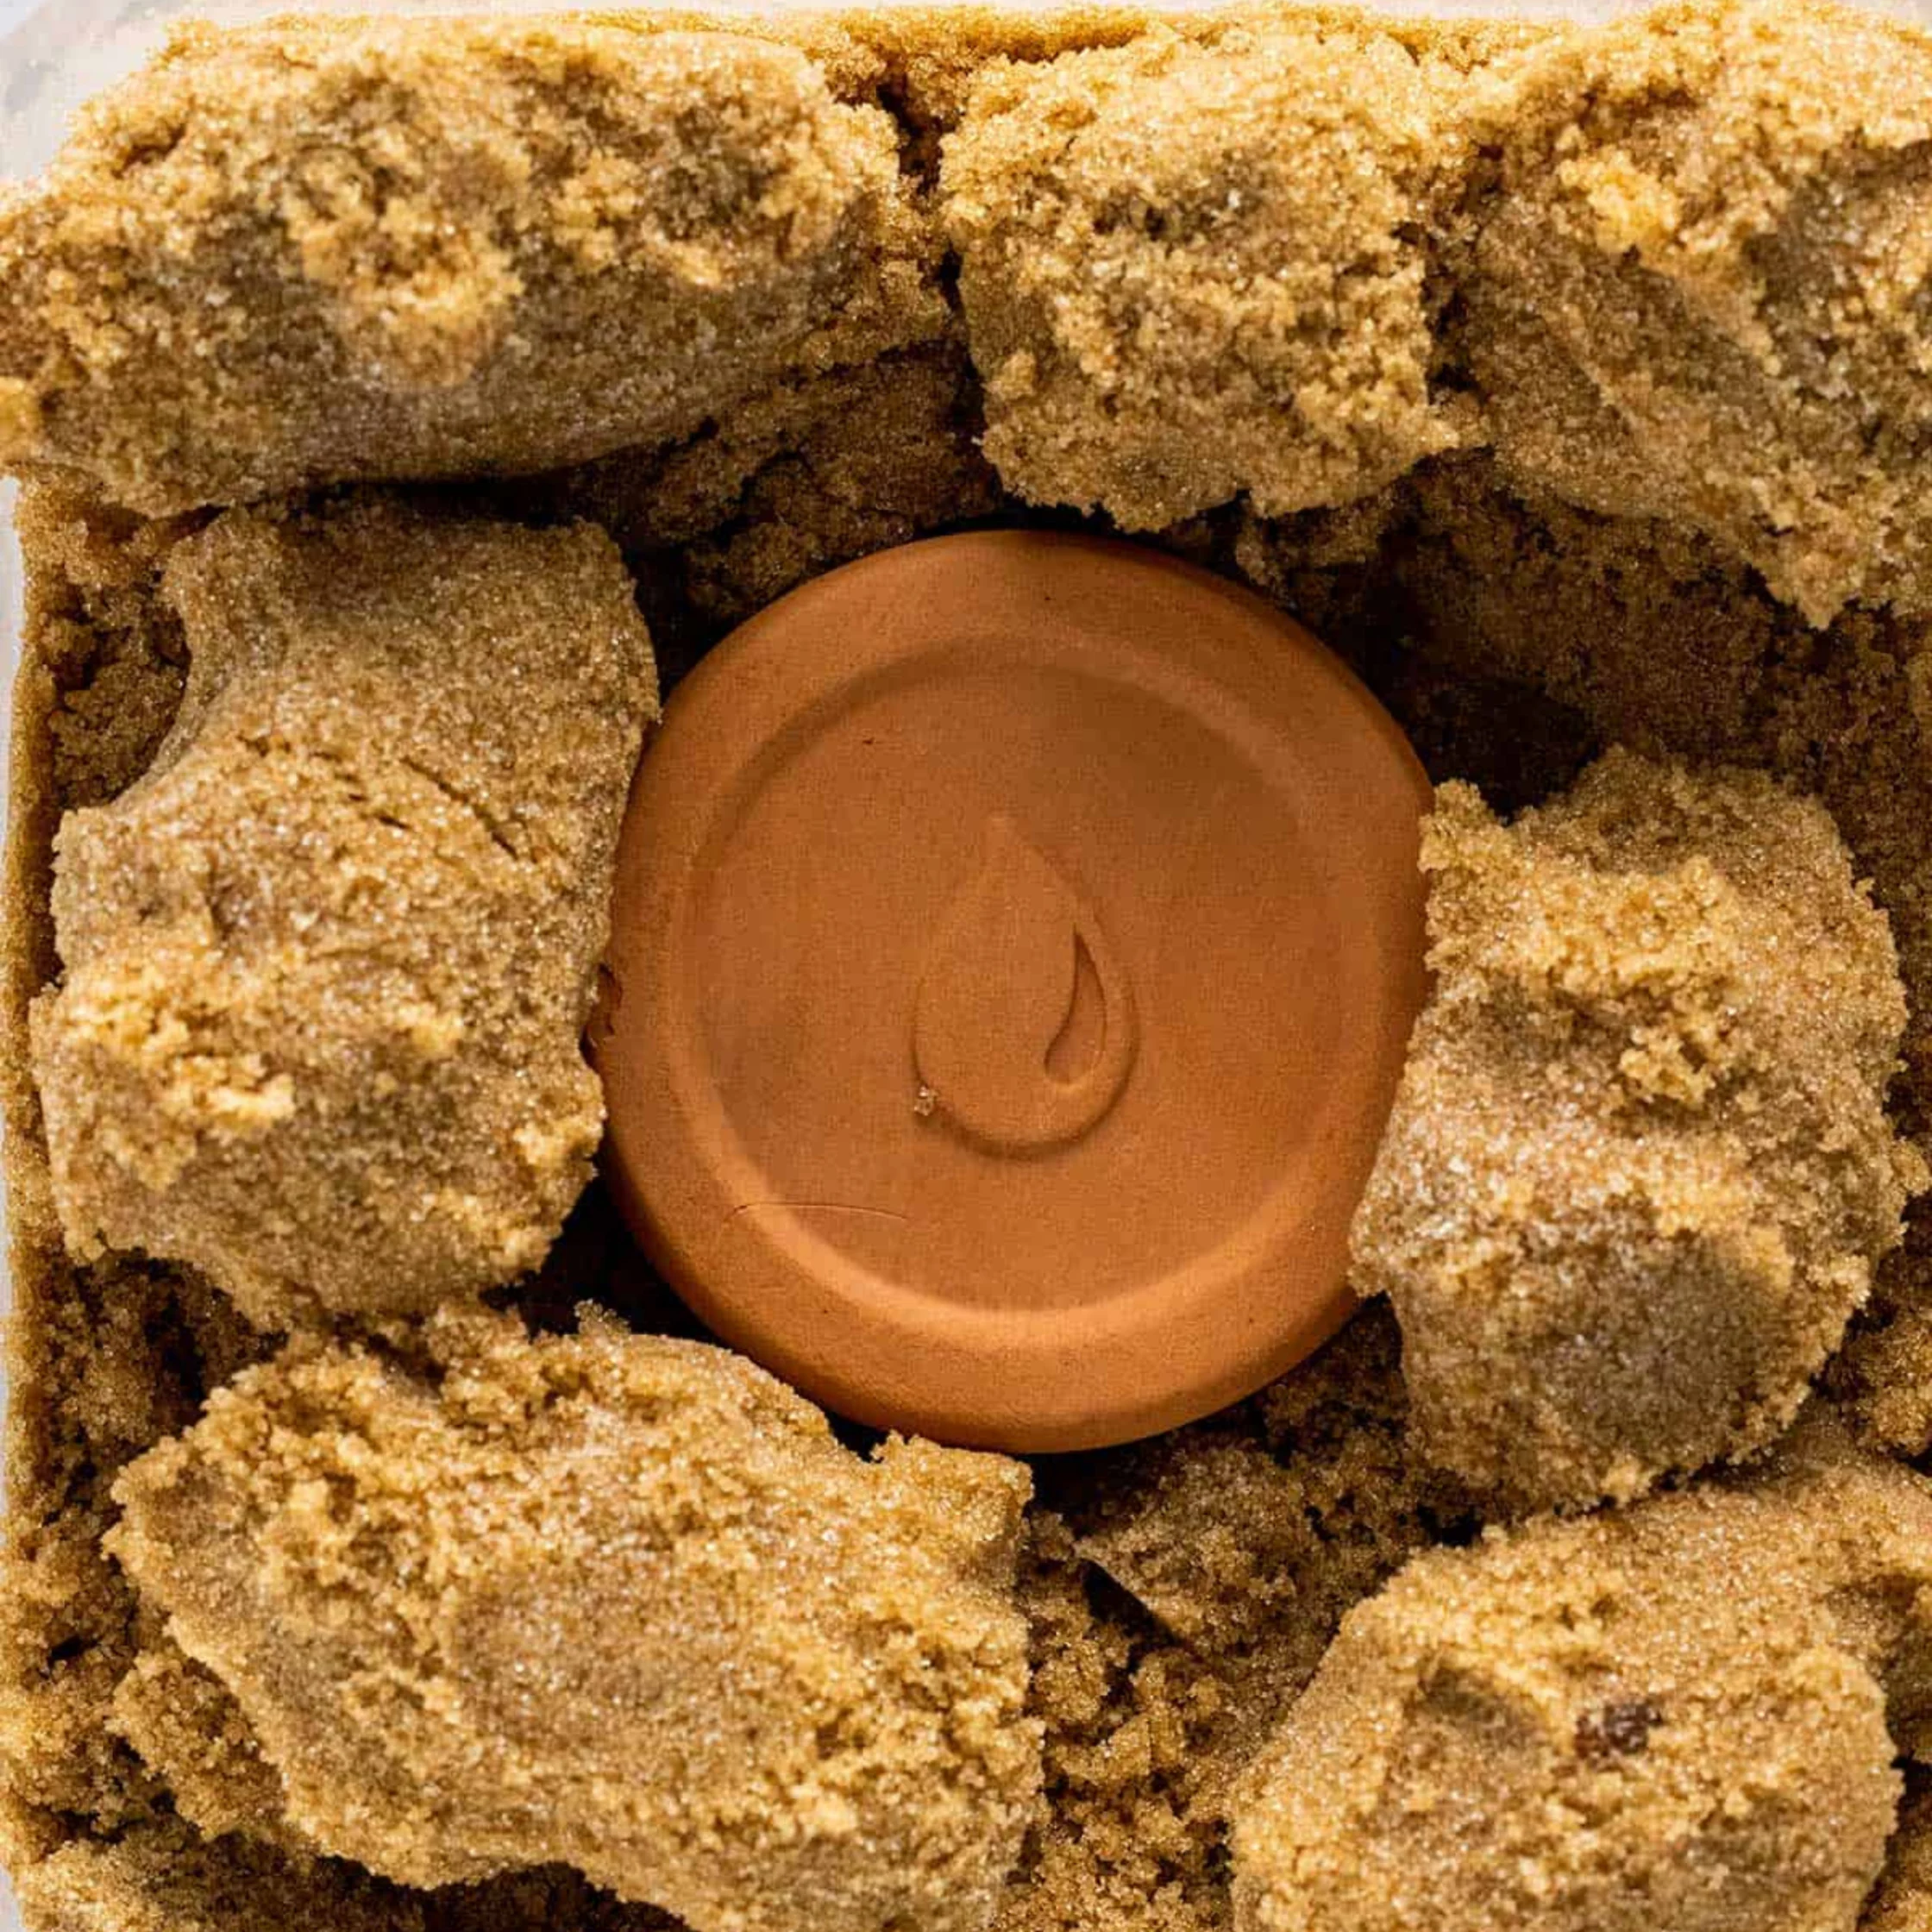
The only thing better than a quick fix is a preventive tool you can plan ahead with. Placing a soaked piece of terracotta or a dedicated brown sugar saver disc alongside dried-out sugar inside an airtight container will naturally draw moisture back into the crystals.
First, submerge your terracotta disc or brown sugar saver in water for 15 to 20 minutes, then pat it dry so it isn’t dripping wet. Place it into an airtight container alongside your hardened brown sugar clumps. You should start to see results after letting it sit for about an hour. However, you can actually leave a soaked terracotta disc inside your sugar container indefinitely to keep your brown sugar soft long-term.
This method is good for hands-off, passive softening, and it doubles as a long-term storage keeper. Plus, they come in fun, decorative shapes! However, it does require a bit of maintenance. You have to remember to re-soak the terracotta every now and then as it dries out. It also requires buying a specialized single-use kitchen tool if you don’t already own one.
2. Bread or apple slice
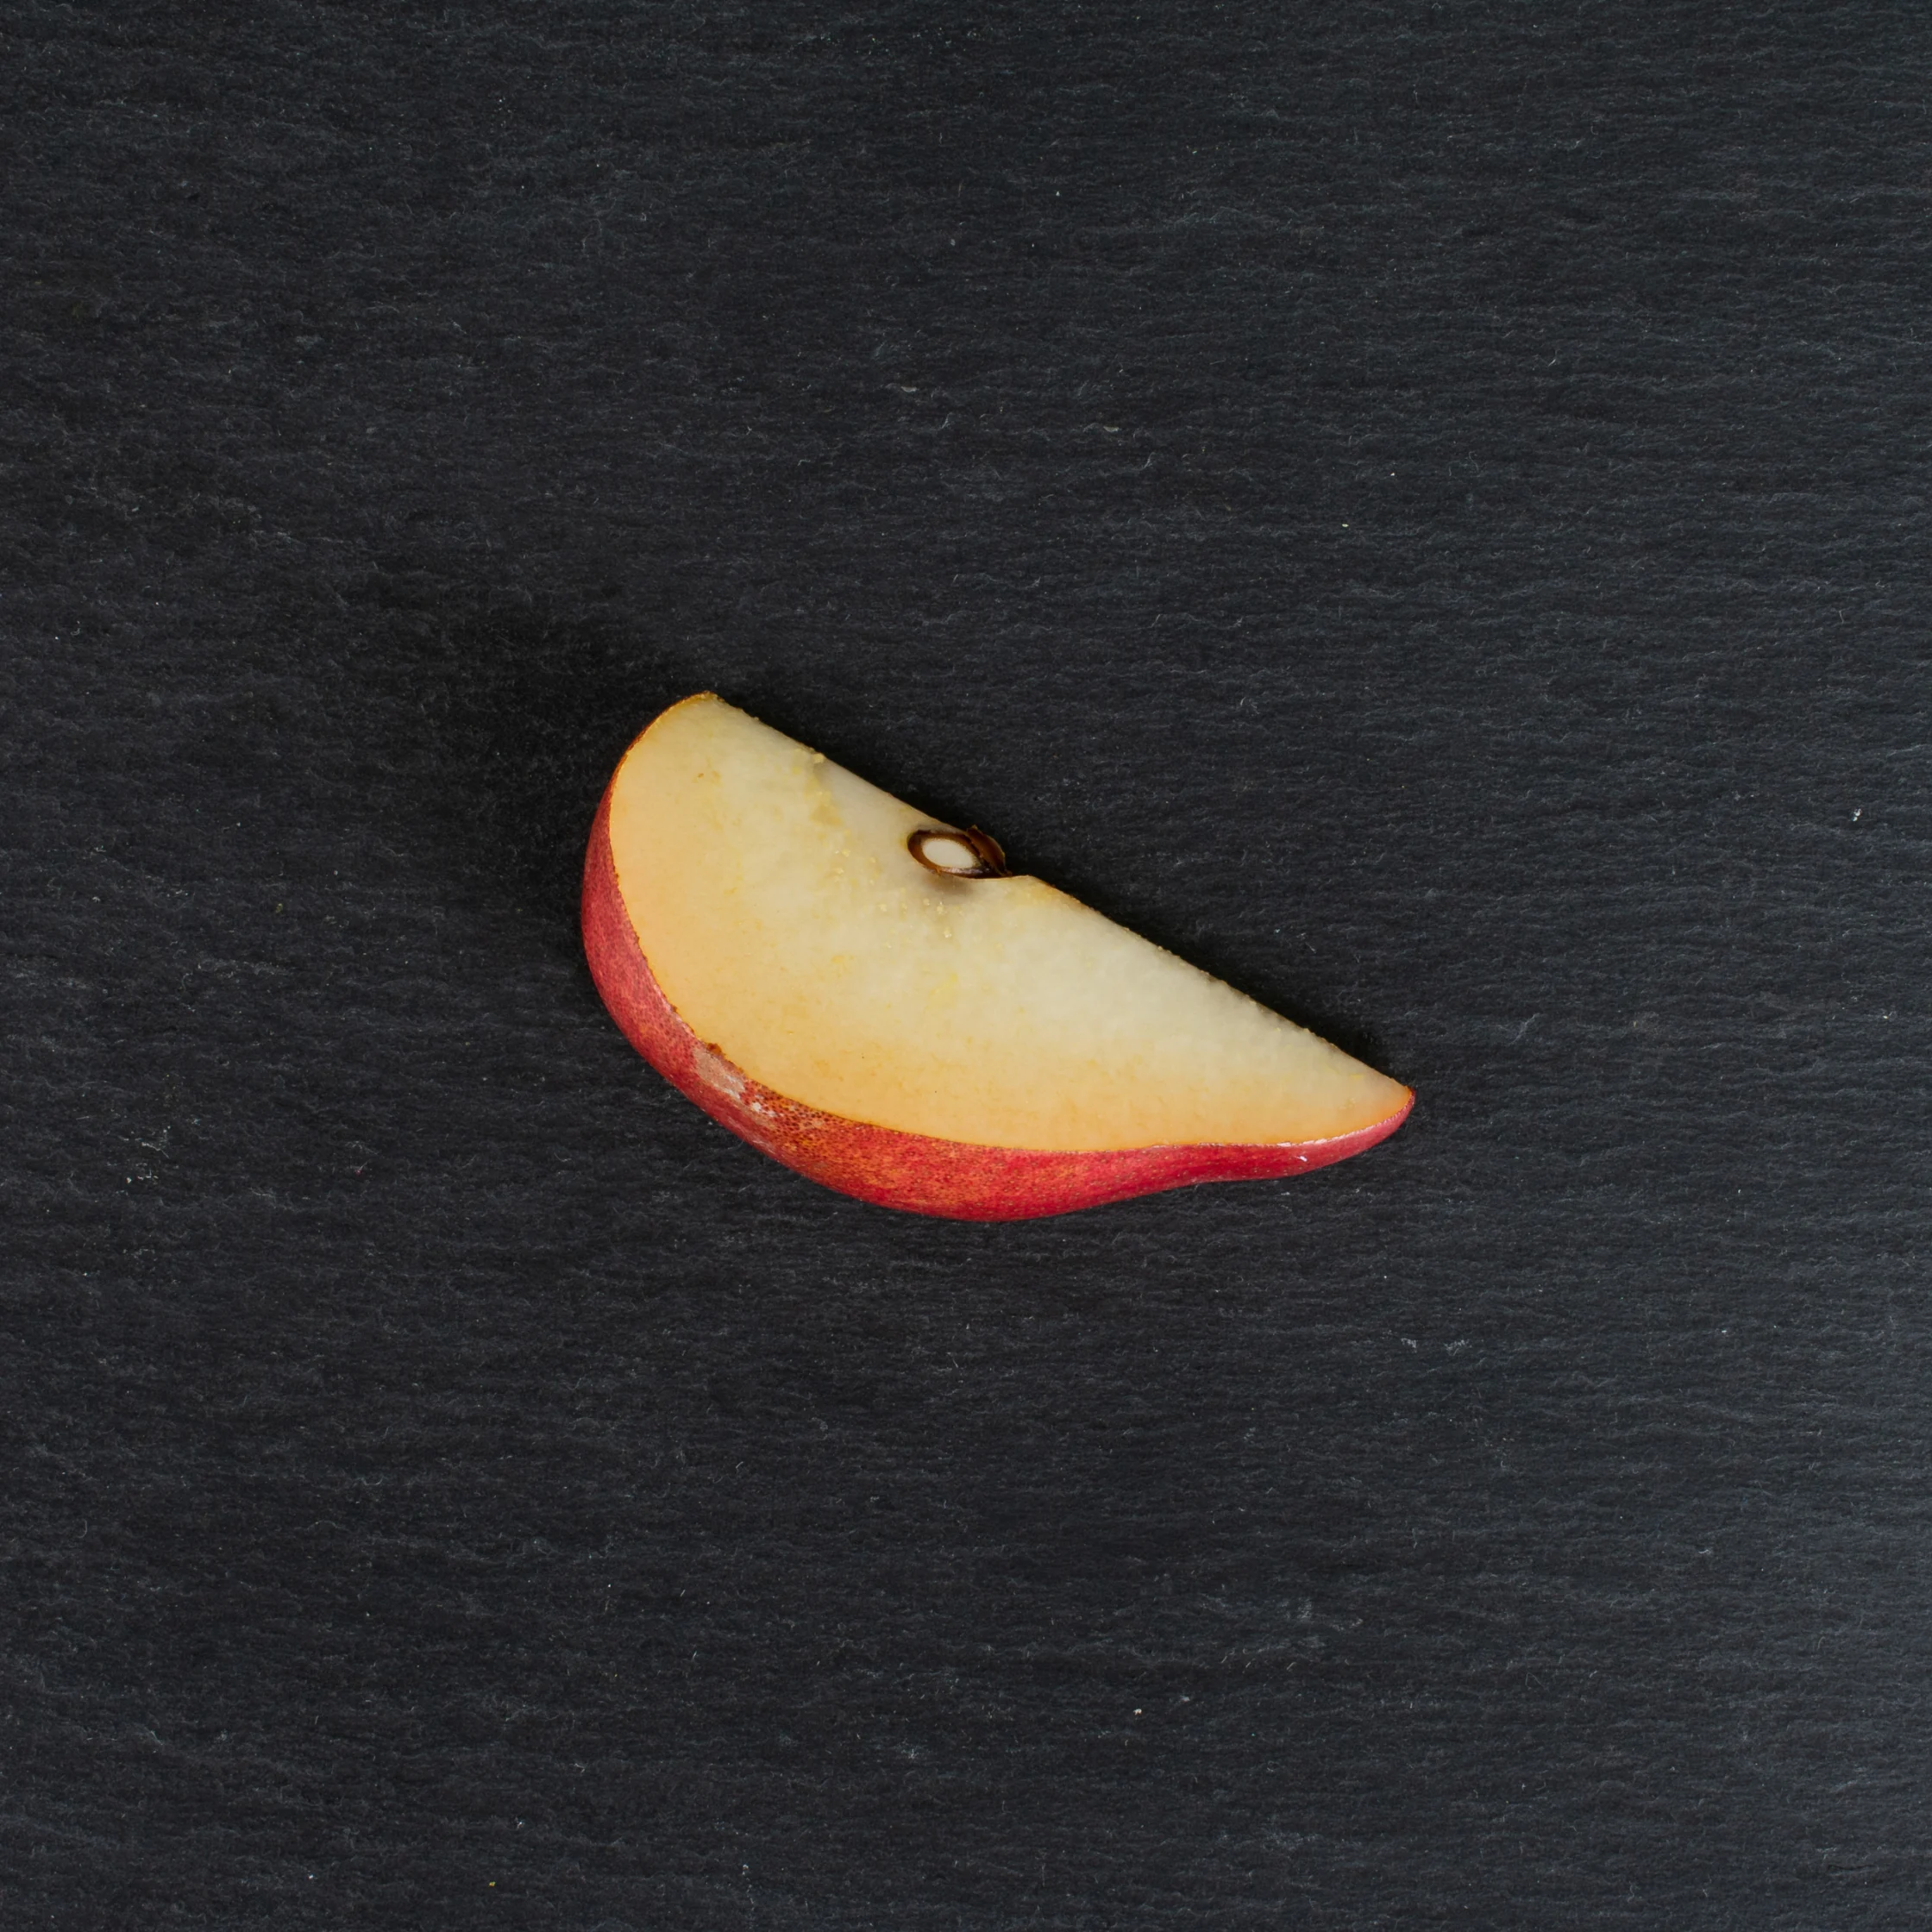
This popular method often gets flak for “wasting” good ingredients that could have been used for a sandwich, a salad, or eaten directly. But sometimes a slice of bread goes more stale than you would have liked, or an apple sits around half-eaten. So why not put them to good use in ways that don’t involve a traditional recipe?
If you have a day or so to spare, place your dried-out brown sugar in an airtight container with a slice of bread or a couple of apple slices (some people even use citrus peels if they want to impart a subtle citrus aroma to their sugar). Leave it sealed for anywhere between 8 and 24 hours until the sugar absorbs the moisture from the fruit or bread and becomes soft.
3. In the oven
I asked a friend who recently graduated from culinary school what method was standard in professional kitchens, and using the oven was one of the first techniques she mentioned.
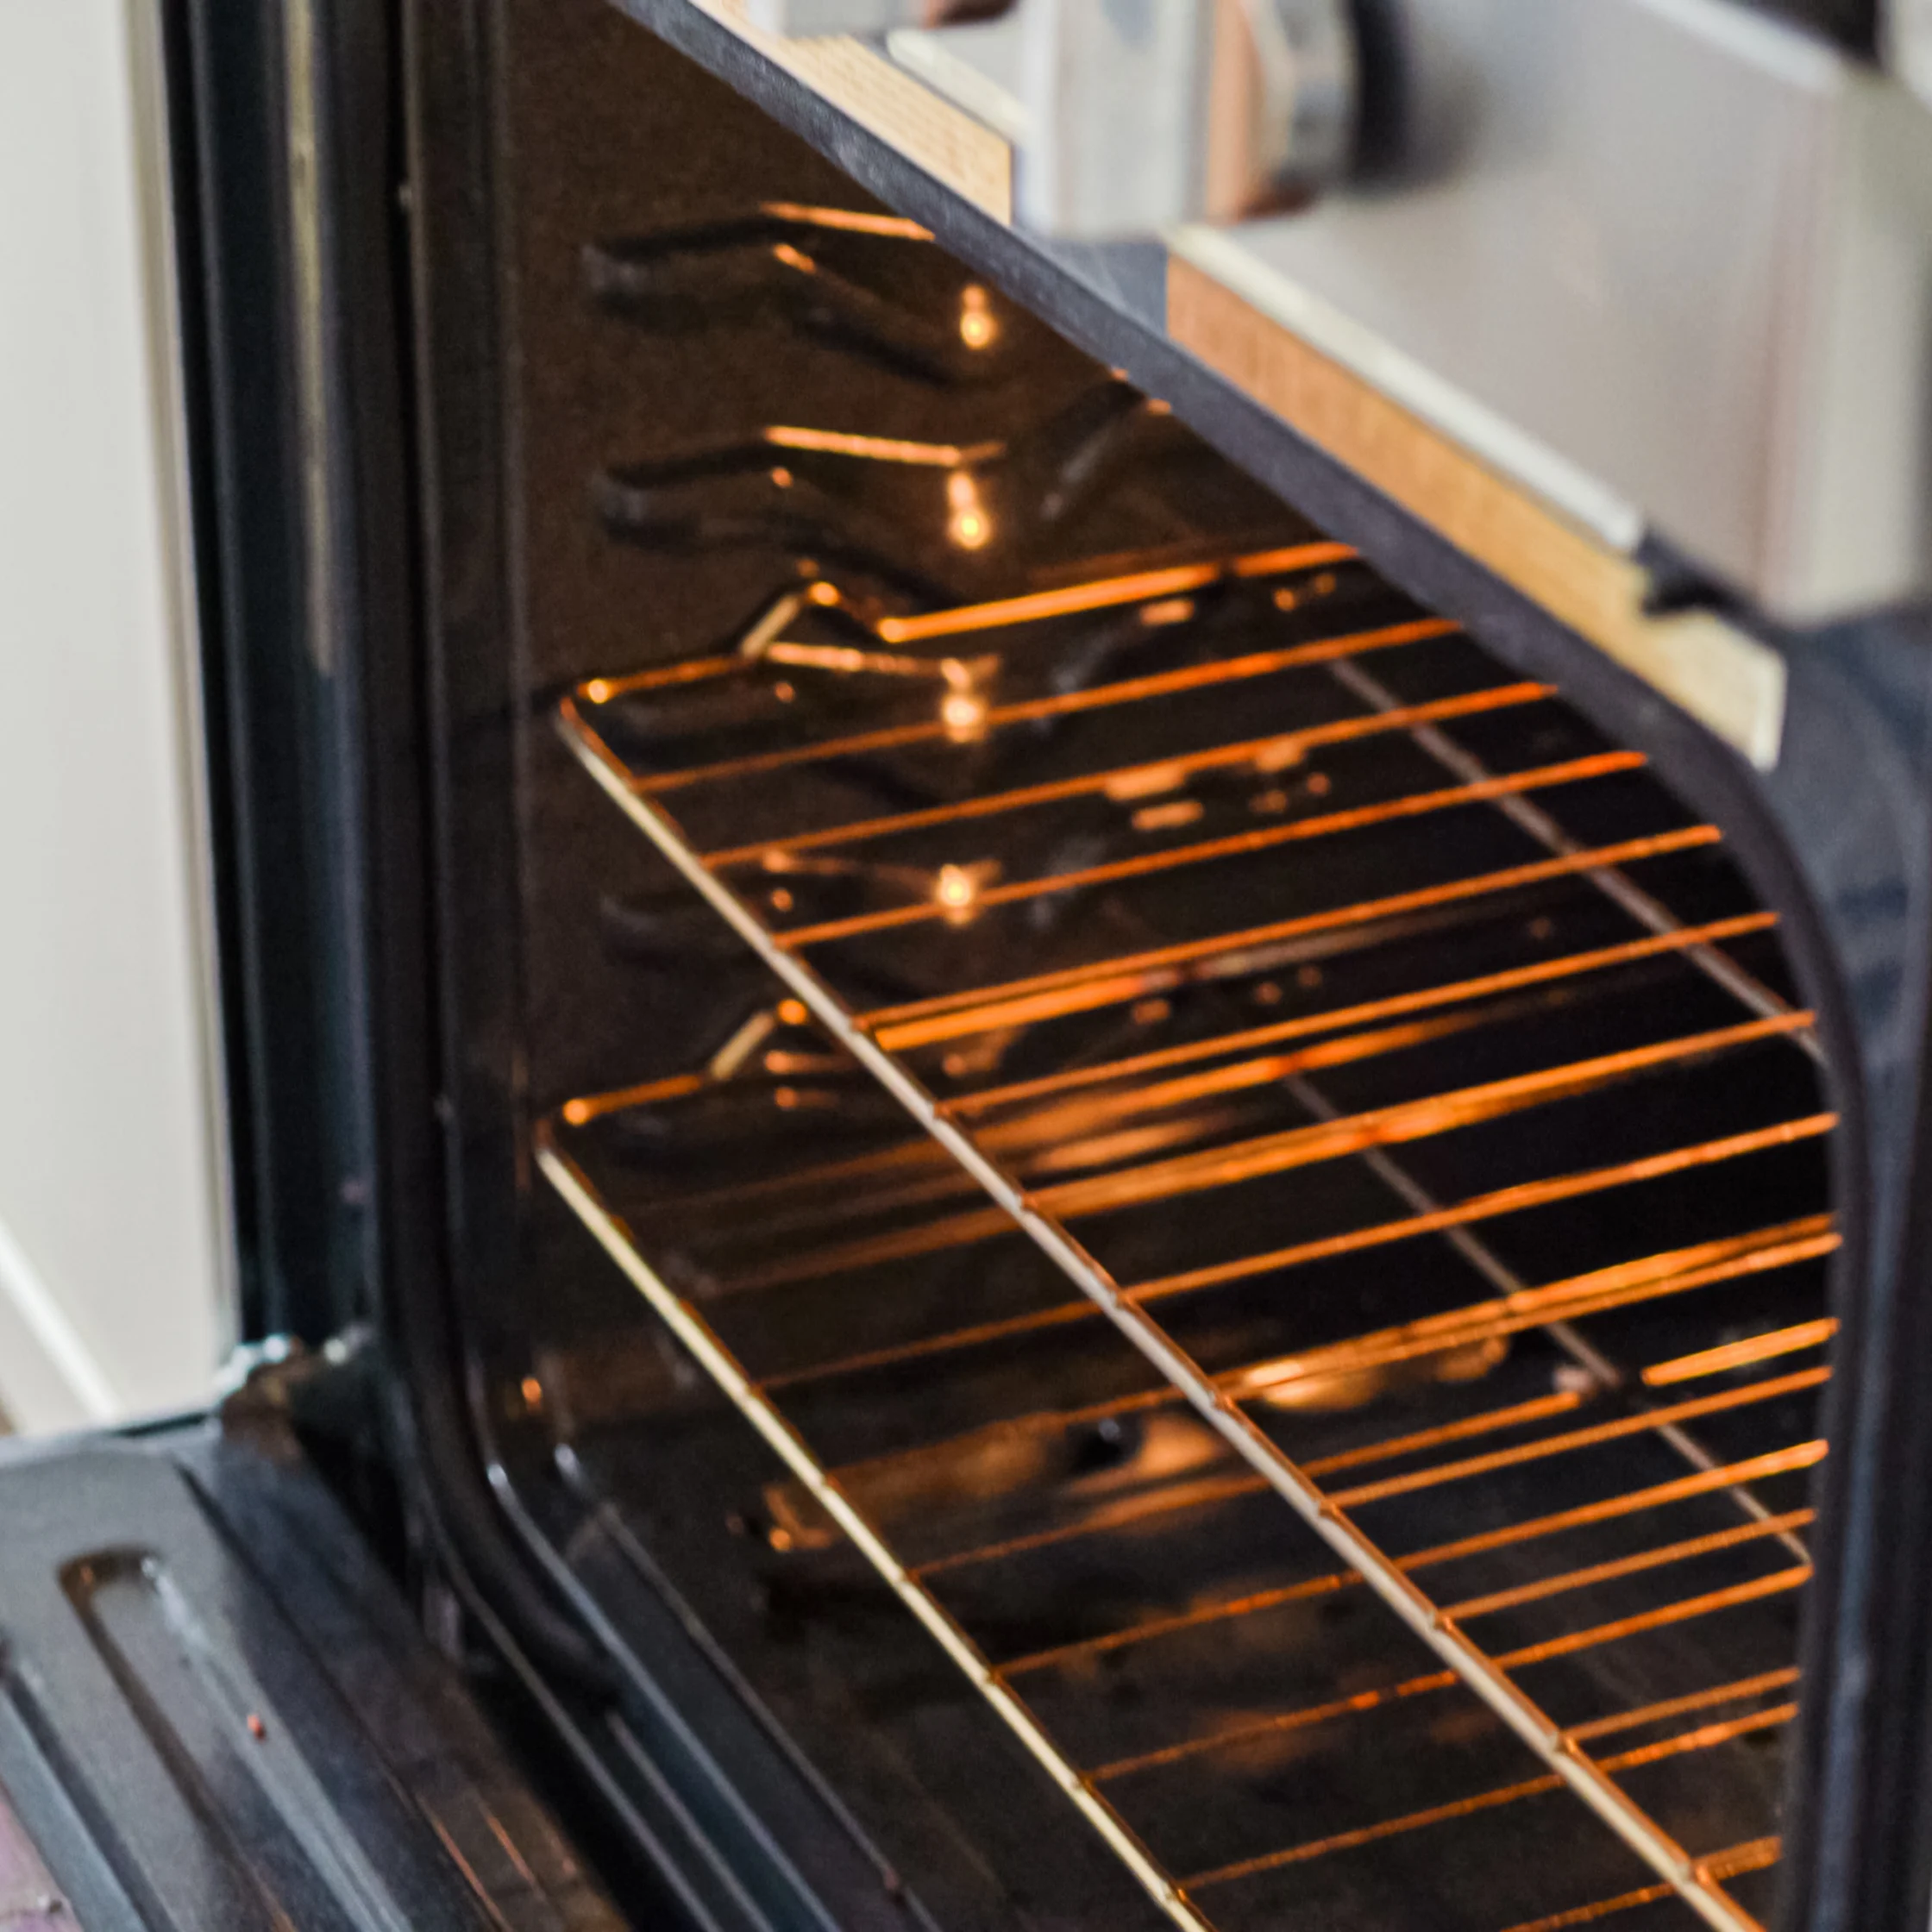
Preheat your oven to 120°C (250°F). Transfer your hardened brown sugar clumps into an oven-safe dish or baking sheet and place it in the oven. Check on it every two to three minutes, breaking up and raking through the sugar with a fork until it becomes crumbly.
This method is relatively fast and reliable when you need to soften sugar on short notice without needing special gadgets or moisture-releasing food items. But do note that the sugar gets extremely hot, so you have to let it cool down before measuring or using it in your recipe, which can add extra waiting time. You also need to keep a close eye on it so the sugar doesn’t accidentally melt or caramelize.
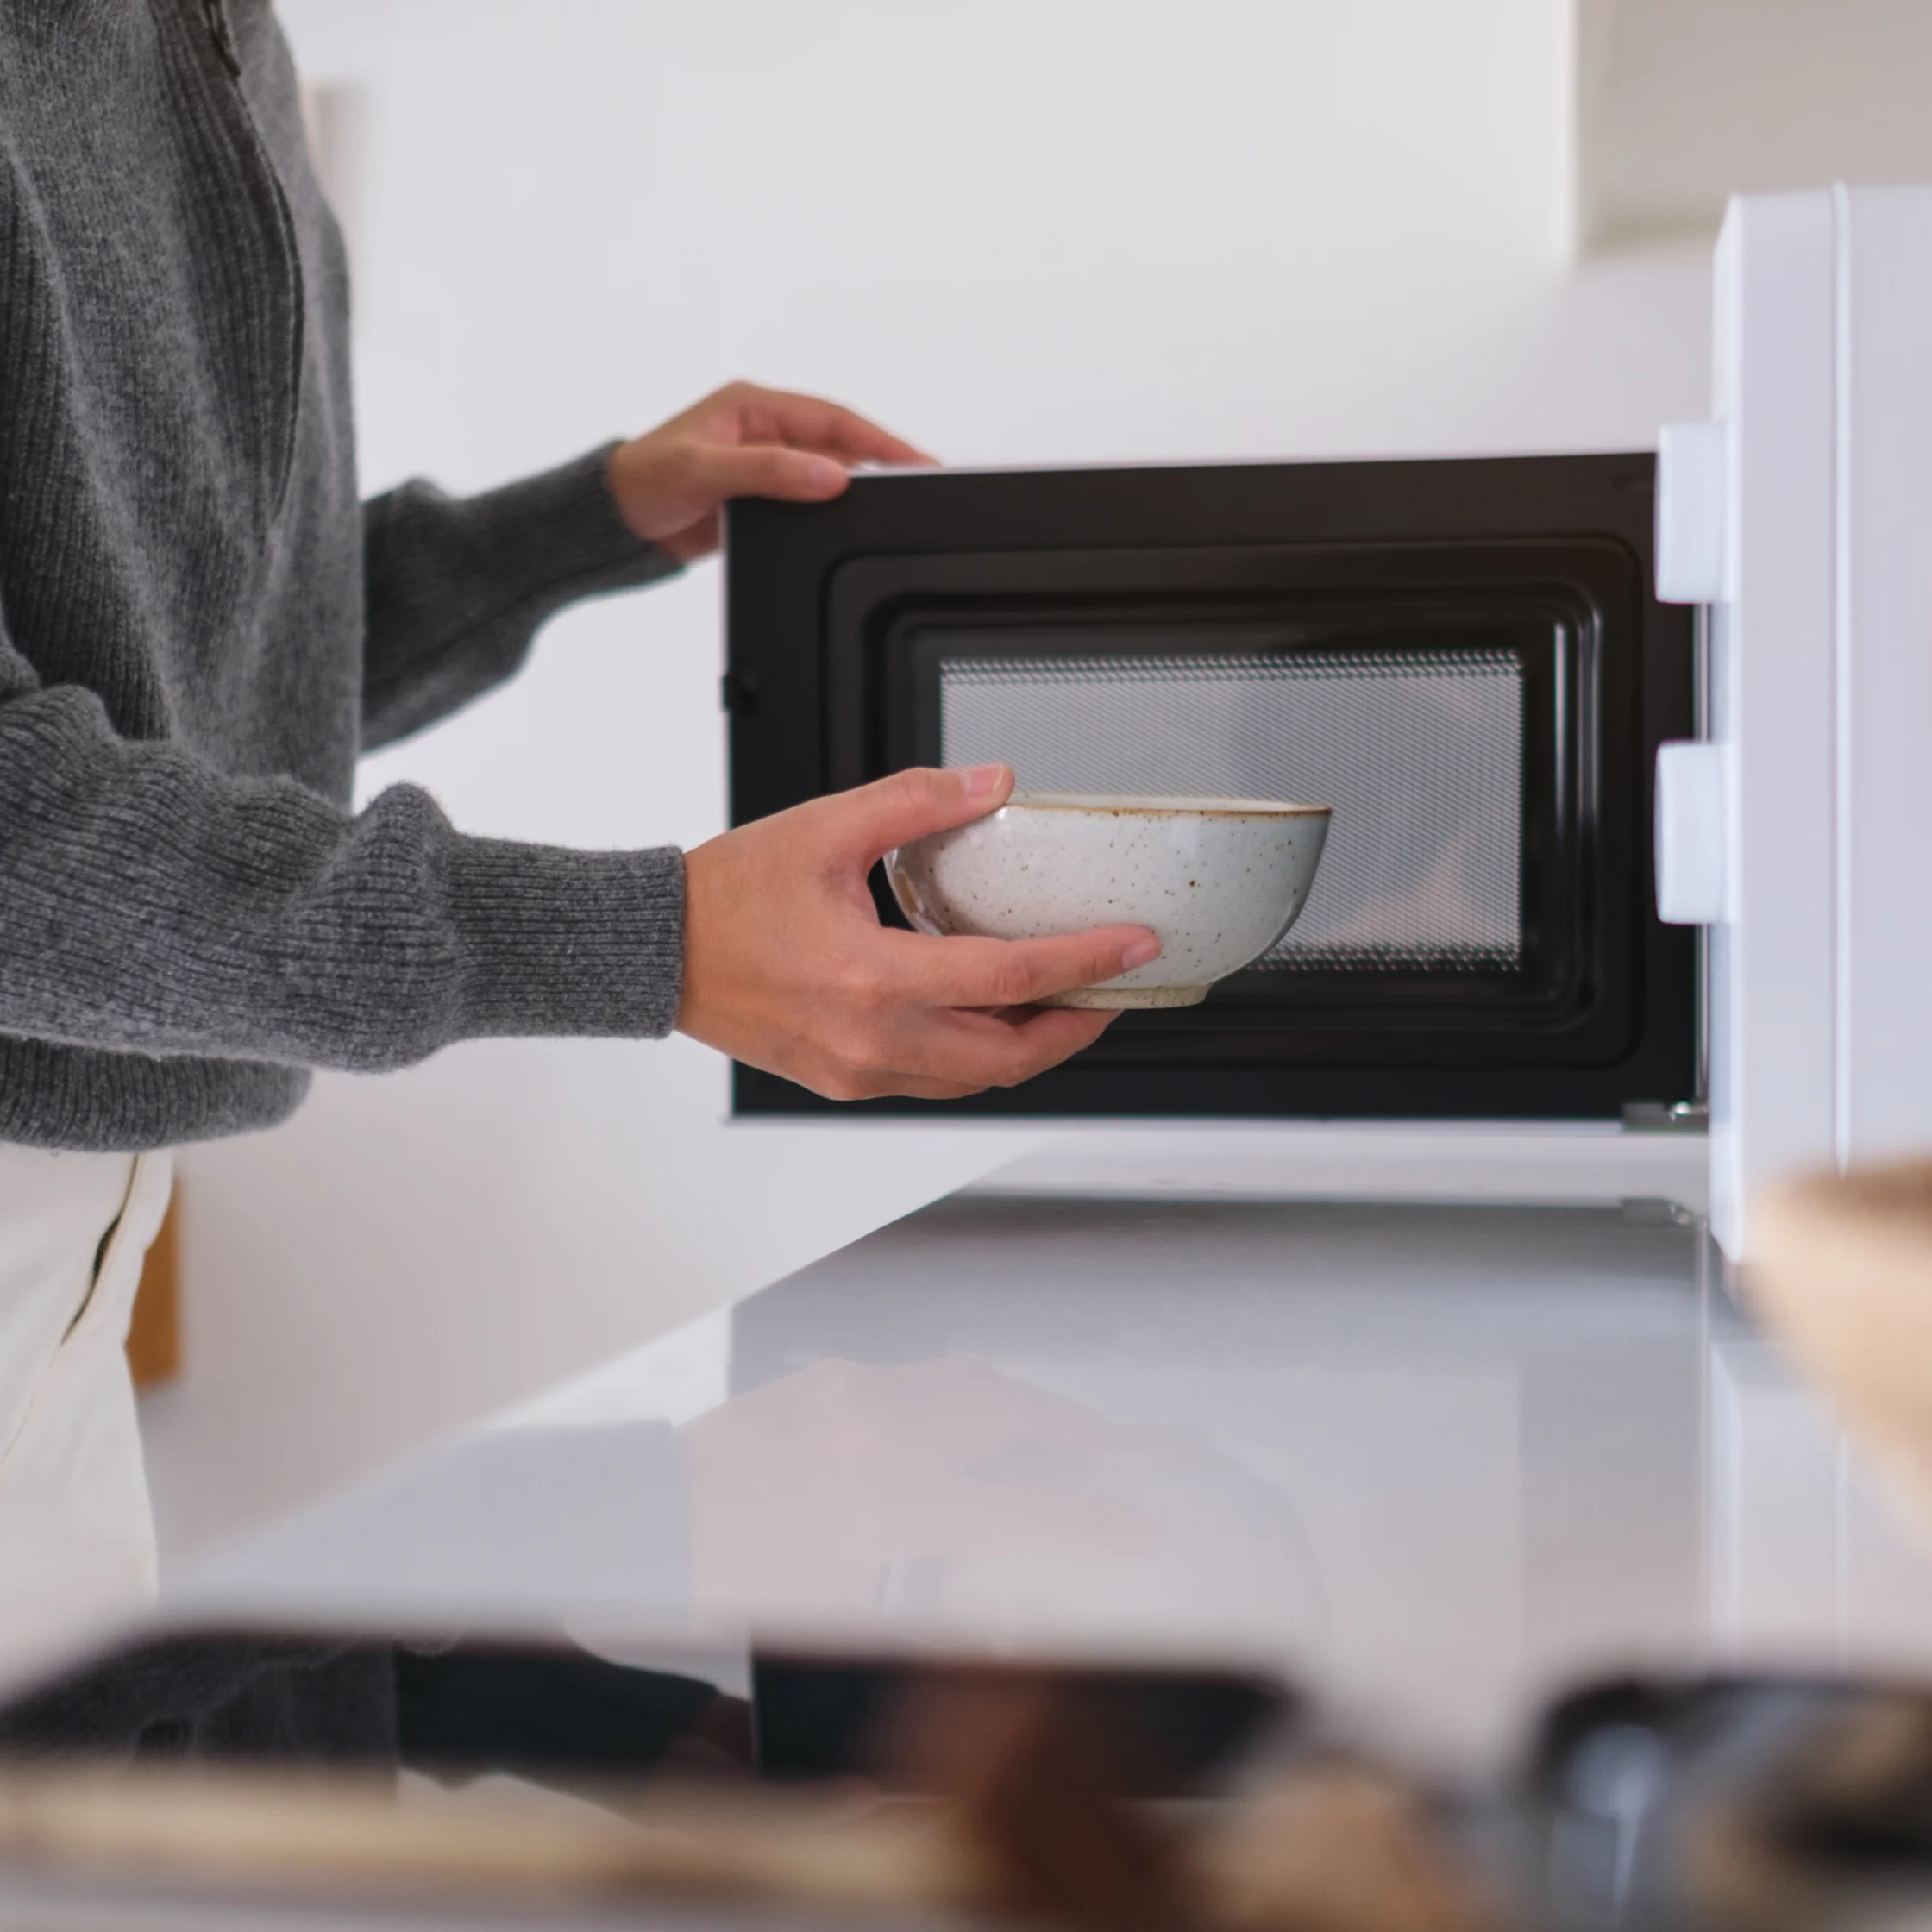
4. In the microwave
This method works similarly to using an oven, making it an excellent shortcut if you don’t own an oven or want a much faster fix.
Place your brown sugar clumps into a microwave-safe bowl and cover the top with a damp paper towel. Microwave in short 10-second intervals, taking the bowl out between rounds to break up the sugar with a fork. Just like the oven method, be careful not to microwave it for too long, or the sugar will start to melt and caramelize instead of softening. Also, keep in mind that the sugar and bowl can get quite hot.
If you want a gentler approach that doesn’t overheat the sugar as quickly, try the steaming method: place a separate microwave-safe mug filled halfway with water next to your bowl of sugar. Microwave both together in 10 to 20-second intervals. The heated water generates steam inside the microwave, gently softening and hydrating the sugar without direct, intense heat.
This method is leaning more on the faster spectrum of this list and is ideal for when you’re already mid-recipe and need soft sugar immediately. The downside is that because you could be mid-recipe, you could risk overcooking or melting the sugar if left unattended for even a few seconds too long.
5. Water in a bag
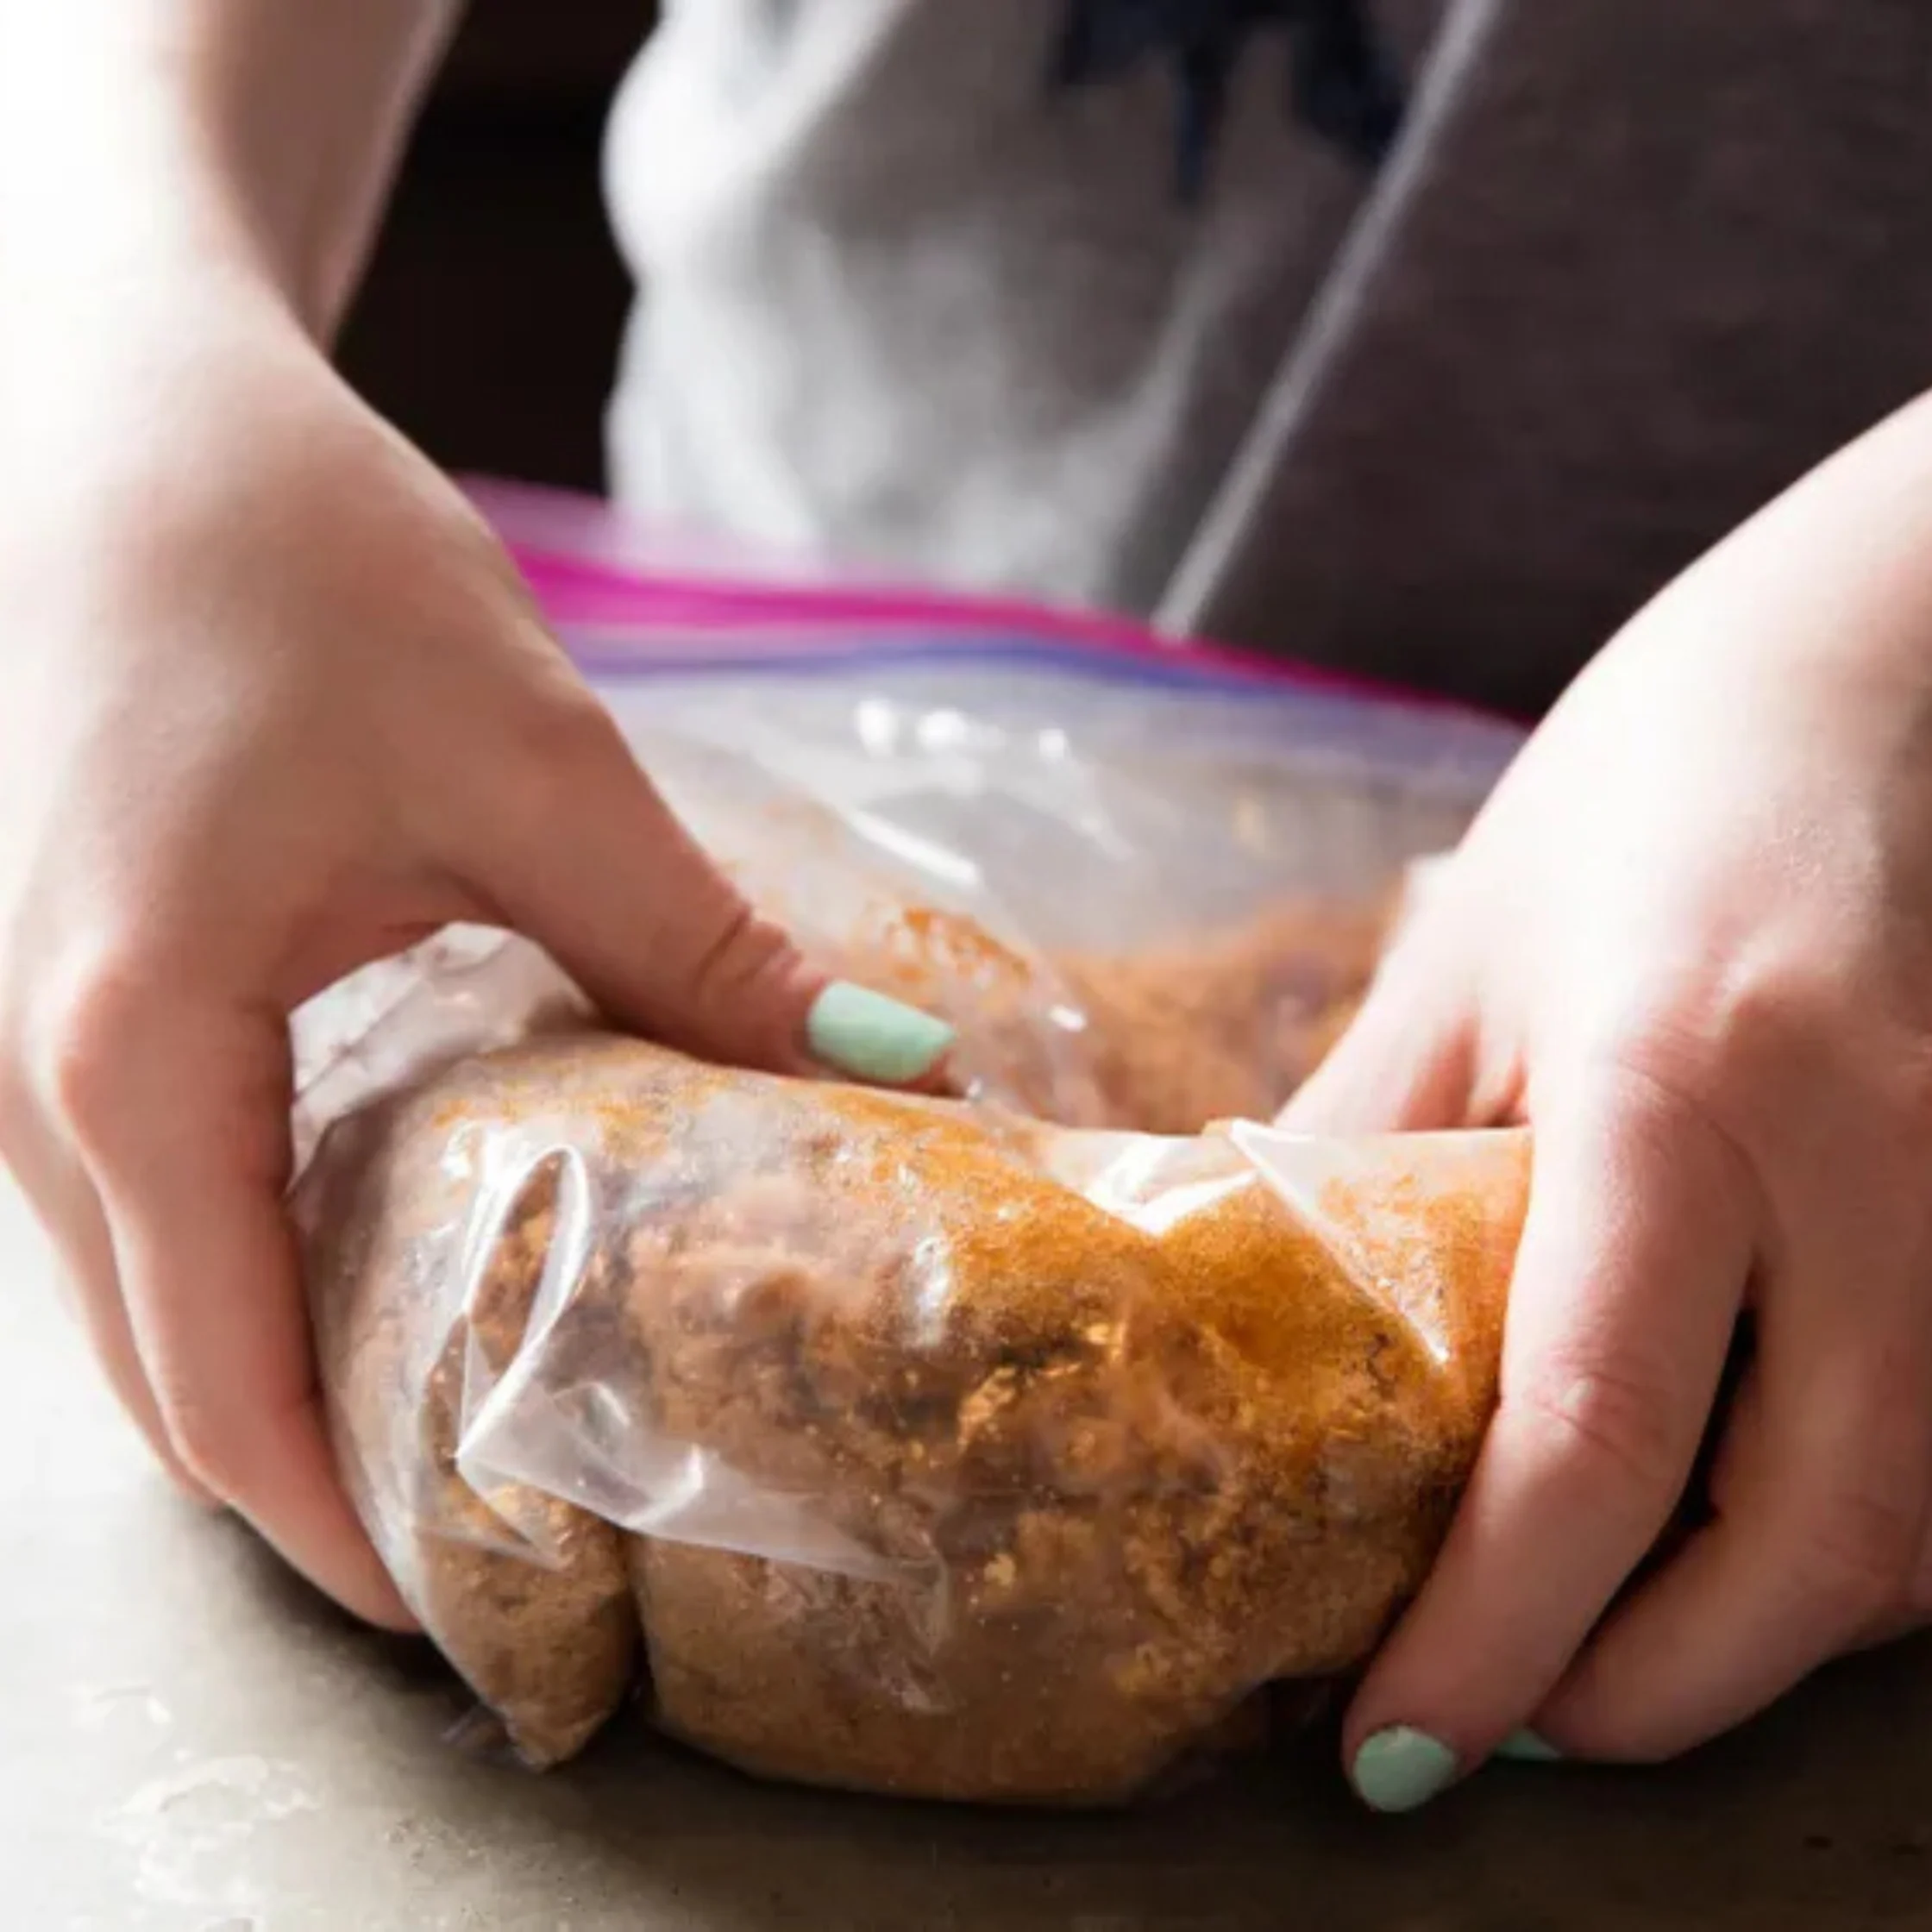
If your household doesn’t have an oven or a microwave, all you need is a resealable plastic bag and a splash of water.
Add a little under a teaspoon of water for every 8 ounces of brown sugar you want to revive into a ziplock bag. Press out as much air as possible before sealing it completely. Let it sit for about 30 minutes to allow the moisture to spread, then knead the bag with your hands to break down the remaining softened clumps.
(If you happen to have a microwave available after all, you can pop the sealed bag in for 15 seconds first to speed up the softening before you start kneading.)
Afterward, you can keep storing your brown sugar right inside that same ziplock bag.
This way, you are directly reintroducing moisture by manually working the water back into the sugar crystals. It requires zero specialized tools, creates no extra dishes to wash, and generates zero food waste.
The kneading itself does take a bit of physical effort, which is fine for most, but if you deal with wrist strain or conditions like carpal tunnel syndrome, it might pose a bit of a challenge. Additionally, adding too much water by mistake can make the sugar sticky rather than fluffy, so precision is key.
6. Using a food processor or box grater
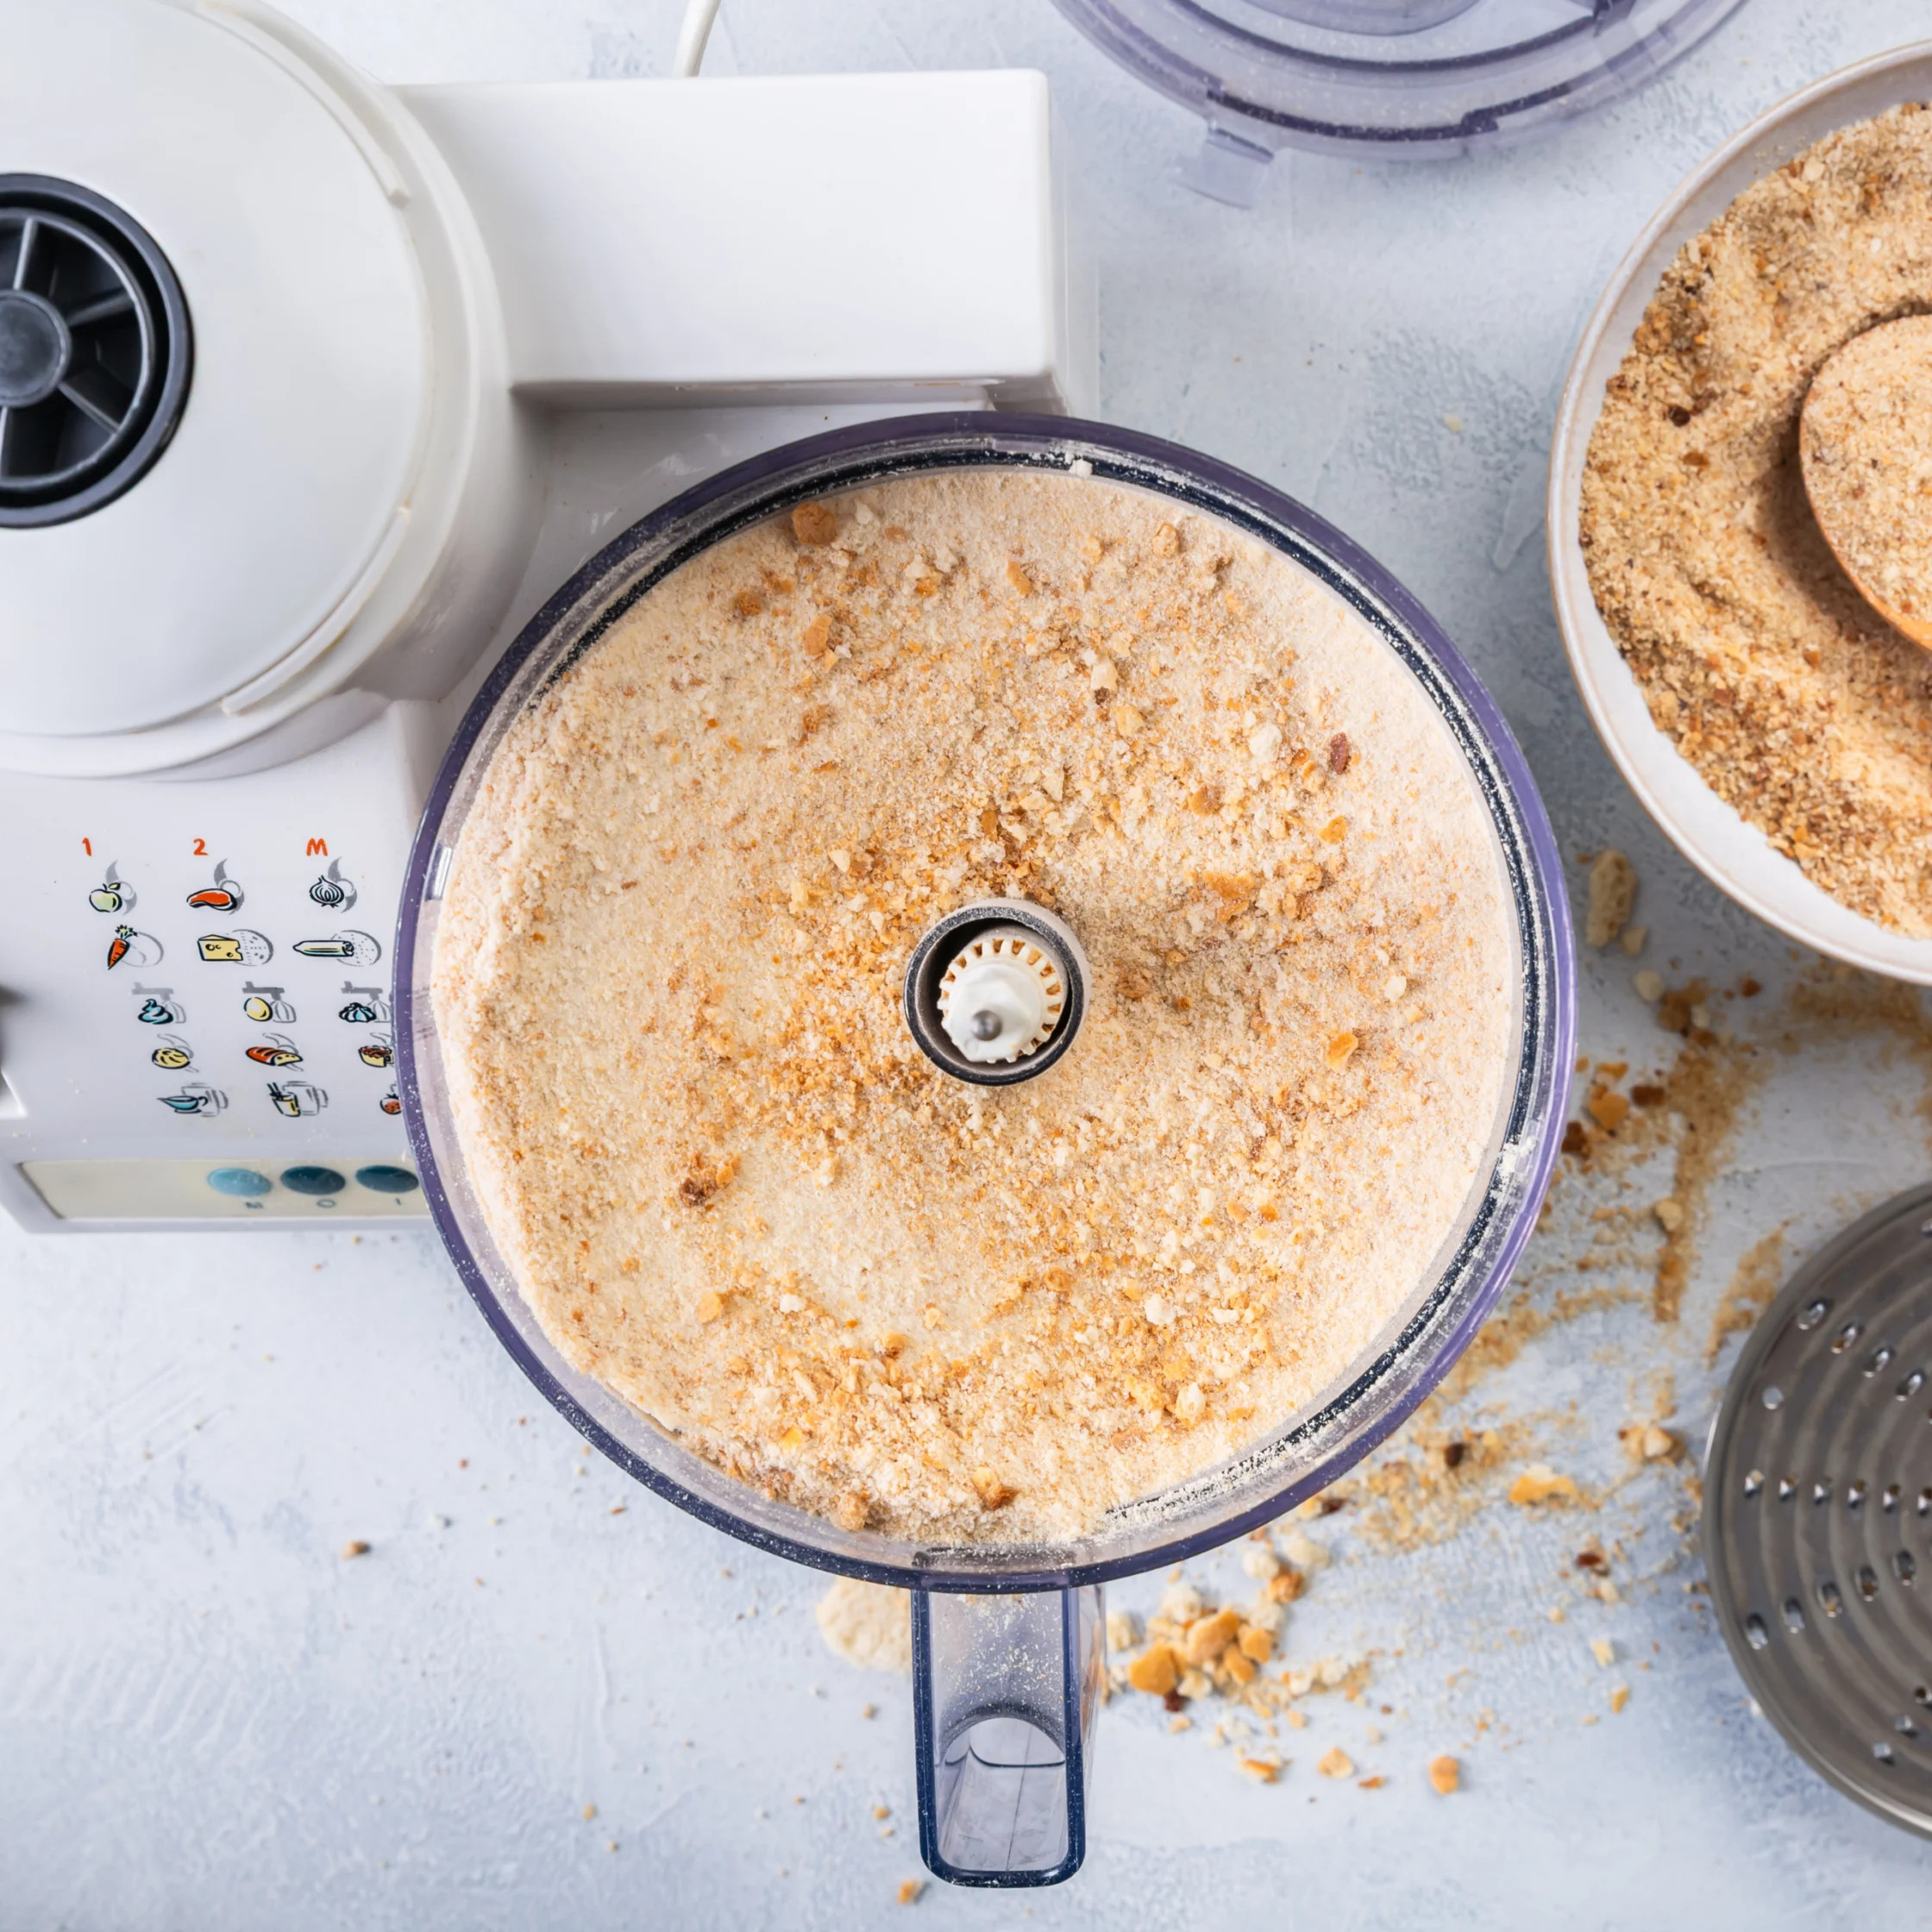
This final method is by far the fastest, and it doesn’t involve rehydrating the brown sugar at all. This is for those moments when you need usable brown sugar, and you need it immediately.
You can either toss the hardened clumps into a food processor and pulse until they completely break apart, or (if you’re careful and brave enough) use the coarse side of a box grater to shave down the block.
Of course, this is only possible if you already own either one of these kitchen gadgets. And you can expect one more thing to be added to your sink of dirty dishes. You can have usable brown sugar within record time.
Is There Such A Thing As The Best Method?
Yes and no.
I understand how-to articles that claim to only explain the best way to do one thing, especially if it insinuates other methods are not nearly as effective, write off certain ingredients, or critique single-use kitchen tools and fancy gadgets not everyone owns. Even I’ve probably been guilty of that in my previous articles. The reality is, I don’t know what’s actually in your kitchen. I can’t claim to know you don’t have an oven but definitely have a microwave, or assume you’d never want to use a slice of bread or an apple for anything other than eating it directly. Every kitchen works differently. One method may be impossible in one household, but might be another household’s only option.
I’m not here to pretend to know what is best for your kitchen or your cooking journey. Right now, I’m here to present your options, so you can discern for yourself what works best for your space.

Frequently Asked Questions
Brown sugar hardens because of its molasses content. Molasses is the dark, moisture-rich syrup that gives brown sugar its rich flavor and soft texture. When brown sugar is exposed to air, the moisture inside the molasses evaporates, causing the sugar crystals to stick together and lock into a solid mass.
Yes! Hardened brown sugar is not spoiled or unsafe to eat—it has simply lost its moisture. As long as there is no mold or contamination, rehydrating the sugar using any of the softening methods will restore its soft, crumbly texture so you can use it normally in your cooking or baking.
Both methods are passive and work over time. A soaked terracotta disc will begin softening the sugar within an hour, but works best when left for a few hours or overnight. A slice of bread or apple typically takes between 8 and 24 hours to fully transfer its moisture to the sugar crystals.
No, storing brown sugar in the fridge is not recommended. The refrigerator environment fluctuates in humidity, which can either draw moisture out of the sugar faster or introduce unwanted excess moisture, causing it to harden or clump unpredictably.
If you need soft sugar immediately, pulsing the clumps in a food processor or shaving them against a box grater takes less than a minute. If you prefer to actually rehydrate the sugar, the microwave method (covering the sugar with a damp paper towel and heating it in 10-second intervals) takes only 20 to 30 seconds.