In researching for this article, I found this blog post of someone reminiscing on a summer vacation she spent in the province; her mother brought them there to show off how she and her siblings used to play in the river, search for freshwater crabs, and drink the juice straight from the buko after cracking it open with a bolo knife. I thought this connected nicely to what a separate Facebook post said: coconut milk is not just an ingredient, but a base that carries many dishes.
There are countless sweet and savory Filipino dishes that use gata like Bicol Express, laing, gising–gising and just about every ginataan dessert. This reflects “the coconut’s central role in Philippine gastronomy.”
From this, it’s not that much of a stretch to realize that making fresh coconut cream and milk from scratch is much easier than you might think. For some of you, this may as well not be a shocking revelation, as you likely grew up with family members or helpers making it at home.
But if you’re like me who hasn’t personally experienced this and you also want to try making coconut cream or milk on your own, here are 6 steps on how to get started!
1. Ask yourself: Coconut Cream or Coconut Milk?
I’d argue this is the more appropriate step zero than choosing the right coconut.
But even beginning this process, it would be good to understand what people with more experience mean by “first” and “second” press.
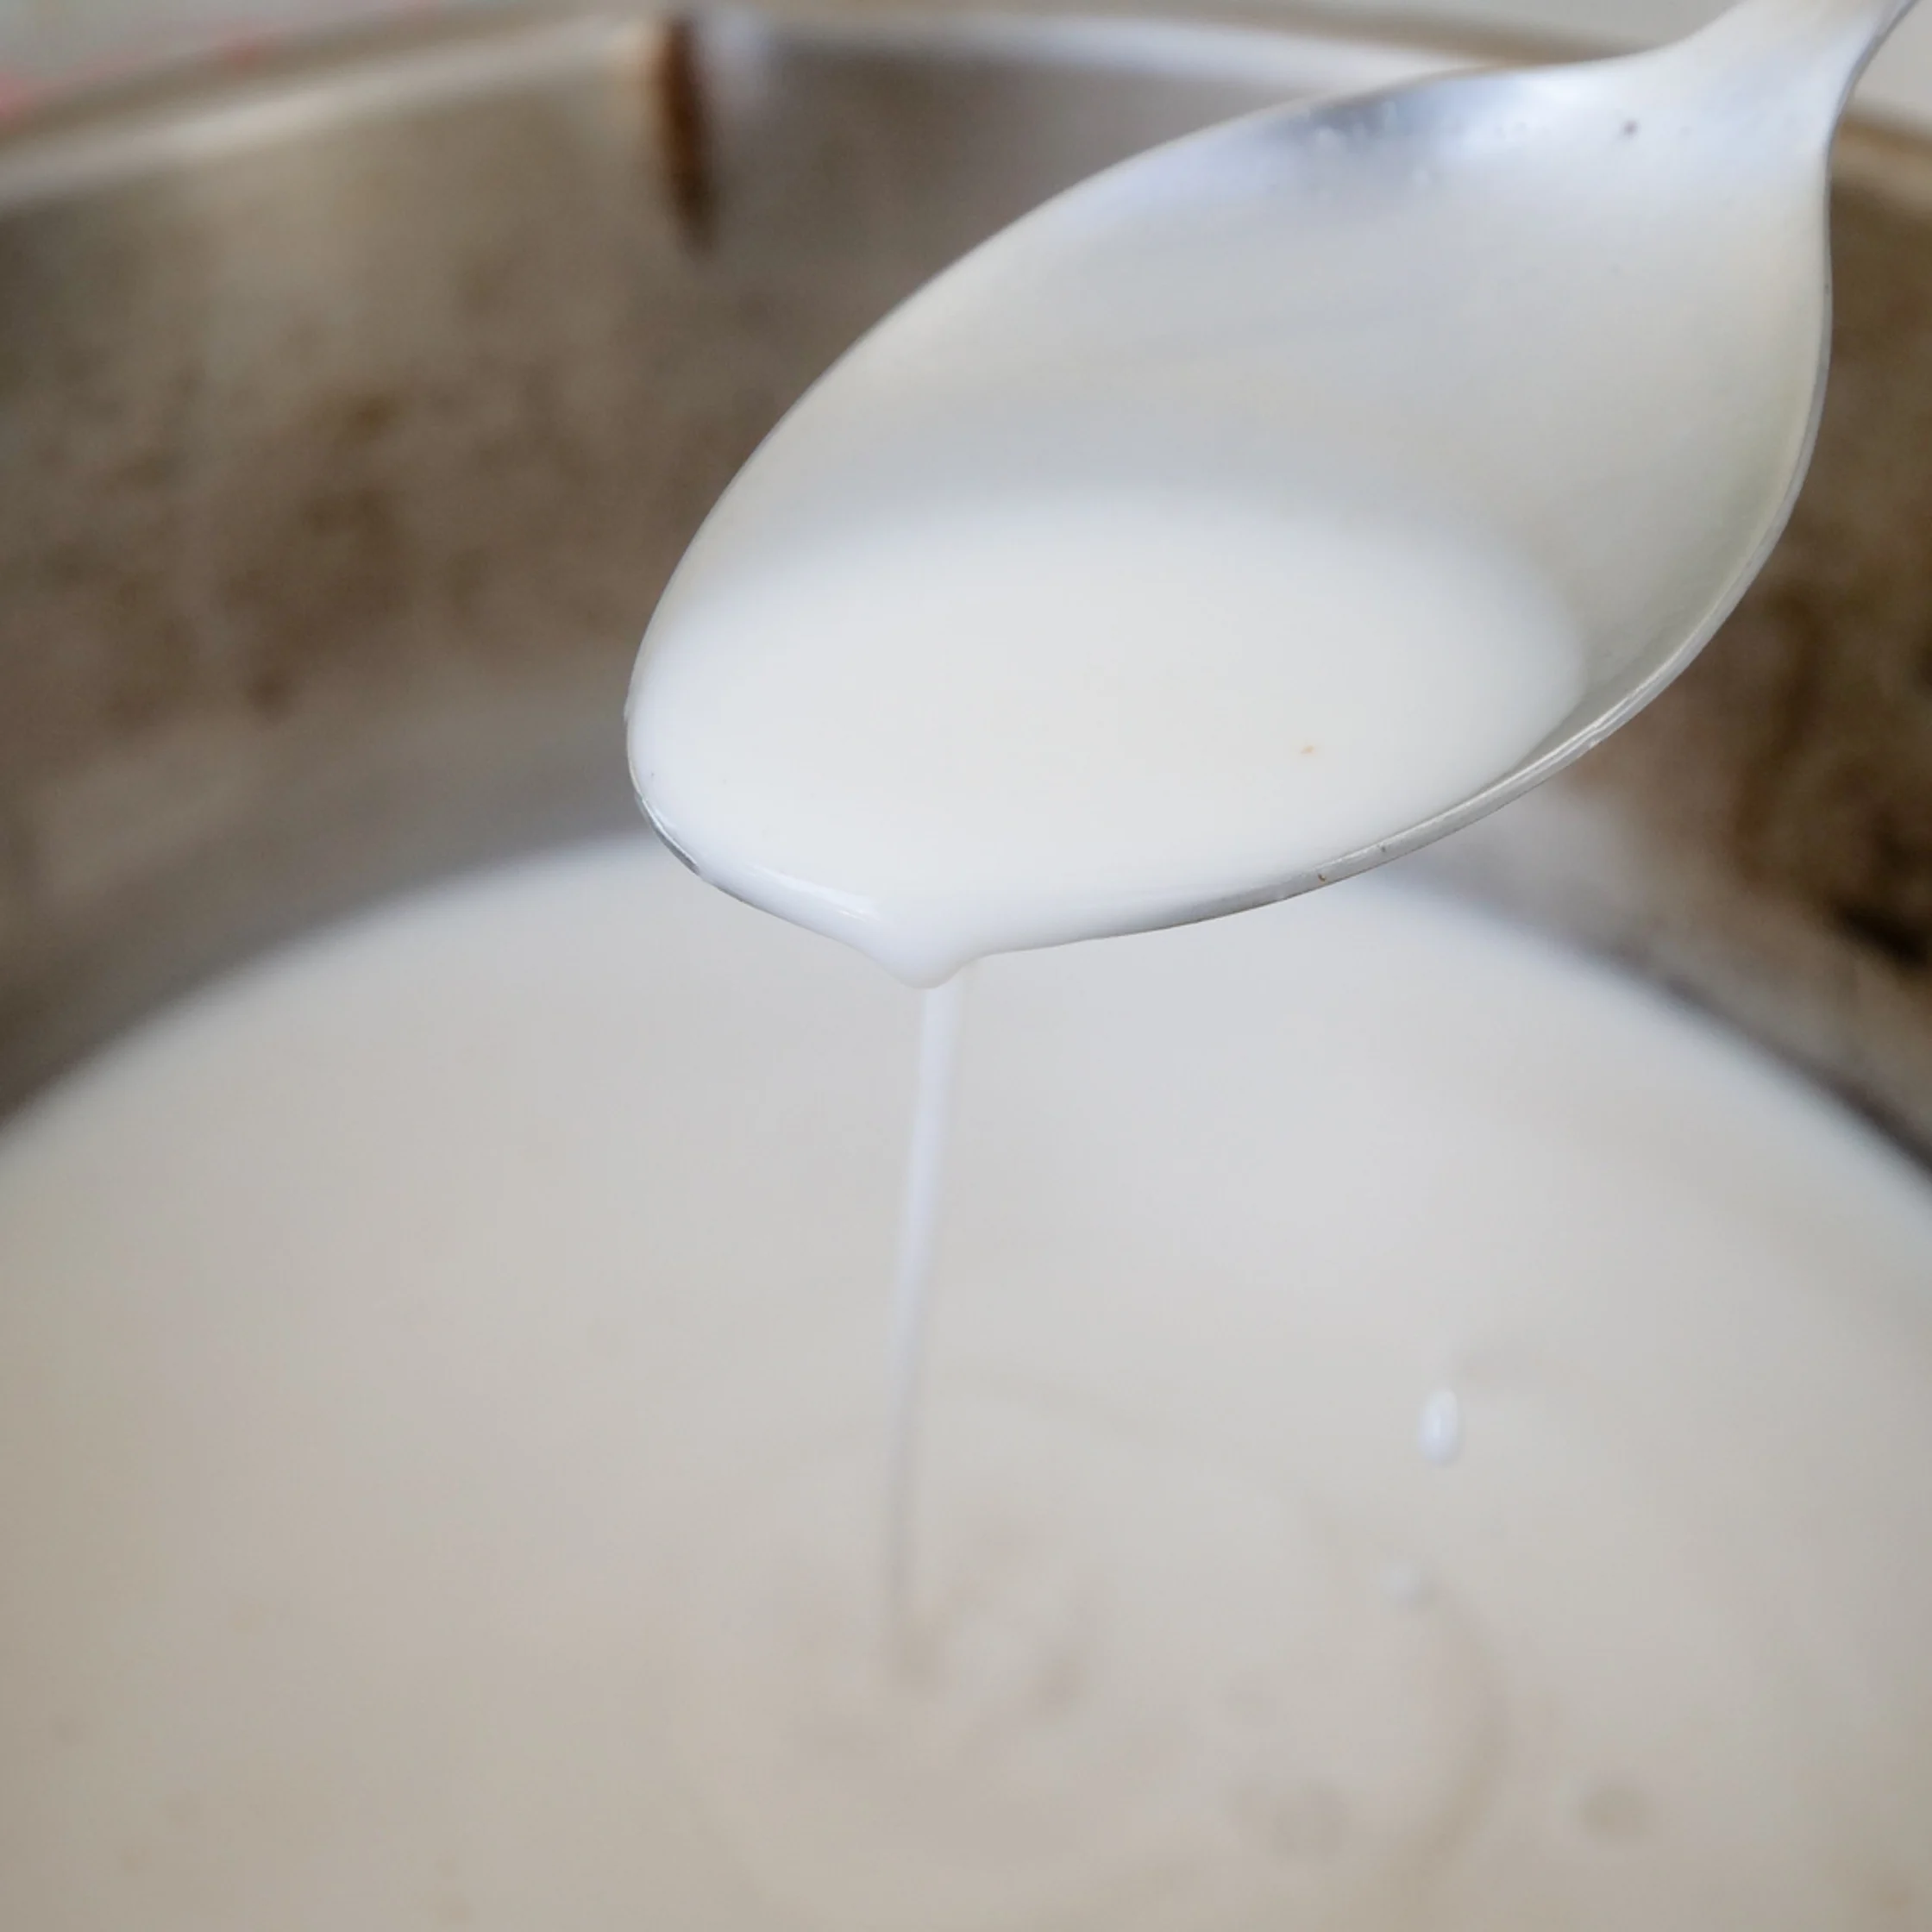
The first press comes from the first extraction using little to no extra water. It yields a richer, creamier, and tastier liquid known as kakang gata. Some people refer to it as coconut cream, others just call it thicker coconut milk. The point is that, compared to canned coconut milk, the viscosity of fresh-pressed coconut milk is vastly different; it hasn’t been diluted, so it is rich, thick, and packed with high oil content. It’s ideal for dishes where you want to reduceReduceA cooking technique in which a liquid is simmered until some of the water evaporates, thickening its texture and concentrating its flavor. Home cooks reduce sauces, stocks, and glazes, andGo to Reduce Glossary the liquid down to rich coconut oil like in making latik or if you want to add a luxurious, creamy finish.
In some recipes, you can add fresh kakang gata towards the end of cooking to prevent the rich fats from breaking and turning grainy.
The second press or pangalawang piga comes from the second and all succeeding rounds of adding more water to the leftover pulp and squeezing again. It is lighter and more fluid, making it the perfect base for simmering soups, stews, and curries like laing or ginataanGinataanAny Filipino dish cooked in coconut milk, known as gata. It spans savory viands like laing and ginataang manok, and sweet snacks such as ginataang bilo-bilo, made with root crops,Go to Ginataan Glossary without being overly heavy.
The bottomline here is that they aren’t interchangeable. Not only are they different on consistency, but they each offer their own delicious impact on a dish.
2. Opening up a (mature) coconut
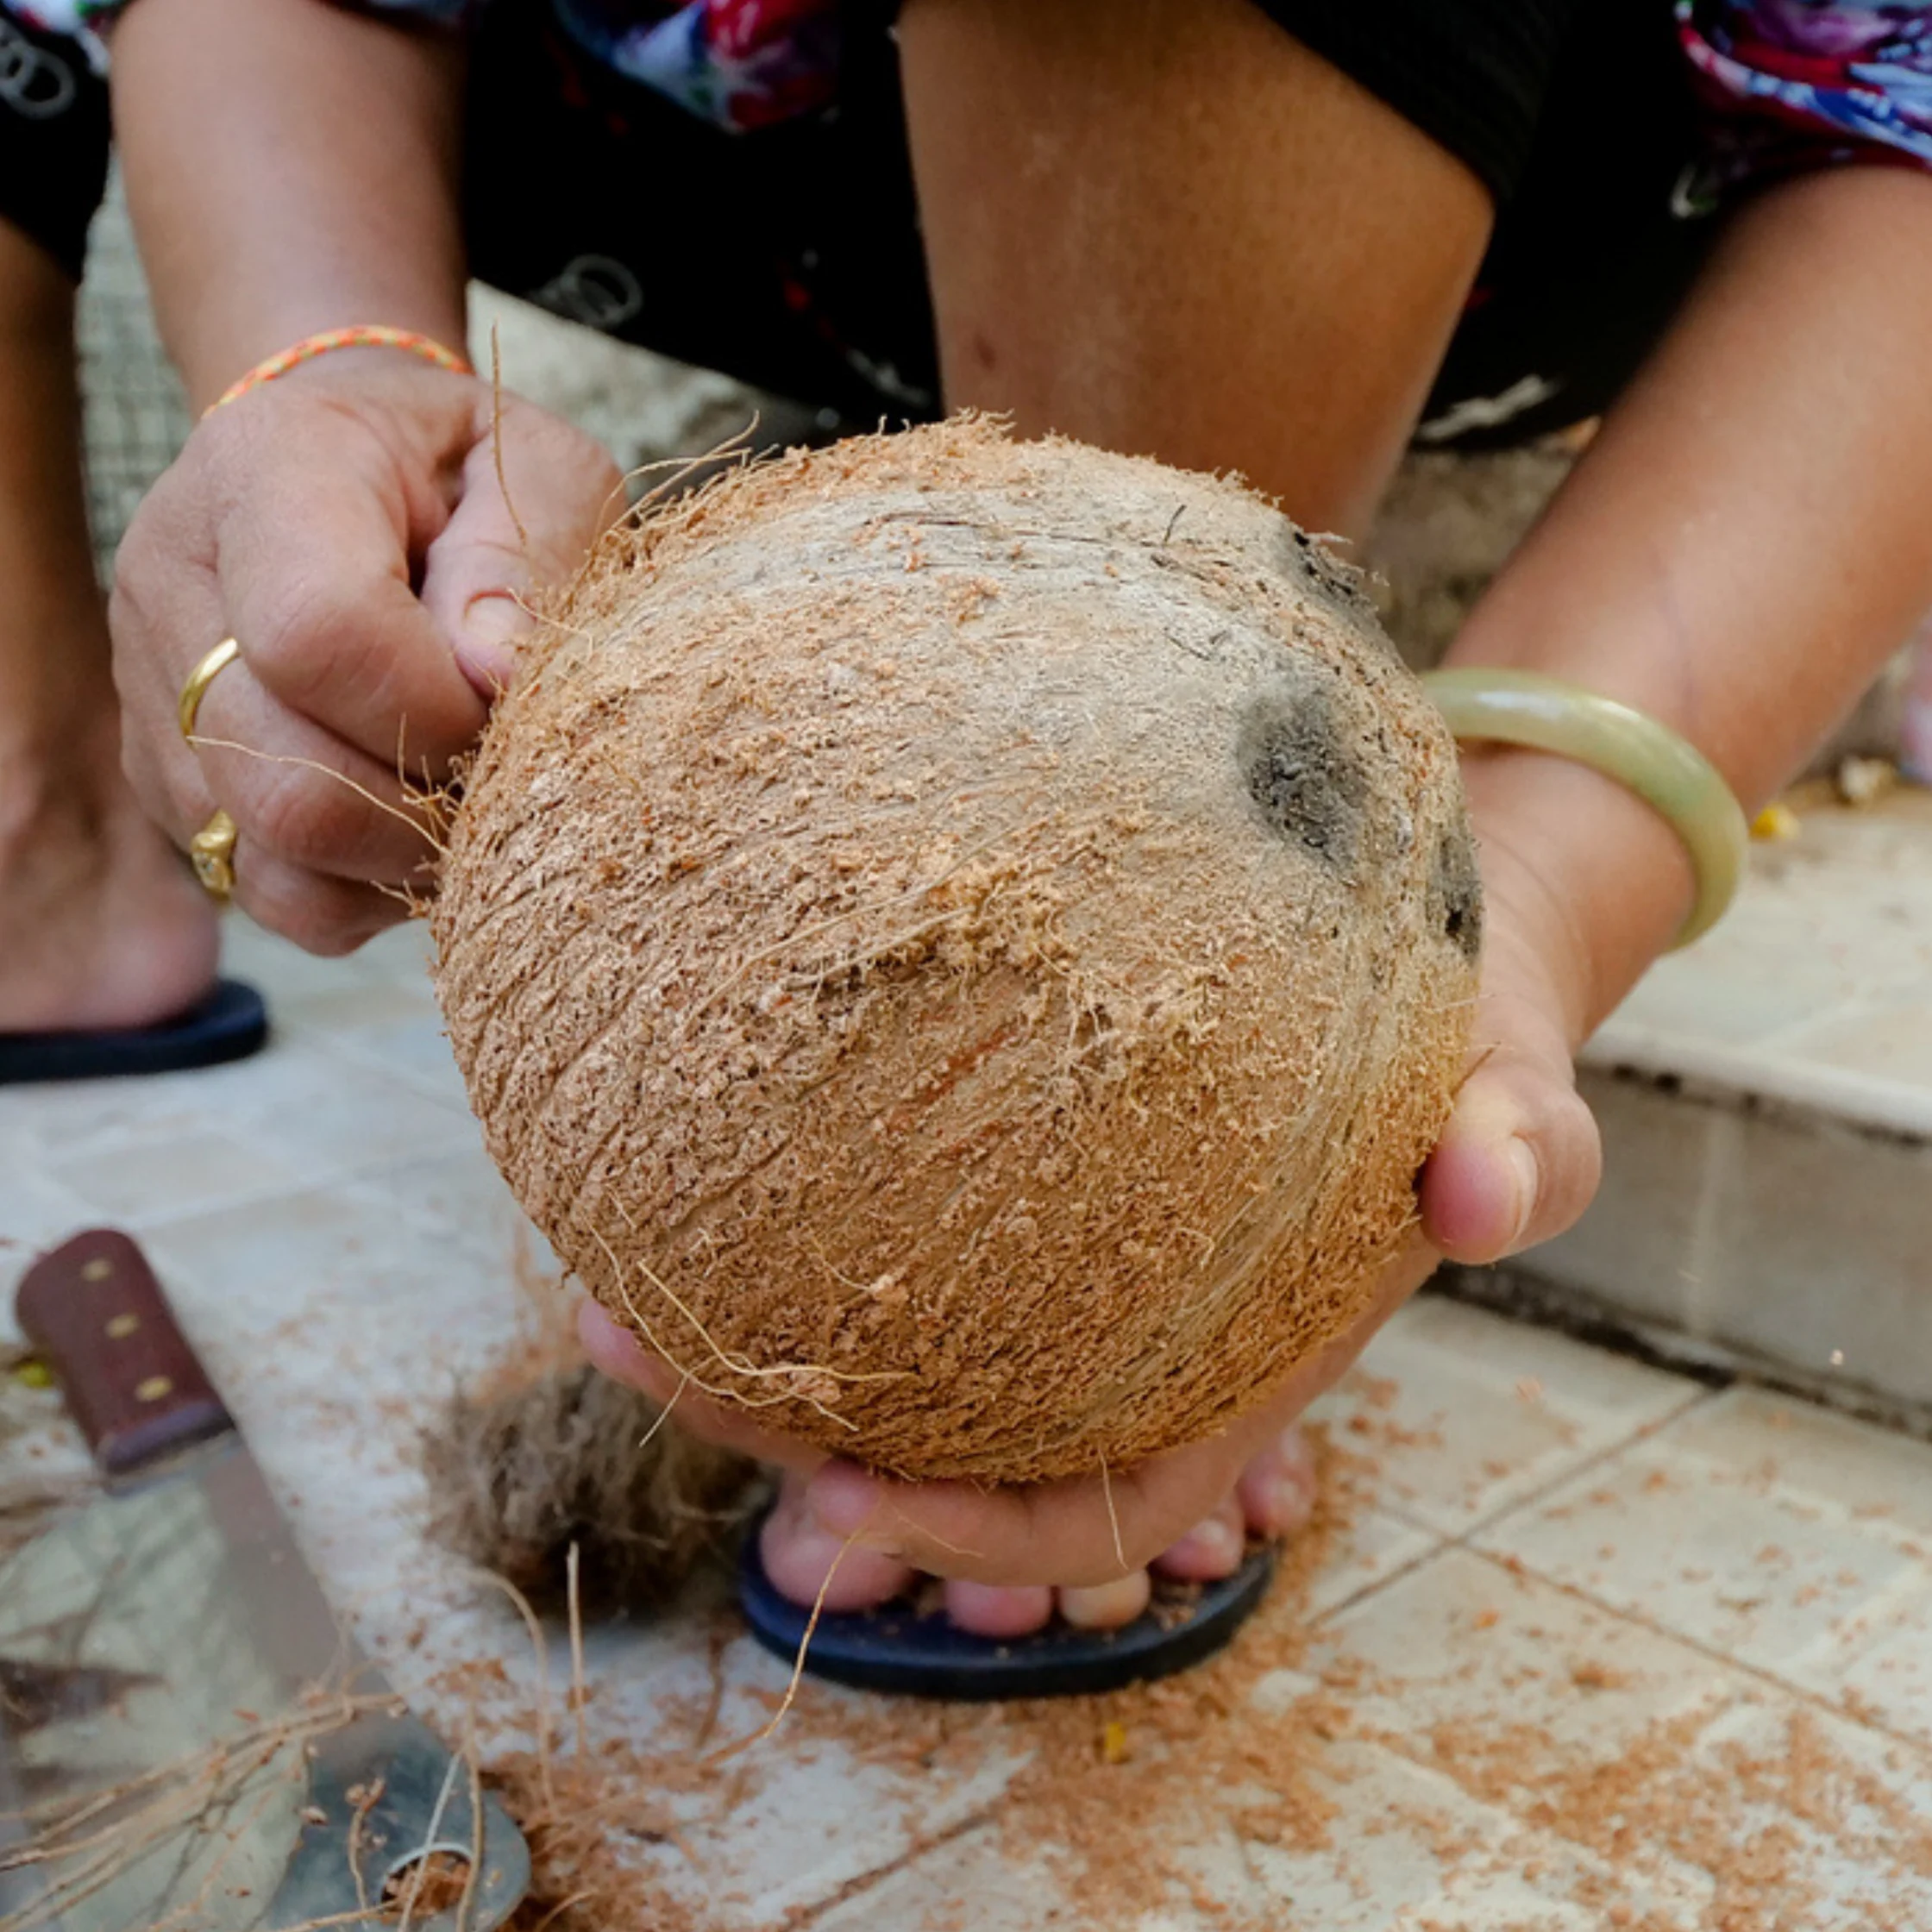
The first step is to make sure the coconut you are going to use has matured enough before you even open it up. A good sign is if the husk has turned brown and is rough, fibrious, and woody. A young coconut or buko will still have a green color to it. You can also try shaking the coconut and listening for a sloshing sound from the inside.
If you’re buying from a supermarket that offers you the option to open up and grate the coconut for you, you can definitely opt to do that. But if you want to try and challenge yourself with a new cooking experience, cracking one open is definitely an experience!
First, look for the three dots found on one corner of the shell, this is your marker for the “top” part. Other guides describe it as looking around your coconut for a small little “happy face.” You can use either an ice pick of any sharp-enough tool to poke a hole into each of the three dots to drain the coconut water. Then, use a hammer to tap the coconut from any angle again and again until it cracks. Throughout this step, make sure to not accidentally hurt yourself.
I’ve also watched locals in real life and in videos open up a coconut in a matter of seconds, with one hand holding the coconut and the other holding the hammer. You definitely don’t have to be at that level yet. It’s better to be safe, take it slow, and have coconut cream or milk at the end, than sorry, injured, and have nothing to show.
3. Grate the coconut flesh
There are many ways to grate the coconut and this depends on what you have at home.
If you own a blender or food processor, you can chop up the coconut’s white flesh into smaller cubes before tossing them in and breaking them down by short pulses.
If you have a manual scooping grater, you can start directly grating the flesh after you crack it open, though this method may be on the more time consuming side of the spectrum.
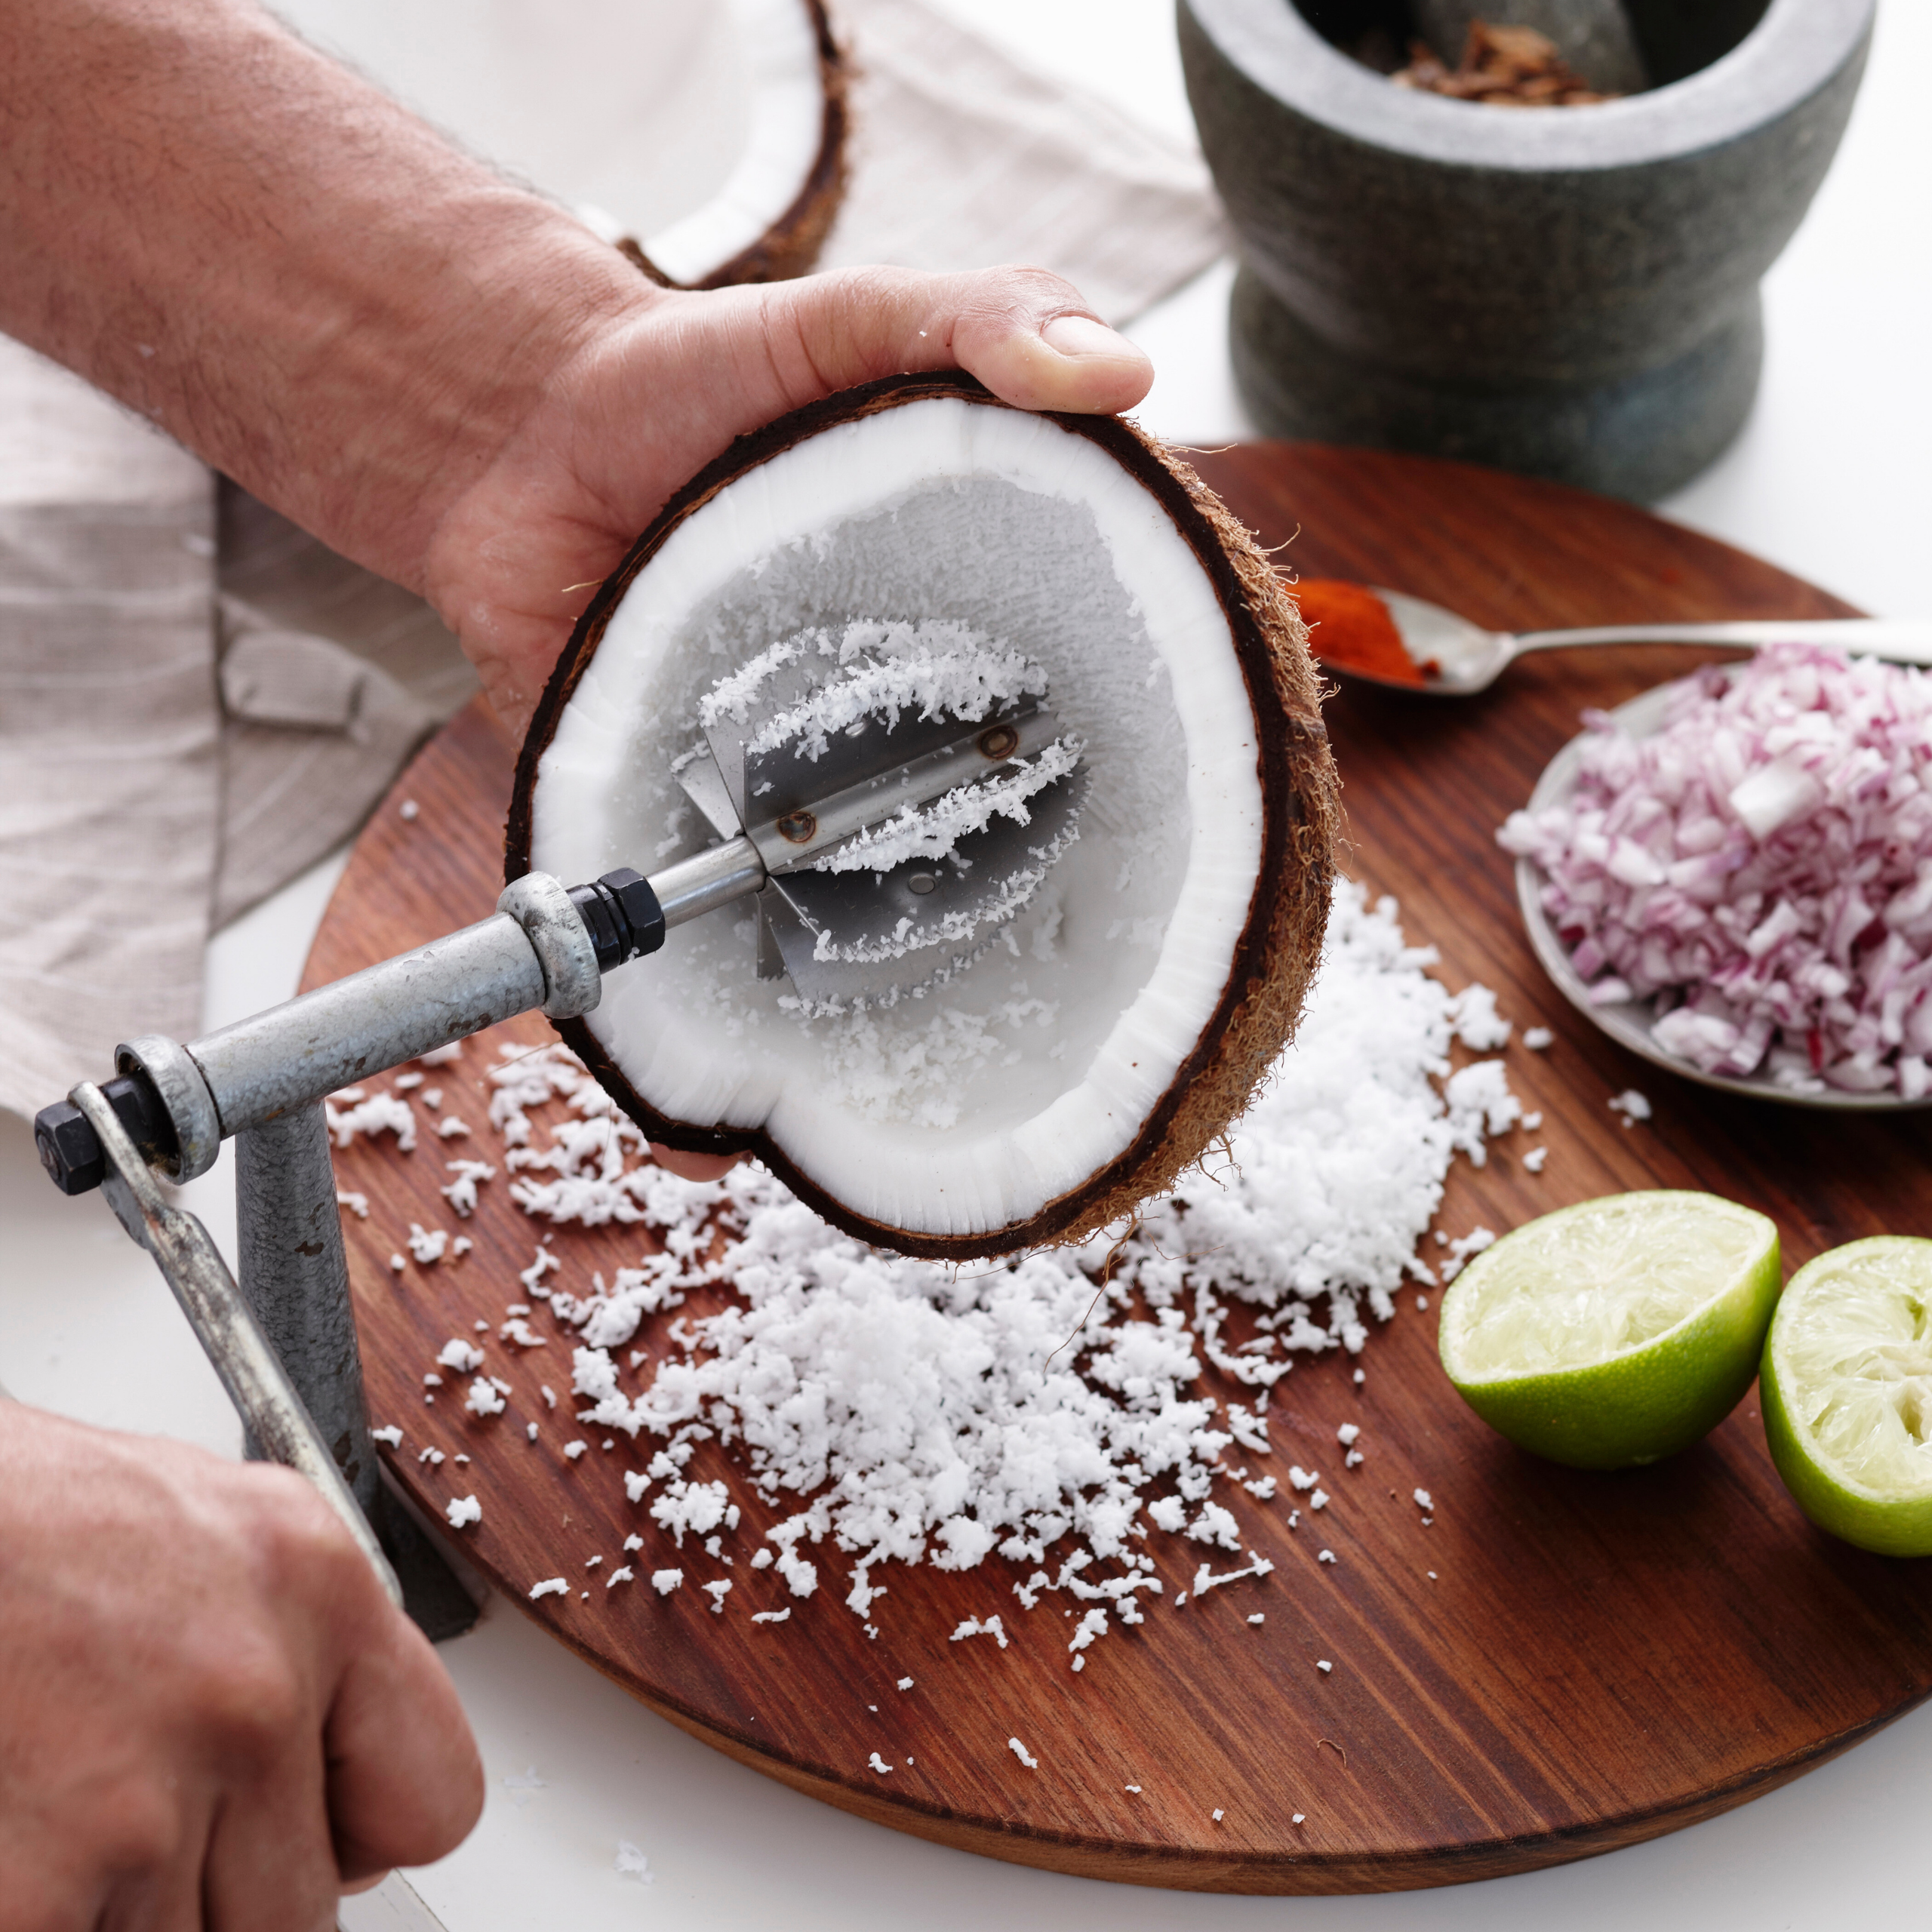
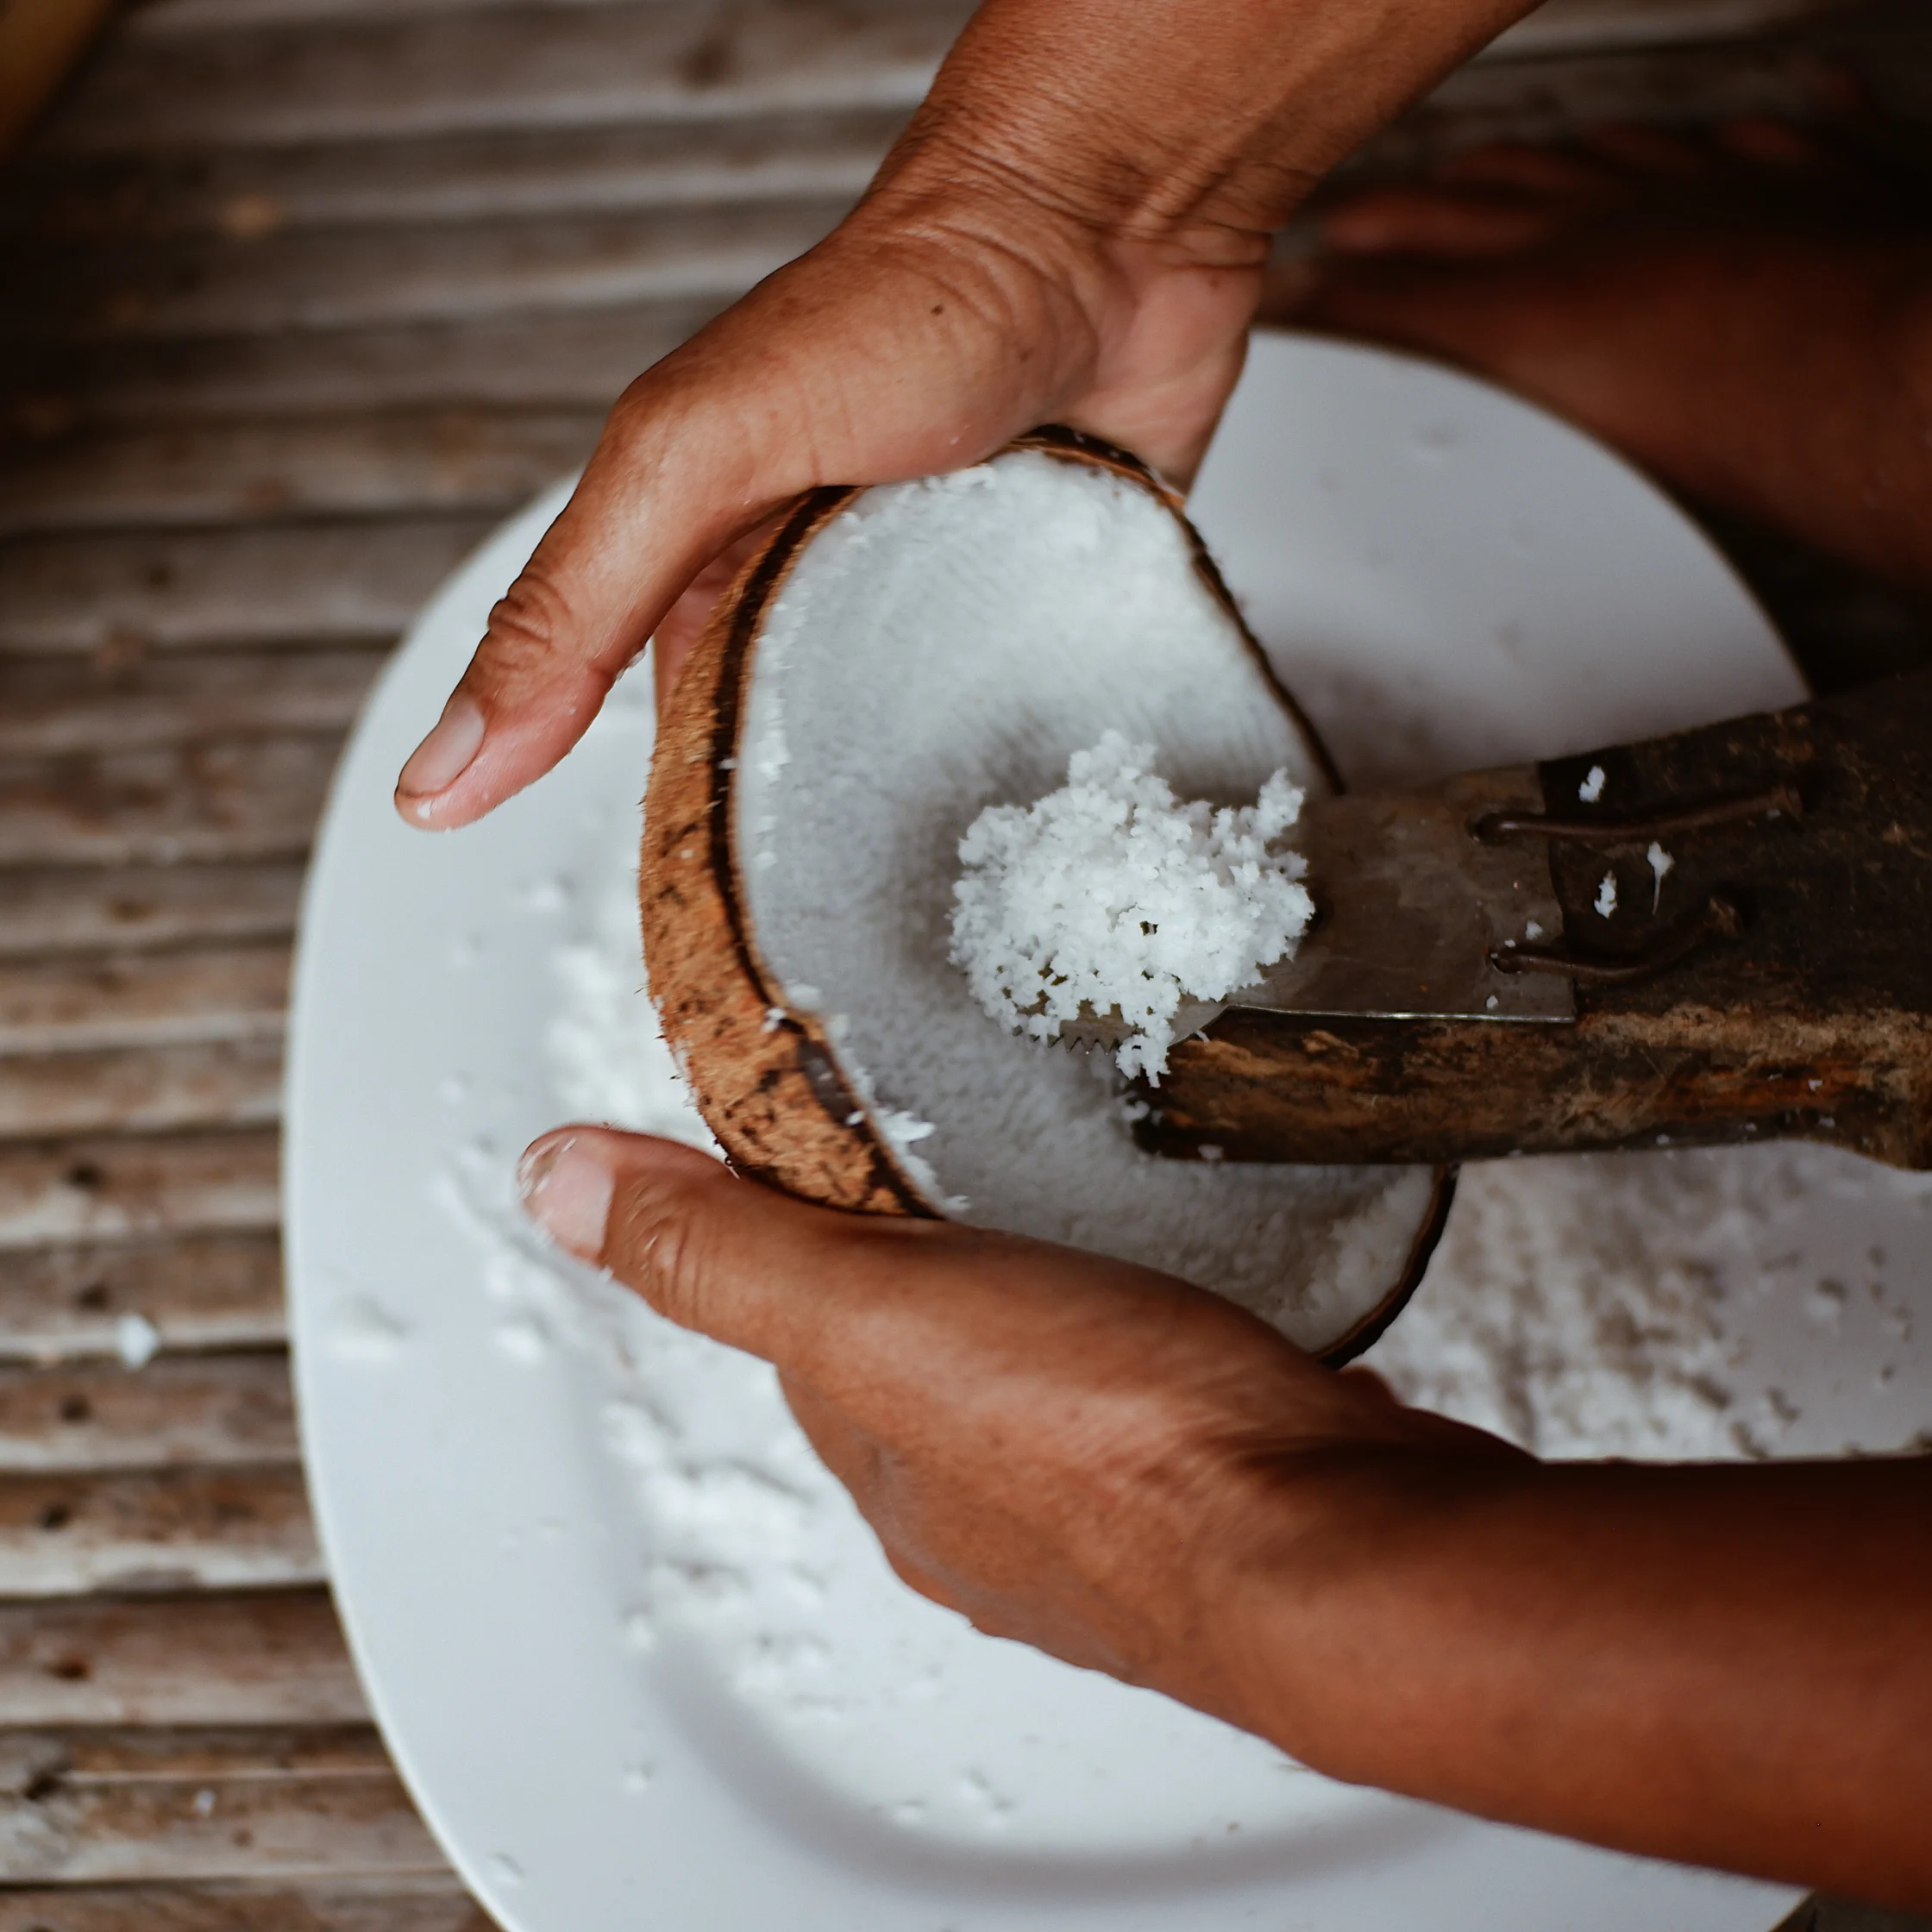
If you want to do it the old-fashioned way, you will need a traditional coconut grater or kudkuran. In essence, it’s a wooden stool with a uniquely shaped sharp metal attached to the front end designed to be straddled like a low stool that allows you to grate the coconut flesh straight from the husk against the serrated metal blade.
4. Add (a small amount of) lukewarm water
How hot your water is matters, but not in the way you might think. Because you are manually squeezing the coconut bits with your hands, it’s best to use lukewarm to warm water so you can still handle it with your hands. It being hot also matters because it helps melt and release the natural oils and fats in the coconut flesh. It essentially releases the rich flavor from the grated coconut meat.
Using water that is too hot may not only lead to you burning yourself, it could also cook the proteins and alter the resulting texture drastically.
Hypothetically, you can yield both kakang gata and regular gata all from just one coconut. You can add minimal to no water before squeezing the grated coconut for the first extraction and then add more water in the succeeding extractions. If you already know you want to end up with coconut milk, add a 1:1 ratio of water to grated coconut.
5. Squeeze to extract the Gata
This is the step wherein you truly get your hands dirty.
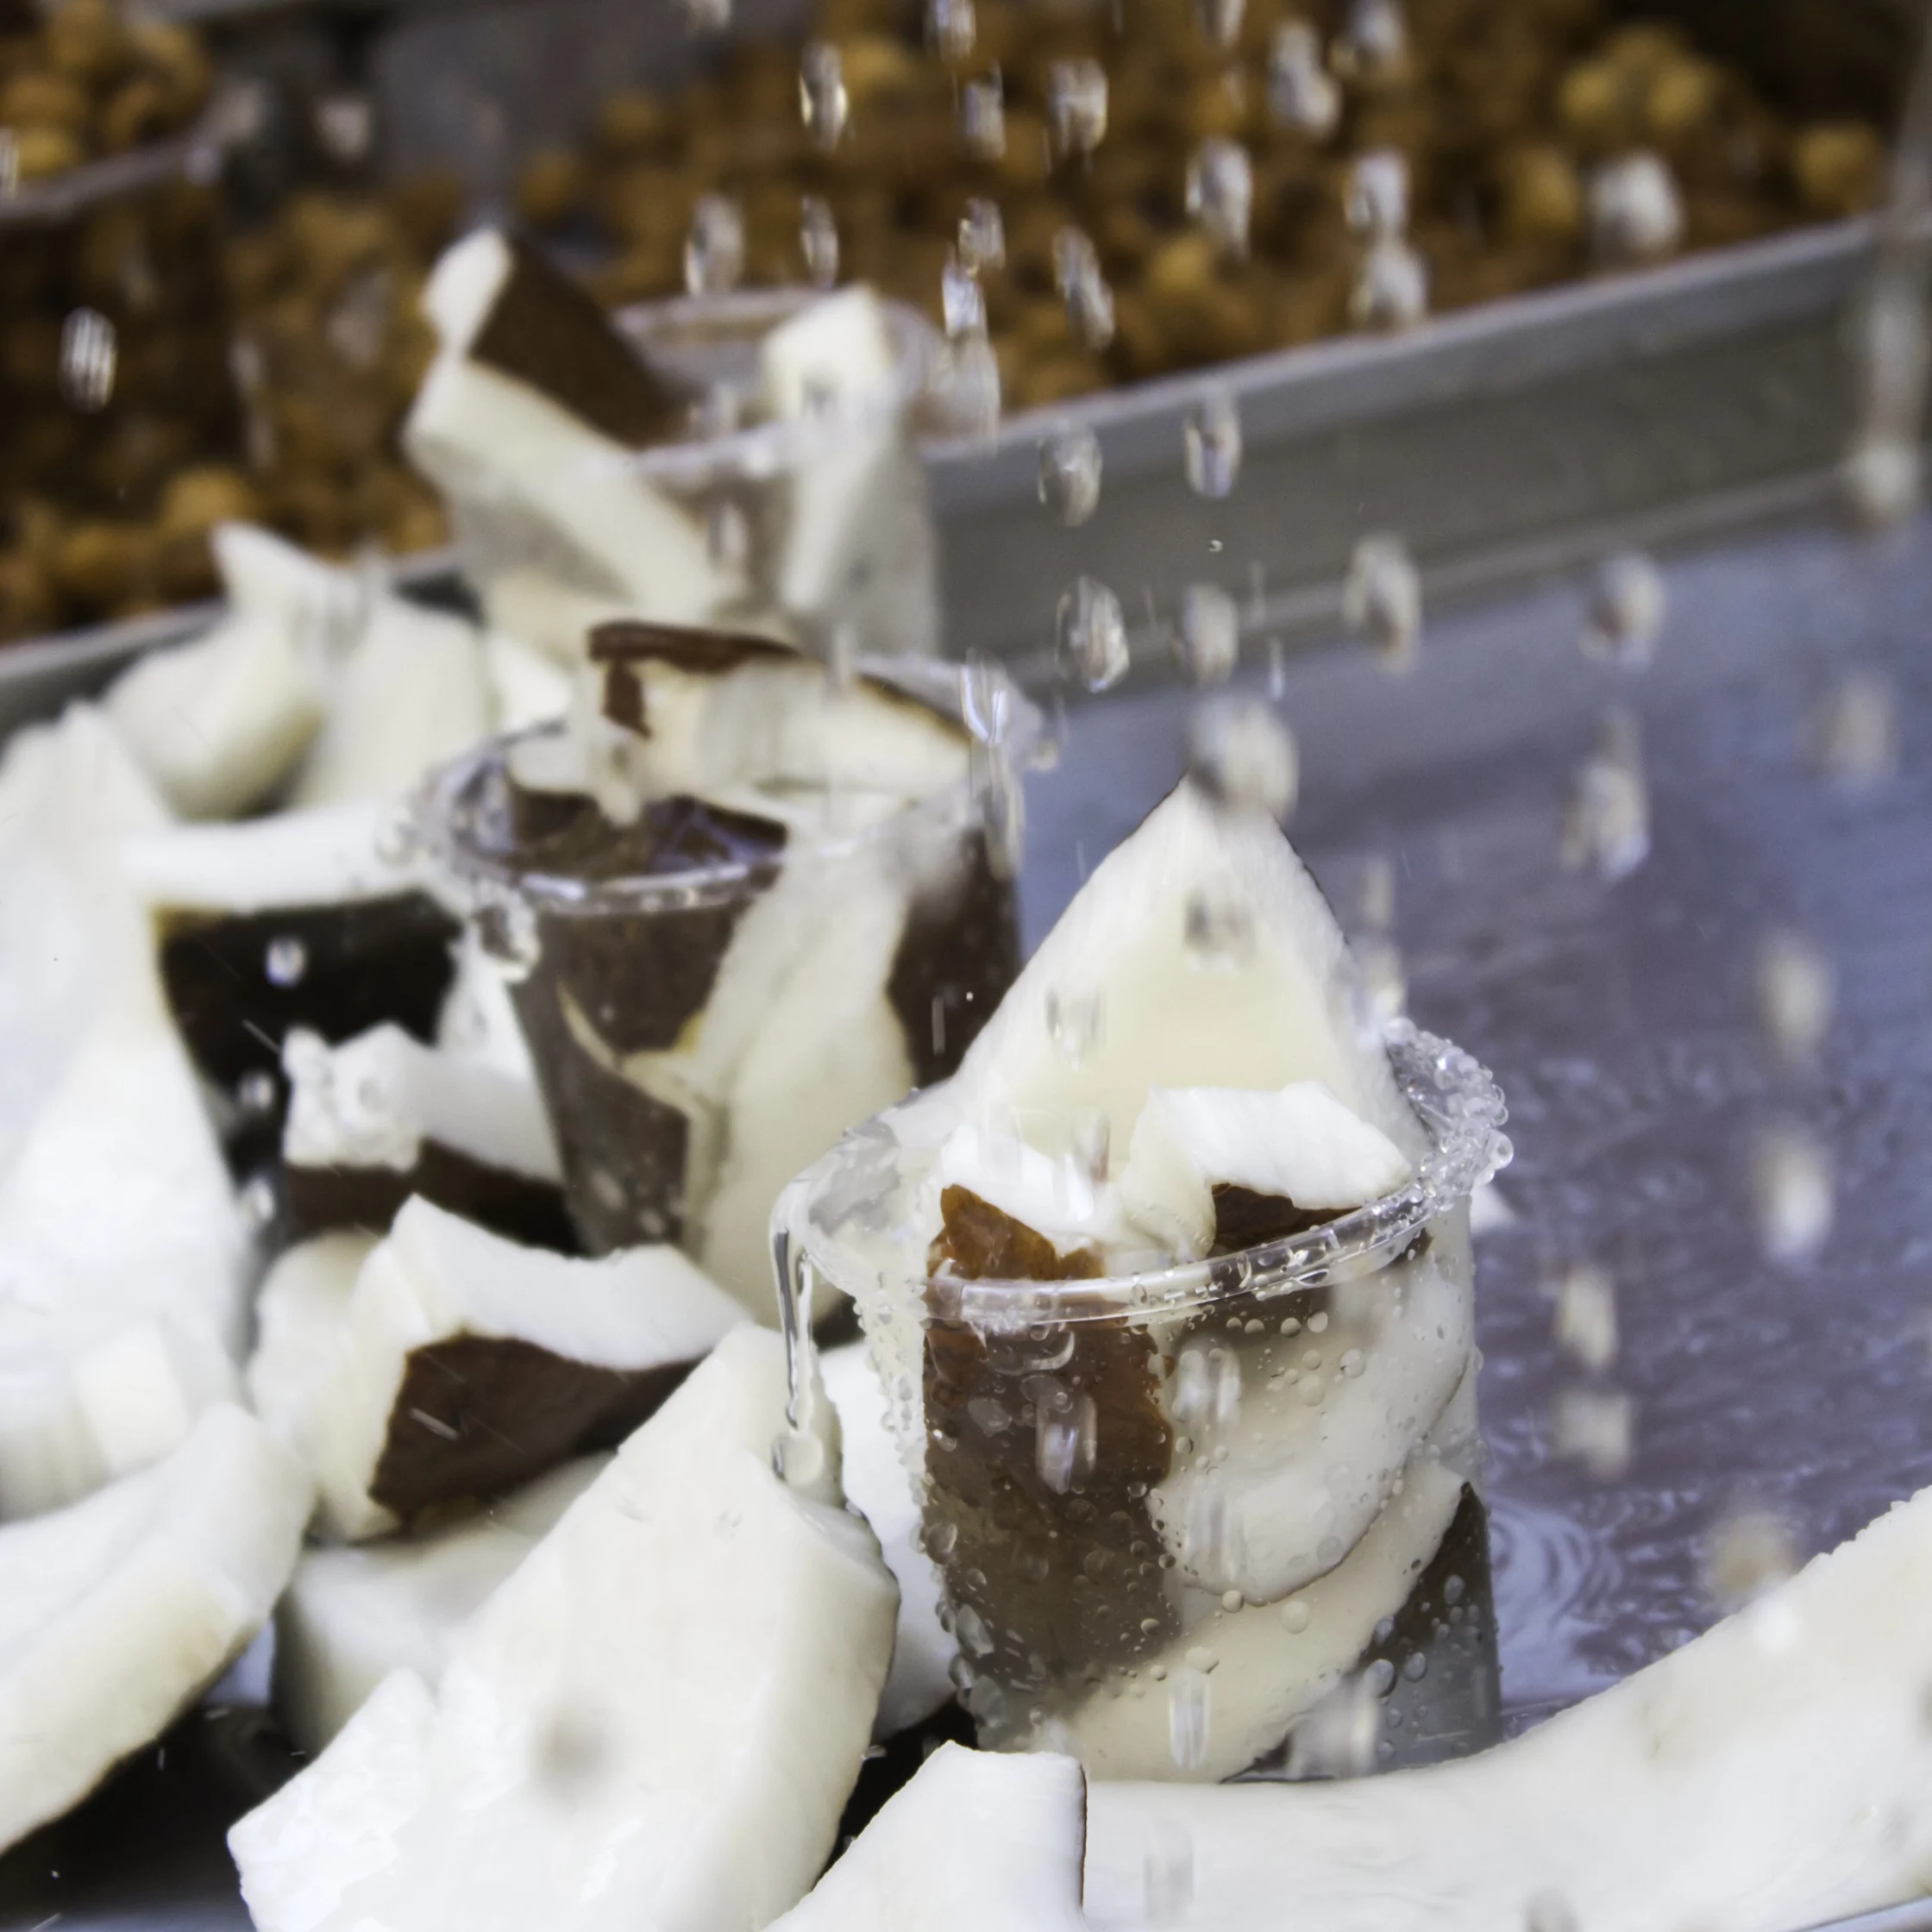
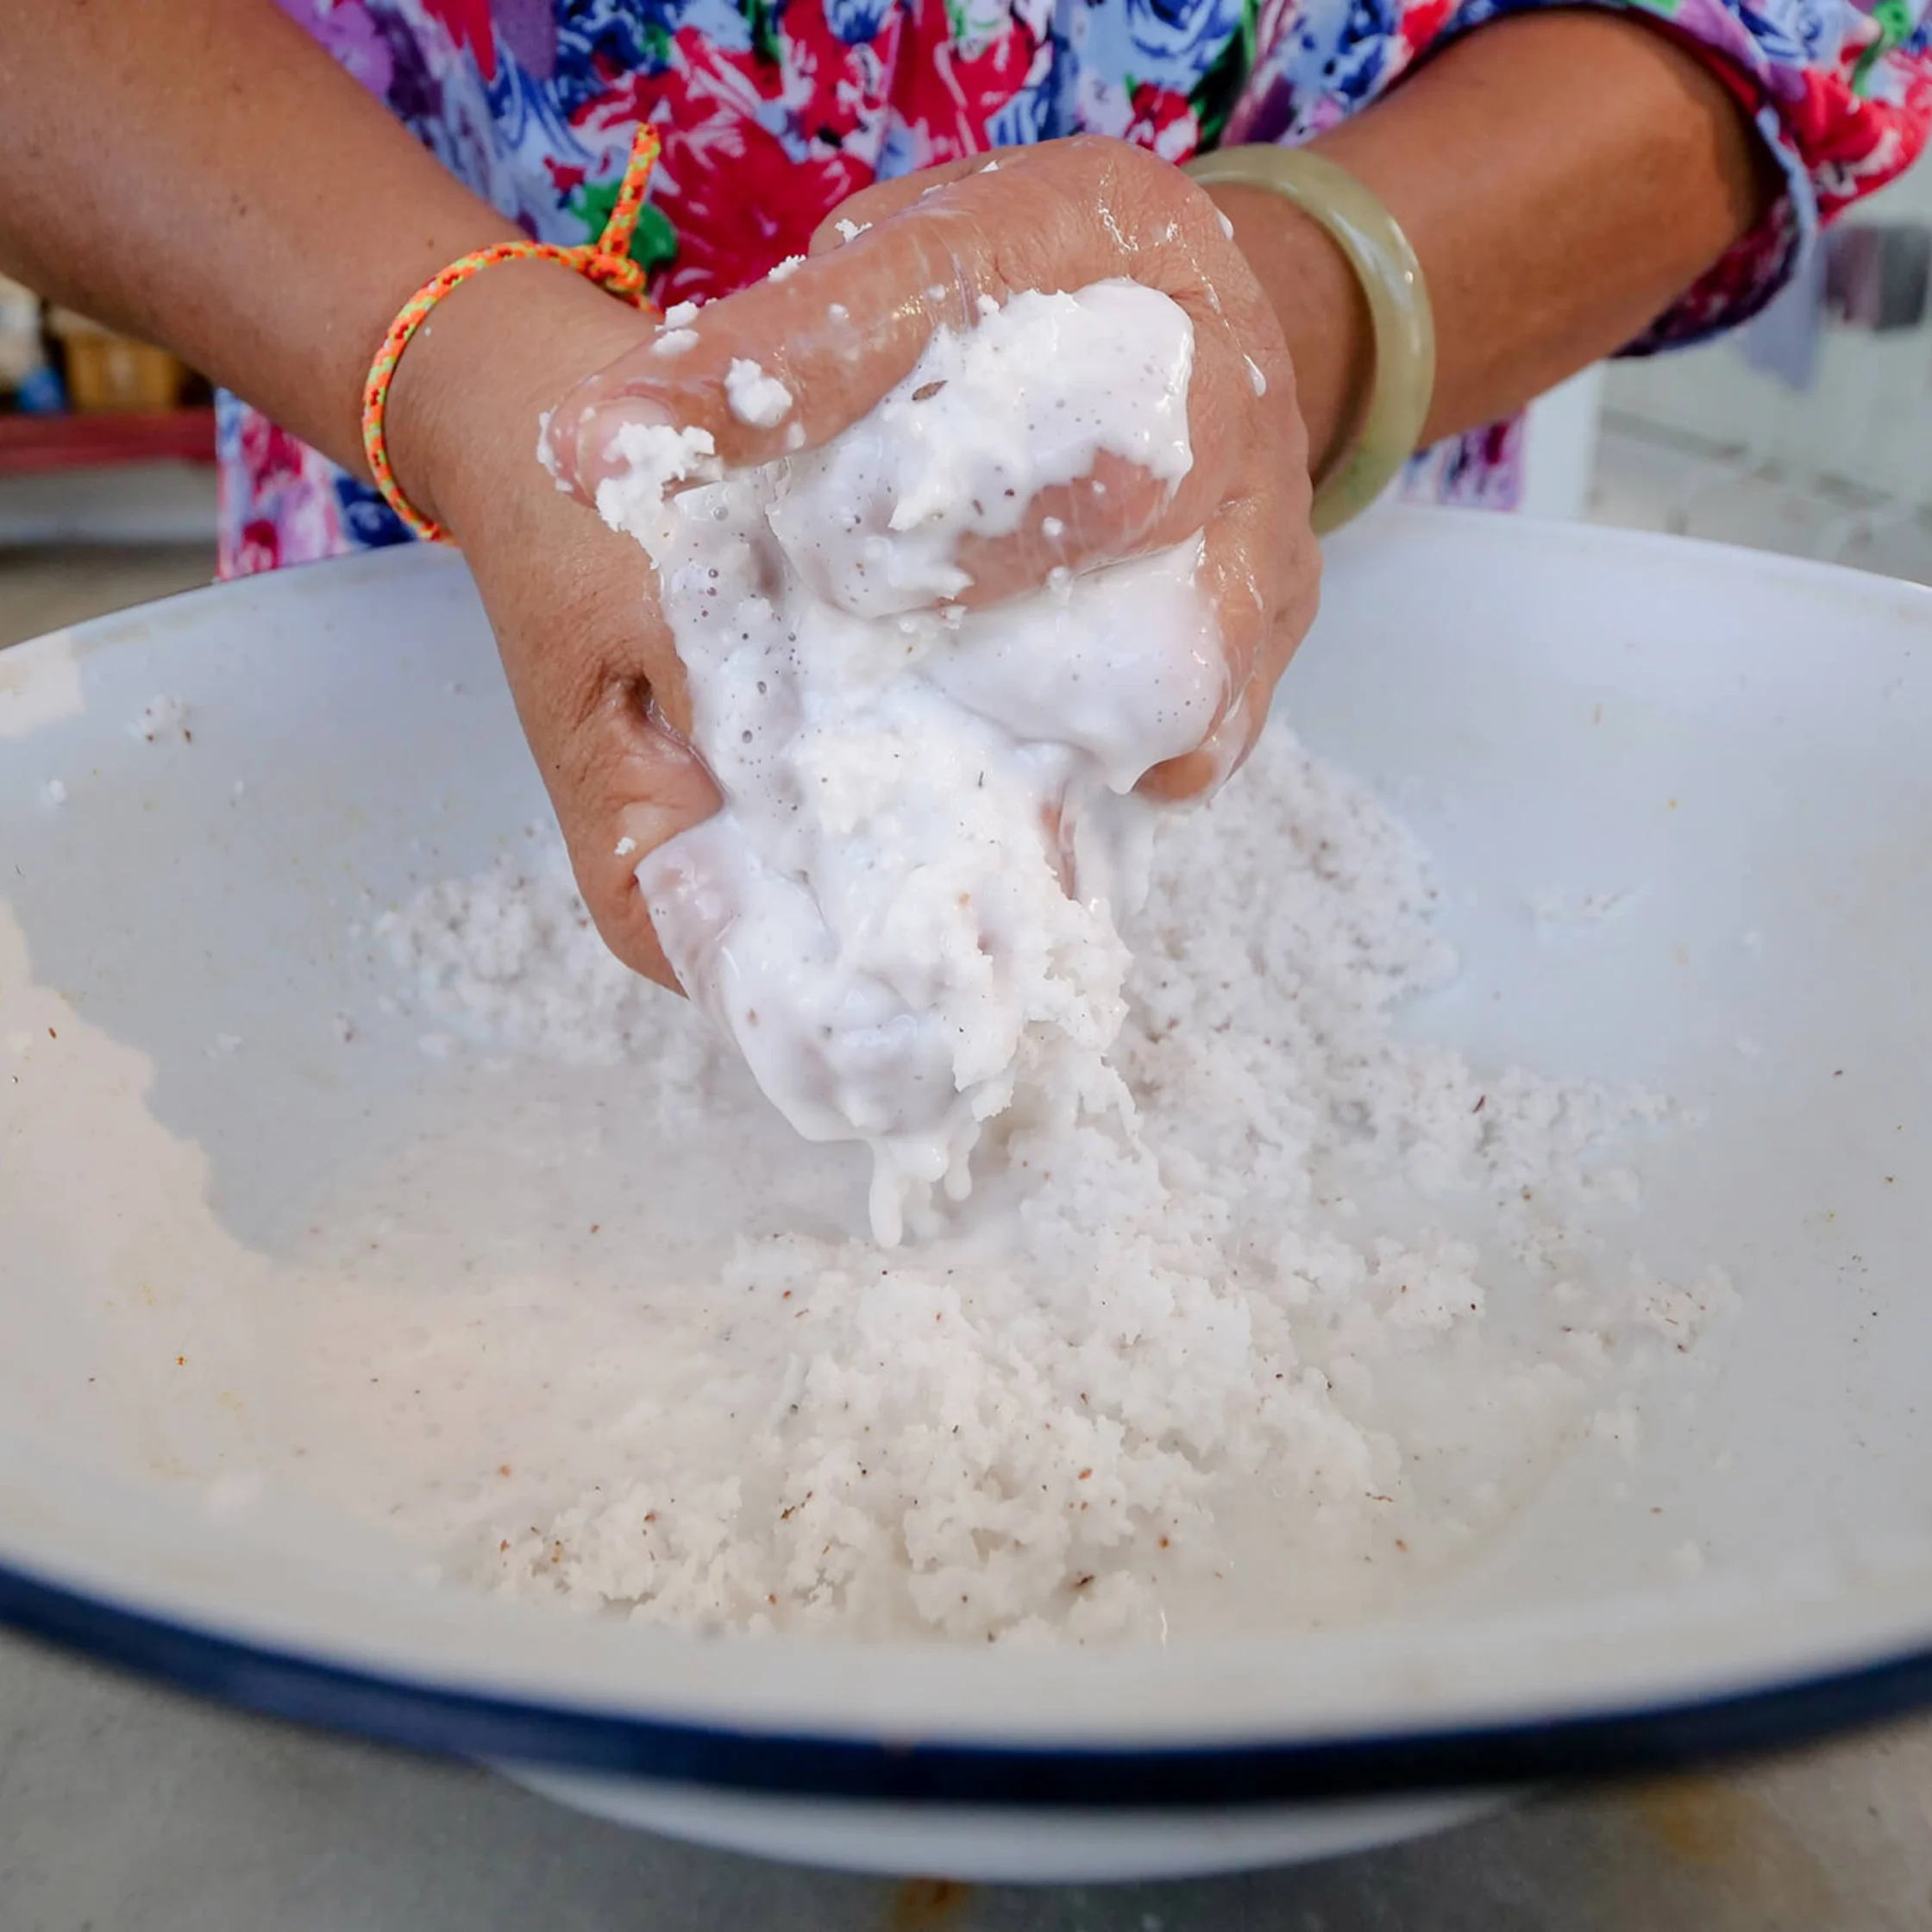
Transfer your grated coconut (and the warm water, if you wanted to make coconut milk) into a large bowl. Using your hands, thoroughly massage, knead, and squeeze the mixture. Think of it like you are trying to massage all the liquid and richness out of the coconut flakes. Continue doing this for about 3 to 5 minutes until the water turns opaque and milky white.
6. Strain The Mixture and Separate the Coconut Bits
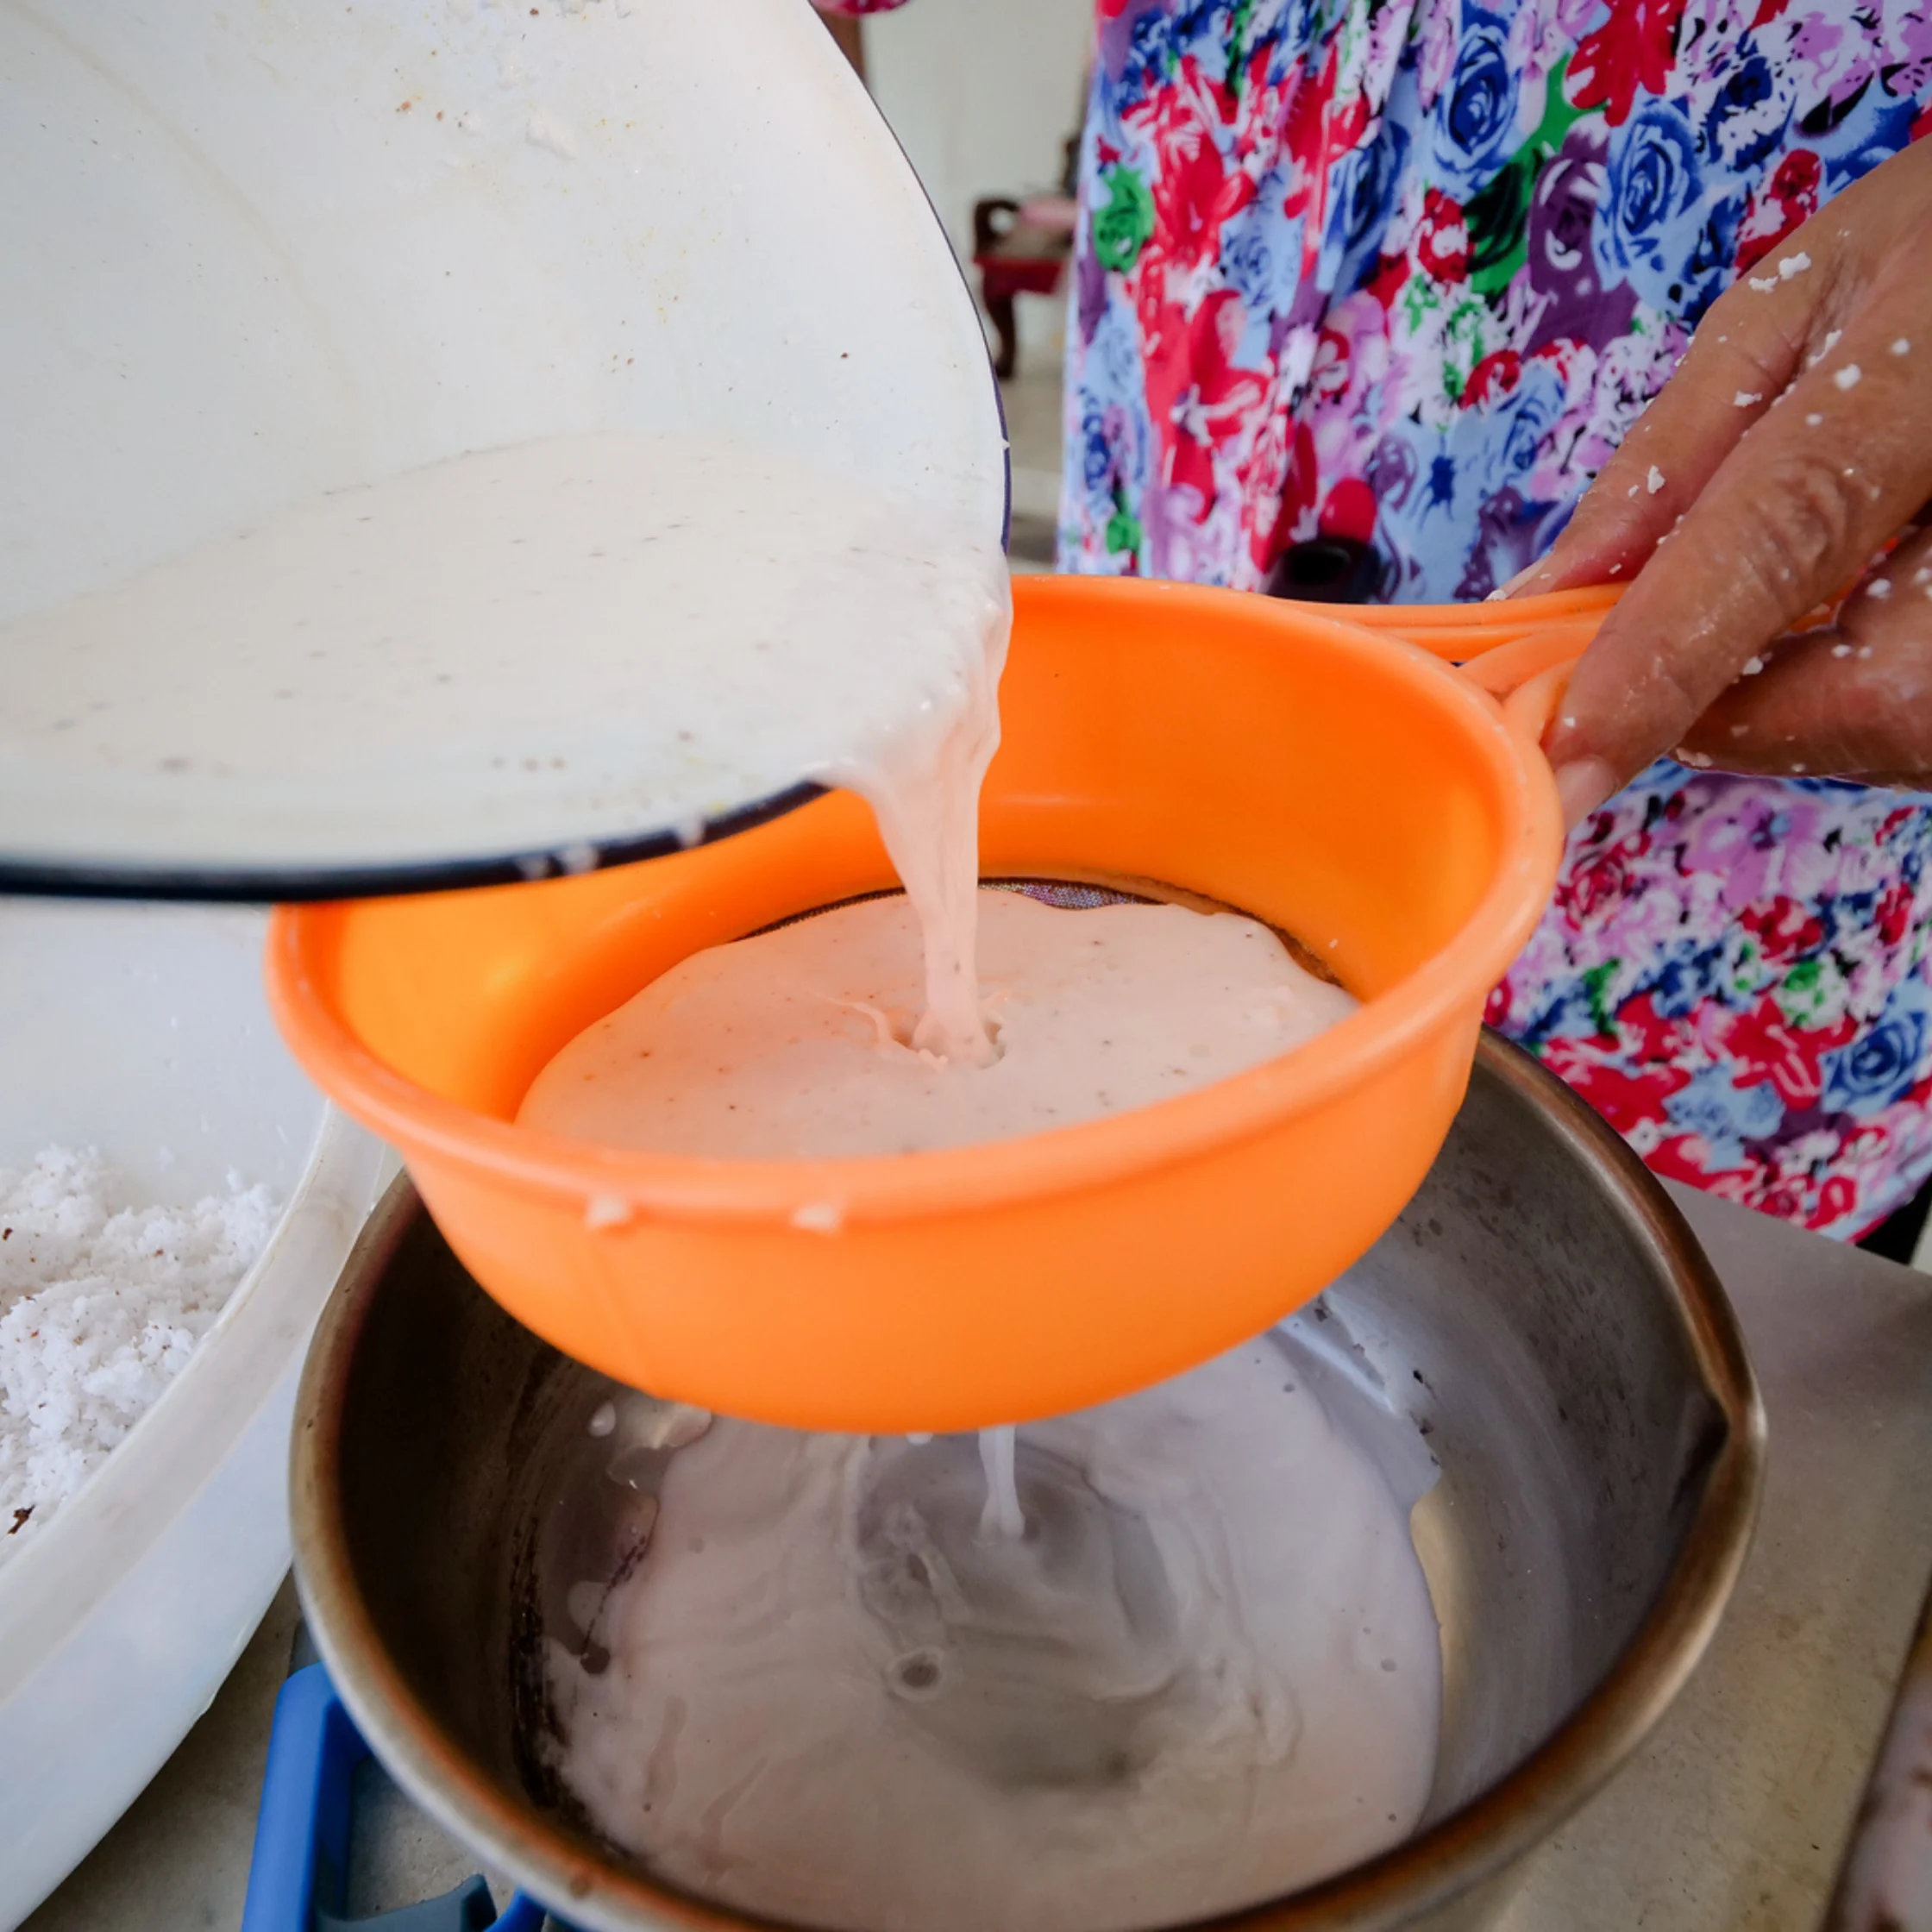
Place a fine mesh strainer or a clean piece of cheesecloth or katsa over a bowl or measuring cup. Pour your squeezed coconut mixture through the cloth or strainer. Gather the edges of the cloth and twist tightly, squeezing every last drop of liquid out of the grated pulp.
Don’t throw that leftover pulp away. Regardless if you wanted cream or milk to begin with, you can repeat steps 4 to 6 to extract and yield even more liquid coconut goodness!

Frequently Asked Questions
Kakang gata comes from the first press, extracted with little to no added water, so it is richer, thicker, and higher in oil. Regular gata comes from the second and later presses, made by adding water to the leftover pulp, yielding a lighter, more fluid liquid.
First press or kakang gata refers to the first extraction of grated coconut, which will yield a thicker and creamier coconut liquid.
Second press refers to the second extraction after the first, which involves adding a bit of water and further squeezing the coconut bits. This and succeeding rounds will yield a more milky liquid.
Kakang gata is the rich, thick first extraction squeezed from freshly grated mature coconut with little to no added water.
There are two things you can look out for. The first is the color the shell. Mature coconuts have a dark brown hard outer shell and a rough, fibrous, or woody husk. The second thing is the shake test. If you shake the coconut and you hear a sloshing or swishing sound from the inside, that can also means its matured.
A kudkuran is a traditional coconut grater. It’s designed so that you sit on one end like a stool while you grate the coconut flesh straight from the husk using the serrrated metal bllade attached to the other end.